Empowering Parents To Teach- Learning_CH_Sound

Learning The Sound “CH” With Lunch

Helping your young reader learn what sound the letters “ch” make when they are together in a word can be as simple as serving lunch or chinner.


You are about to serve a very special lunch or dinner, but first, start with a book.  We found the book Chilly Charlie by Dana Meachen Rau at our local library.  I decided to use this story to teach my little one the sound that “ch” makes and you can too!  There are many other books that you can use, such as:


Please Note: This post contains affiliate links.  Meaning, if you click on a link and make a purchase, I receive a small portion of the sale at no extra cost to you.  


Show your child the book and read the title.  Point out the “ch” in the word(s) and tell him or her that when “c” and “h” are together they make a new sound, “ch”.  Have your child say the sound a few times.  Say it with them, being funny usually helps! Whenever you come to a word in the story that has “ch”, exaggerate the sound a little bit to draw attention to it.  Sometimes, I would even say, “Look, that word had “ch” in it. Did you hear it?”.  Continue reading the story together and listening for the “ch” sound.


Now for the really fun part!  Later in the day or night, serve them a fabulous lunch or dinner featuring the “ch” sound.


Empowering Parents To Teach- CH_Sound


Notice the Chicken nuggets (meatless for us), Cherries, and Cheese?


Purposefully fill the plate with “ch” foods.  You can even have chips or chocolate milk!  When you present the meal to your child tell him or her that the meal is very special.  Say the name of each food out loud. First, see if s/he notices that they all start with the “ch” sound.  If s/he doesn’t notice, tell your child that you have prepared them a “ch” (say the sound) lunch or dinner!!  I did this at dinner time but I told my son that it was actually “ch”inner not dinner.  He thought that was pretty funny and the dinner started off on a positive note.


As you eat, talk about the “ch” words that your child is consuming.  You may ask, “How are those cherries?”, accenting the “ch” sound when you speak.  I had to tell my child to stay in his ch-ch-chair.  He hid his food in his ch-ch-cheeks! This made us wonder what other body parts start with “ch” like cheeks. Chin, of course!  My little one pointed to his nose and called it his “chose” to be funny.  Eureka, he gets it!


You could even look for things on the table and figure out if they have “ch” in the word.  How about, “salt”, “napkin”, or “chipmunk”?  Why you have a chipmunk on the table, I do not know.  But I don’t judge.


The secret is— HAVE FUN!! The more fun you have together playing with the “ch” sound, the more memorable the time spent will be.  Your ch-ch-child will remember the “ch” sound as well as the fun bonding time with you. What could be better? :)


Looking for more fun learning activities? Try:

Empowering Parents To Teach- Word Family Hearts


Valentine’s Day Word Family Hearts (with FREE printable)


Empowering Parents to Teach- Parcheesi


My Secret Weapon To Teach Early Math Skills


Empowering Parents To Teach- Charlotte's Web


Charlotte’s Web Activities


Empowering Parents to Teach- Sight Word Hide and Seek

Sight Word Hide And Seek

With enough exposure, sight words become easily recognized to a new reader. This game gives a fun opportunity to increase a child’s experience with these words!  Kids have to pay close attention to the words on their lists as they search to find hidden sight words.


Materials:

  • Sight word cards to hide (print out materials below or make your own on index cards)– For longevity, it’s best to print them on cardstock or laminate them. You can also print them on different color paper so the child can easily recognize them when searching.
  • List of words to find

You can make your own words to hide depending on what your child is learning or you can use the materials I created.


Empowering Parents to Teach- Sight Word Hide and Seek

Click here for the free printable materials


How to play:

1. The adult hides all sixteen words.  The younger the child is, the easier they should be to find. 

      How I hid them for my four year old:

Empowering Parents to Teach- Hide  and Seek Sight Words

 Hide  and Seek Sight Words

 Hide  and Seek Sight Words

 Hide  and Seek Sight Words

 Hide  and Seek Sight Words

IMG_0767

He thought this was hilarious!


2. The child is given a list of ten words to find.

3. Have the child read all ten words, with adult help if necessary, so the child knows what s/he is looking for.

4. Once the child finds a hidden word, s/he must check the list to see if it is one of the words on the list. Remember, there are sixteen words hidden, but only ten on the list.

5. Once all ten words are found, s/he must show them to you and read the found words out loud to you.  If all the words are the correct words on the list, s/he completed the game!  If any of the found words are not on list, have your child continue searching until the correct words are found.

6. To make the game competitive, you can set a timer.  Have your child find all ten words before time runs out.  Set the time based on what is appropriate for your child’s age and ability.

7. Play again using another word list to find the hidden words!


How is this game helpful?

As mentioned before, sight words are learned when kids see the word enough times and it becomes easily recognized.  The more words a child can read by sight, the more fluent they become as readers. In this activity, I chose words found on the Dolch sight word list that comprises commonly used words.


Often times when children try to identify a word by sight, they may just look at the first letter and guess.  With this in mind, I made sure to include more than one word using the same initial letter. By doing, this the child has to look past the first letter (hopefully at the whole word) to figure out if they found the correct word on his or her list. This can give the parent or teacher feedback. If your child brings back the wrong, “b” word, ask him or her why s/he thought that the word was correct.  After listening and understanding your child’s thought process, you can show your child how you know that the word is different. For example, if the word “big” was on the list and your child brought back the word, “blue” s/he may not be looking at the whole word. First, point out the good that your child did, s/he noticed that both words start with “b”.  After acknowledging this, you can point out to your child that when you look at the second letter the word on the list (big) has an “i” next and the word your child found (blue) has an “l” next.  This tells you that the two words are different.  Give your child another chance to find the matching word.  After this interaction with you, your child may be more likely to look at the letters in the word instead of just the beginning letter.  The goal is for your child to transfer this skill to his or her reading experiences.


I also made this a hide and seek game because it encourages movement. Kids were not designed to sit still, so I like to find ways that allow kids to move around while engaged in meaningful learning experiences!


As always, follow your child’s lead and keep a positive attitude!  As long as they are playing and having fun with these words, they are getting something out of the activity.  It may not go as planned, but the opportunity to show your child that you can have fun playing with words is priceless :)


Empowering Parents To Teach- Charlotte's Web

Charlotte’s Web- Reading Activities

We just finished reading Charlotte’s Web by E.B. White. My boys really enjoyed the story! A couple of extension activities came to my mind as we were reading that I’d love to share.


Message Web

Just as Charlotte loving wove her web for Wilbur and wrote flattering messages, you can do the same for your children!


blueweb


When I was a kid, my mother taught me how to make Dreamcatchers.  It’s been quite a while since I made one, so I needed a refresher.  I found a great tutorial on wikiHow.  Using Dreamcatchers as my webs, I added a word to each one that describes my little ones and hung it outside their bedroom doors as they slept- just as Charlotte made her web for Wilbur late into the night!


Warning, I am about to get sentimental and cheesy.  But, as I was making these webs for my boys I couldn’t help but feel the kind of love that Charlotte was feeling when she made hers.  All of my thoughts were of my love for my kids as I was making these.  Taking the time to do this,  just to let my boys know I love them, really made this project feel special.  I did warn you about the cheesiness. Moving on…


To make a Dreamcatcher:  Make-a-Dreamcatcher

Some modifications I made to the above tutorial:

  • I did not make my own hoop, I bought two hoops from the craft store
  • I used different material on the outside of the hoop. Many materials can work on the outside of the hoop, a little trial and error helps me find the one I like the best.
  • I left out the attached feather, because I wanted it to resemble a web.


My finished products:


bothwebs

Rarely (ok, never)  do my crafts look like they belong in a magazine, but they are definitely made with love :)

Here they are hung over the doorway for a surprise in the morning:


Webs in the doorways!


To extend this even further:  I invited my kids to find words in a magazine or in the environment for me to add to their siblings web, just as Templeton found words for Charlotte to use.  At night I would put the found words into their brother’s web so they have new words to wake up to. What I also like about this is how it bonds the boys.  They are finding positive words about their sibling, making them focus on the good qualities of each other. They also have the satisfaction of knowing they did something nice for their brother.


If your kids are old enough and have the motor skills, they could even make the web themselves.  They could surprise a sibling, parent, or friend with a message web.  They will really get the feeling for the time it takes to make something like this,  therefore better understanding Charlotte’s devotion!


Some Boy (or Girl)

someboycraft


Another activity to extend your child’s experience with the book is to make a poster of themselves with positive words that describe them.  Just as Templeton searched for words in the dump to help Charlotte with her web, your kids can search through magazines for positive words for their posters!  This is something they can do on their own.


The steps:

  • Using Clip art, print out a web. Or, if your child is a good artist have them draw a web.
  • Write Some Boy or Some Girl on the web.
  • Attach it to a corner of the page.
  • Have the child draw a picture or paste a picture of him or herself.
  • Have the child go through magazines to find positive words that describe him or herself.


Variations:

  • Have a sibling or other students find the positive words to put on the bottom.
  • Have children only find adjectives to teach the concept of adjectives.


Not only do activities like these help reinforce understanding of the story,  they also help kids focus on the positive qualities of themselves and others.


Linked to: Montessori Monday!

Montessori Monday


To purchase the book on Amazon, click on the book cover:


an word family tray

Learning to Read: Word Families

Decoding: Word Families

Recognizing common letter and sound patterns in word families can help children figure out new words when they read. Instead of trying to sound out each letter one by one, they can identify larger groups of letters. 


Are you helping your child learn to read at home? Reading is made up of so many elements. My goal is to give information and ideas in all areas of reading. That would be a very long post if I did it all of it in one! Today I am going to focus on one aspect– word families. Some children pick up the phonological patterns in word families naturally and do not need to be taught this skill. However, some degree of phonics instruction can be helpful for all readers. Phonics instruction has been shown to be especially helpful for struggling readers. Remember, this is just one piece of the reading puzzle!


What are word families?

Basically, word families are a group of words that have the same pattern and sound at the end. For example, the -an family would have can, fan, man, van, etc. in it’s family. As you can see they rhyme. The -an part of the word is called the rime. It is the same for all of the words in the group. The initial consonant that can be changed to create new words is called the onset.


Is your child ready to learn word families?

Can your child:

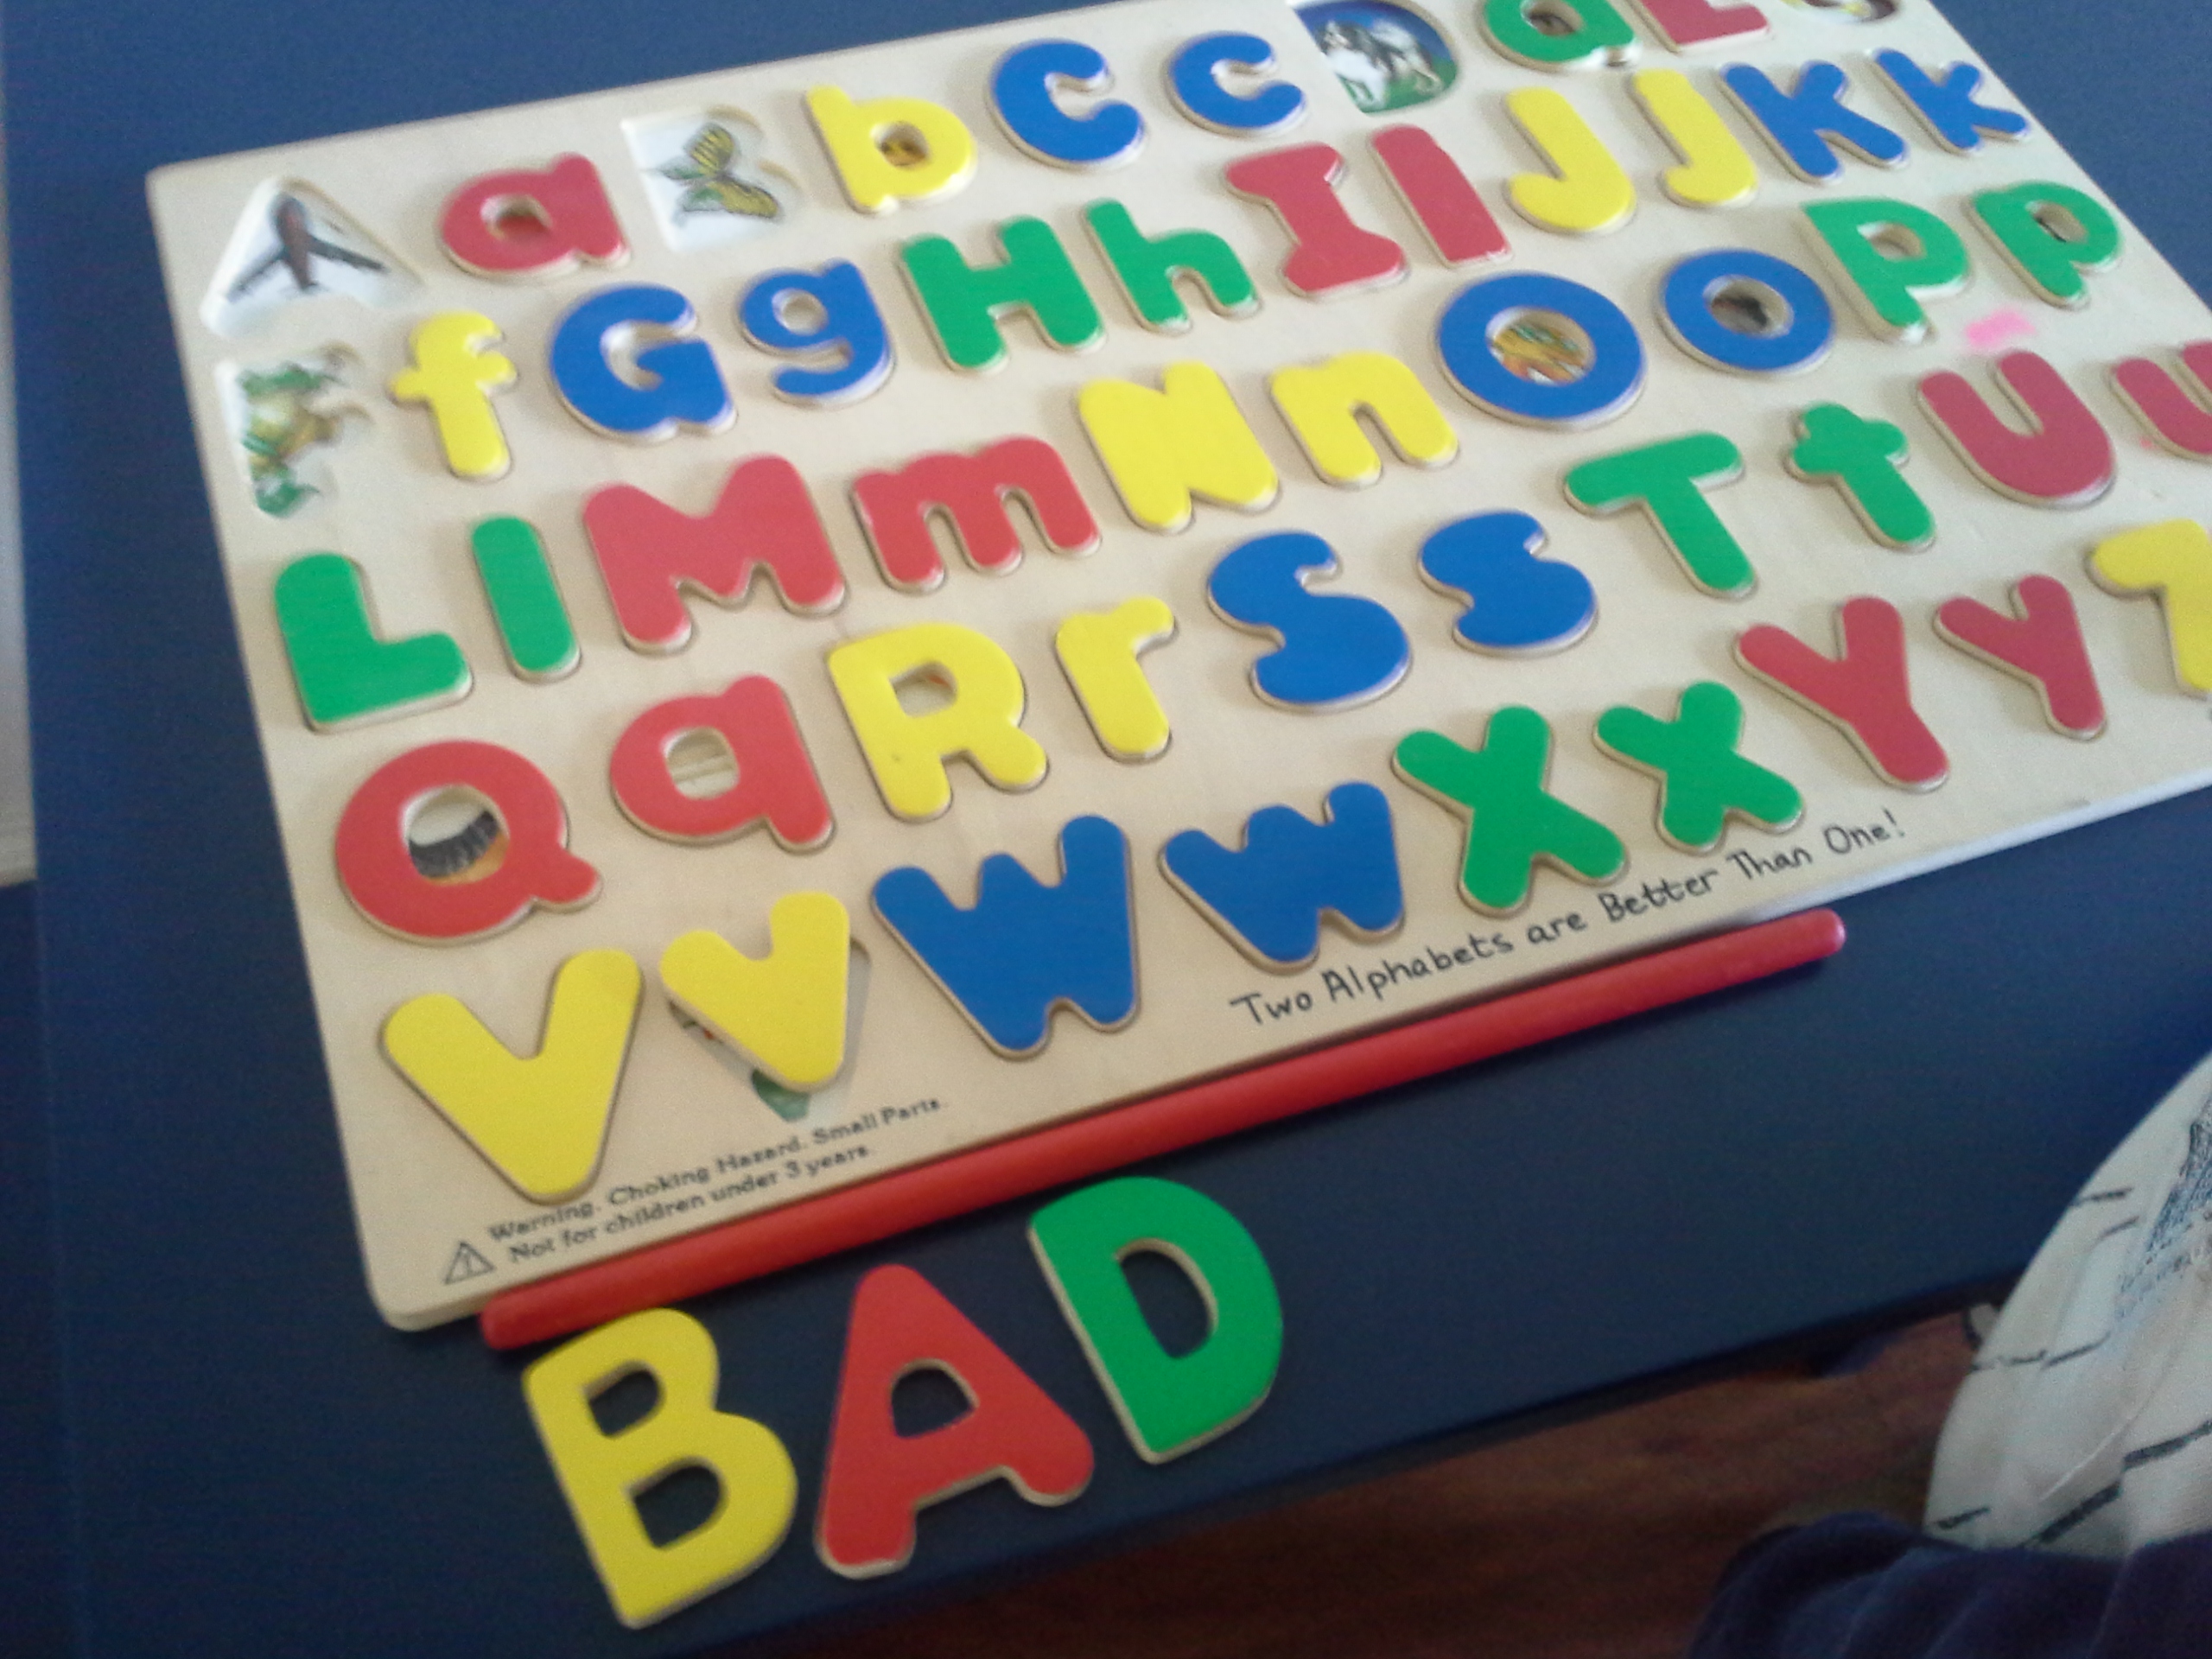
  • Recognize all the letters of the alphabet?
  • Identify all of the letter sounds individually?
  • Hear rhyming in a story?
  • Rhyme a word that’s given? (For example, if you say “hat”, can they give you a word that rhymes?)
  • Begin to spell simple words?

These are some general guidelines to figure out if this is a good step for your child in their reading practice. Typically, word families are taught in first grade and even some kindergartens. But since every child develops at their own pace, I advise parents to follow your child’s lead instead what they “should” be doing at certain ages. Like any learning activity, if your child is not into it, don’t force it! You don’t want them to lose their love of learning!


Activity #1: Make the Word and Match the Picture

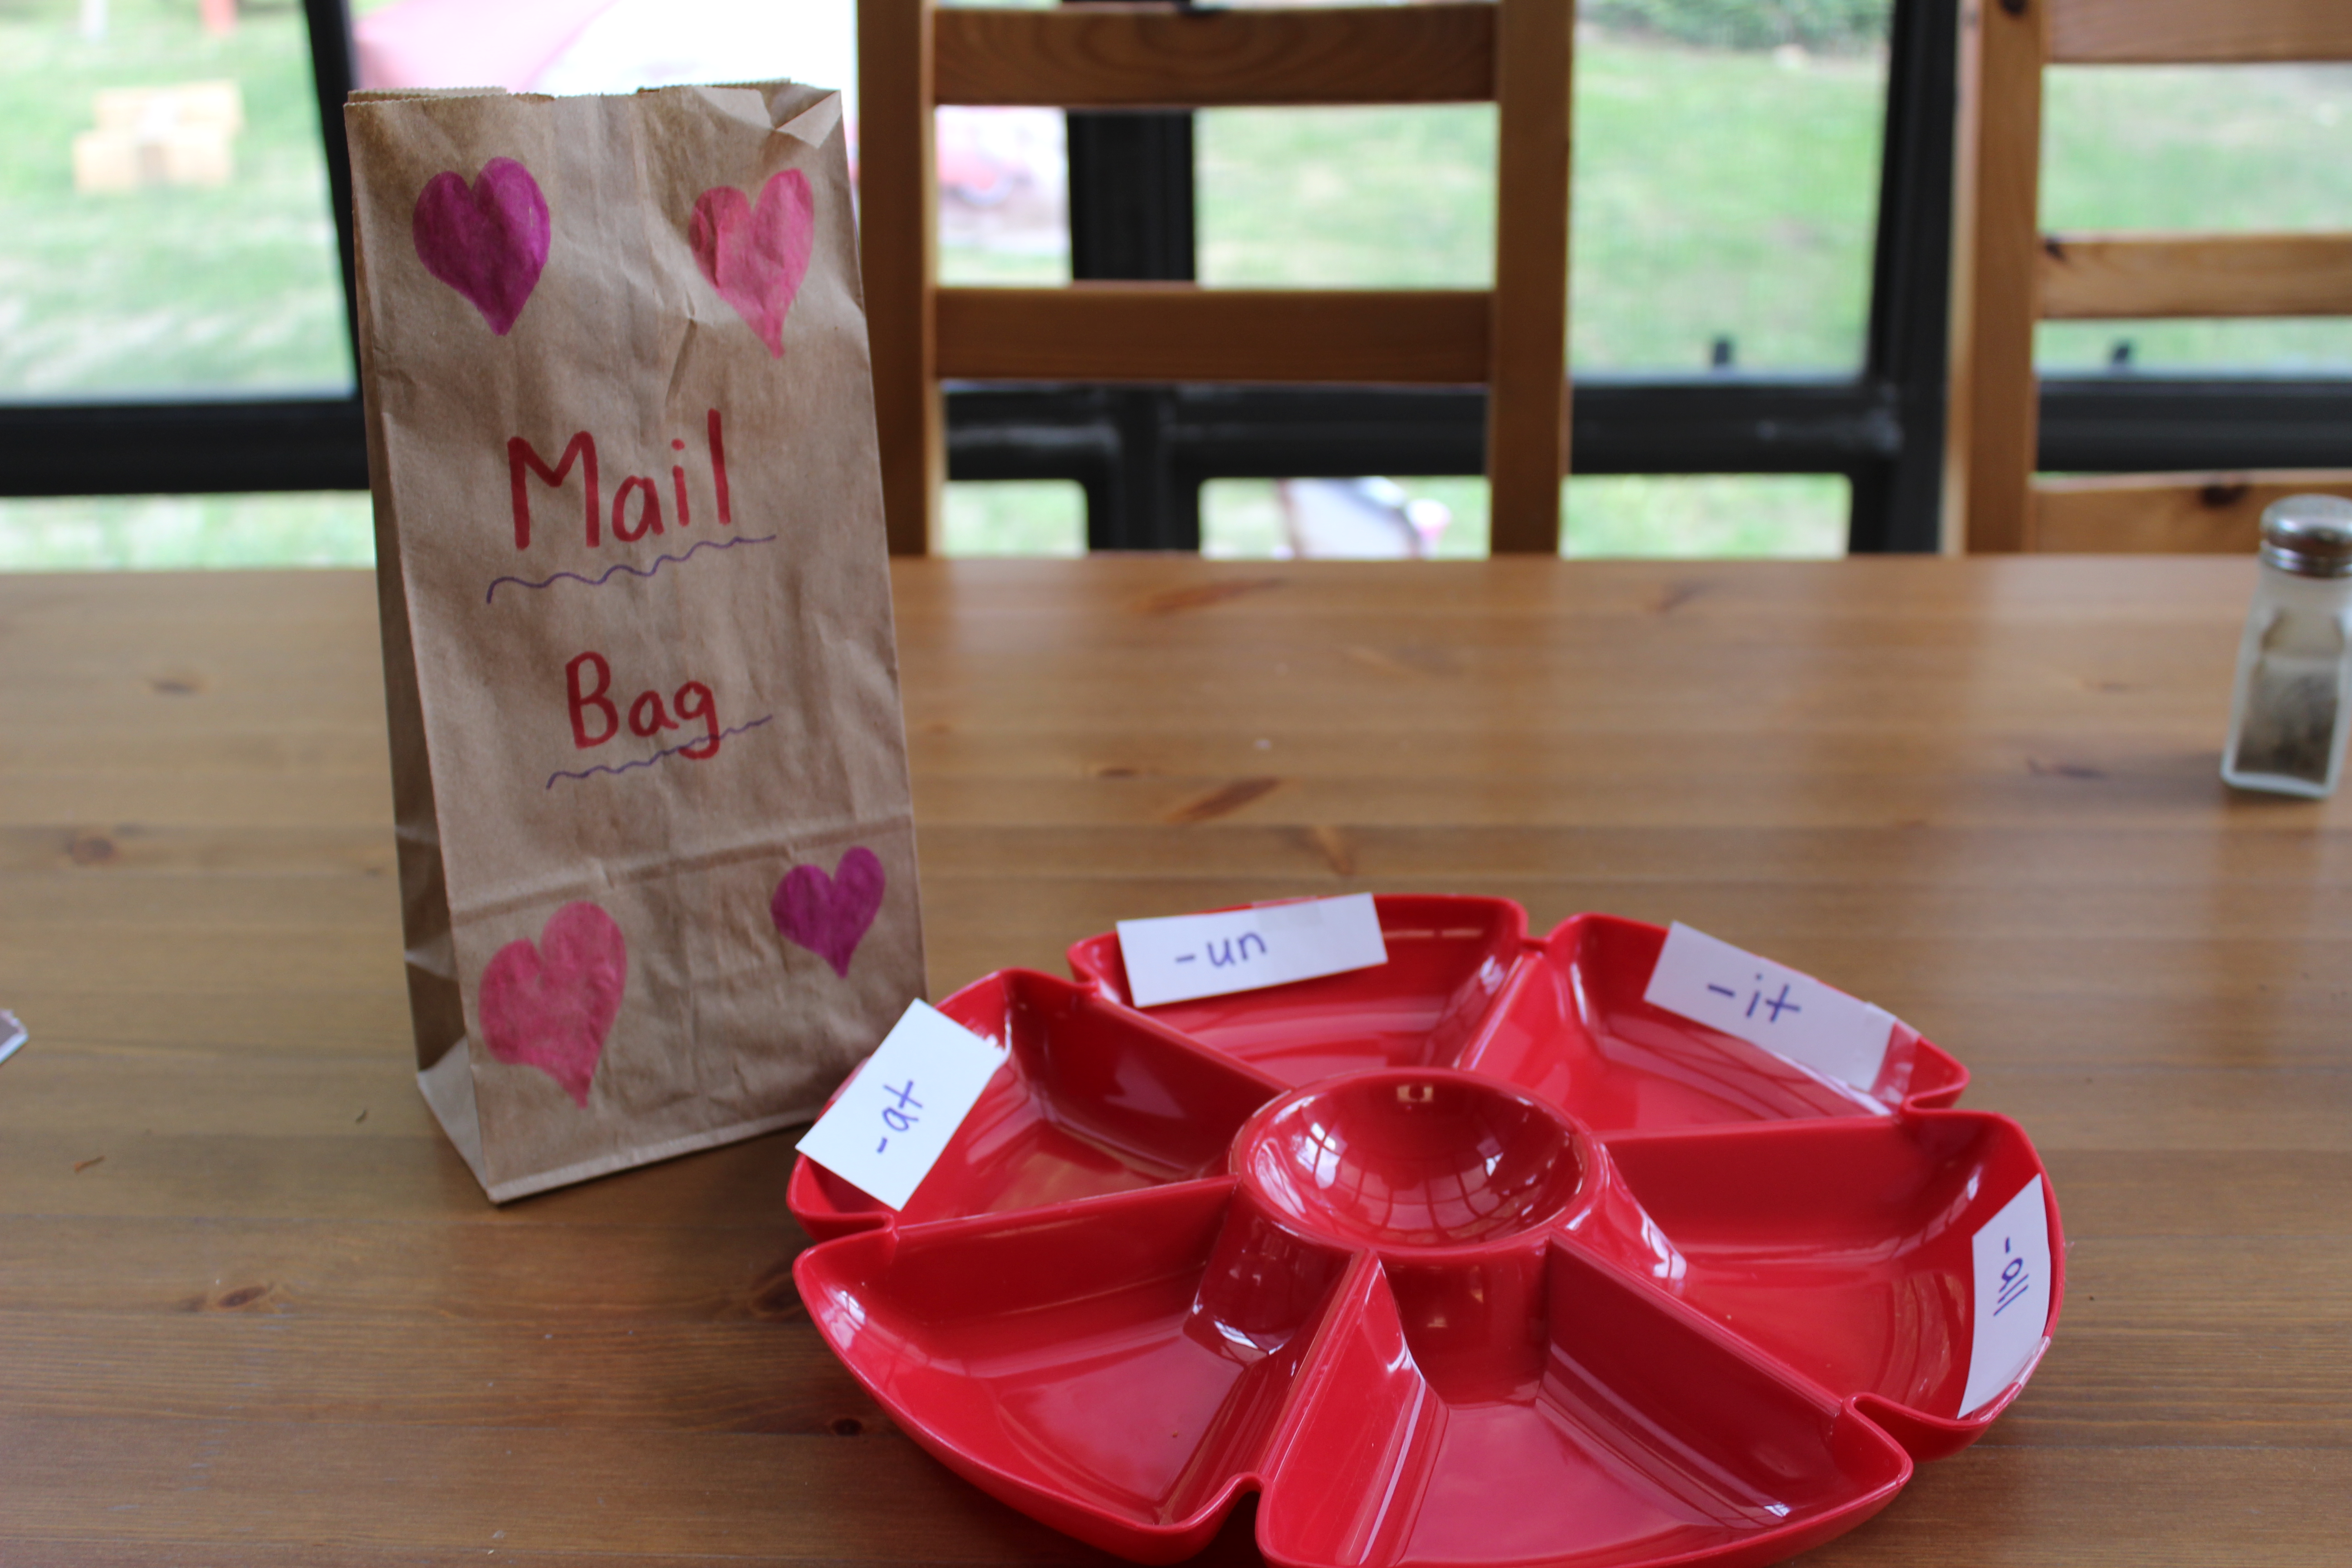
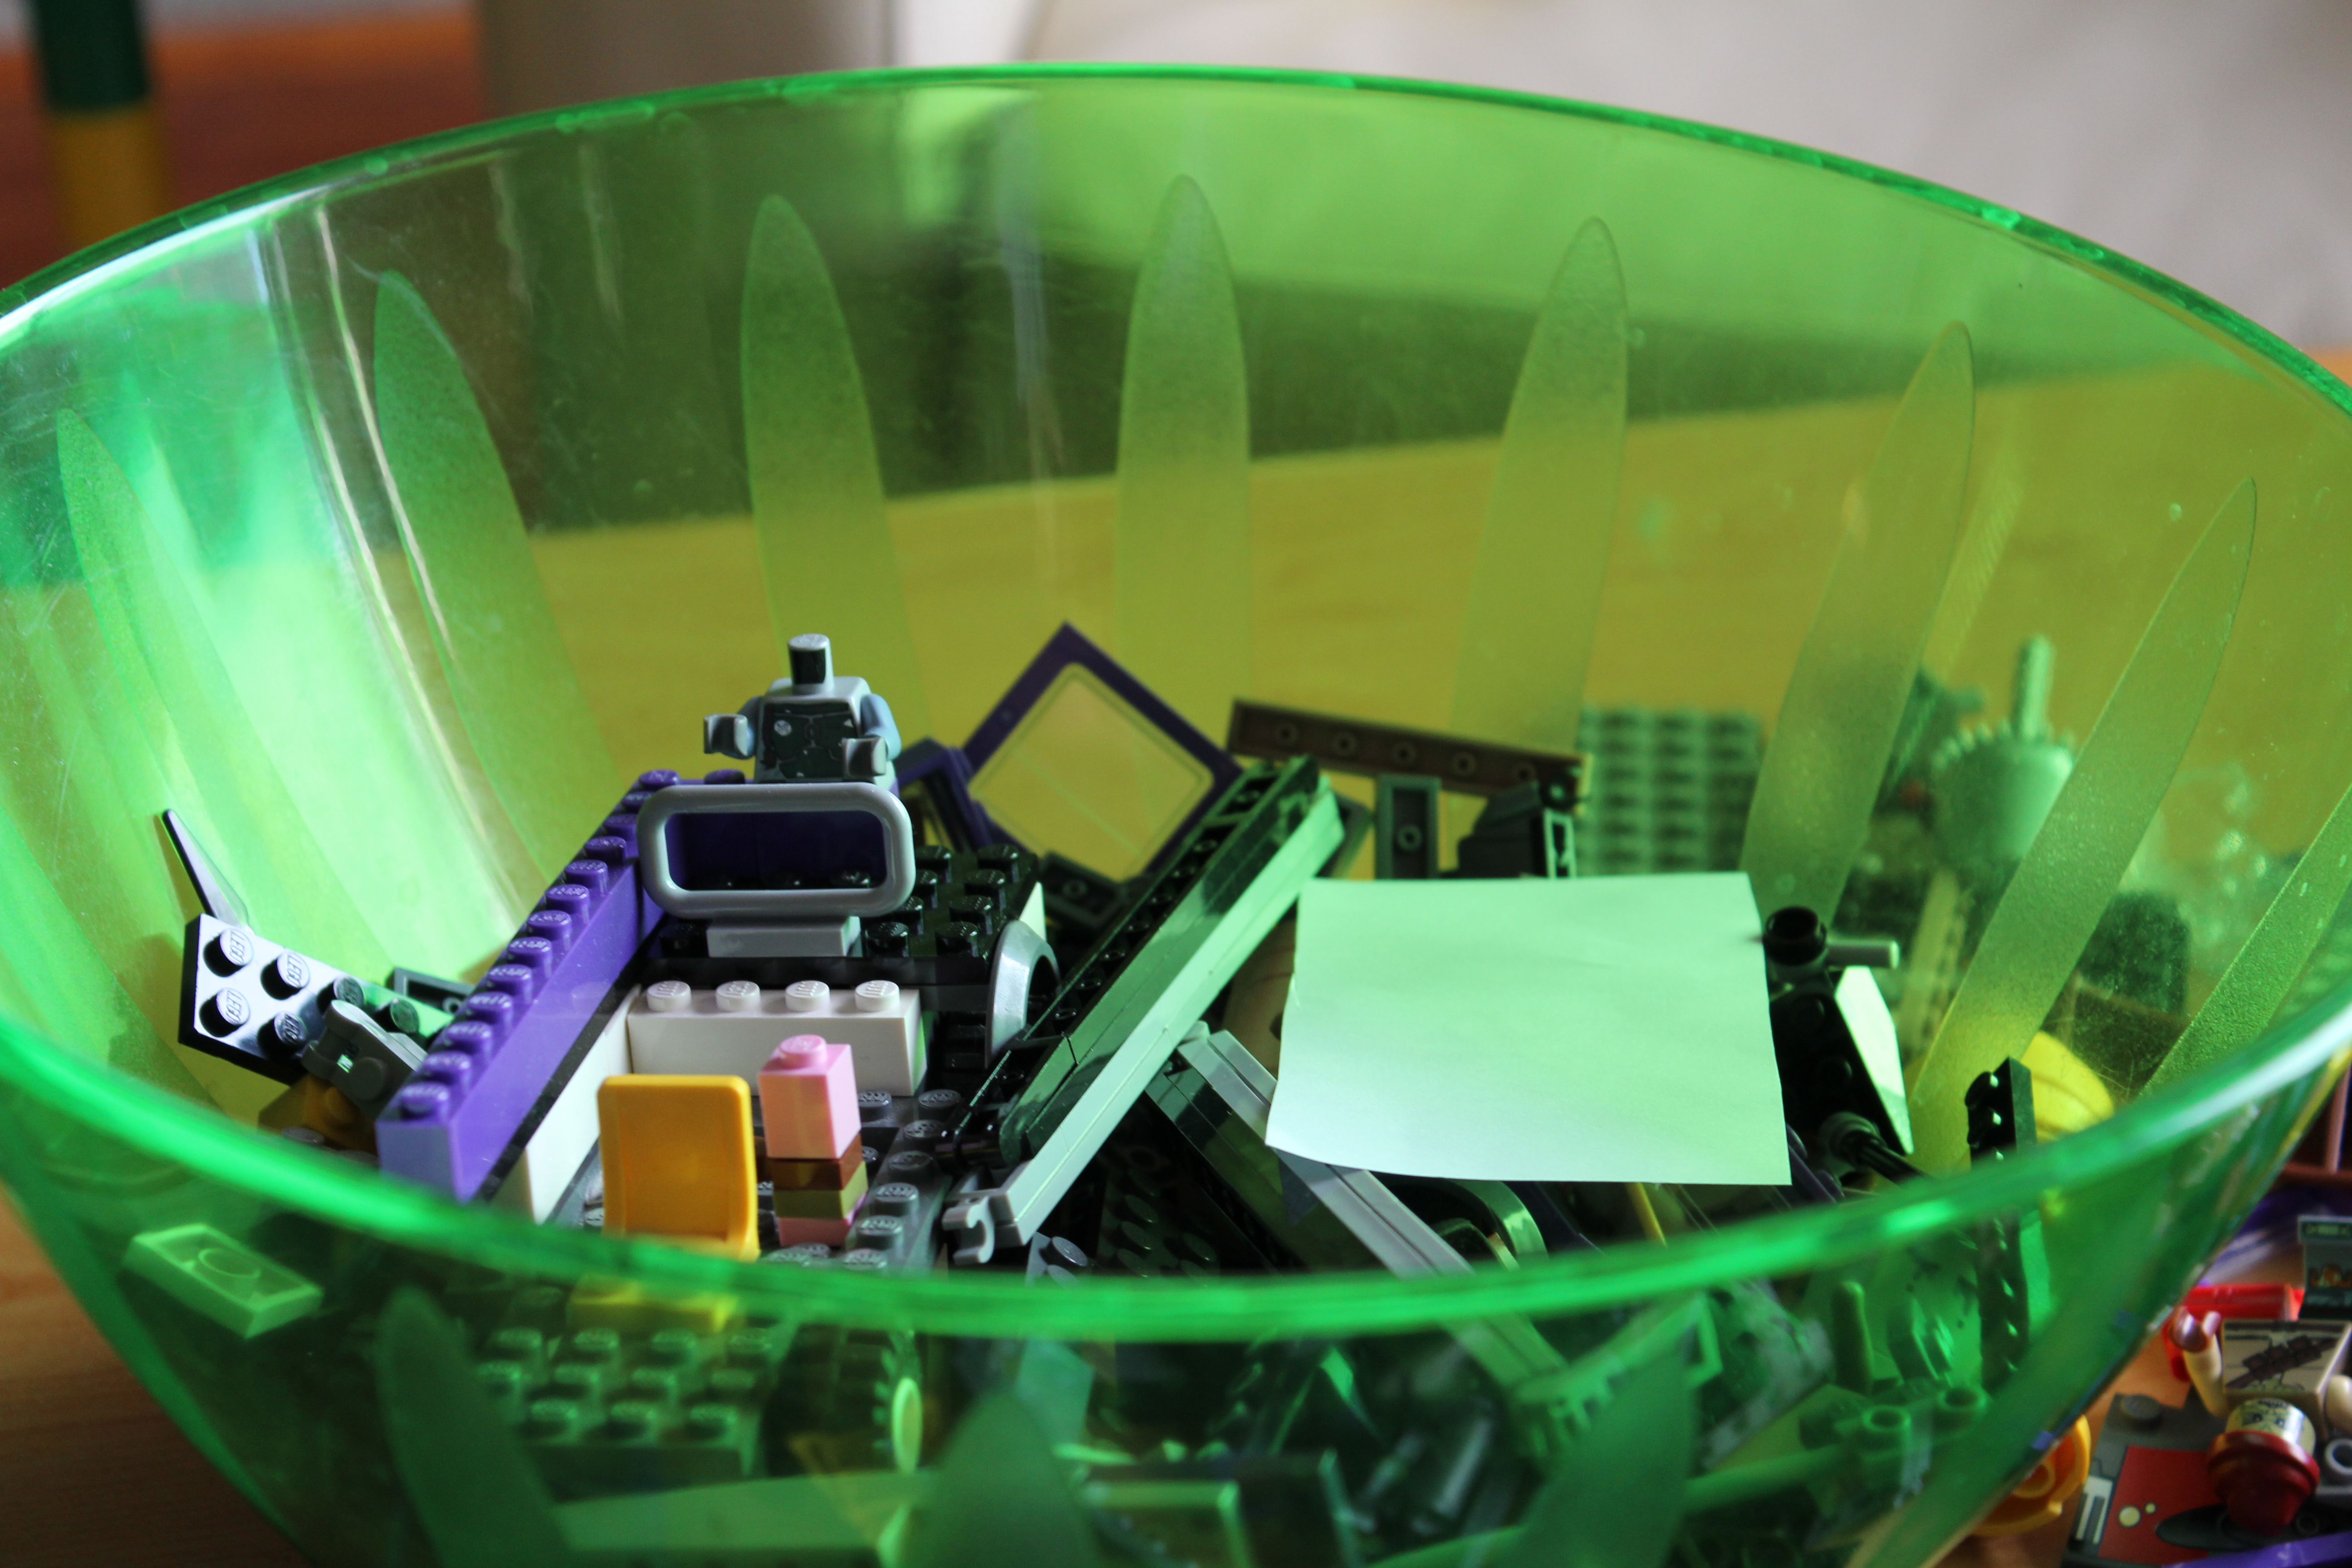
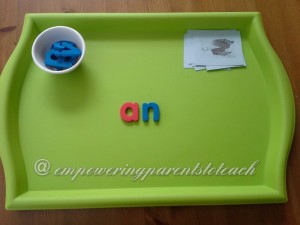
Bring the tray to where you are working with your child. I like using a tray for the work materials because it helps the child focus on the task. The tray is set up so you see “an” in the middle. In the small cup on the left are the letters- m,v,c,r,p,f. On the right hand side there is a pile of pictures of- man, van, can, ran, pan, fan. The pictures are not in any particular order.

Empowering Parents to Teach- an word family tray


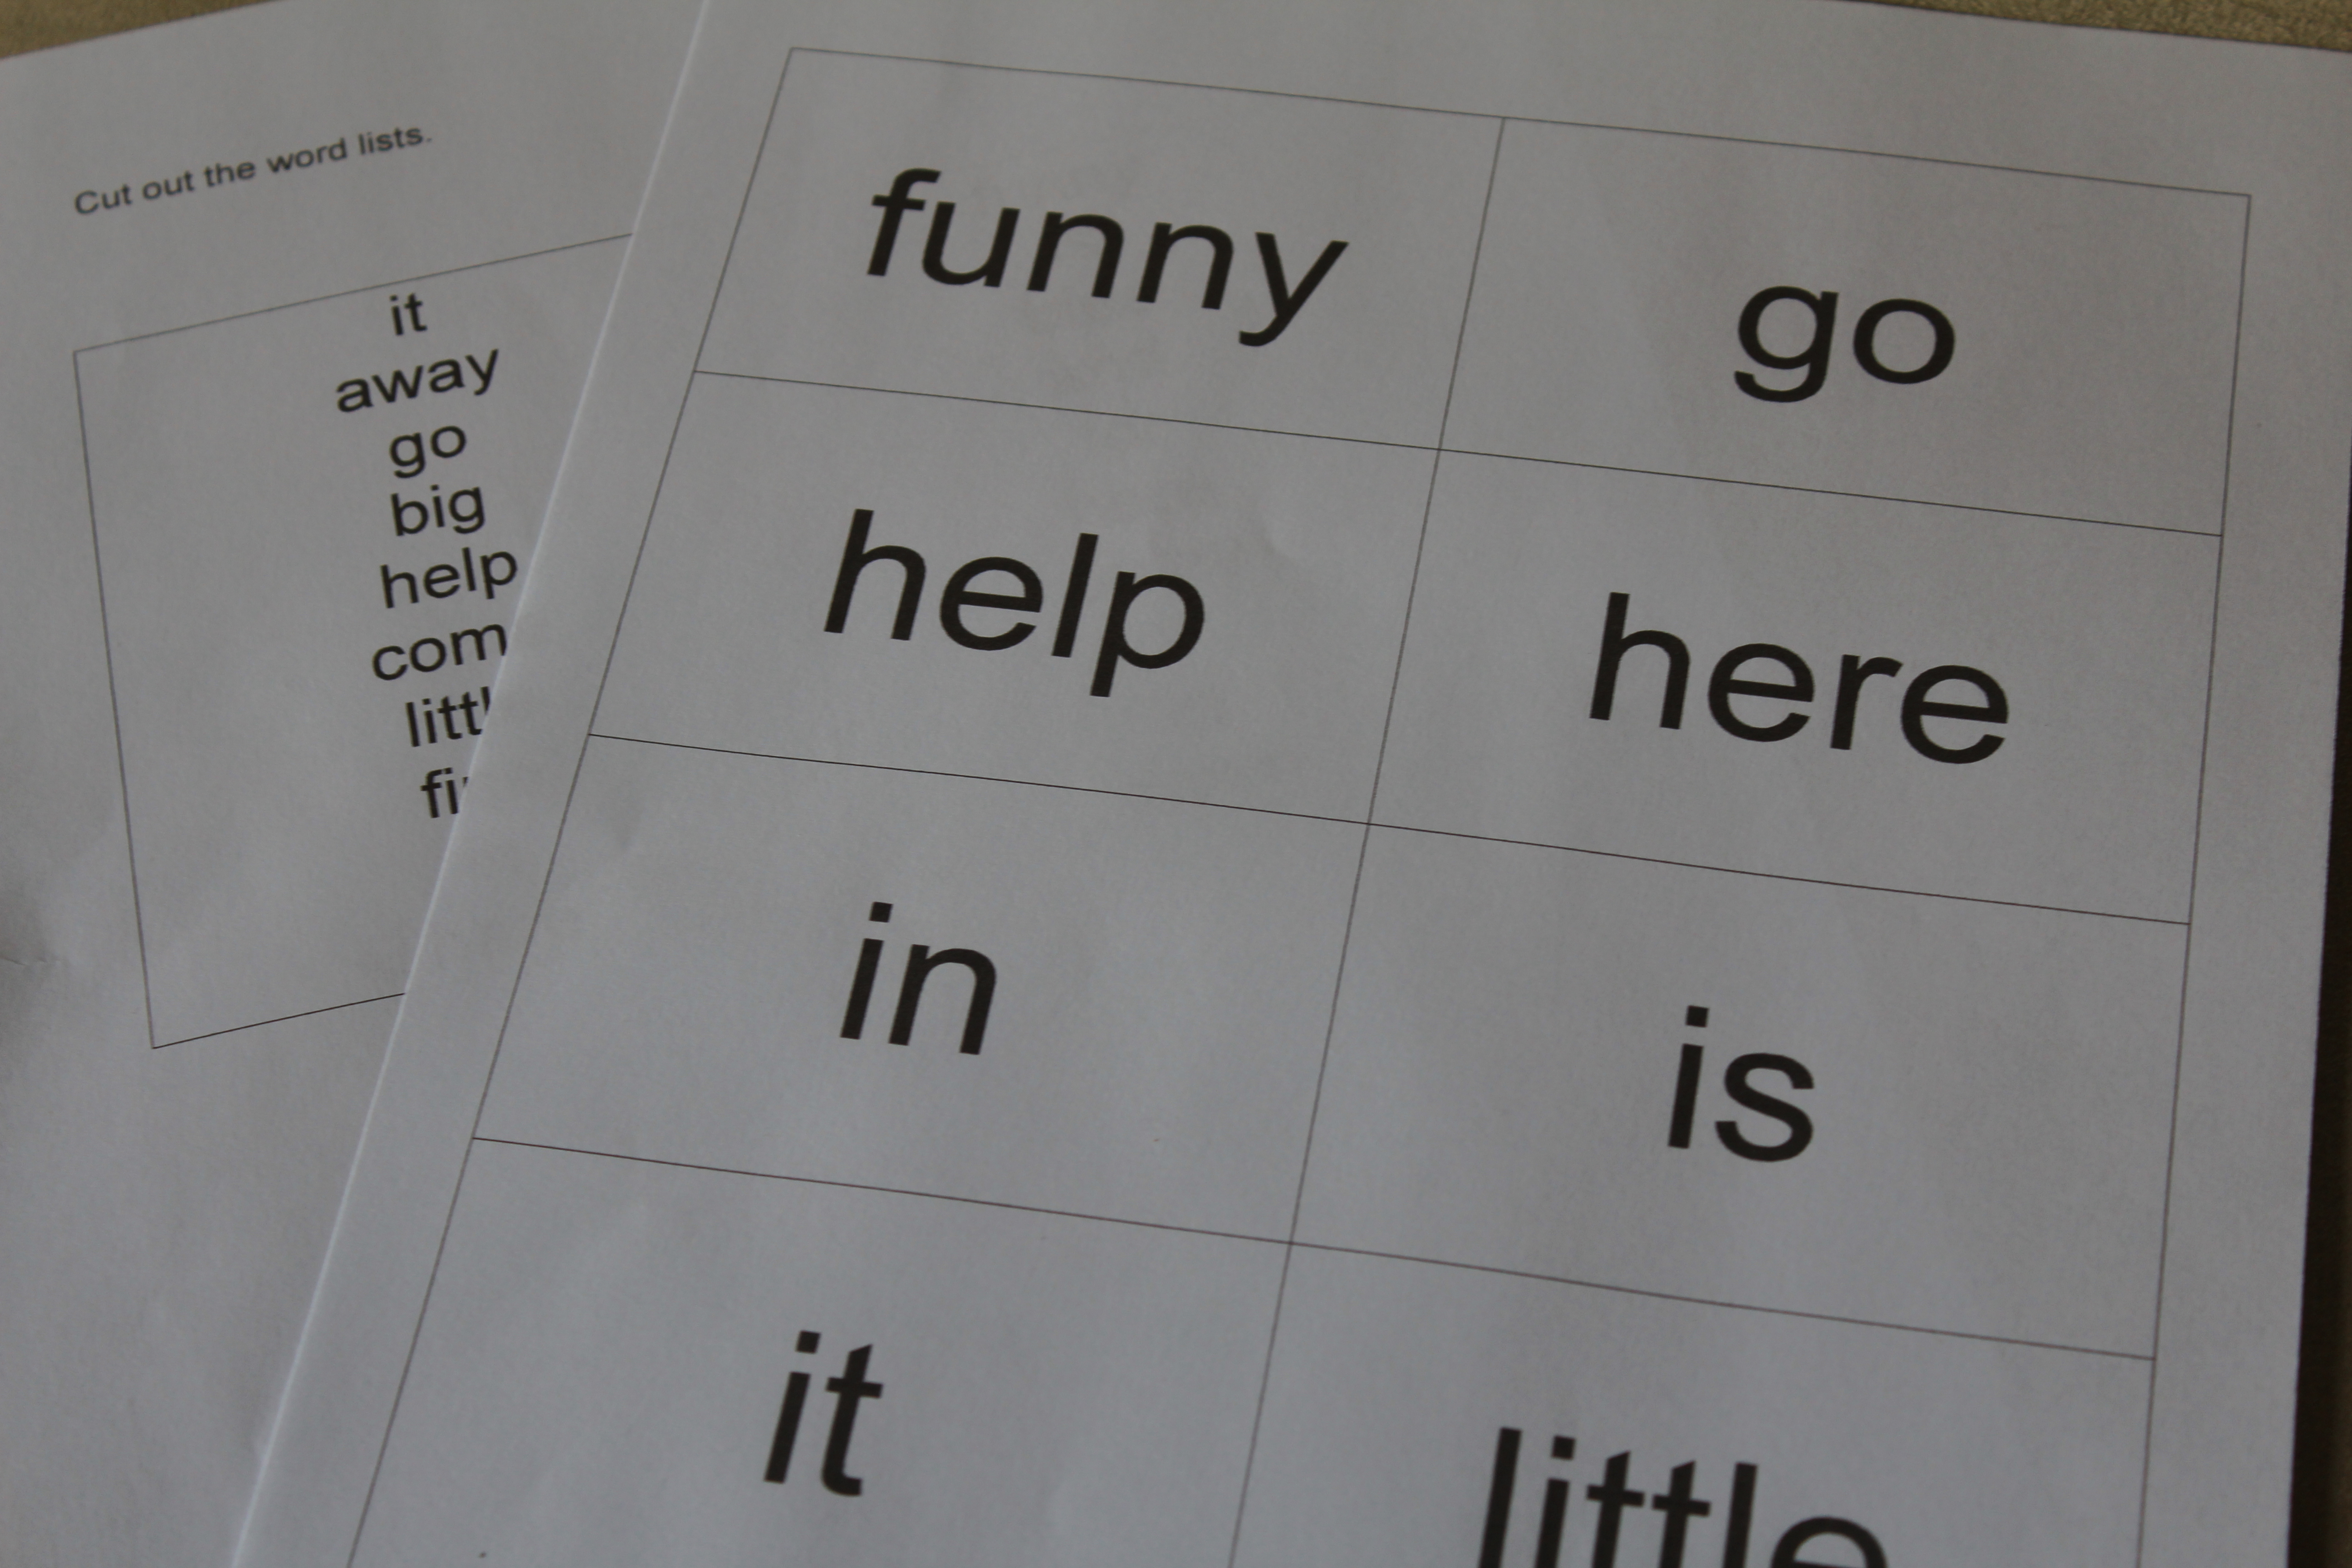
If you do not have letters at home, you can easily make paper letters by typing them into a Word document and cutting out each letter.

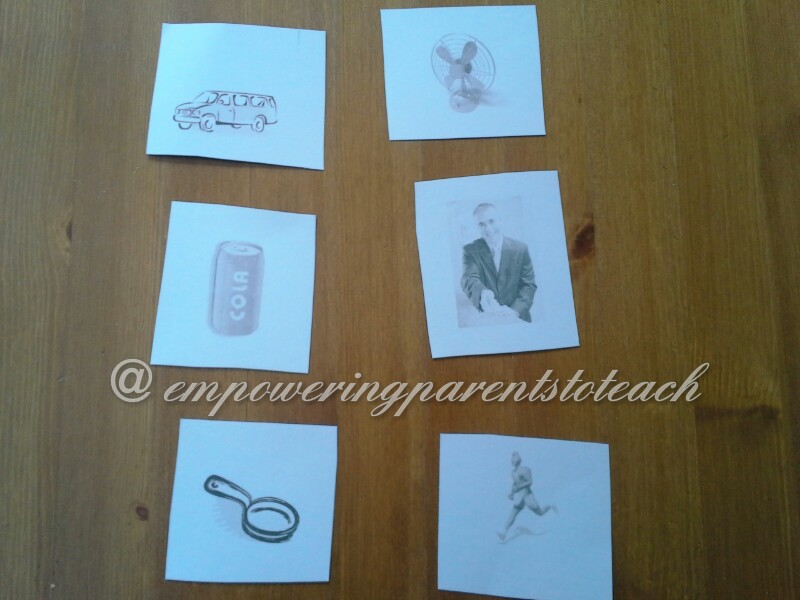
The cards look like this:


Empowering Parents to Teach- an word family cards

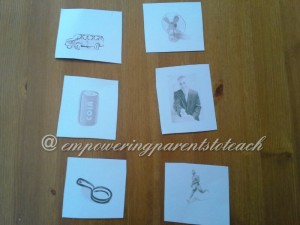
I made these cards using clip art pictures from Microsoft Word and printed them on card stock.

  1. If your child does not yet recognize the word “an”, explain to him or her that when the letters “a” and “n” are together they sound like “an”.
  2. Tell him or her that by using “an” we can make all kinds of new words that have the “an” sound at the end.
  3. Have your child pick a letter out of the cup. For example, they may pick up the “m”. Ask them what sound the “m” makes.
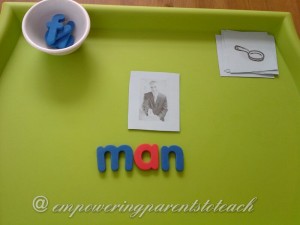
  4. Put the “m” in front of the “an” and say the “m” sound plus the “an” sound to demonstrate how you can add the sounds together to make the word, “man”.
  5. Show your child the pictures and ask him or her to match the picture to the word. This is helping your child connect the printed word to its meaning.
  6. Take away the onset, in this example it is the “m”, and leave the rime, “an”.
  7. Encourage your child to try the next letter in the bowl on his or her own. Have him or her say the new letter sound and add it to the “an” to make a new word.  Again, match the picture to the word.
  8. If it is a little bit difficult, you can model how to put the sounds together and match the picture. If they can understand what you are doing as you do it, they are learning from your modeling. If it is very difficult for him or her, then s/he may not be ready for this yet. Continue reading rhyming books until your child becomes more familiar with hearing rhyming patterns.

Empowering Parents to Teach-  an word family- man


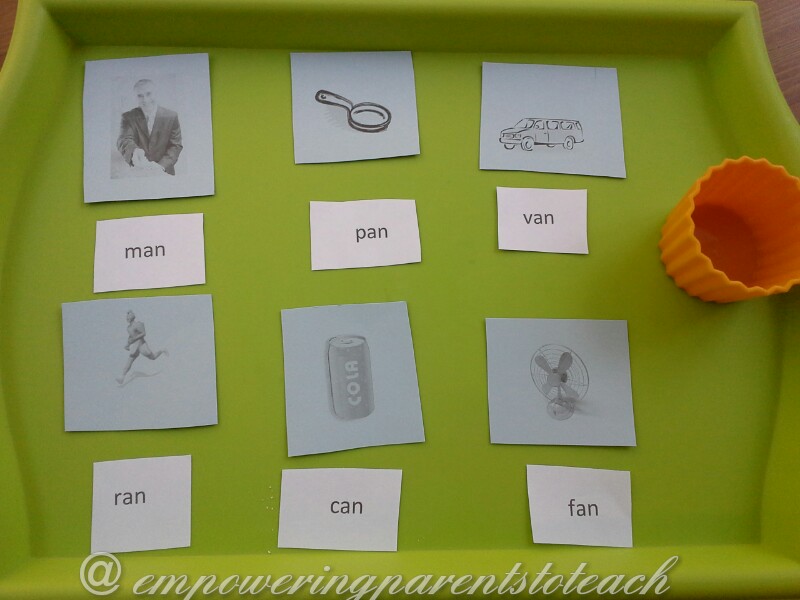
Activity #2: Match the Word and Picture

For this activity, the child will match the word with the picture. The first activity has the child constructing the words. This second activity encourages the child to recognize the written word.

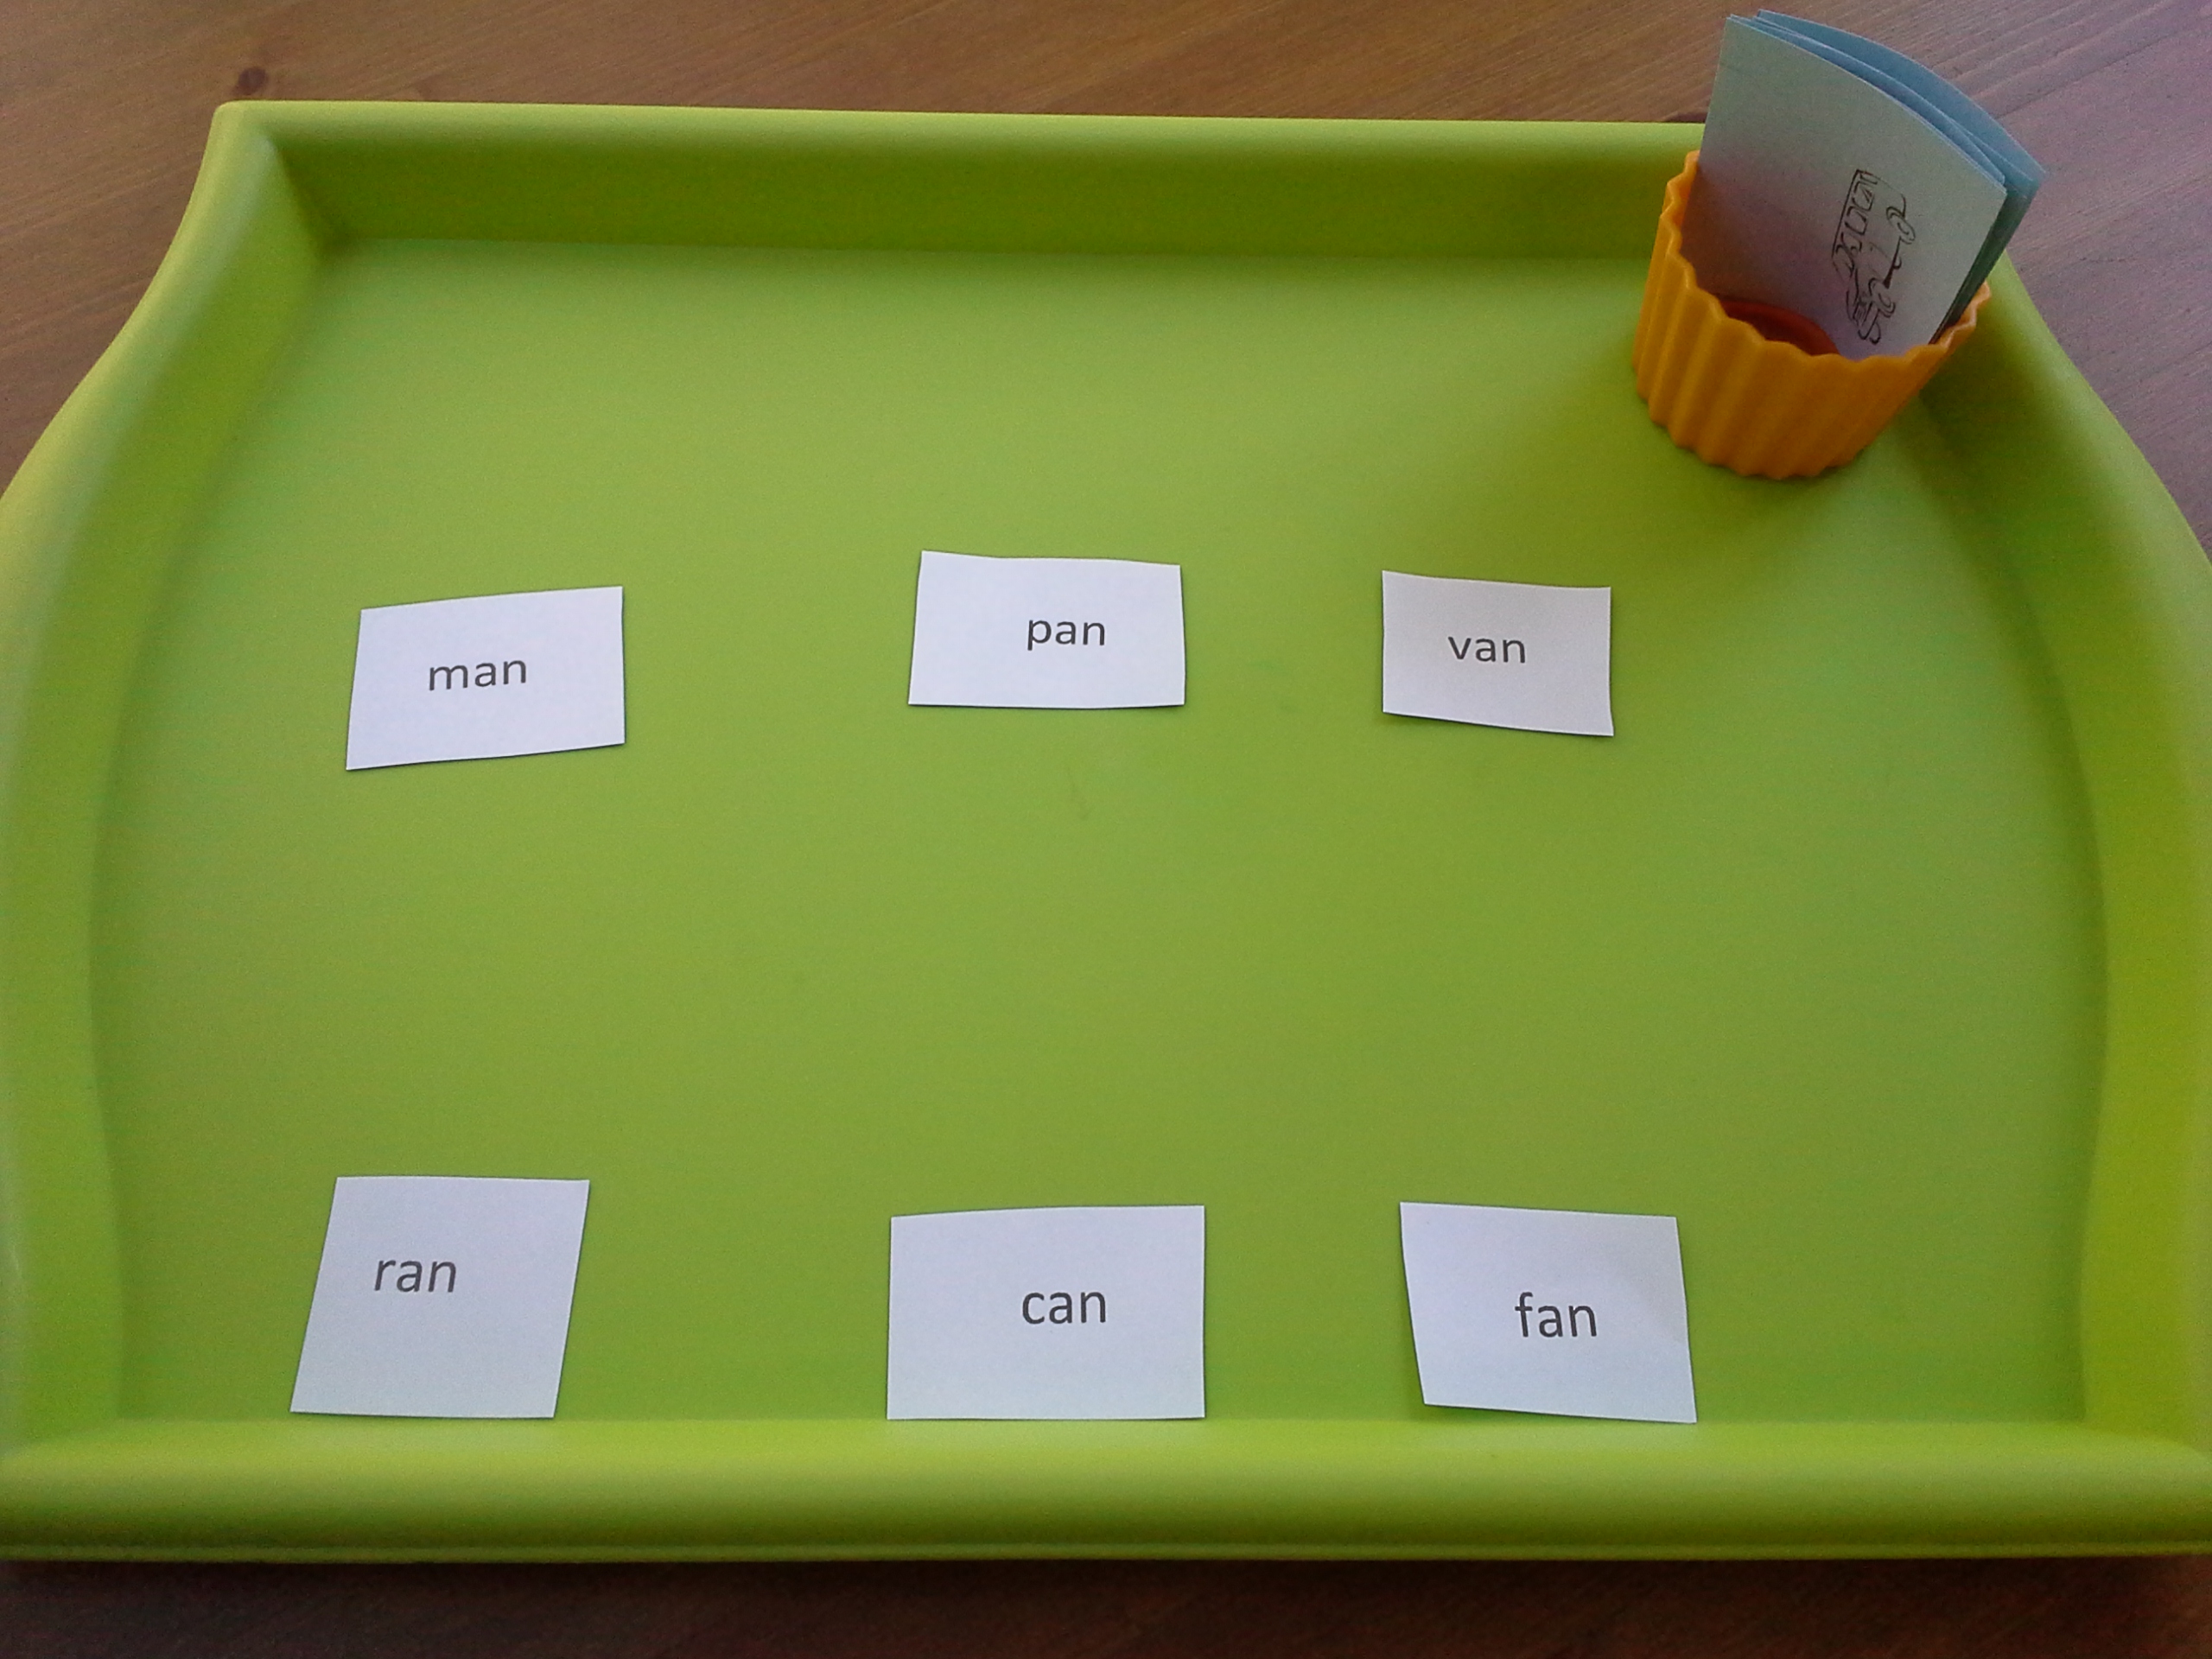
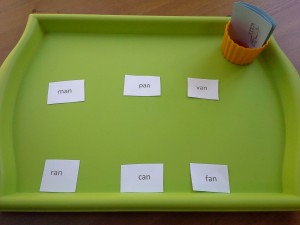
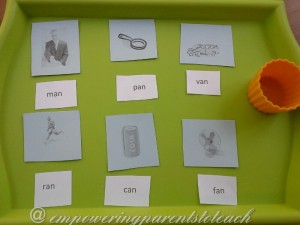
The tray is set up with all six words visible- man, van, can, ran, fan, pan. The picture cards are placed in a cup on the right hand side.


Empowering Parents to Teach- an word family matching setup


This activity is simple. You can do it one of two ways:

  1. Have the child pick a picture, say the word out loud and match the picture the corresponding word. OR
  2. Have the child read the word and then find the matching picture.

Empowering Parents to Teach- matching an words


If you choose to do both activities, I would do the first activity on one day and the second activity on the next day. You could do them both in one day, but I personally like splitting them into two days so that the child has time to reflect on the first lesson before doing the next one. You do not necessarily have to do them in a certain order. Every child is different, sometimes building the word helps them recognize the word and sometimes recognizing the word helps them build the word.


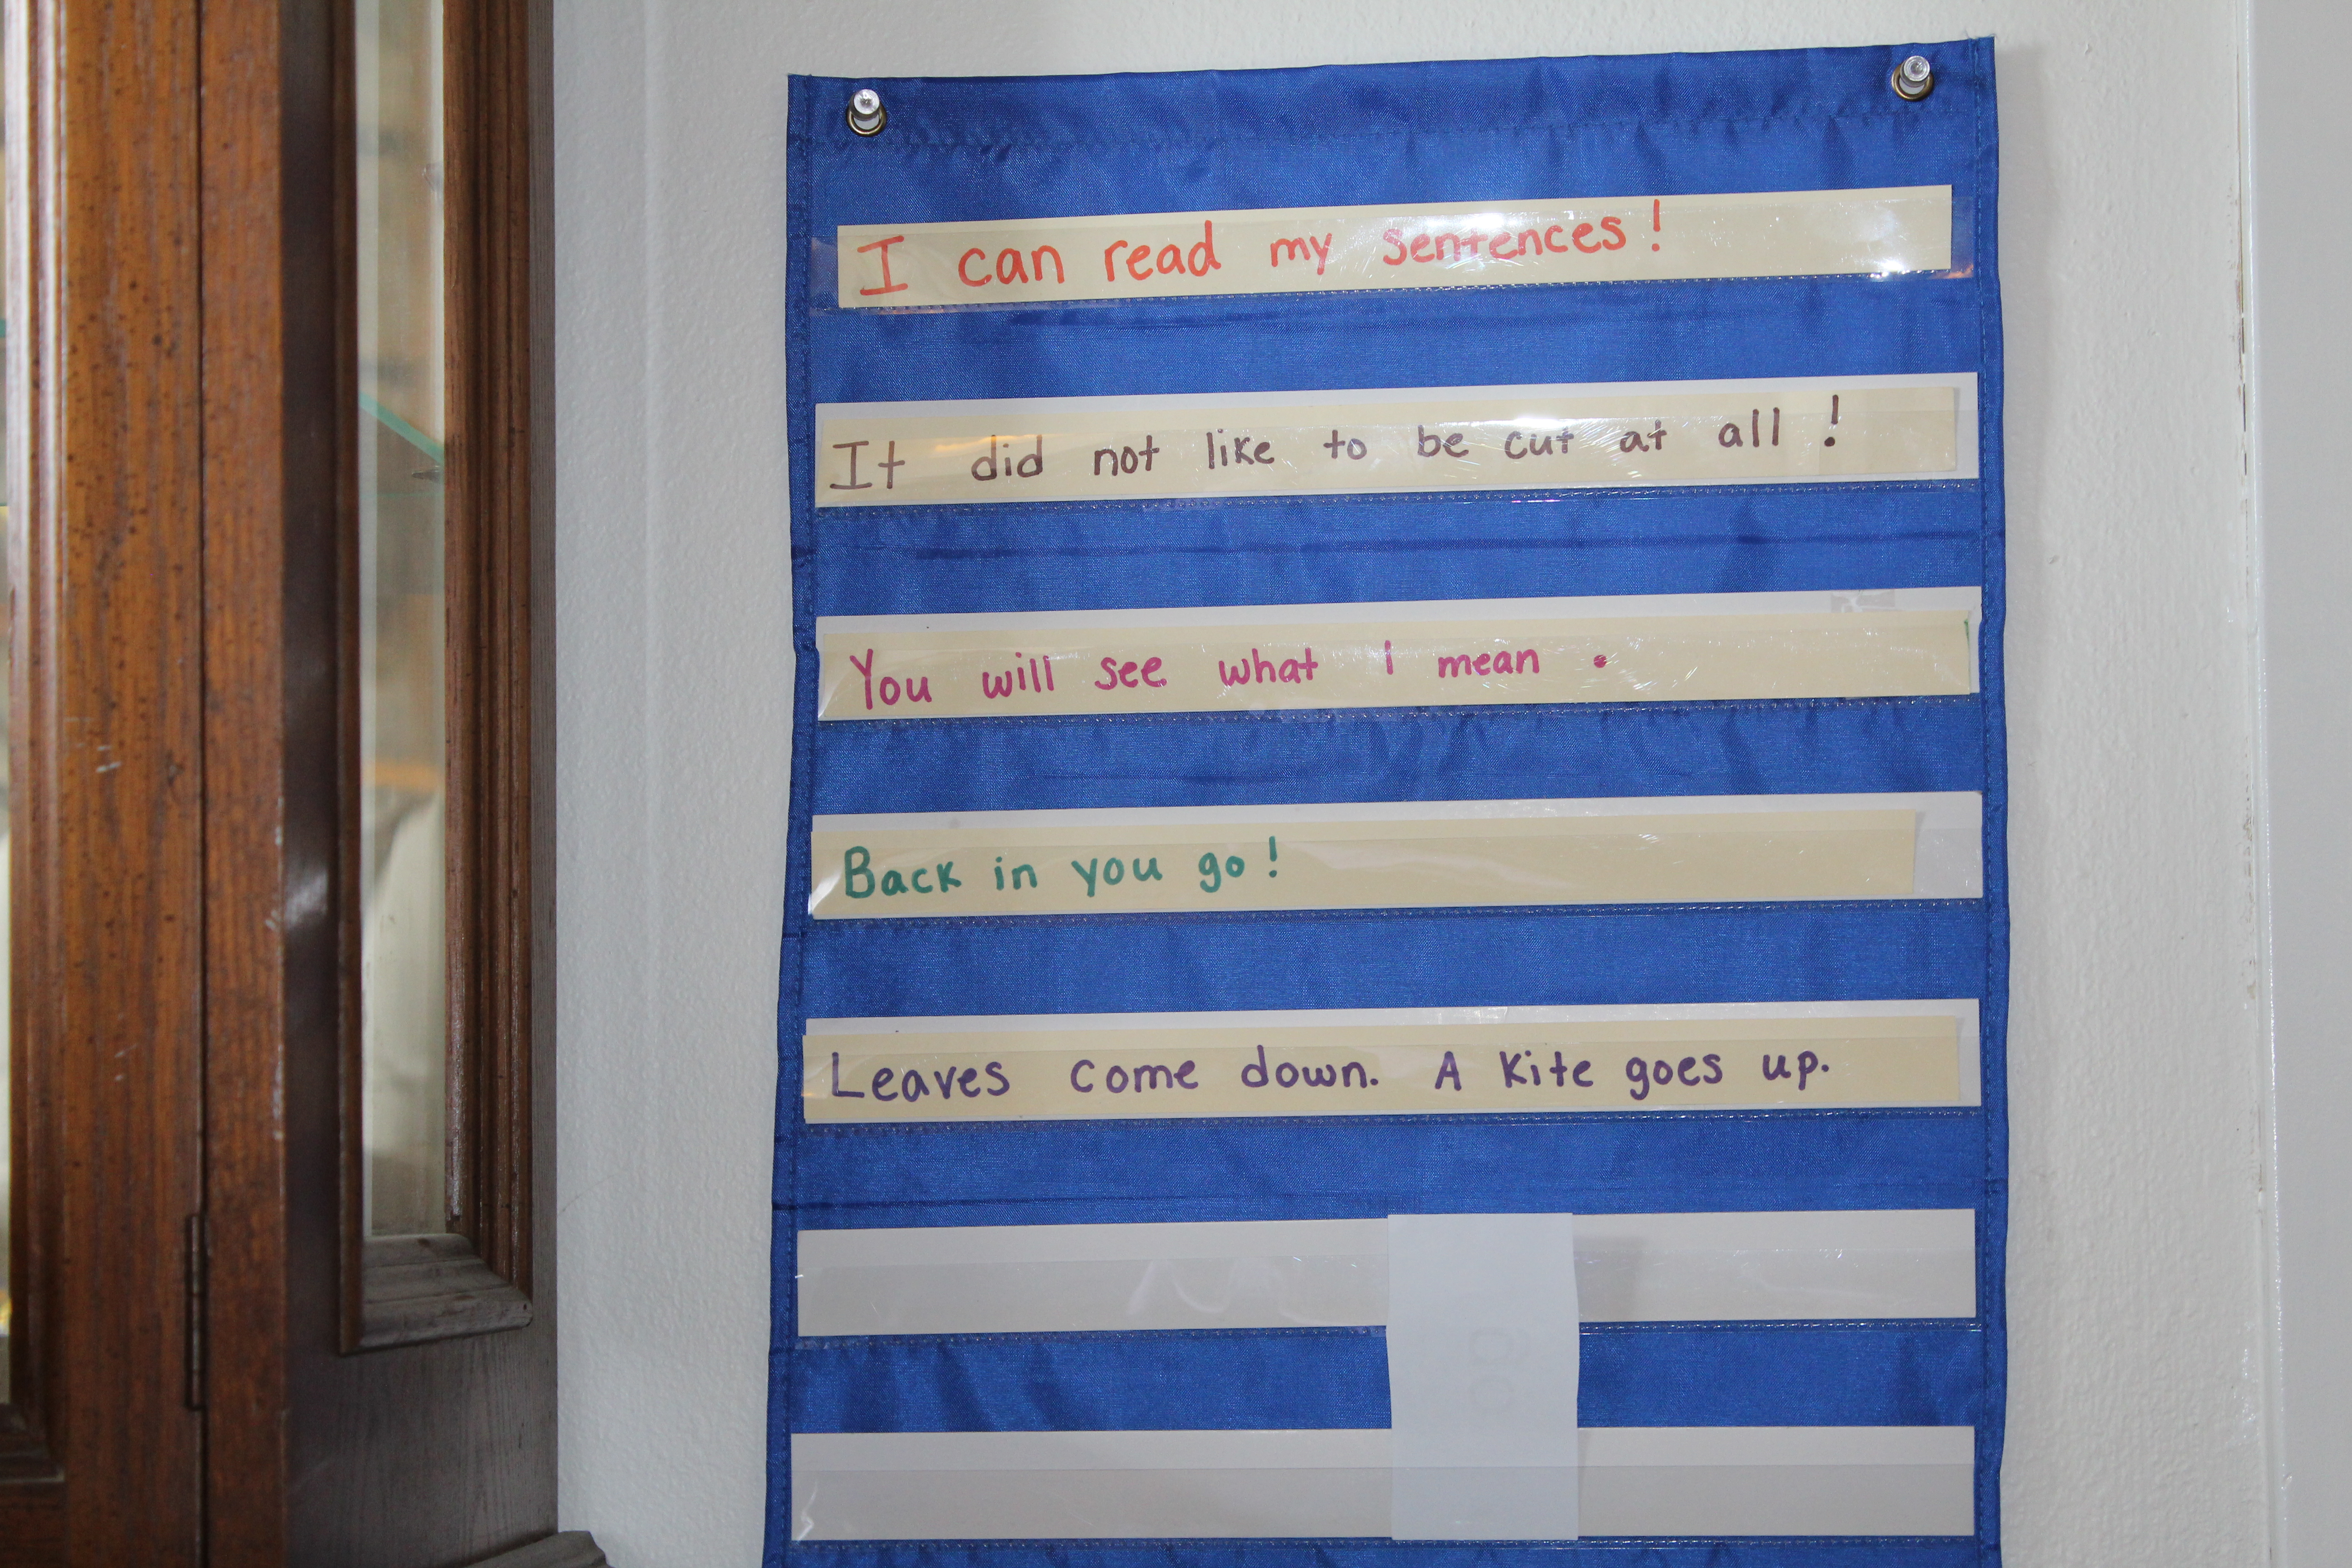
Activity #3: Easy Reader Book with -an Family

I found a fantastic website for FREE printable easy reader books: Twisty Noodle–  www.twistynoodle.com

They have an easy reader book for the -an family: Twisty Noodle’s -an book

For very beginning readers, this book has short sentences with a repeating pattern. Your child can read the book to you and s/he can even underline the “an” word in each sentence. This can be reread anytime!


Other ways to help with word families:

  1. When you are reading to your child point out words that rhyme.
  2. Have your child find the rhyming words in stories.
  3. Go on a word hunt in a book to see how many “an” words you can find! You can change this for any word family.
  4. As always, keep reading lots of books! While these activities isolated the words, hearing them in context reinforces understanding!


The more words your child learns to read by sight, the less “effort” reading becomes! By learning these common word structures they can quickly add more words into their sight recognition!

You can use these activities for any word family! If you want to teach your child more word families: List of the 37 most common word families

All of these activities only take a couple of minutes to do. I like to keep direct teaching at home brief! 

Linked to: Montessori Monday on Living Montessori Now

Montessori Monday


spelling with alphabet puzzle

Preparing for Curious Minds

How Can a Parent Encourage Self Directed Learning at Home?

My youngest child loves to play a make believe game where he is going after bad guys. He turns almost anything into a pretend weapon. Ask any parent of boys and they will tell you that even if you keep all play weapons out of your house, your son has the ability to pretend any toy is a weapon!


On this day, he and I were playing a game of chasing bad guys with his pretend weapon that he made out of Tinker Toys. He passed by his small child size table where his alphabet puzzle was placed. Upon looking at the puzzle, he started making the “B” sound. I stood back and watched to see what he was doing. I heard him saying the word, “bad”. He took the ‘B’ off of the puzzle and placed it on the table. I immediately realized that he was trying to spell the word “bad” as in “Bad Guys”, the name of his game. He continued to sound out the word attempting to figure out the next letters. This is a developing skill for him, he has not yet mastered this. He’s pretty good at hearing beginning and ending sounds on his own, but middle sounds are still tricky for him. Knowing this about him, I came to his side and modeled for him how we say each sound slowly and clearly so that we can figure out what letter to put next. With me saying the sounds that came next, he was able to match the sound to the letter and correctly spell the word. Obviously this doesn’t work for all words since there are so many special cases in English. In fact, he wanted to spell the word “guy” next so after he figured out the first letter I just told him the rest!


He was motivated to do this task because it helped him in the creation of the game he made up. He had a true purpose for using this skill so he had the motivation to learn it. The desire to learn came from him, not my desire for him to learn it. The difference between the two is huge. If I would have said, “Let’s go spell ‘Bad Guy'”, his level of motivation may not have been the same. He chose to spell the word, therefore he already entered the task with a real interest in understanding how to spell.


The parent role is not passive. In this example, my role started even before the event happened. By having the puzzle available to him whenever he needed it, I was helping to prepare his environment with letters that he can move whenever he wanted. Once he started the task, my role was to help him when it was appropriate. In this case, I modeled for him how to sound out a word to spell it. It is always a matter of judgement when we should step in and help or let them be to figure it out on their own.


Children are curious. If you prepare their environment and help them when they need it, you are guiding their  learning. Observe your children. What interests them? Is there something they have never tried before? This will help you decide what are good tools, toys, pictures, and objects to have in your house to pique their curiosity!


This example was how I helped prepare the home environment with engaging toys that serve multiple purposes. To keep this in context, remember– exploring the outdoor environment is incredibly enriching, complex, and open ended (meaning there is more that one way to play). Free play with in a safe environment is essential to their development also!