Empowering Parents To Teach- Ninja math

Calling All Ninjas! Nine Ninja Books and Fun Math (and Motor) Activity

Do you have a child that loves ninjas or martial arts?  This is the place for you. I have nine awesome books to delight your little one and a fun way to incorporate math into martial arts. Get ready to turn your child into a math ninja!


*Note: This post contains affiliate links.


First, get your little ninja inspired by reading one of these stories:

Ninja! by Arree Chung

Ninja Bunny by Jennifer Gray Olson


Ninja Cowboy Bear Presents the Way of the Ninja by David Bruins


Dojo Daycare by Chris Tougas

Nighttime Ninja by Barbara DaCosta


Wink: The Ninja Who Wanted to be Noticed by J.C. Philipps


Ninja Boy Goes to School by N.D. Wilson


Little Kunoichi, The Ninja Girl by Sanae Ishida

My Grandma’s A Ninja by Todd Tarpley
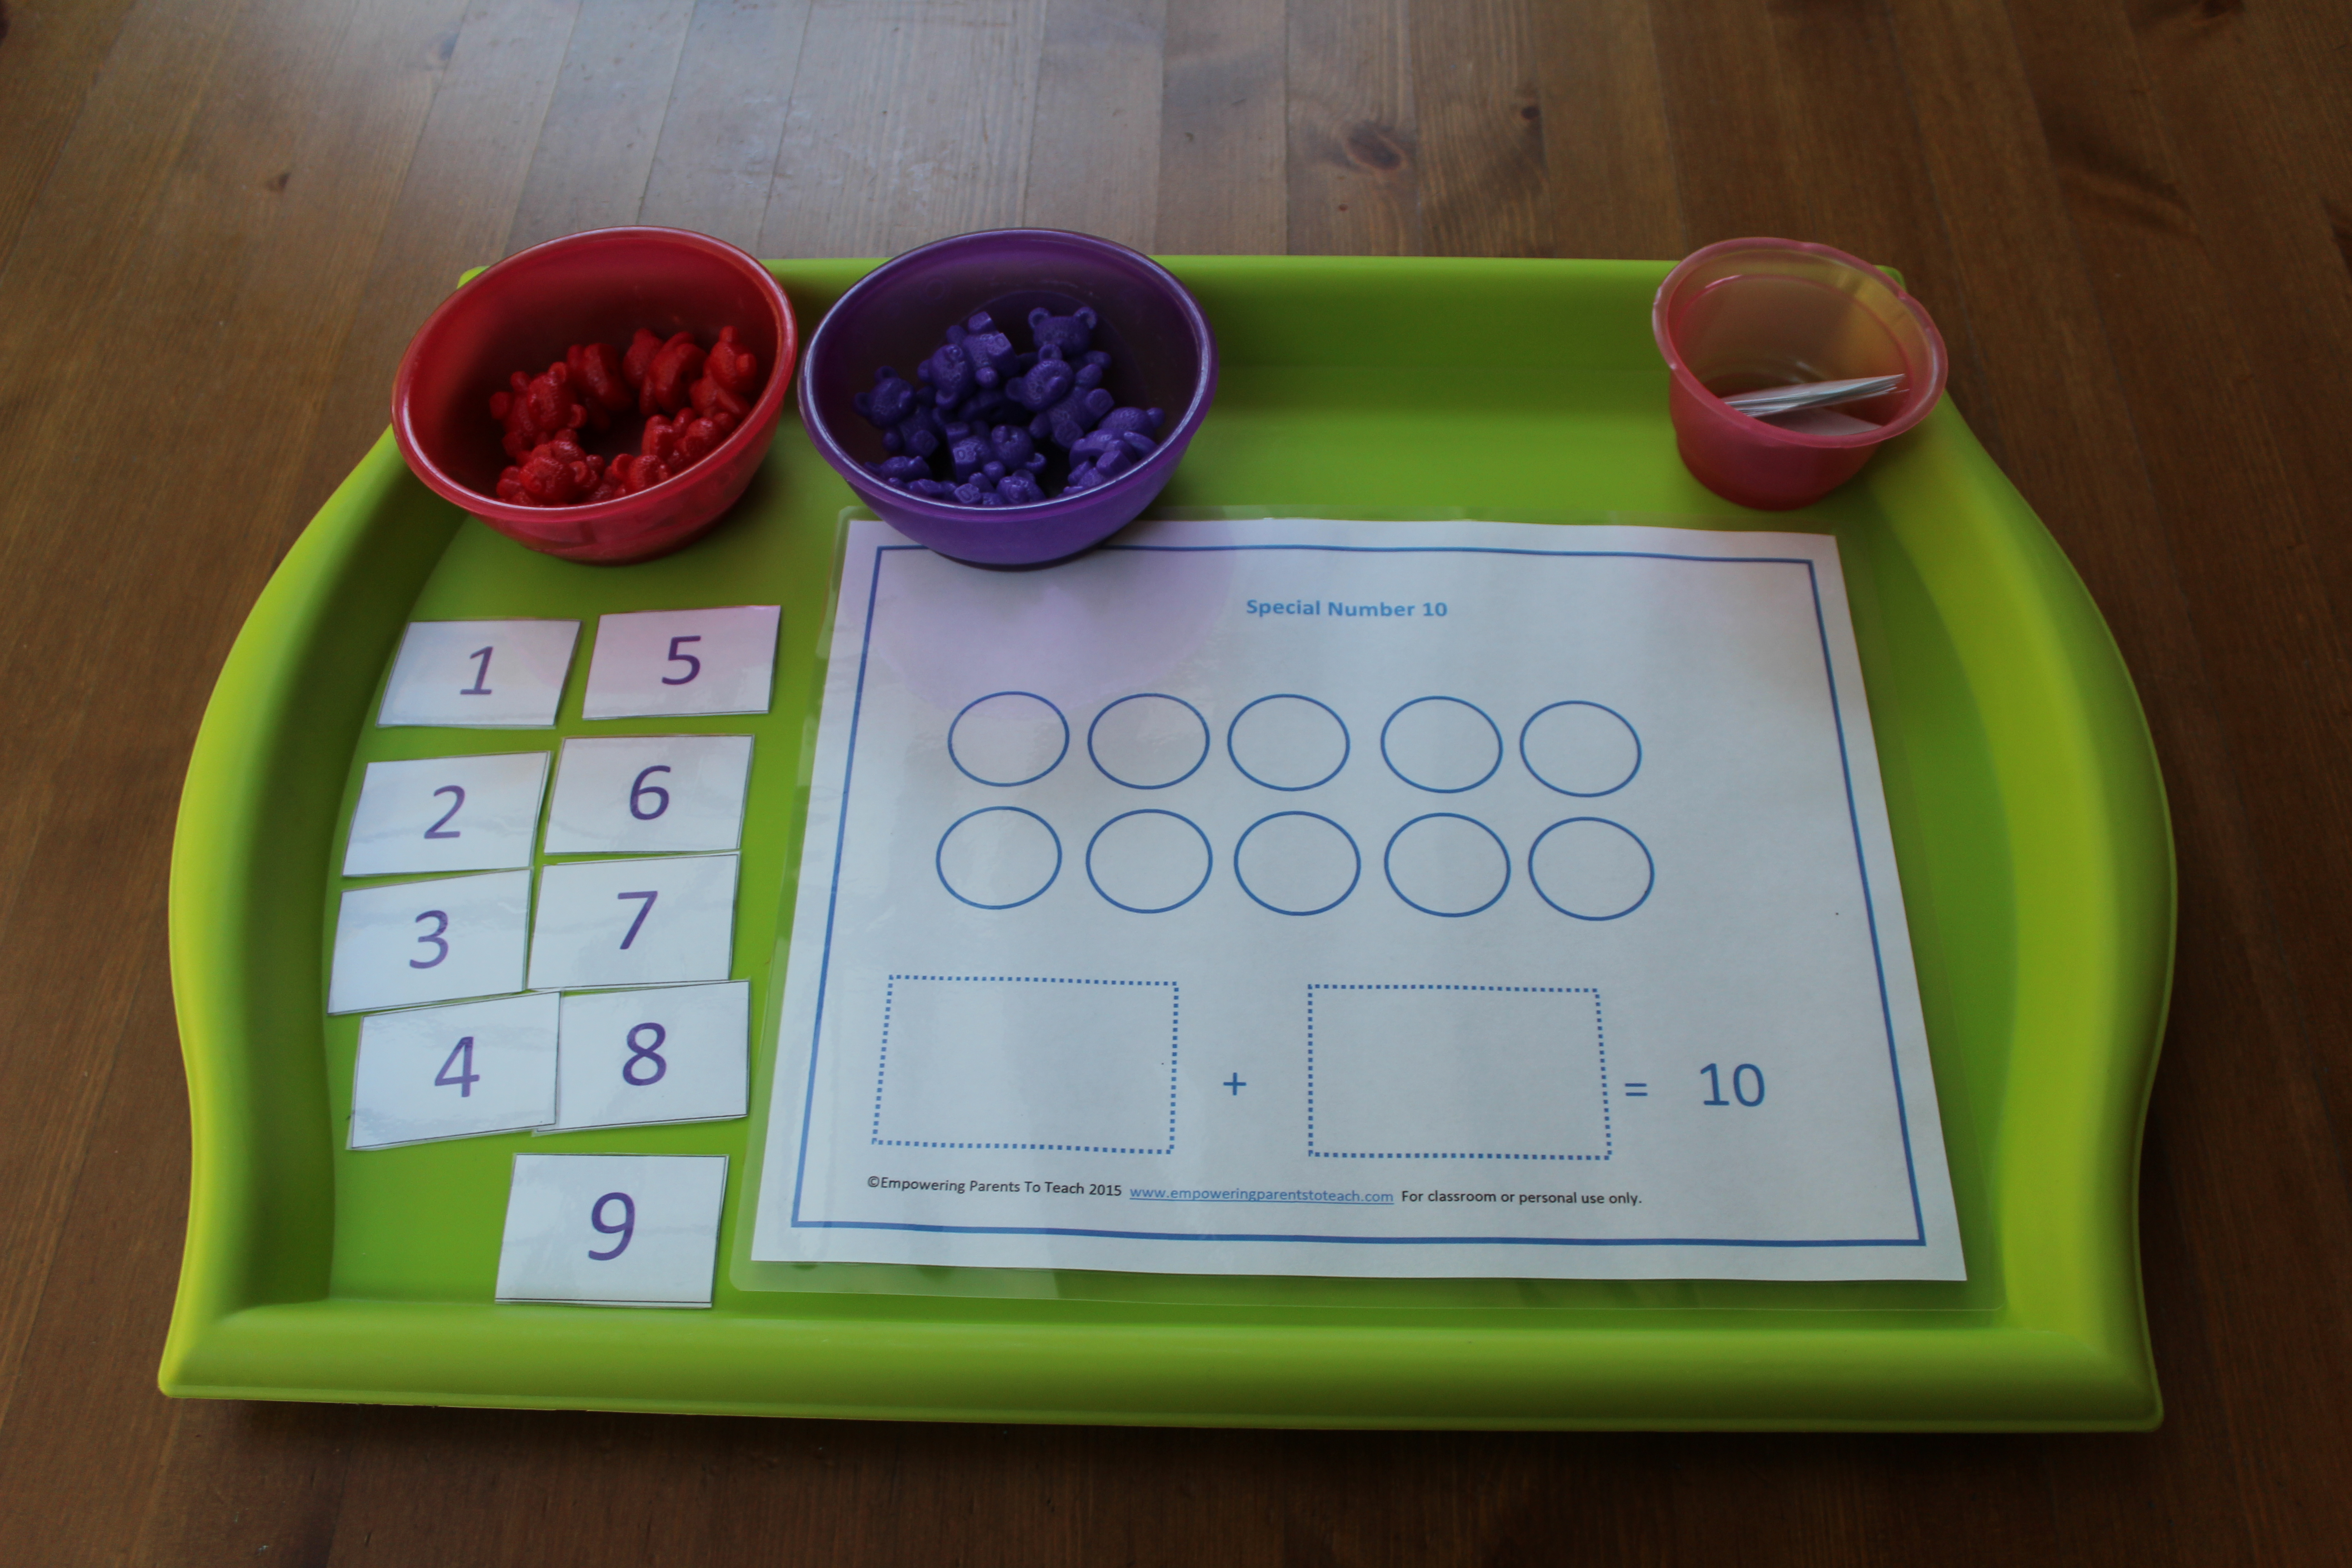
Activity:

Since ninjas must be agile, strong, and mentally sharp they must train their bodies and minds. This activity will have your child feeling like a ninja in training.


Materials:

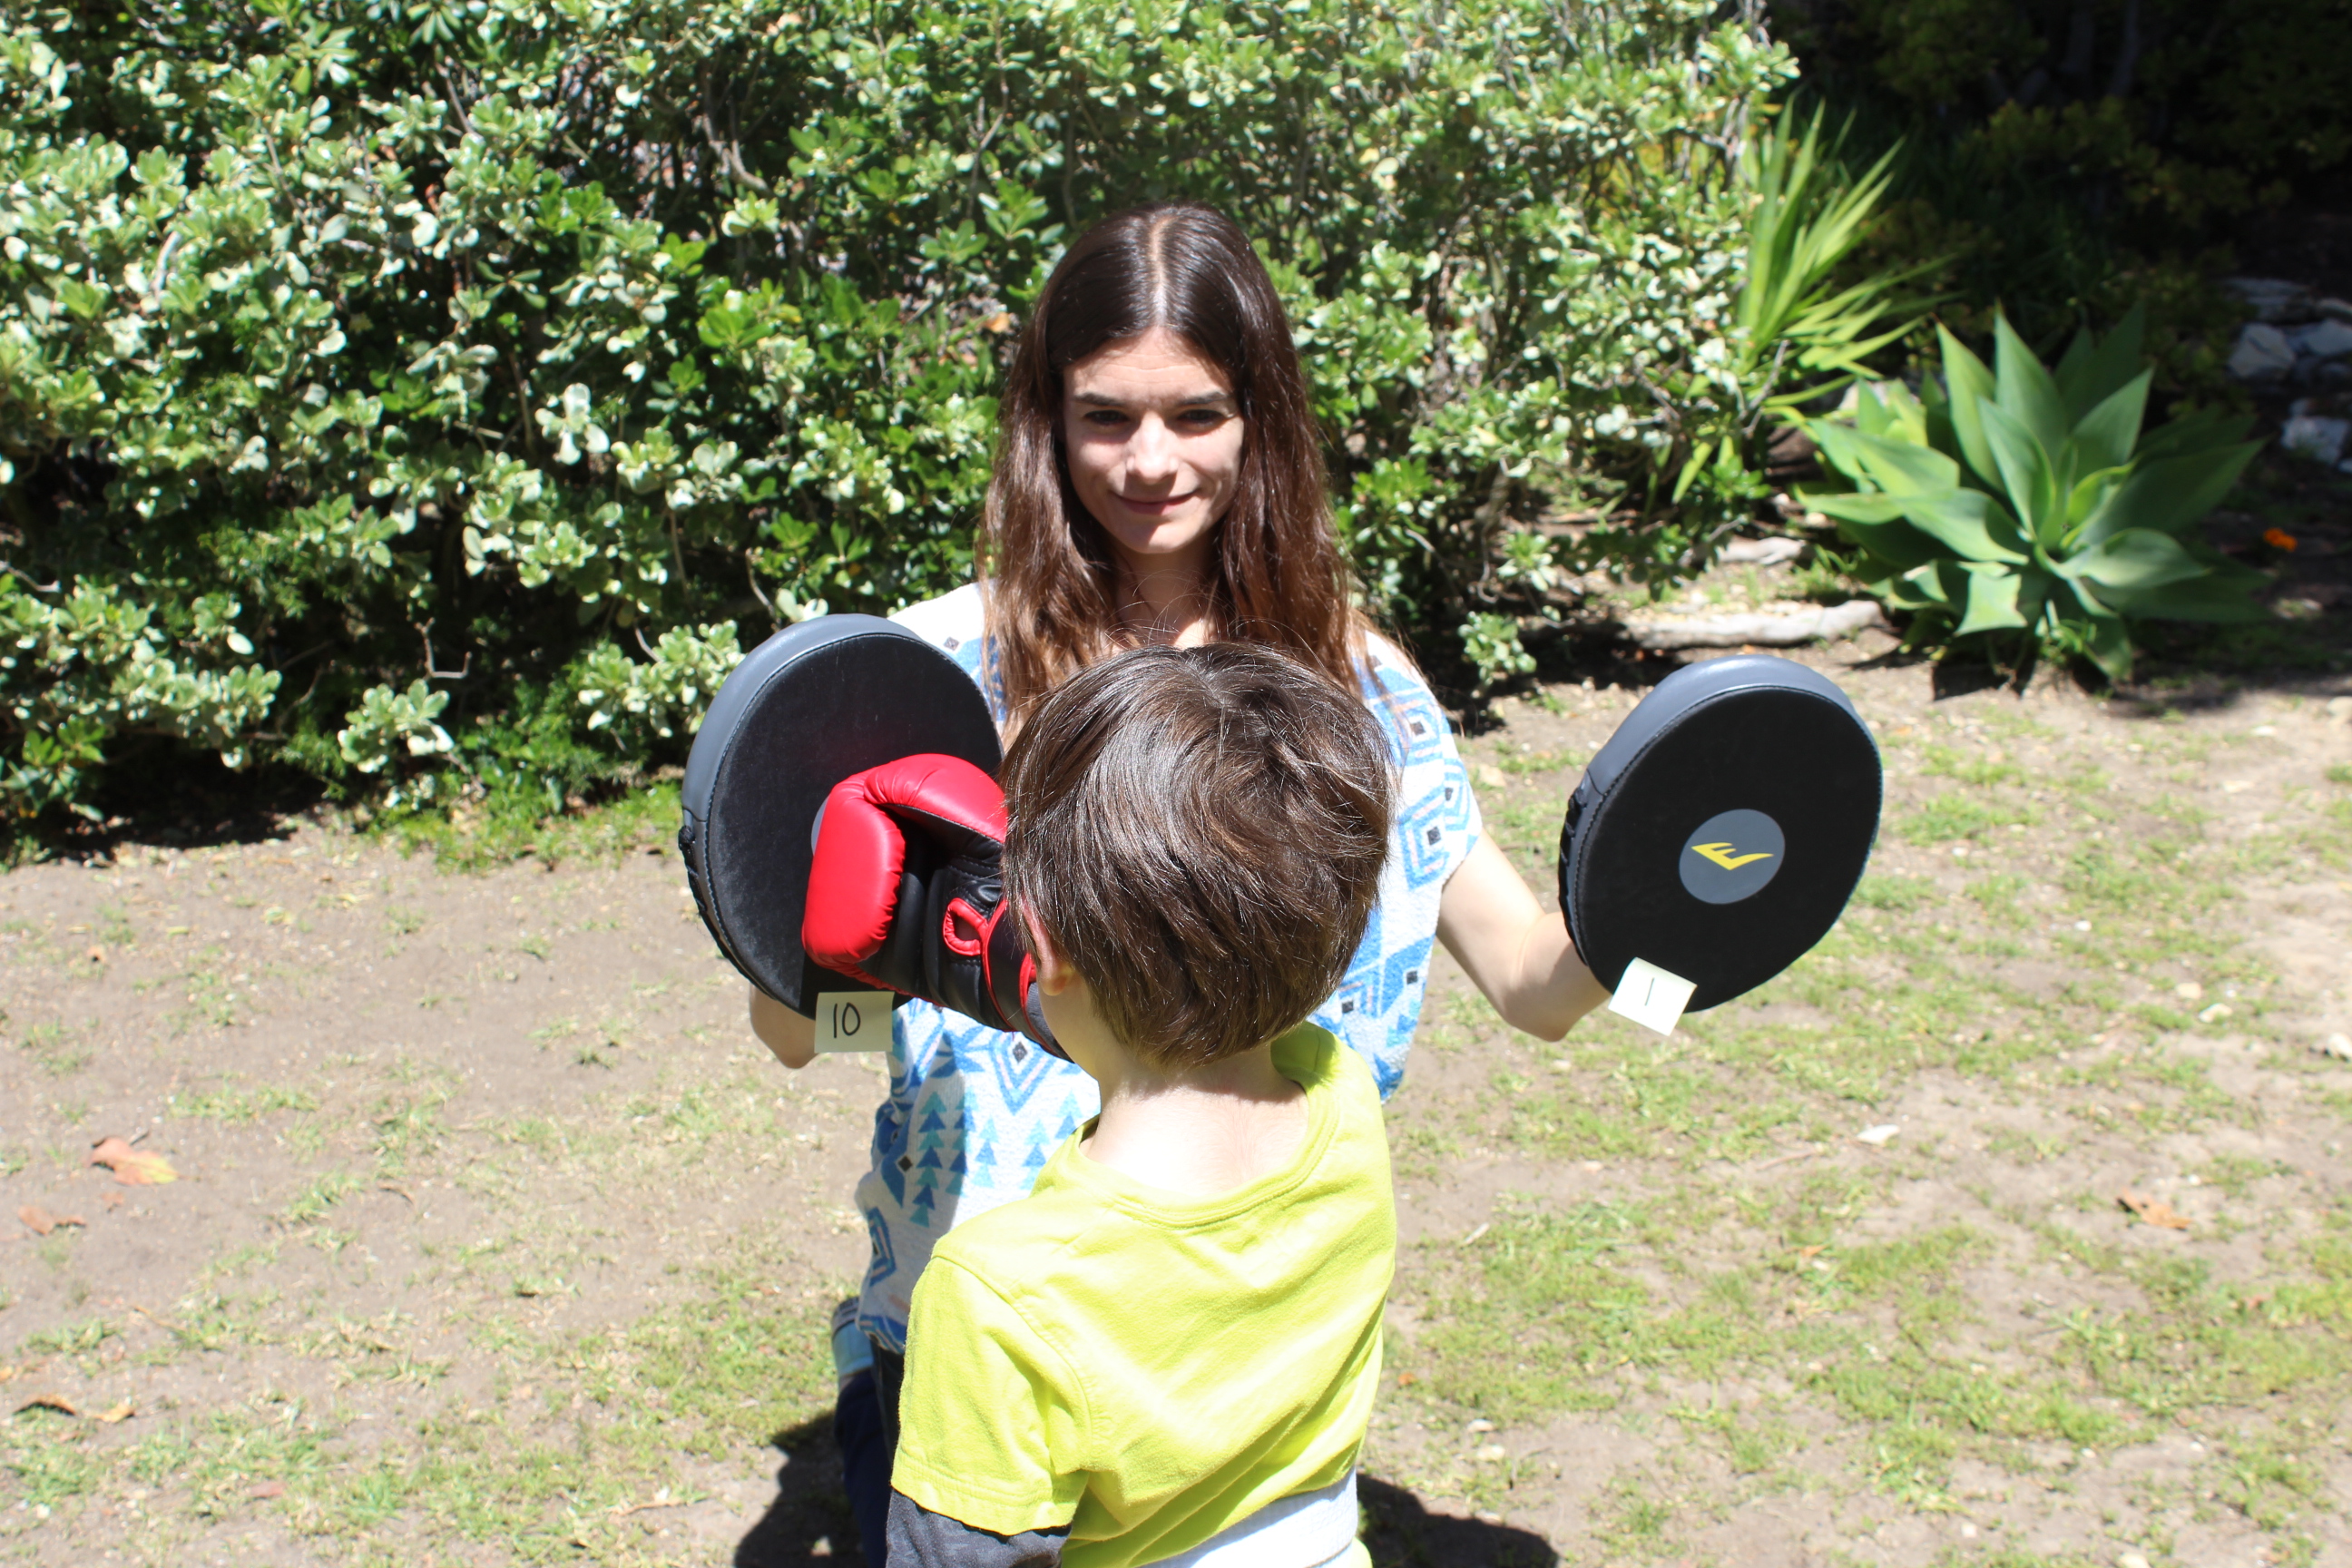
There are two options for materials. You can easily use stuff around your home or you can use martial arts gear.  To illustrate the activity, I used store bought gear. We had the items at home already!


Option 1- Store bought gear:

Option 2- Things around your home:

  • Small square pillows to punch
  • Bare hands
  • Post-it notes (for the older kid version of this activity)


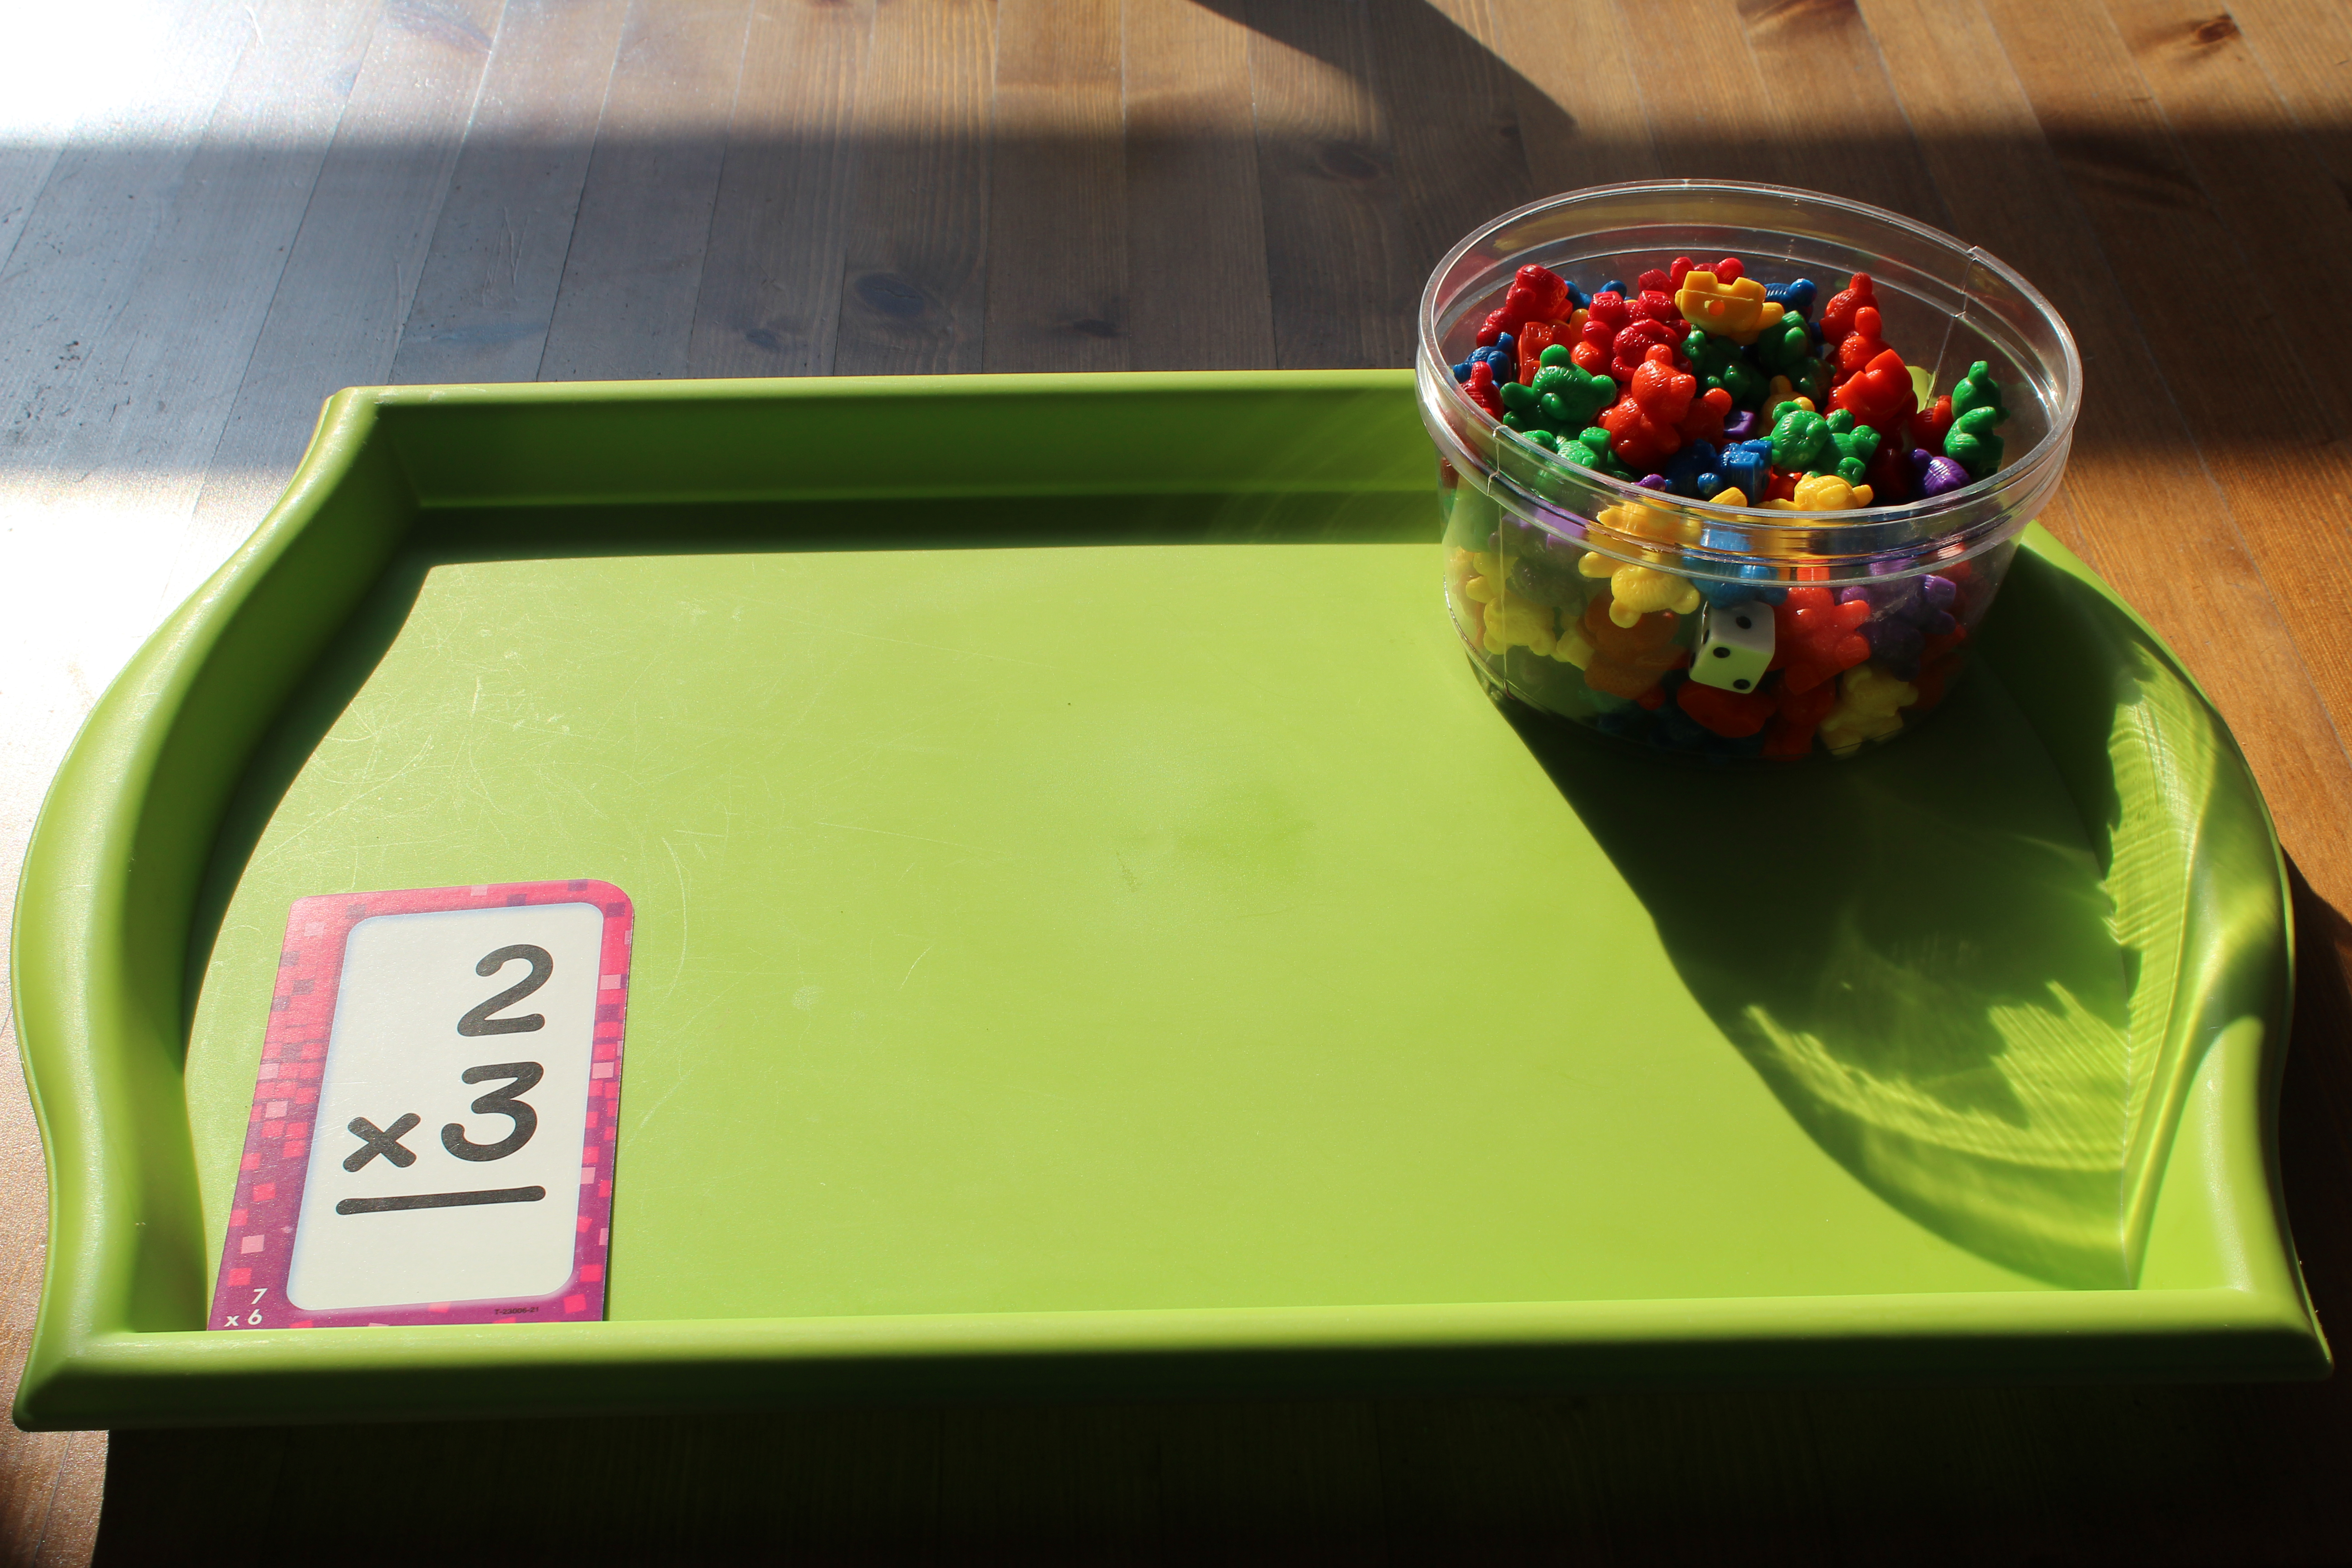
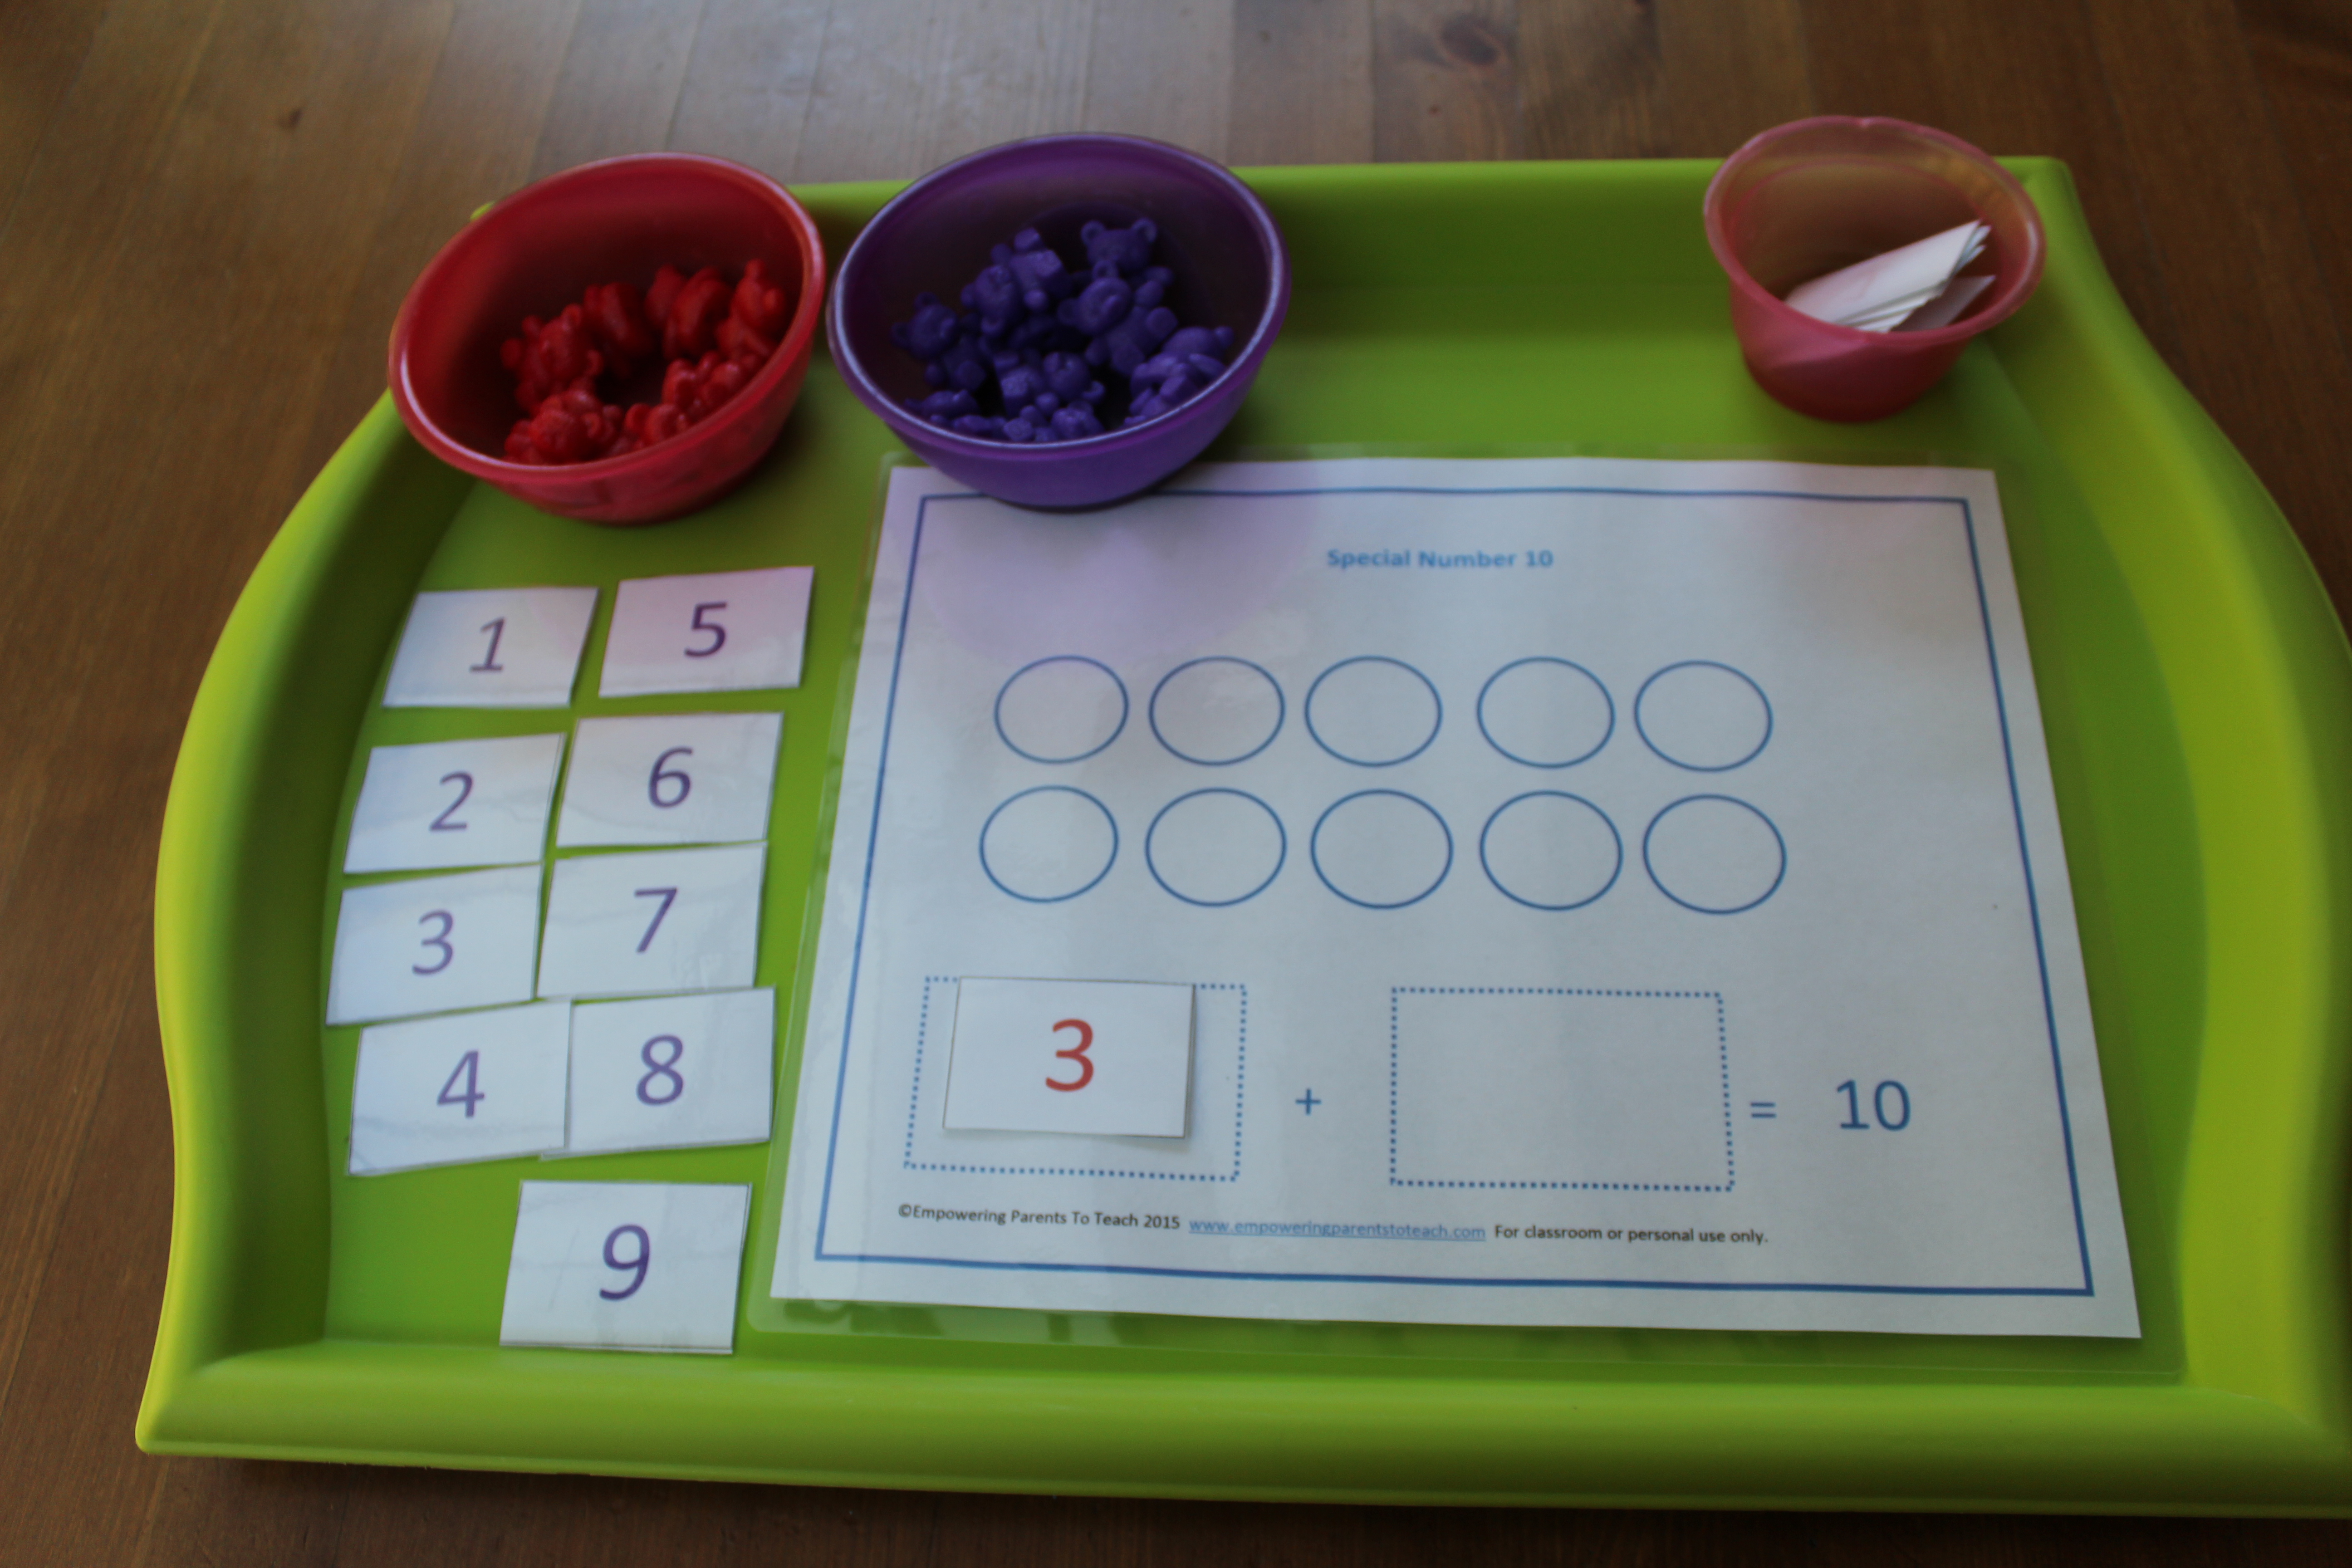
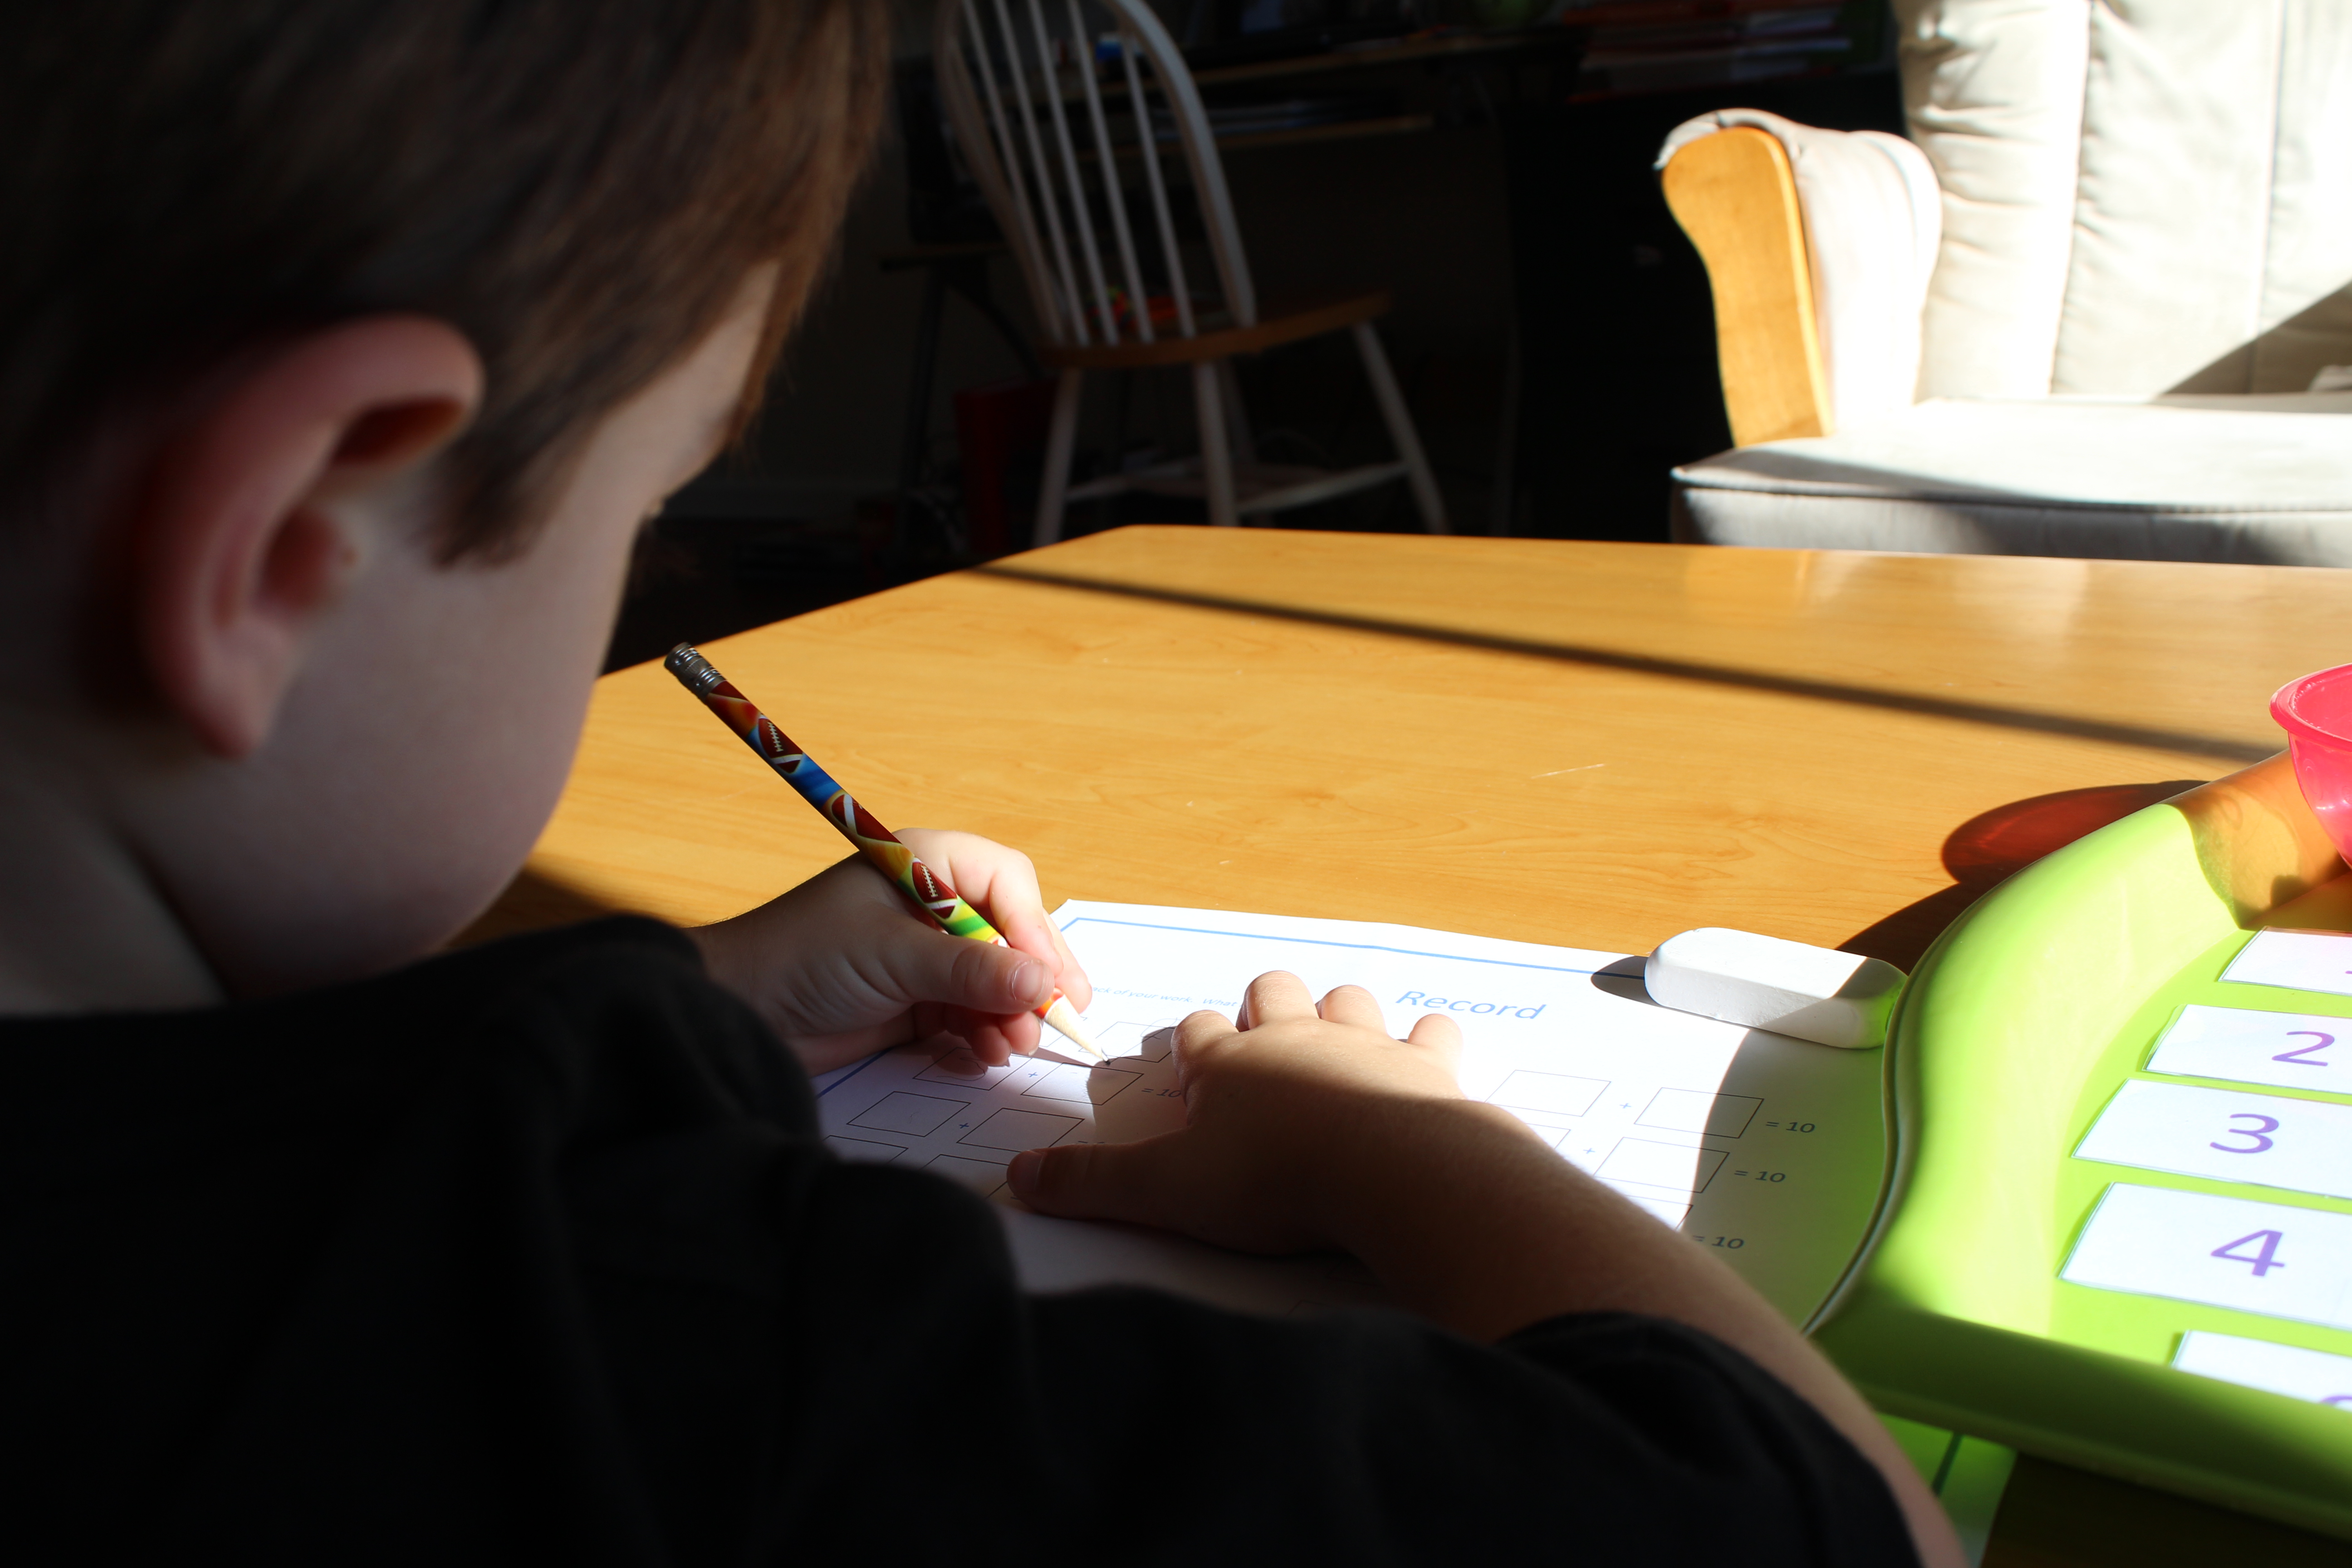
This activity is so simple! Give your child a math fact that he or she can do in his or her head. It may be simple addition, subtraction, multiplication, etc.; It all depends on your child’s math level. When your child provides the answer he or she must punch the bags in an alternating fashion the same number of times as their answer. If the answer was seven, your child would punch the bags seven times.


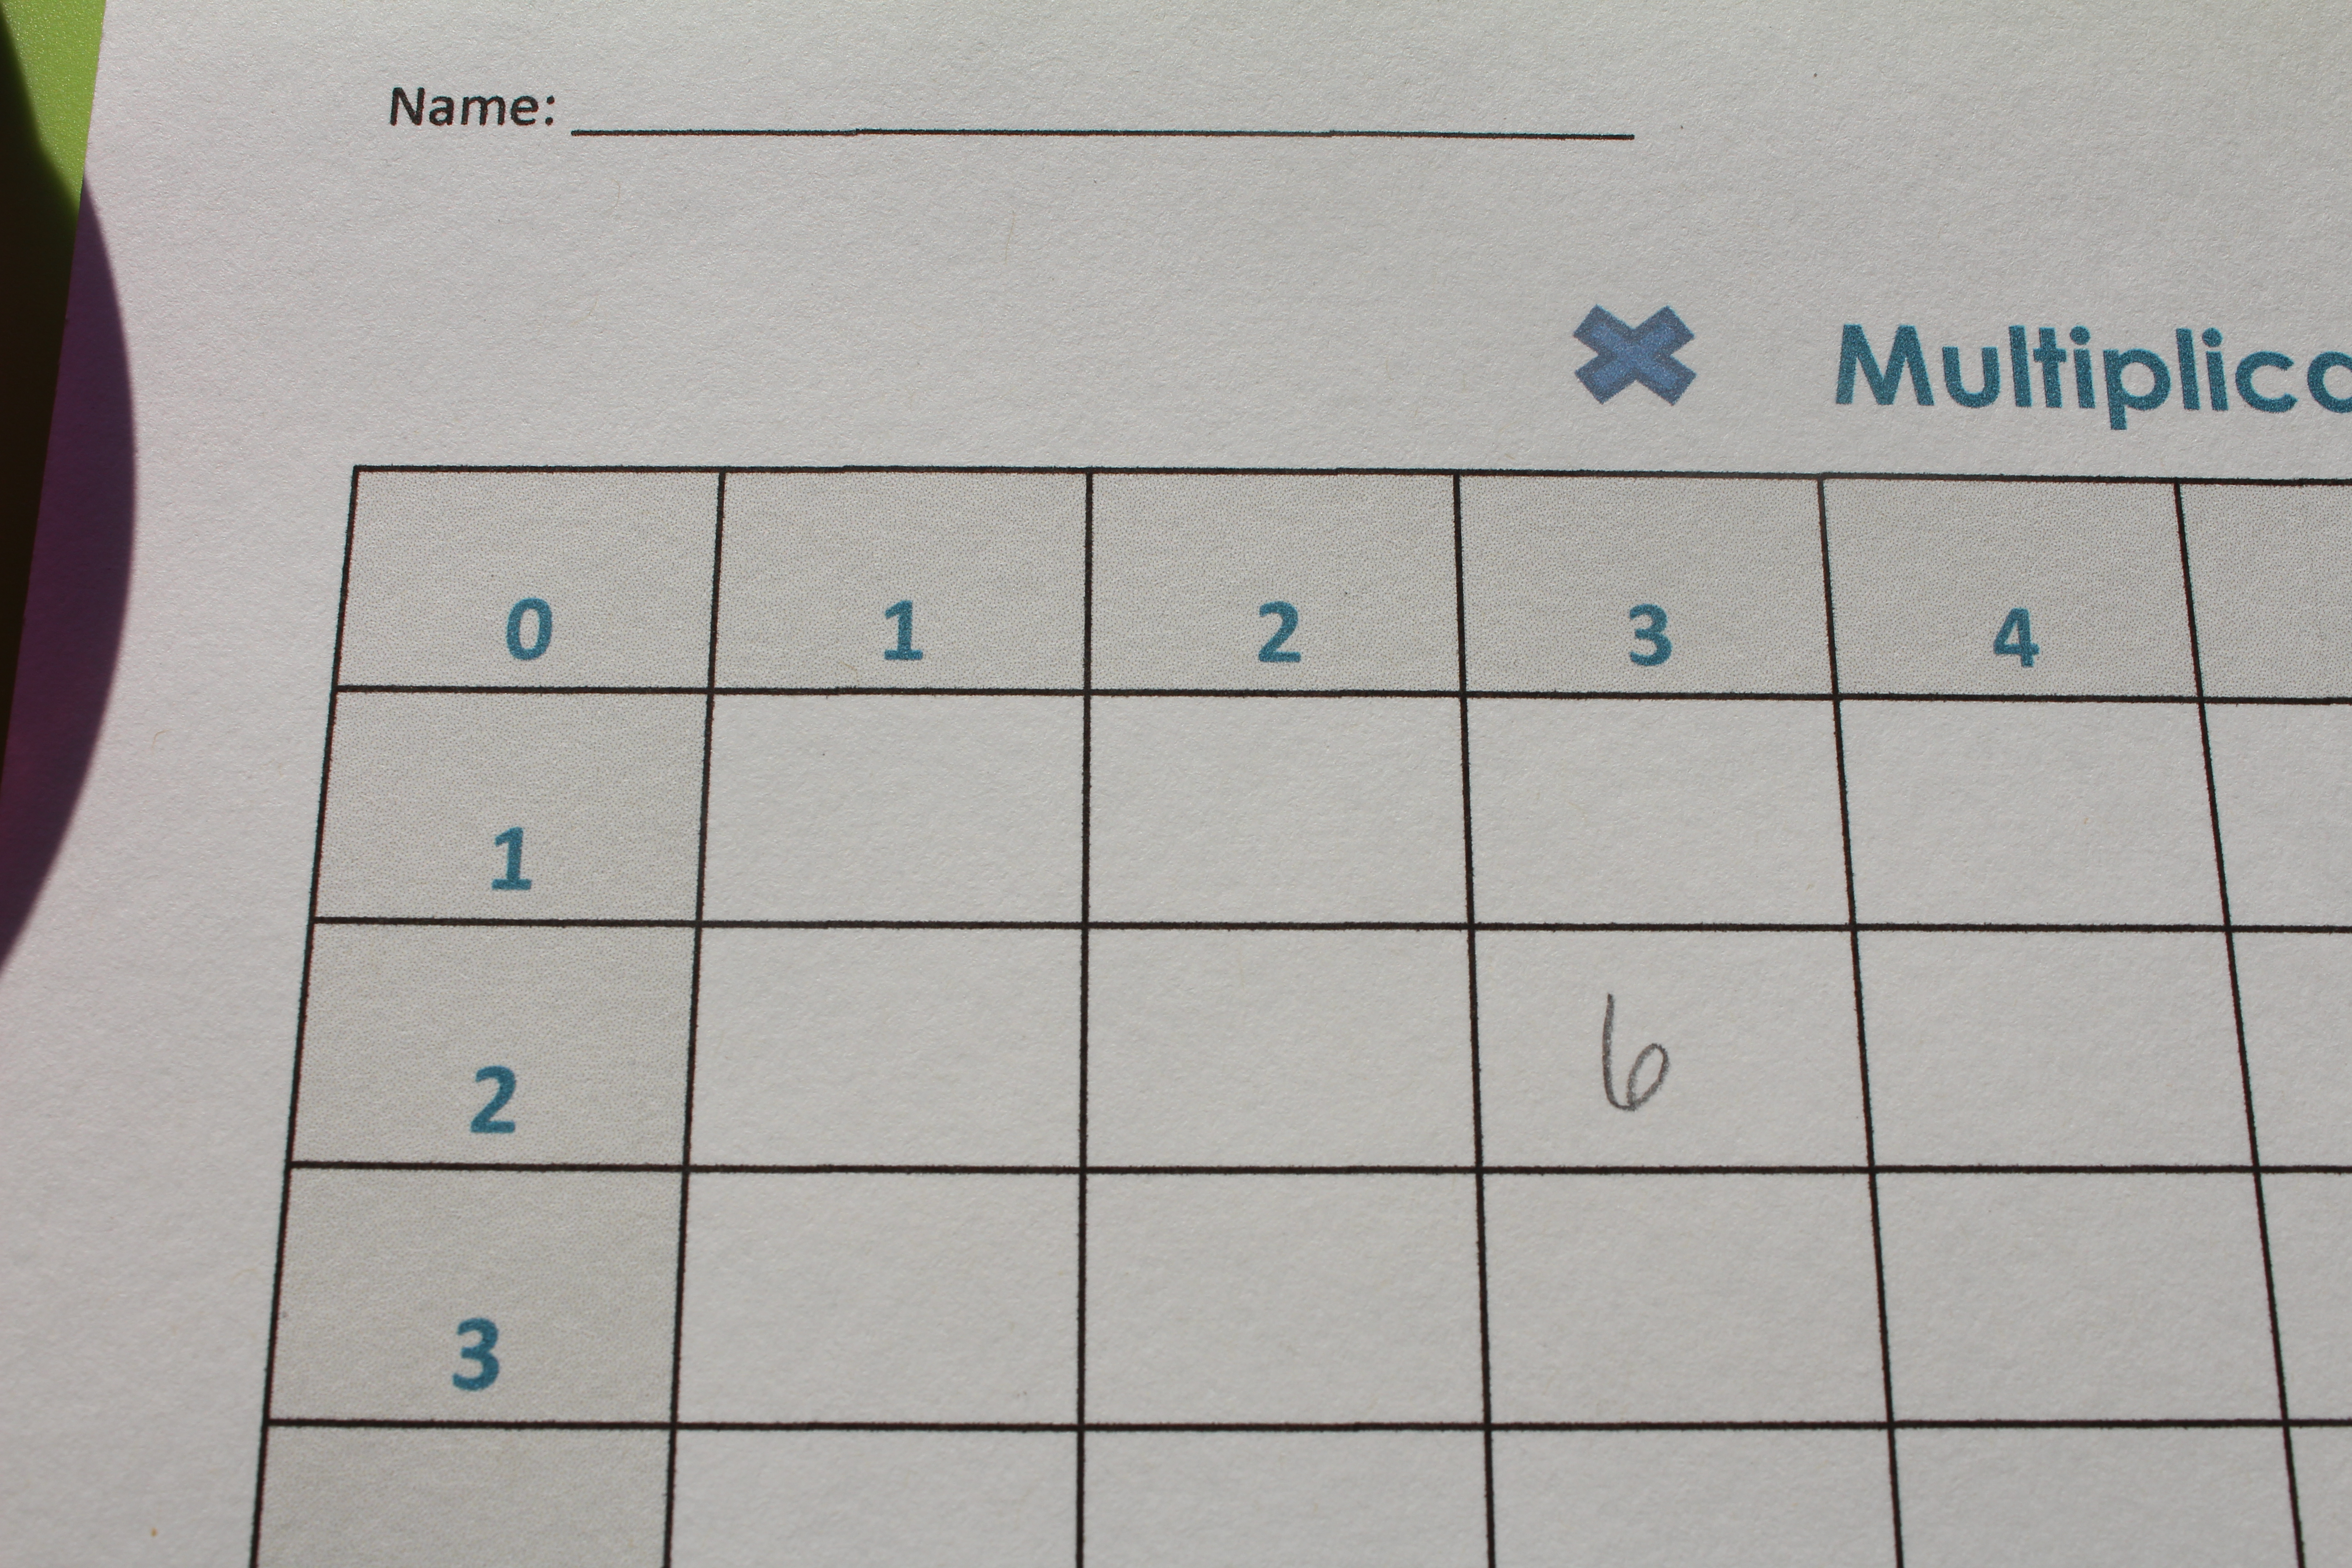
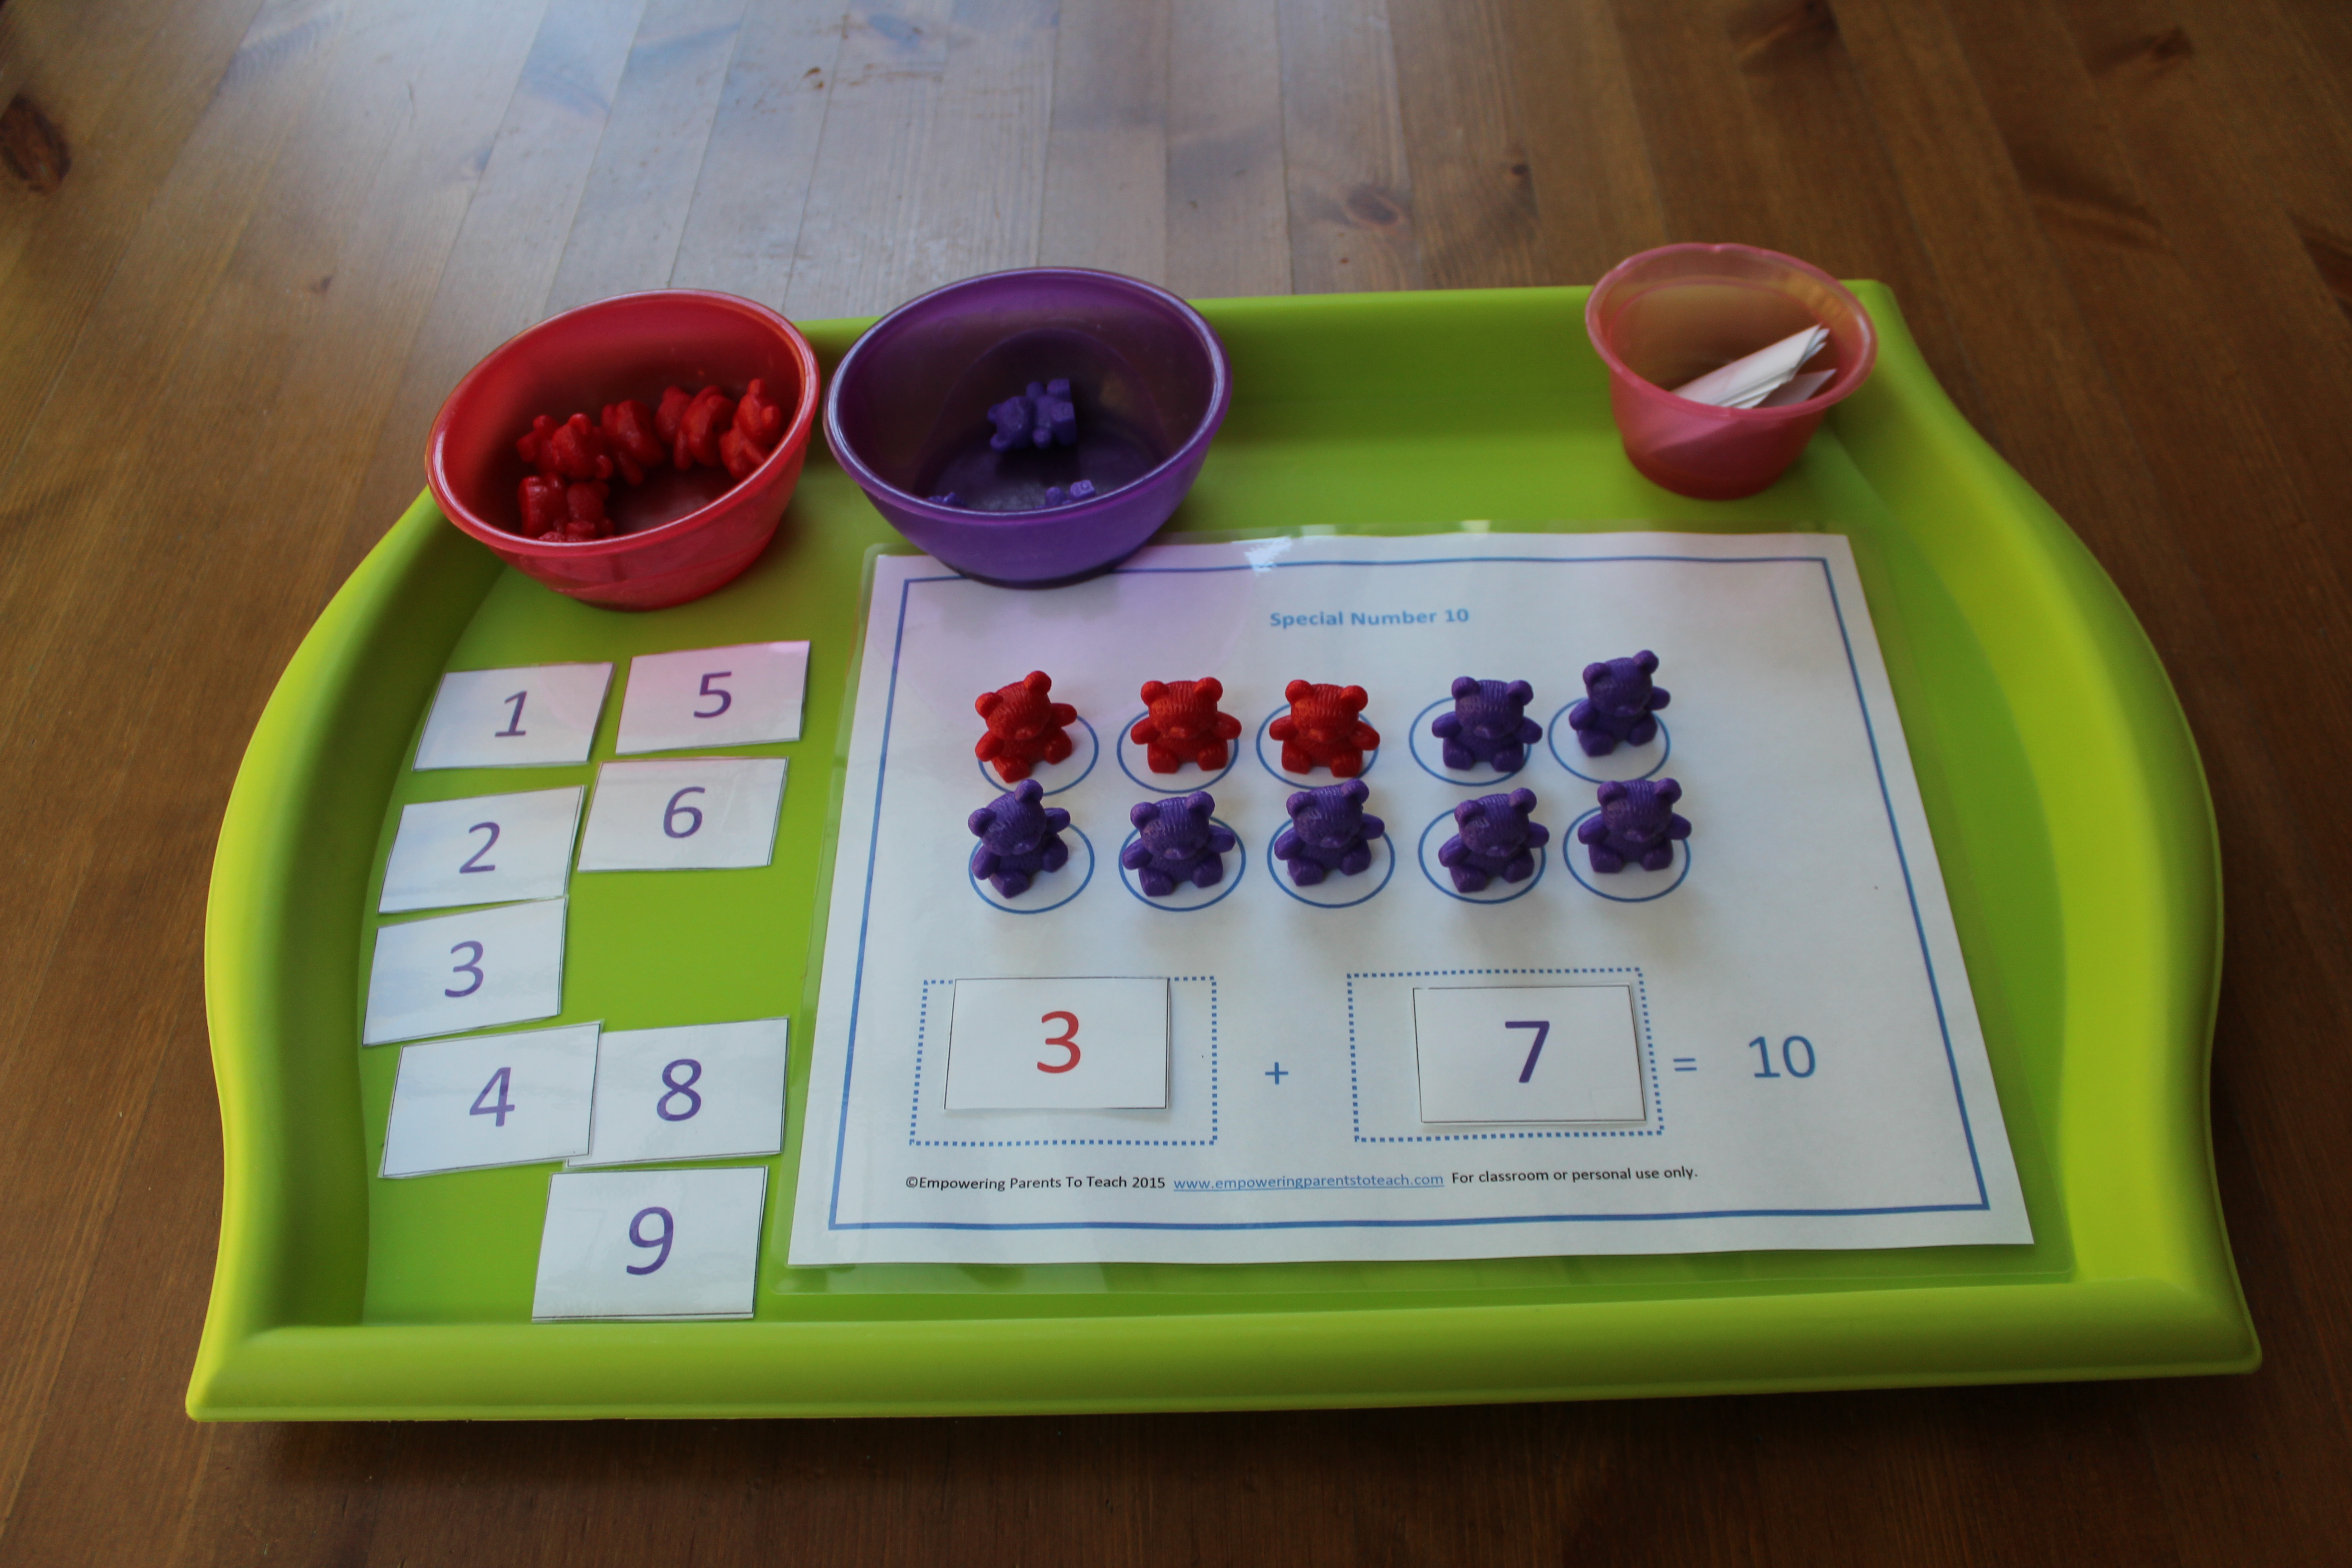
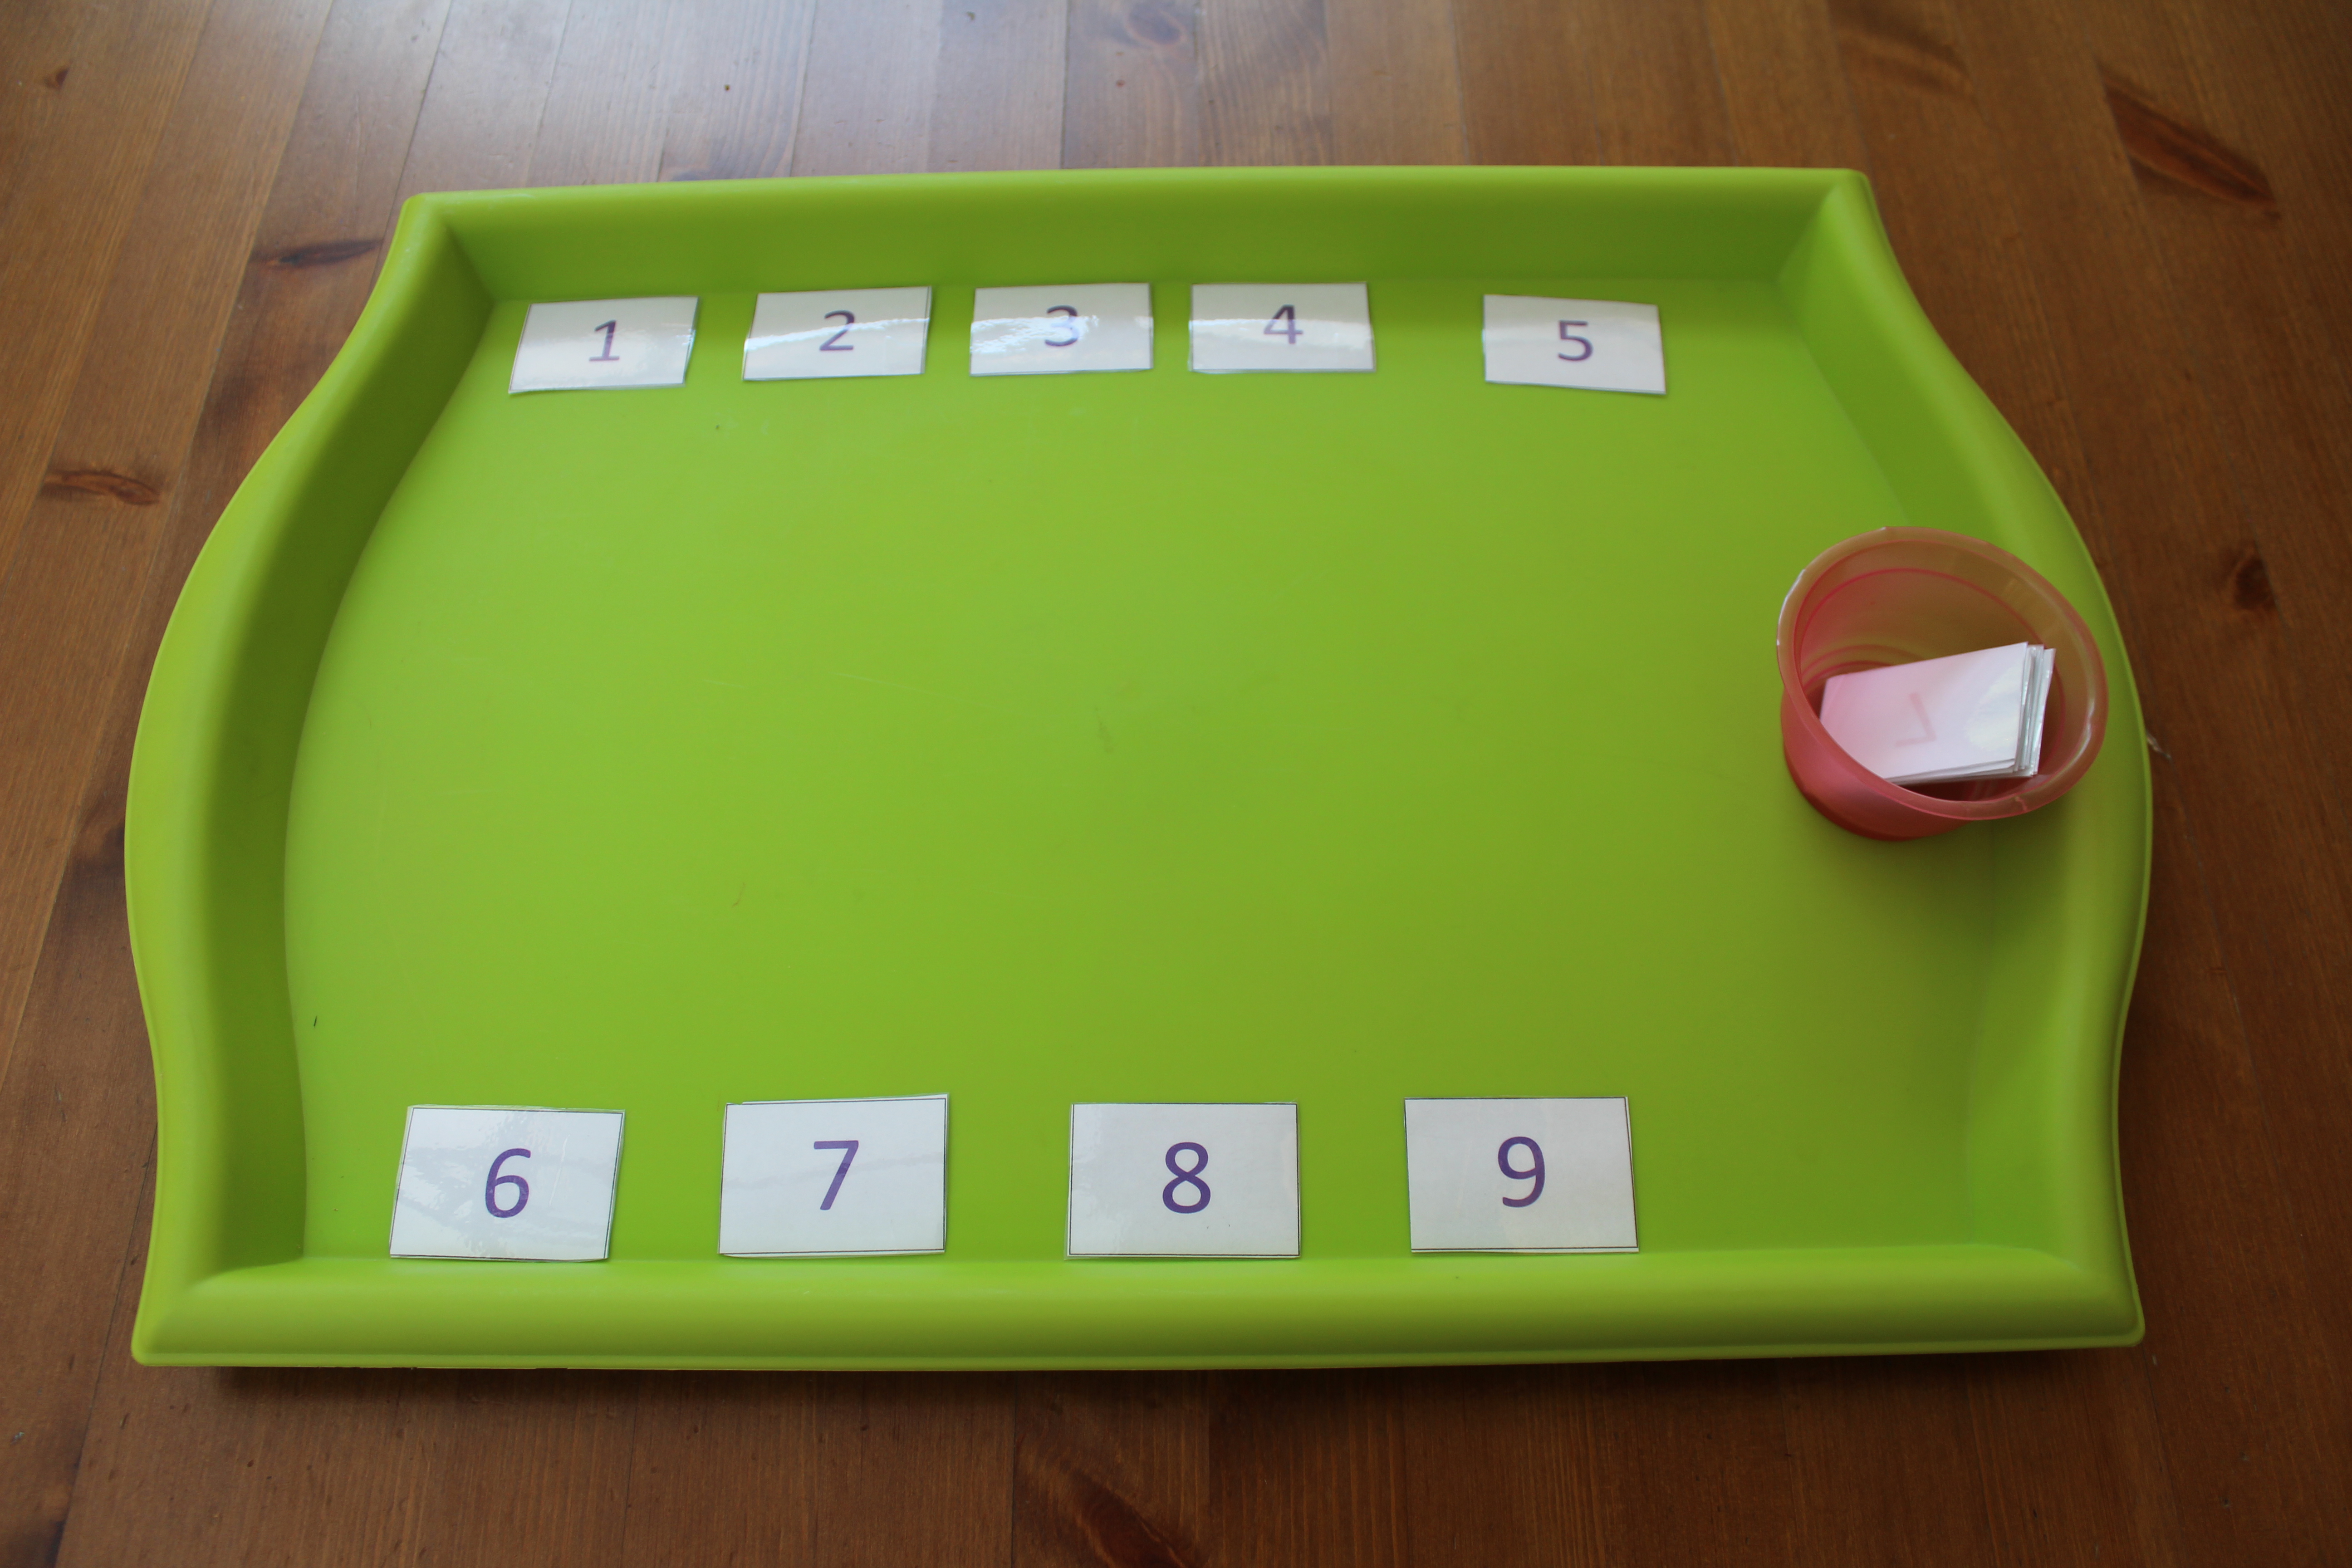
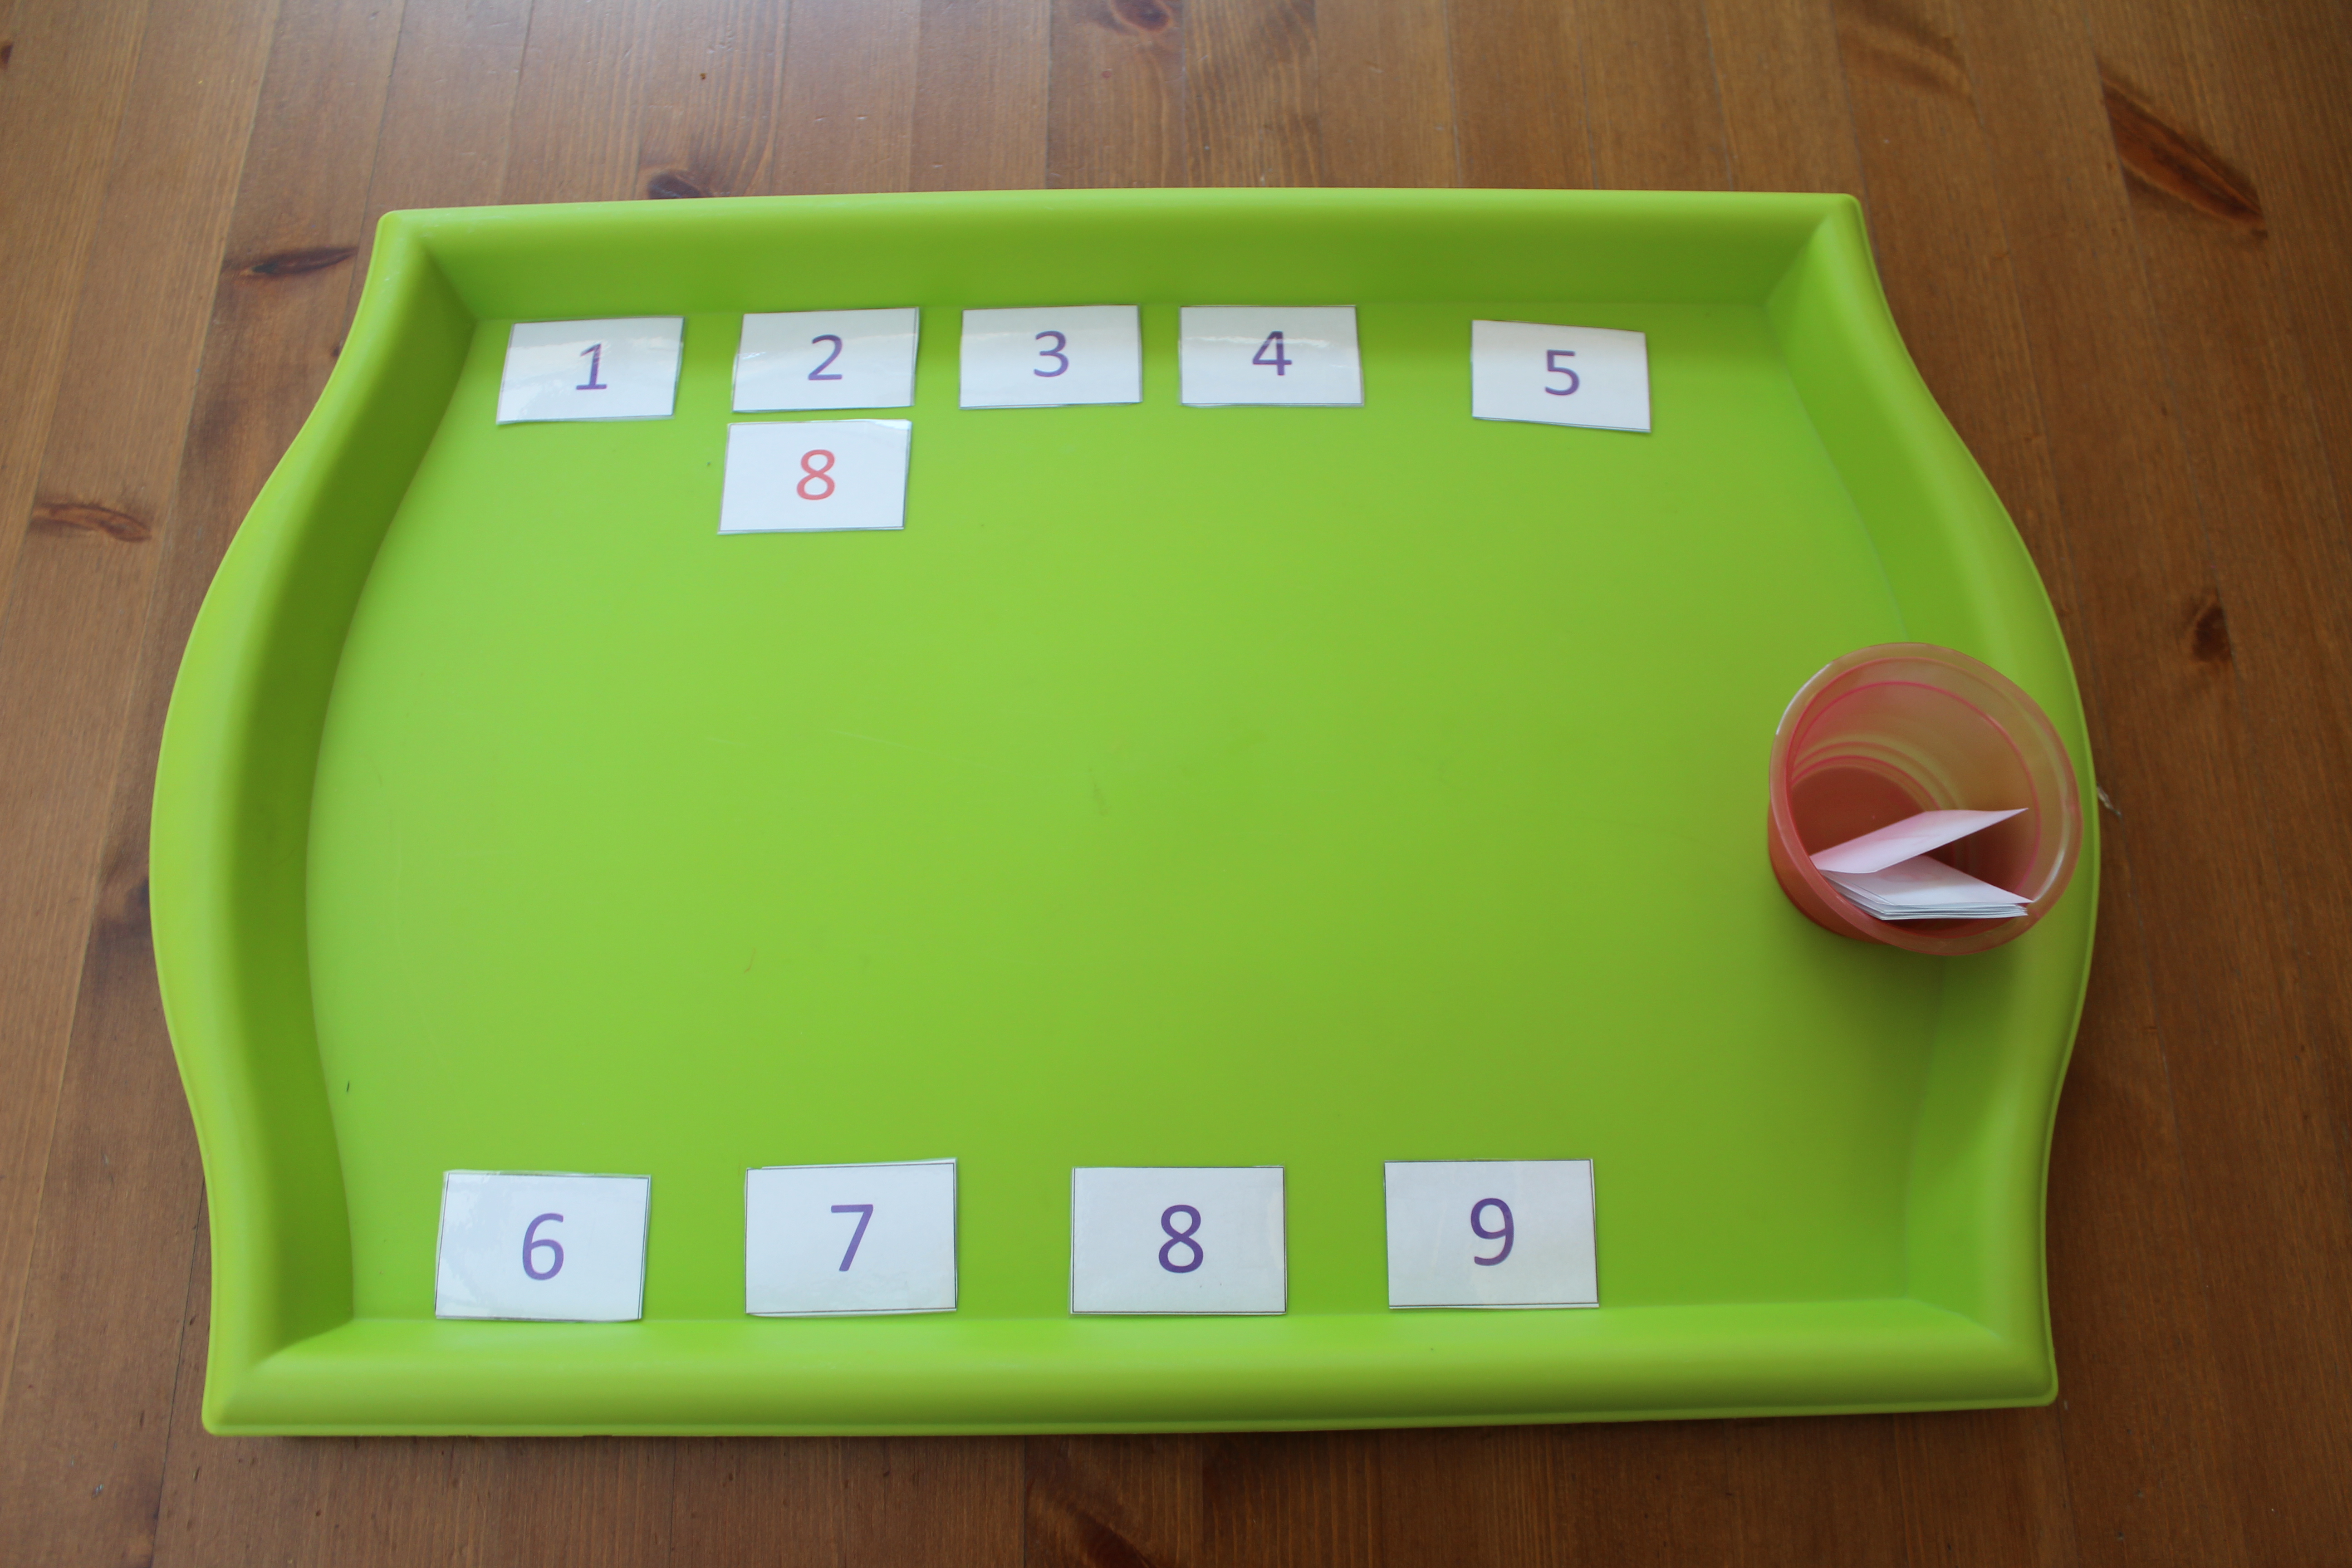
Another option for older kids who may get very large answers, is to assign one bag as the tens and one bag as the ones. You can even label the bags. So, if your child gets an answer of 95, s/he would punch the “tens” bag nine times and the “ones” bag five times. For children learning base ten concepts, this option may be useful.


Empowering Parents To Teach- Ninja math


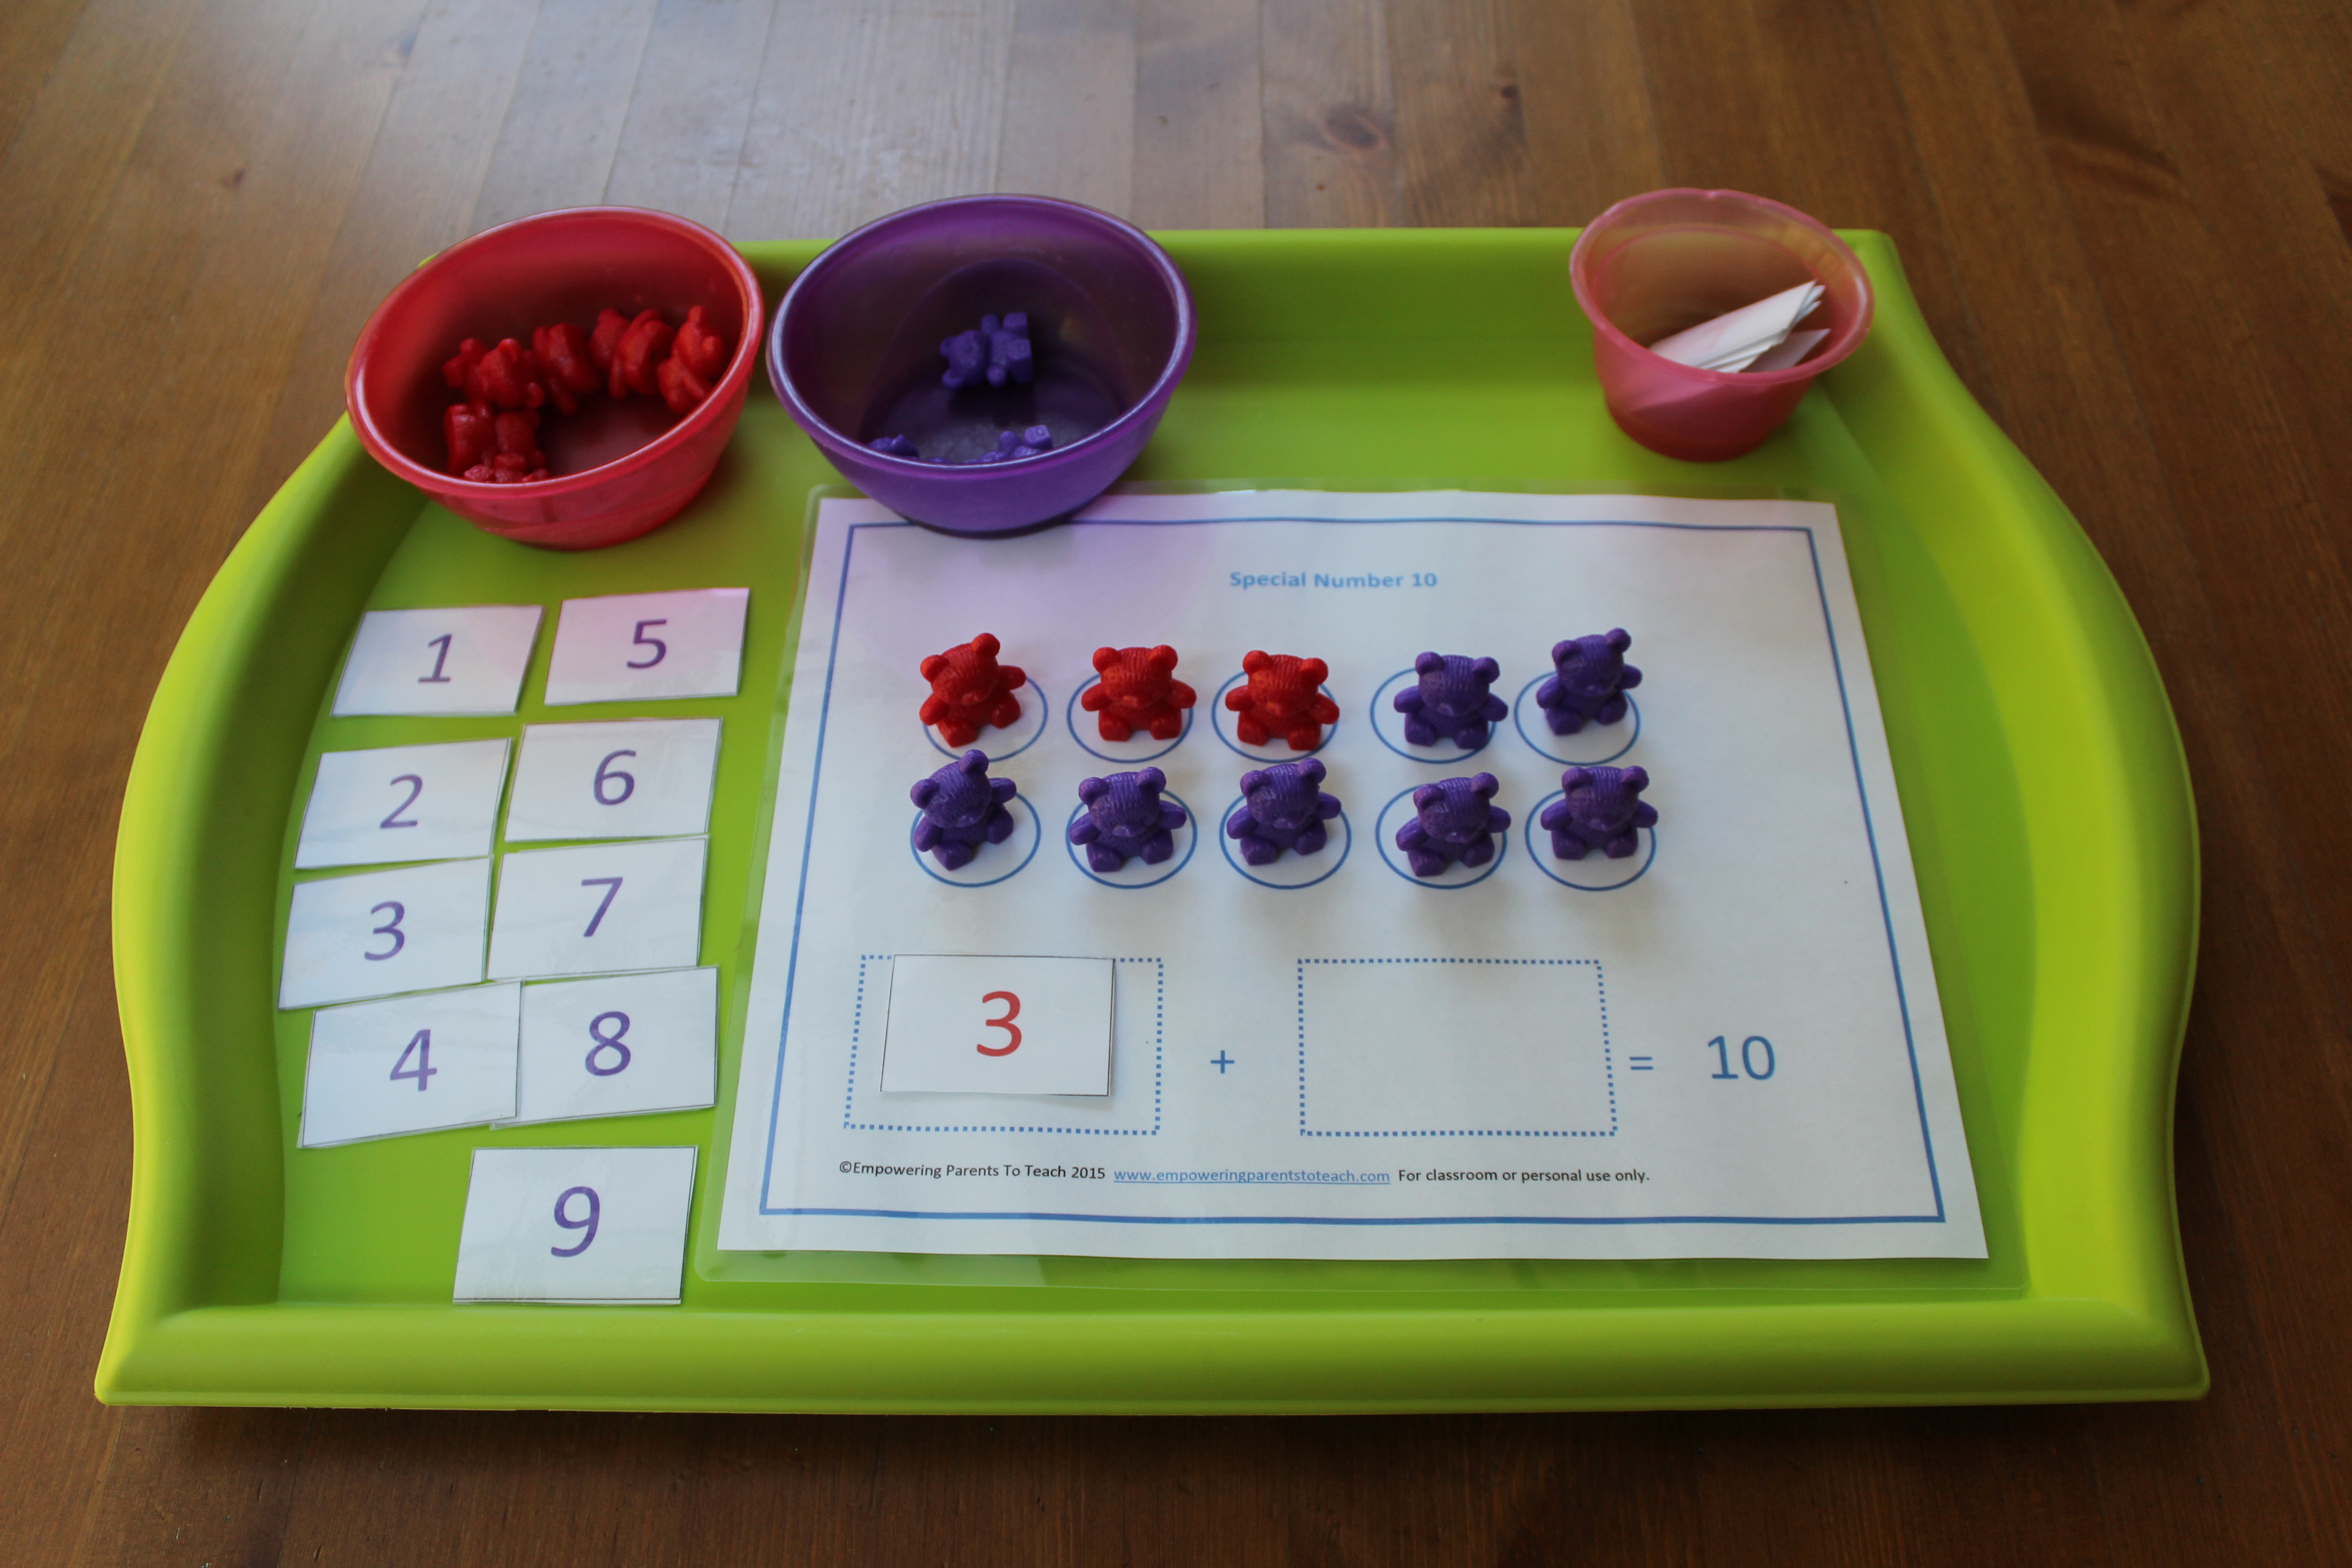
You can make this activity even simpler for toddlers by just giving your child a number and punching the bags in that same quantity. If your child tries to punch too fast and thus punches too many times, slow your child down and show him or her how to accurately punch while saying each number (1, 2, 3…). It’s about having one punch for each number stated. Your child will be practicing one to one correspondence by doing this.


Keep giving your ninja math facts until you sense they are losing interest or breath. :)


Empowering Parents To Teach- 5 Minute Math

Five Minute Math

I am very pleased to be a part of the Gifted Homeschoolers Forum’s blog hop, Educating Gifted Children: The Many Ways We Approach Their Learning.


My kids have experienced both homeschool and public school.  In this post, I will share one way we supplemented our children’s public school education at home. As parents of gifted children, we know that public school may not always be able to meet every need of our gifted learners so we often need to supplement our children’s education on our own. To me, it can be a tricky balance. I feel like after a long day at school, the last thing I want to do is give my child more work. I want them to play and have time to unwind. In order to keep after school time as low key as possible while still helping my children progress on their level, I started Five Minute Math.


For my children, math is one of their strengths. Their math ability is much higher than the level they are being taught in school.  My goal with Five Minute Math is for them to practice higher level math concepts that they already know so they don’t forget it! The practice time is short. I call it Five Minute Math because it should only take them 5-10 minutes to complete. The set up is really quite simple.  I just take a notebook and write a couple of math problems for them to solve.  I usually write 6-8 math problems covering various topics depending on what they know and what they are not getting practice on in school. Sometimes, the simplest solution is the best solution. For us, just a tiny bit of practice helped my children retain their math skills that may have otherwise been forgotten from disuse.


At one point my oldest son did this every day, but now that both boys get more homework they only do this about once a week. It’s so simple to do and my kids actually ask me for the math. I like that it is so easy to set up. I don’t have to scour the internet for worksheets that often have too many problems and print them out. I can adjust the the type of math problems every day as needed. All I need is a notebook and the knowledge of what my children are capable of and I can completely customize their practice problems.


This is what Five Minute Math looked like when my oldest was in first grade:

Empowering Parents To Teach- Five Minute Math


Five Minute Math worked for us, it may work for you too. It’s short, easy to set up, and keeps your child from forgetting math skills!


Be sure to visit the many other bloggers who share their insight, stories, and advice for parents of gifted children. Click here to read more!

GHF Blog Hop

Follow Gifted Homeschoolers Forum on Facebook: Click here


Teaching Multiplication (free printable chart included)

To introduce multiplication, I usually start with our math bears. You can use any type of small object that is easy for your child to manipulate. Once the child seems to understand the concept, I will use the multiplication chart using beans. Since the spaces on the chart are uniformly spaced, the child can see the relationship between the various products they will create. For example, the array s/he creates for 2×3 will be much smaller than the array created for 4×5. While this seems like common sense to us, a child’s mathematical reasoning is developing. They need to see this!


Disclosure: This post contains Amazon affiliate links. If you make a purchase from Amazon, I receive a small fee at no extra cost to you.


Multiplication With Math Bears


Empowering Parents To Teach- Multiplication

Materials needed:

Activity:

1. Select multiplication facts with small numbers for factors. Put the multiplication facts in a pile for your child to use.

2. Pick the top card and show your child the multiplication fact. Tell your child that just like we have symbols that tell us to add or subtract ( +, -) the  “x” on the card tells us to multiply. The numbers on the card give us information too; the the first number tells us how many groups we have and the second number tells us how many items are in each group.


Empowering Parents To Teach- Multiplication


3. Using 2×3 as an example, explain that the we know that there are two groups and each group has three items in it. Demonstrate this with the math bears. Take out three math bears and line them up together. I would talk out loud as I am working, “We have one group, but we need two. So, I need to get three more bears to make two groups of three”. Line up the second group under the first. “Now I have two groups of three. If I count them, then I will know what 2×3 equals.” You can count them or ask your child to. S/he may announce the answer before you even do this!


Empowering Parents To Teach- Multiplication


Empowering Parents To Teach- Multiplication


4.  Choose another card and walk your child through the process again, but this time let your child manipulate the bears. You can still verbalize what to do at each step.

5. Once your child seems to be able to do this easily with your help, have him or her try one on his or her own without you directing each step.


Teaching Tip:

Not sure if your child is ready to multiply?  It’s helpful to understand psychologist Lev Vygotsky’s Zone of Proximal Development (ZPD) and it’s role in teaching.


Empowering Parents To Teach: ZPD Chart


The graphic above shows three concentric circles. The center circle represents everything your child can do by him or herself with no help needed. The next circle represents the area where your child can do something (such as multiplying) with help or guidance from an adult. This is the Zone of Proximal Development. The outer circle represents things that your child cannot do, even if you are helping (like calculus). When working on this activity, take a moment to see where your child’s understanding of multiplication falls. Can your child accomplish the task at hand with your assistance? If so, that’s good! You are working in the ZPD, which is where you want to be for your child to learn something new. With enough practice and guidance your child’s multiplying ability will move from the ZPD into the center circle of things he or she can do independently.


However, if your child is looking at you like you have three heads when you are working on multiplying and seems totally confused no matter how much you try to help, your child’s understanding may fall in the outer circle. This means that your child may not be ready for this task. S/he may need to work on skills that lead up to multiplication. Practice more addition, demonstrate multiplication informally in play situations, talk about groups, read books about multiplication (see additional resources at the end), practice skip counting, etc.


 Multiplication Chart


Empowering Parents To Teach: Multiplication Chart Activity


Materials needed:


Activity 1–Solving Problems:

1. Present your child with the materials as pictured above.

2. Show your child how we can use the beans to solve the multiplication problems just as we did with the math bears.  This time however, we can use the chart to place the beans in an orderly fashion.

3. For example, if the card says 2×3, we know that we need to make two groups of three. Demonstrate this by placing the beans on the chart one group at a time.


Empowering Parents To Teach- Multiplication Chart

4. Have your child count how many beans there are on the chart. This is your answer.

5. Repeat the process with more multiplication facts.


Empowering Parents To Teach- Multiplication Chart


Teaching Tip:

Keep this chart on hand to help with homework. Your child can use this as a tool to solve multiplication problems independently.


Activity 2–Filling in the chart:

Once your child understands the concept, you can encourage your child to fill in the chart.  I usually wait to fill it in so that the child is not memorizing the facts at first.


1. Follow the same procedure as above to solve multiplication facts.


Empowering Parents To Teach- Multiplication


2. This time, when your child gets the result have him or her record their answer directly on the chart. For example, if the child solved 2×3, s/he would count the beans (left to right, top to bottom) and write the answer in the square of the final bean. Naturally, this will be in the lower right hand corner of the array where the two factors meet.


Empowering Parents To Teach- Multiplication


Empowering Parents To Teach- Multiplication


Have fun!


Additional Resources:


This post is linked to:
Montessori Monday

Empowering Parents To Teach- Squbed

Squbed Game: Learning Squares and Cubes

When my son was in first grade he said to me that he wanted to learn “everything there is to know about math.”  He is now ten and his love of mathematics has not waned.  Mental math is of particular interest to him as he constantly challenges himself to solve math problems in his head.  To help him in his quest, I designed this very simple game to help him memorize squares and cubes of numbers up to twenty.  He wants to have these memorized so that he can tackle harder math problems mentally. I don’t even have these memorized, but he finds this kind of stuff fun, so I’m happy to help! If you have a kid who loves math, s/he may enjoy this game too :)


Materials:

  • Squbed game boards (4 included)
  • Number cards
  • Squares and Cubes Guide
  • Beans or other small objects
  • Envelope to store the number cards
  • Print Squbed materials here
  • Note: Laminate materials if possible for durability


How to play:

1. Choose one Squbed game board.  This game can be played with up to four players.

2. Place the number cards in the envelope.

3. Players take turns picking out a number card randomly.  Each card contains a number squared or cubed.  For example, one card shows 2 squared. If a player has the equivalent value of the card (in this example: 4) the player should cover the square with a bean or other small object.


IMG_2656


Empowering Parents To Teach- Squbed


4. The first player who covers his or her entire board first is the winner.


Note:

  • I included the square and cube guide to help facilitate play until the squares and cubes are memorized.
  • I made each board a different color so that your child can keep track of which board or boards he or she used. After playing four times, with the four different boards, all of the squares and cubes will have been practiced at least once.


Have fun!


Make Ten

Hands-on Math: Make Ten (with free printable materials)

Ten is a special number. Because we use a base ten math system, it is important for kids to have a good understanding of ‘ten’. What does ten look like? What are its parts? For parents, I have included links at the bottom of this post to three articles about the importance of ten. I encourage you to read them before you try the activity with your child. They are incredibly informative and can help you guide your child at home.


A good working knowledge of ‘ten’ helps students with mental math.


One way teachers help students gain this ten knowledge is with ten frames and dot cards. Both of these visual devices help students conceptualize the number ten.  Ten frames typically look like a small 5 by 2 chart with five squares on the top and five on the bottom, all conjoined. Dots cards are simply different arrangements of dots on a piece of paper or flashcard.


In this activity, students will use a ten frame variation. The framework I created uses the same 5 by 2 arrangement. Instead of conjoined squares, I used circles. Think of it as a merger of the ten frame squares and the dot cards.


Materials-

1. Dot frame (laminate if possible)

2. Number cards- two sets in two different colors (laminate if possible)

3. Record Page

4. Bear counters or other small object (preferably using two different colors)

5. Pencil

6. Small bowls for bears and one set of numbers

Dot frame, number cards, and record page can be printed FREE from here: Make Ten Printables.


Activity-

1. Present your child with the materials. Show him or her the materials and count the circles together. Let your child know that s/he is going to use these materials to figure out what numbers can add together to make the number ten.


Red bowl: Red bears   Purple bowl: Purple bears Pink bowl: Red numbers

Red bowl: Red bears
Blue bowl: Blue bears
Pink bowl: Red numbers


2. Have your child choose a number from the bowl.

3. Place the number in the first dashed rectangle.


Make Ten


4. Have your child place the corresponding number of bears in the circles starting on the top left, filling the circles from left to right, top to bottom. *Note: The bears should all be the same color to distinguish this set of bears from the set they will use in another step.


Make Ten


5. Have your child fill in the empty circles with a second color of bears.


IMG_2510


6. Have your child count or subitize (quickly recognize the number quantity without the need to count) the second group of bears.


7. Have your child place the corresponding numeral in the second dashed rectangle.


IMG_2511


8. Have your child record the number combination on his or her record sheet.


Use math language. The two numbers that your child is finding are called addends. In this example, the 3 and 7 are addends.


Make Ten


9. Continue this procedure until all of the number cards have been used. Keep recording!


Extension:

Once your child is ready to move past the concrete stage of manipulating the math bears, you can take away the bears and practice using just the number cards. Line up one set of numbers. Have your child pull out a number from the cup and match it with the addend that would make ten.


Make Ten


Make Ten


Make Ten


Is it getting easy? Your child may have the ten pairs memorized. Now you can simply give your child a number orally and ask what number s/he would add to make ten.  This will only take a minute or two. Ask your child to do this every day until you think she or he has them solidly memorized. This will make mental math easier :)


Don’t forget to read these articles first:

1. Number Sense Series: Developing Early Number Sense from  NRICH (click here)

2. Number Sense Series: A Sense of ‘ten’ and Place Value from NRICH (click here)

3. Ten Frames and Dot Cards from K-5 Math Teaching Resources (click here)  Great game suggestions too!


Remember, have fun together and follow your child’s lead! It’s ok if your child does things a little differently.  With the knowledge you’ve learned from these articles you will know what is important and why.  Focus on the big picture. There are many paths to understanding, trust your child and trust yourself.
Linked to:

Montessori Monday


&nbsp