Empowering Parents To Teach- Colored Ice

Playing With Colored Ice

One of our favorite activities is playing with colored ice!  It’s so easy to make and I love that it inspires open ended play that allows my kids to be creative.  All we do is fill an ice cube tray (or two) with water and add liquid food coloring drops to each individual cube to make an assortment of colors. This makes for simple summer fun.


The possibilities are endless. Below are just a few examples of what your child can do.


Make Numbers

Empowering Parents To Teach- Colored Ice


Make Letters

Empowering Parents To Teach- Colored Ice


Play Tic Tac Toe

Empowering Parents To Teach- Colored Ice


Make Structures

Empowering Parents To Teach- Colored Ice


Empowering Parents To Teach- Colored Ice


Science Exploration (In this case, observe the melting rate in different colored surfaces)

Empowering Parents To Teach- Colored Ice


Write

Empowering Parents To Teach- Colored Ice


Empowering Parents To Teach- Colored Ice


Observe what happens when your structure melts

Empowering Parents To Teach- Colored Ice


Make A Rainbow

Empowering Parents To Teach- Colored Ice


Put the cubes back in the tray (motor skills)

Empowering Parents To Teach- Colored Ice


There are so many ways to play. Make a tray and see where your children’s imagination takes them!

 
This activity is linked to:
Montessori Monday (Click on the picture to see the link with tons of ideas for your kids!)

Empowering Parents To Teach: Grammar With Linking Cubes

Teaching Grammar With Linking Cubes

Grammar is one of the hardest subjects to teach.  It’s not because it’s that difficult to understand, it can be so dry in how it’s presented.  My oldest hates anything that has to do with writing and loudly protests or avoids activities that require him to write.  Of course, he still has to do some writing, that’s just life, we write stuff. However, if I can find a way to teach him something that would normally require a lot of writing in a way that actually appeals to him instead of make him want to rush through just to be done, I have to get creative. That is how I came up with teaching grammar with the linking cubes. My son is a very hands-on, visual learner so this appealed to him. He also has a penchant for colors, which made this one of his favorite activities. He actually asks to do this! It is one of his favorite things to do.


Materials:

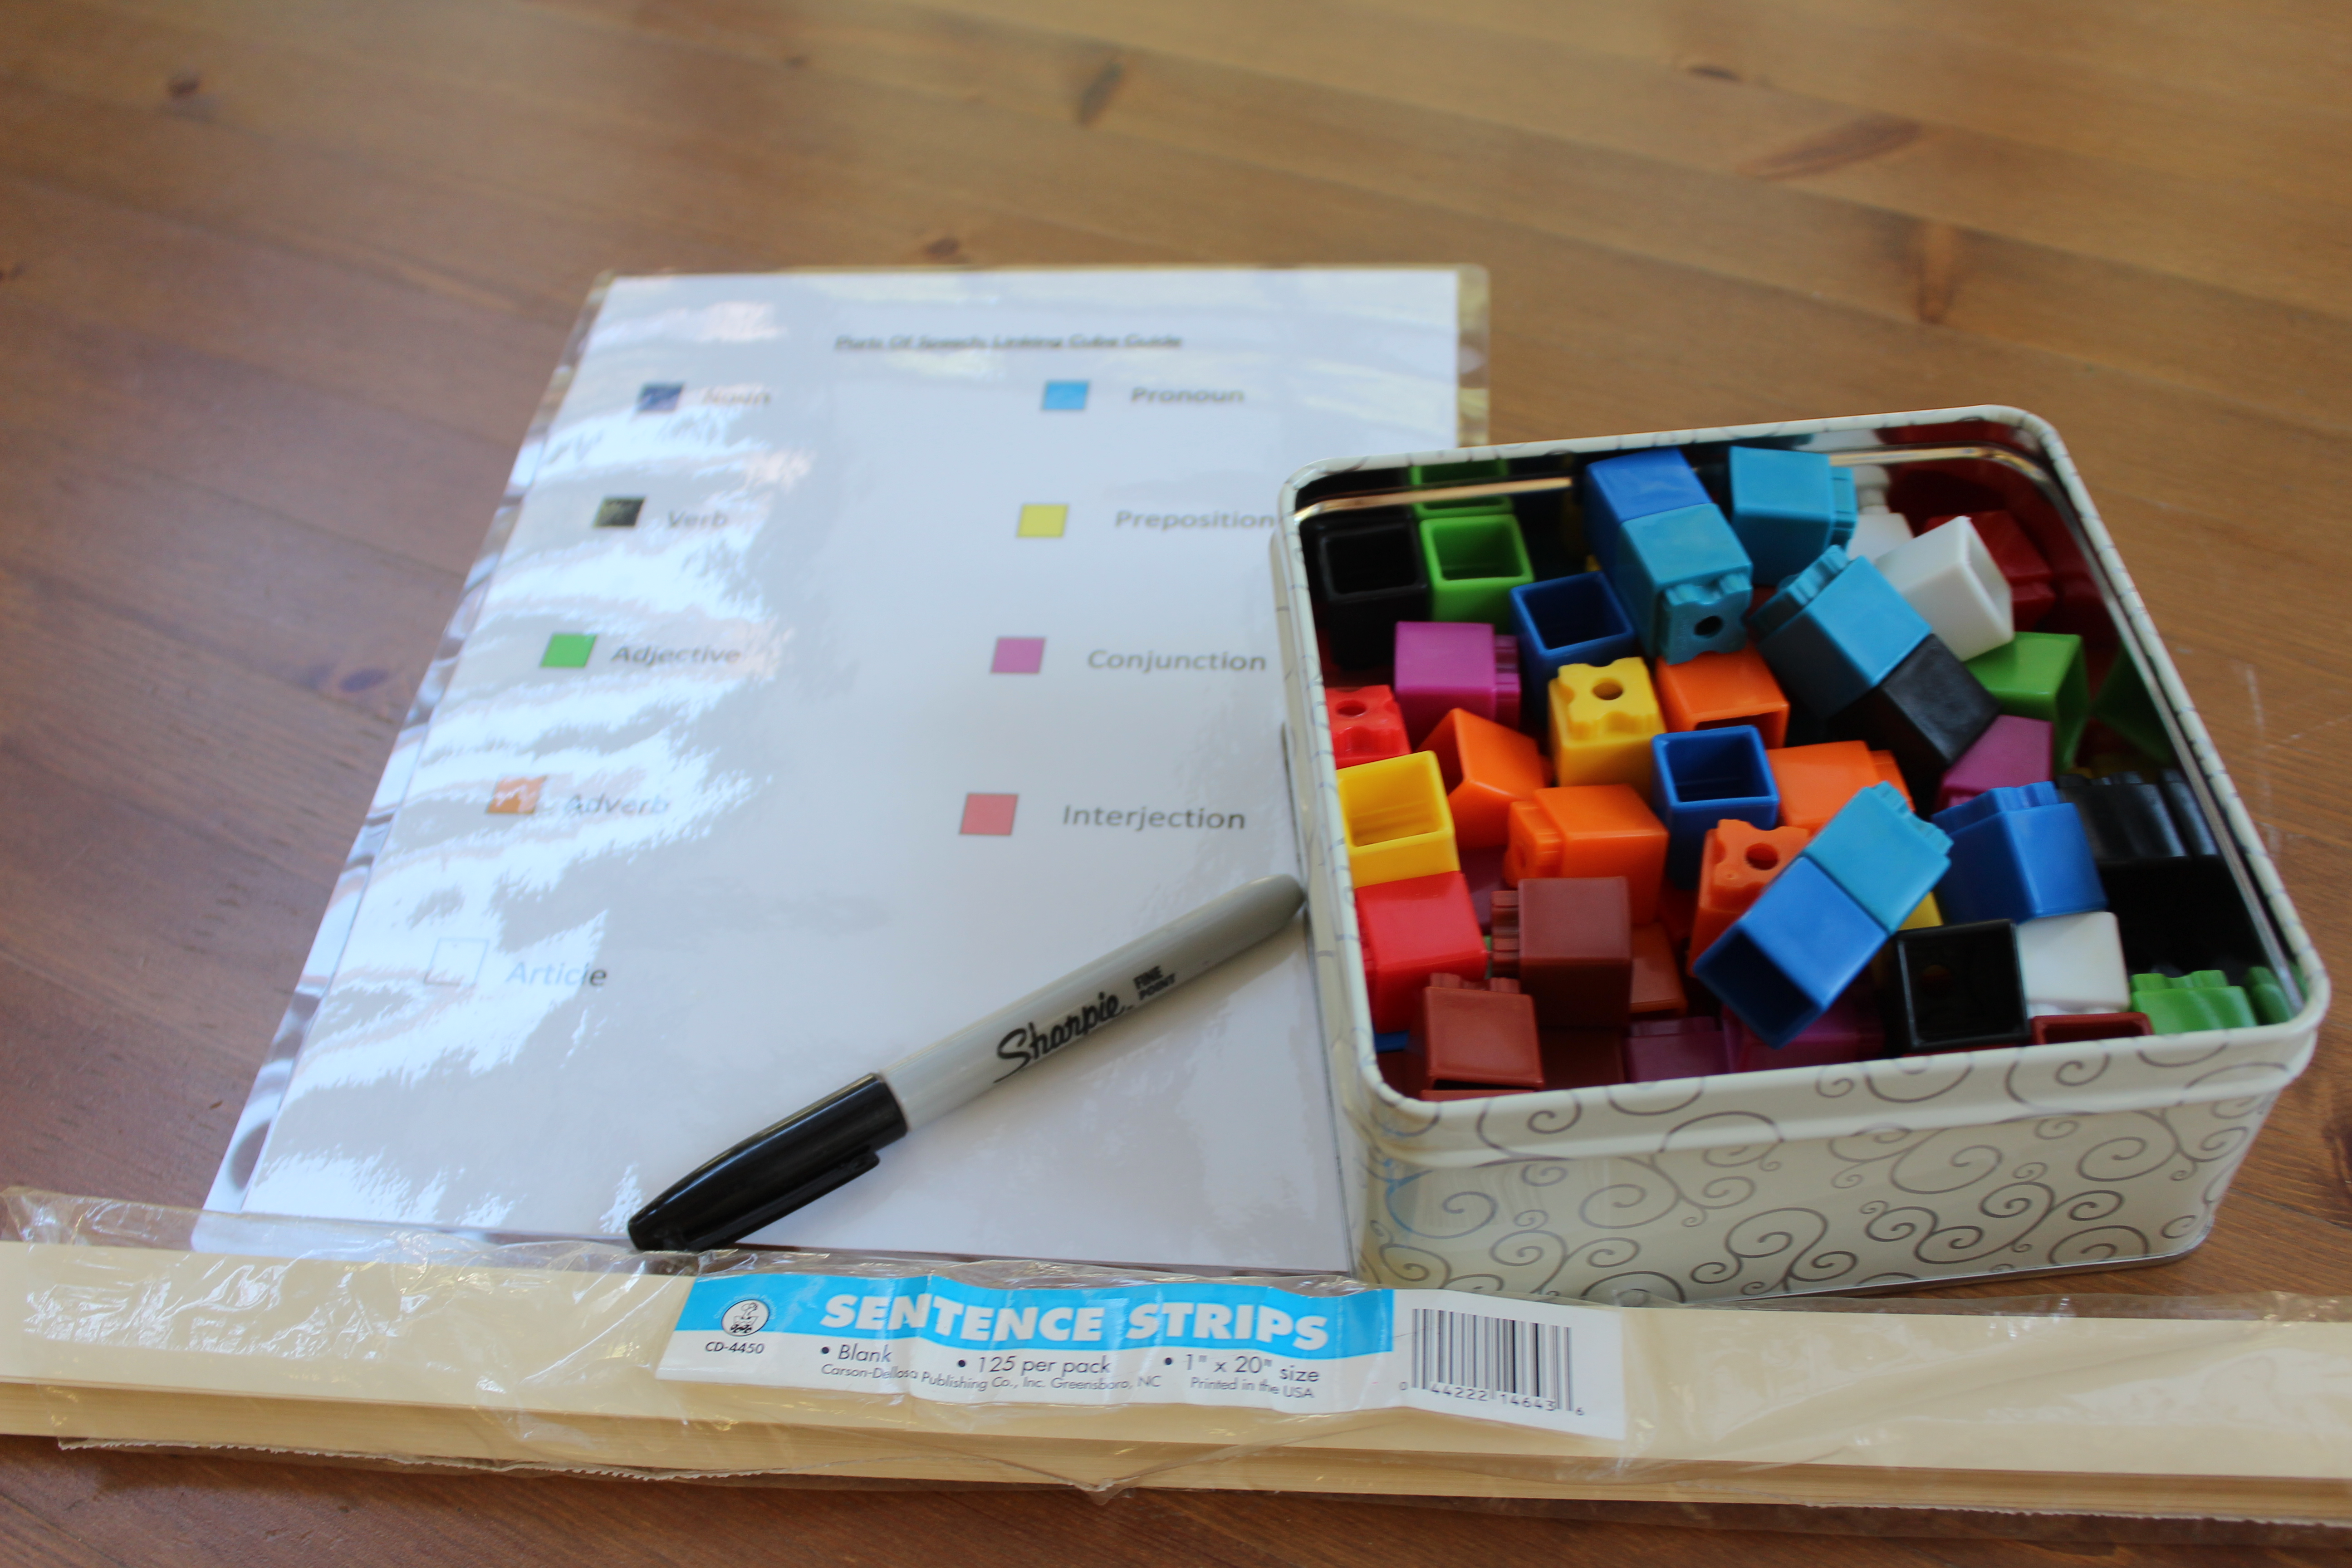
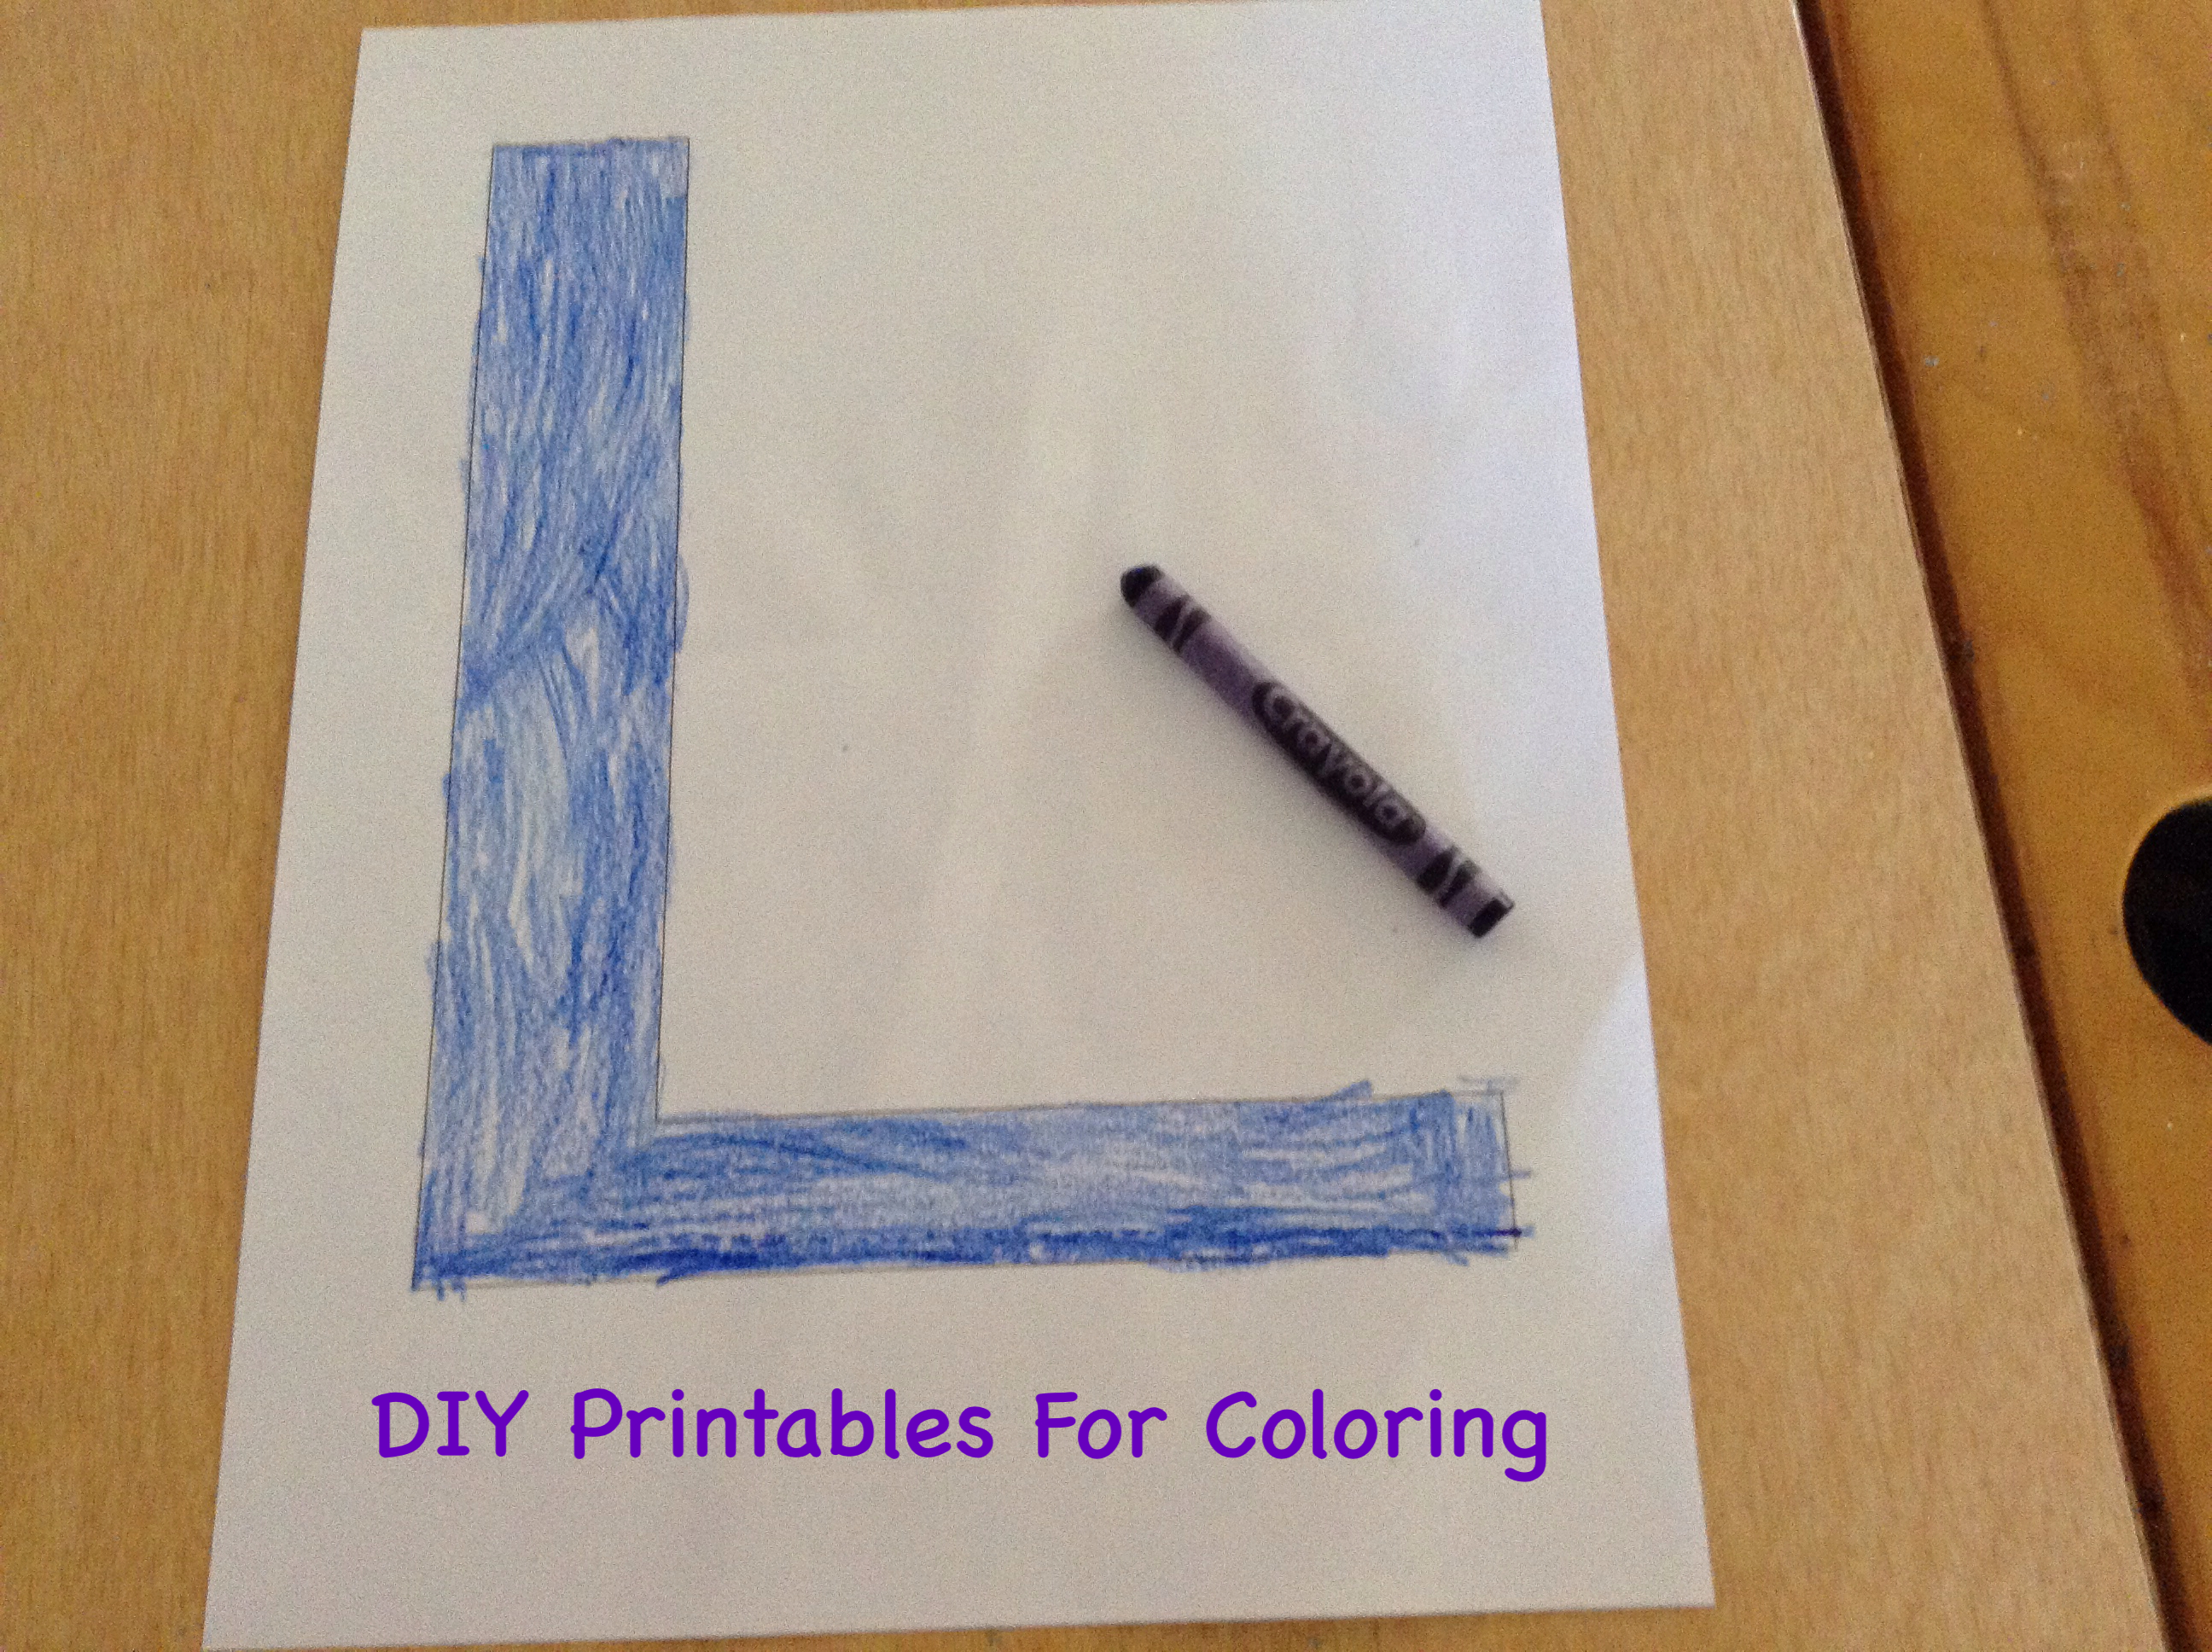
  • Linking cube guide (blank or color)
  • Sentence strips (or paper)
  • Linking cubes
  • Sharpie (or marker)

Materials

The idea:

First, I color coded each part of speech to a corresponding color in our linking cube set.  If your linking cube set contains the same colors as mine, simply print out the color guide.  If your set has different colors, print the guide with the blank squares and use crayons or markers to fill in the squares according to the colors of your set. I suggest laminating your guide.


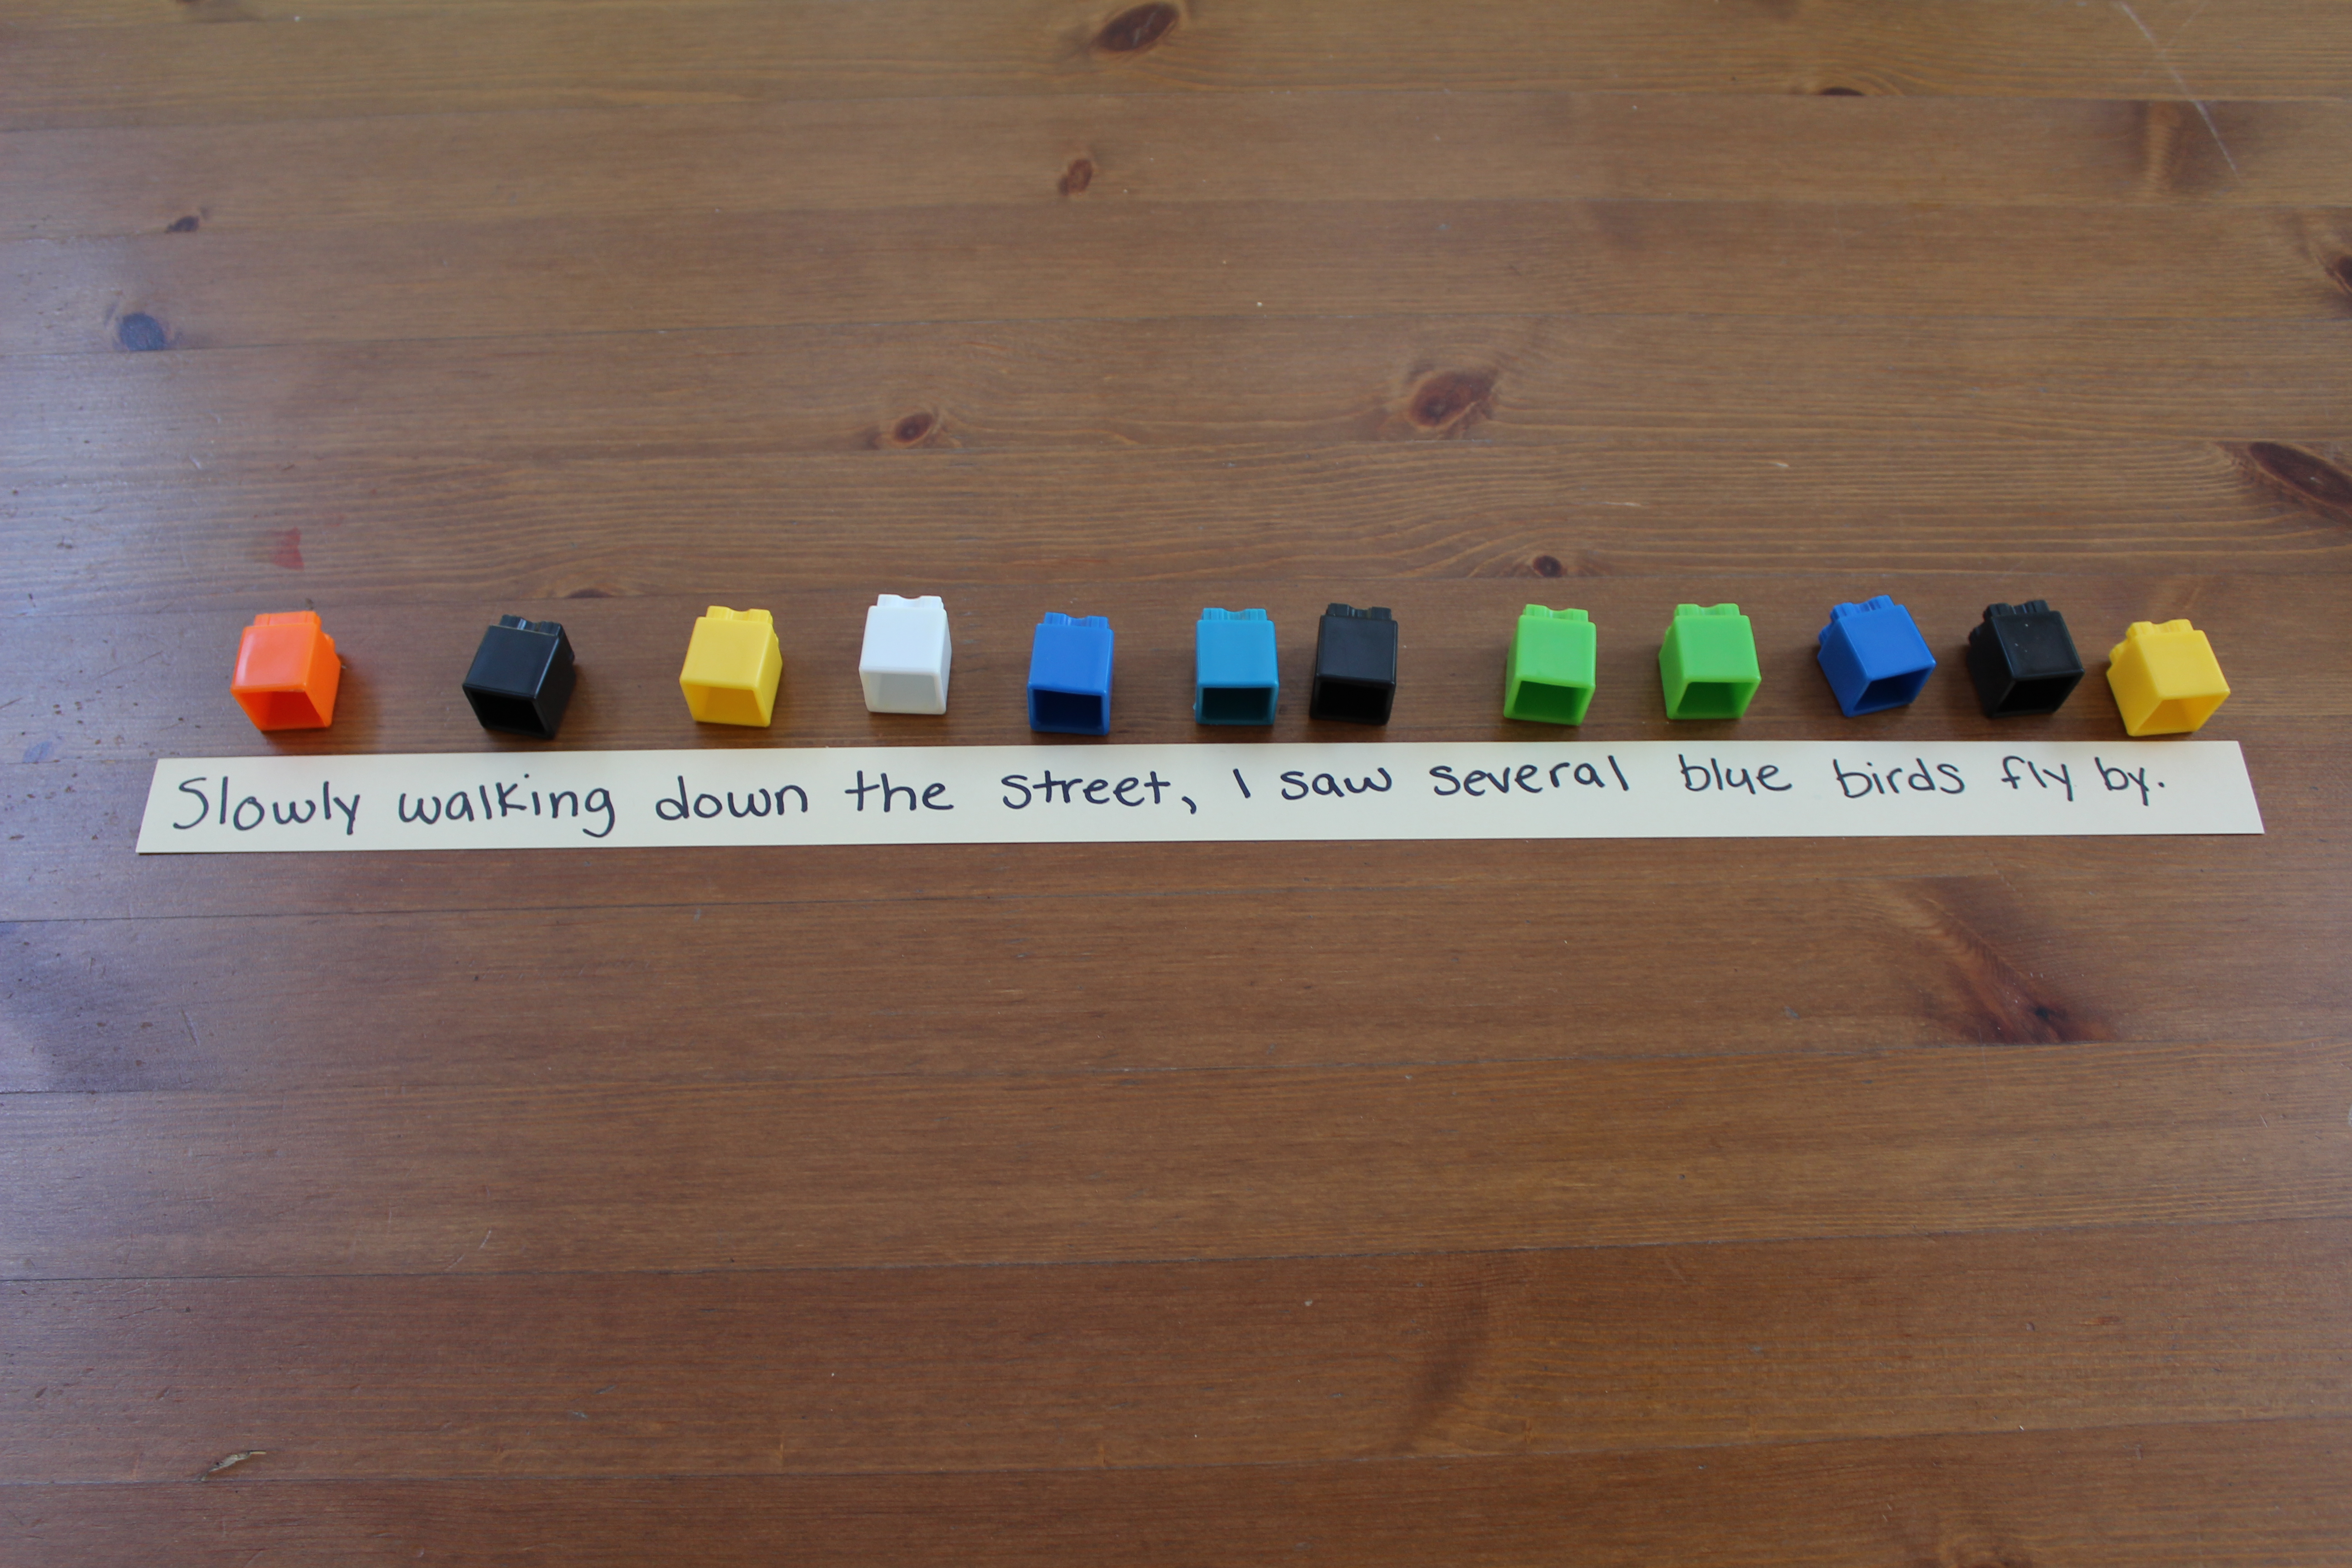
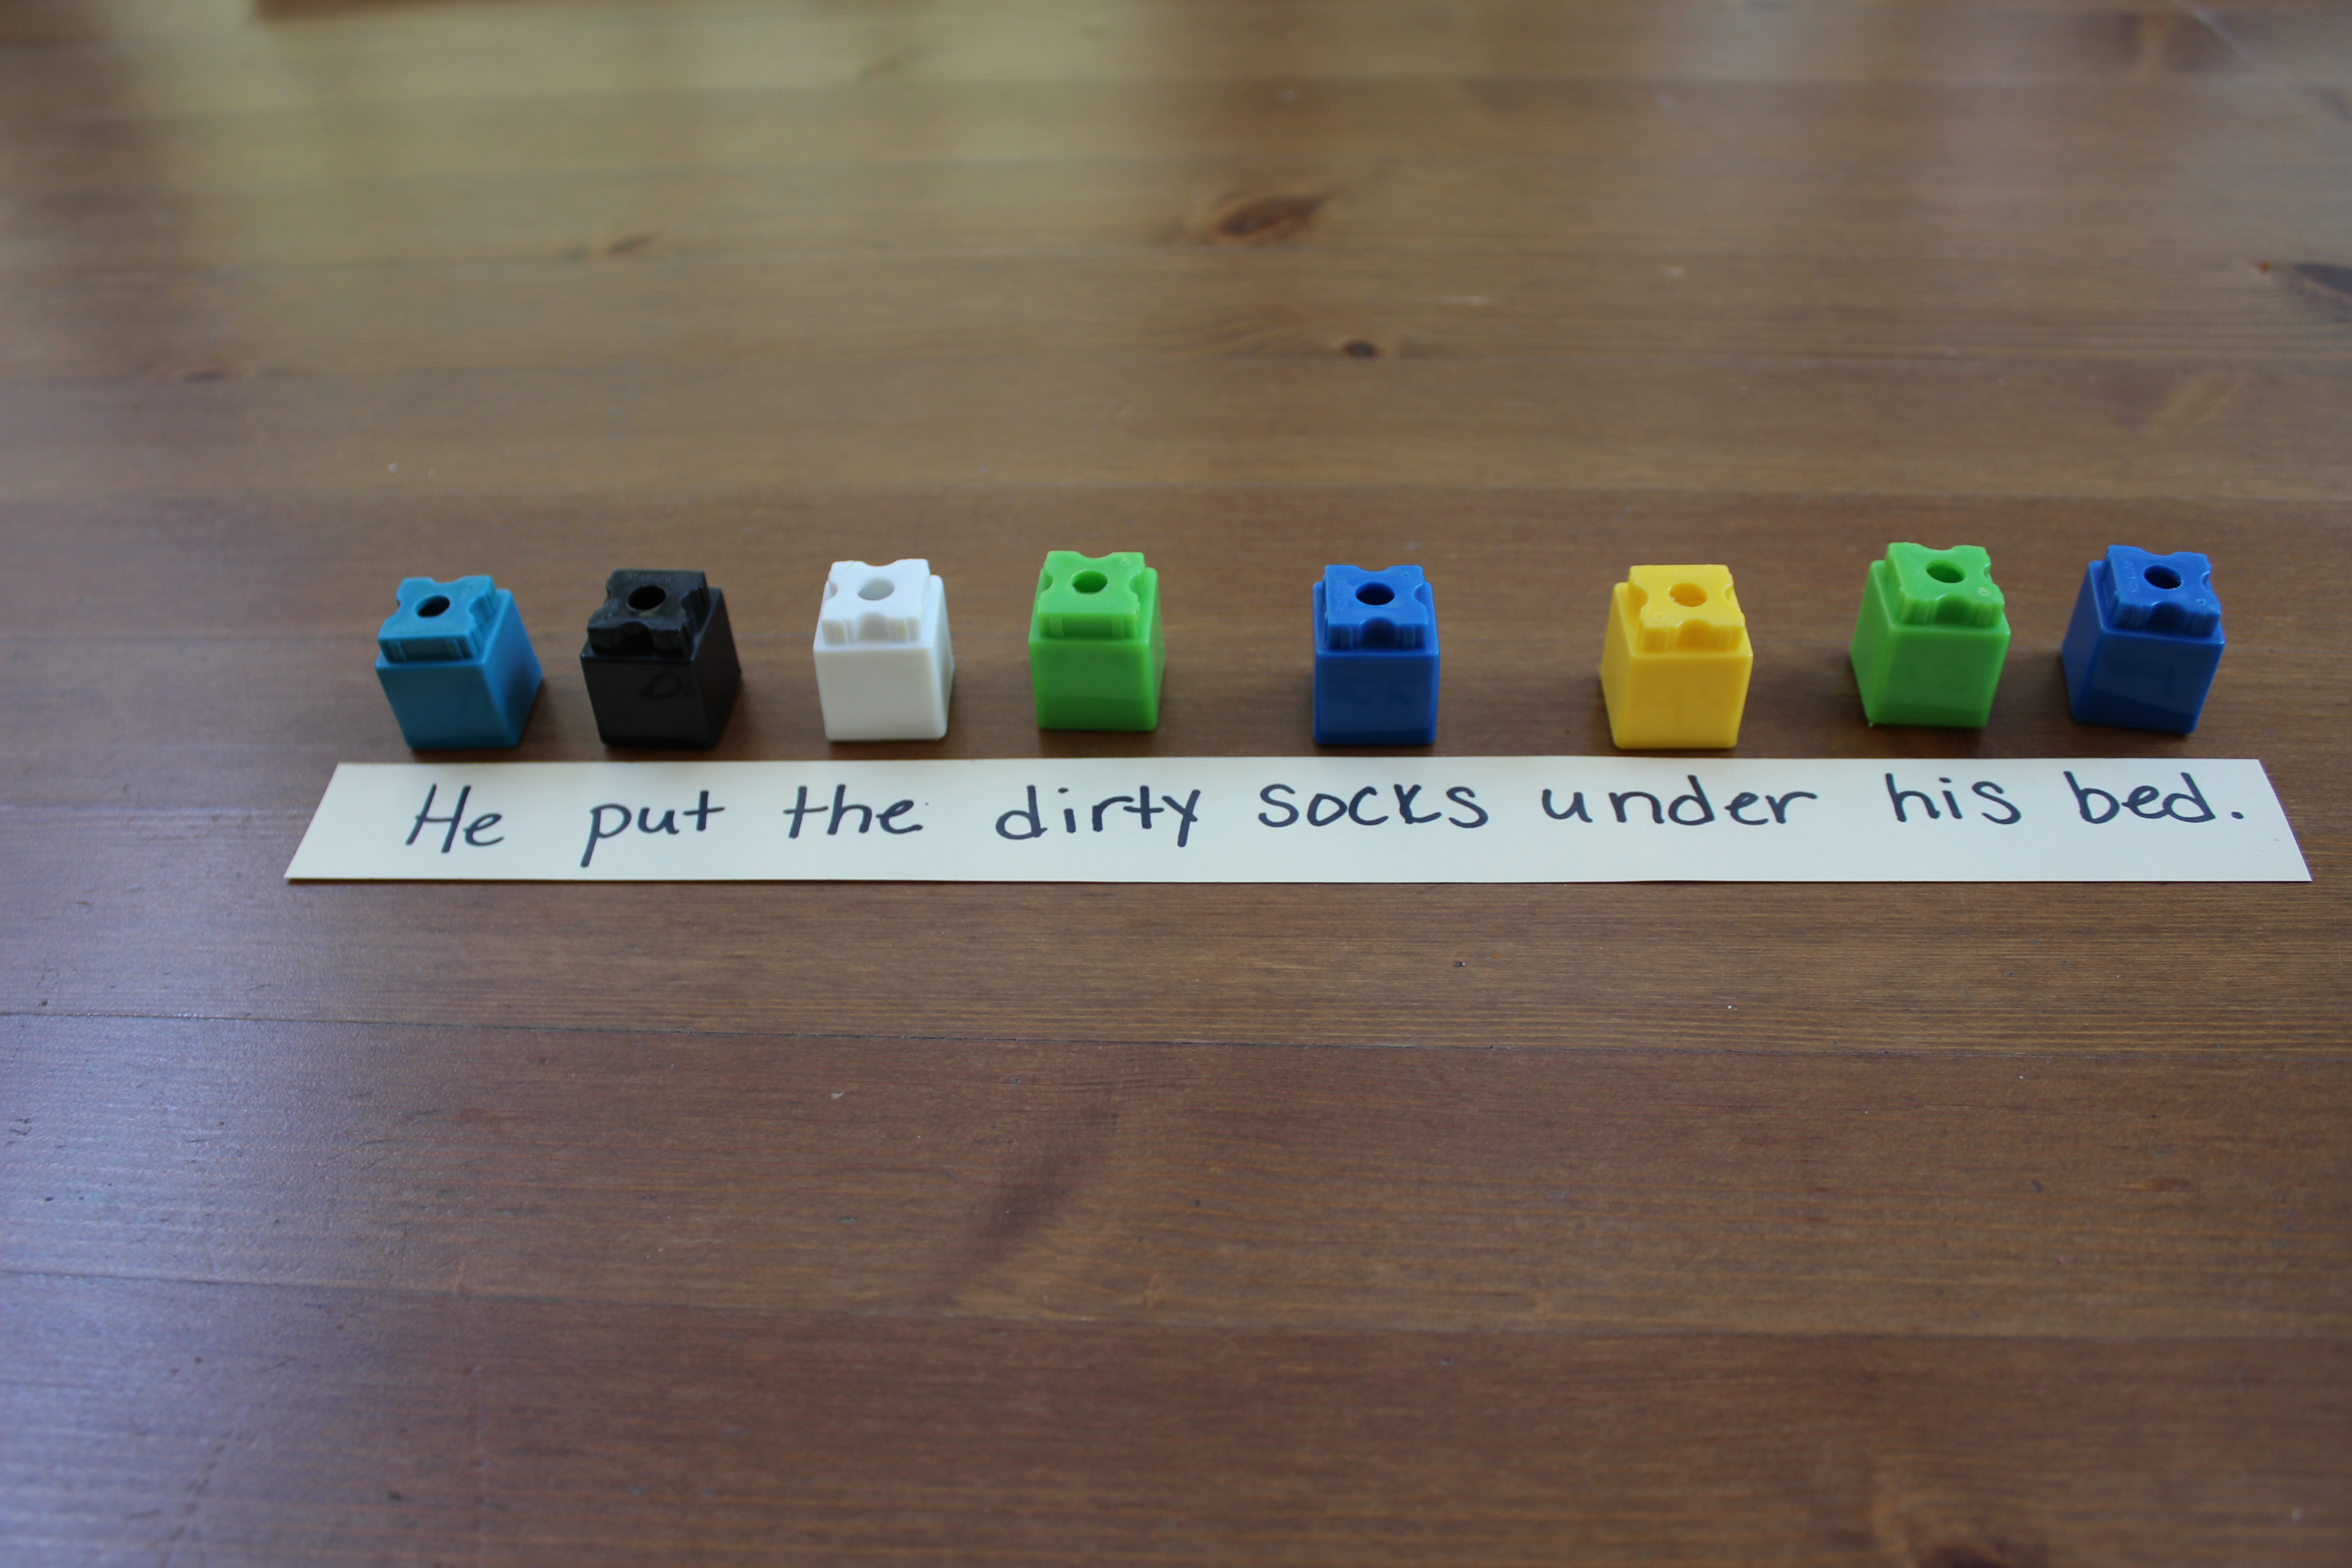
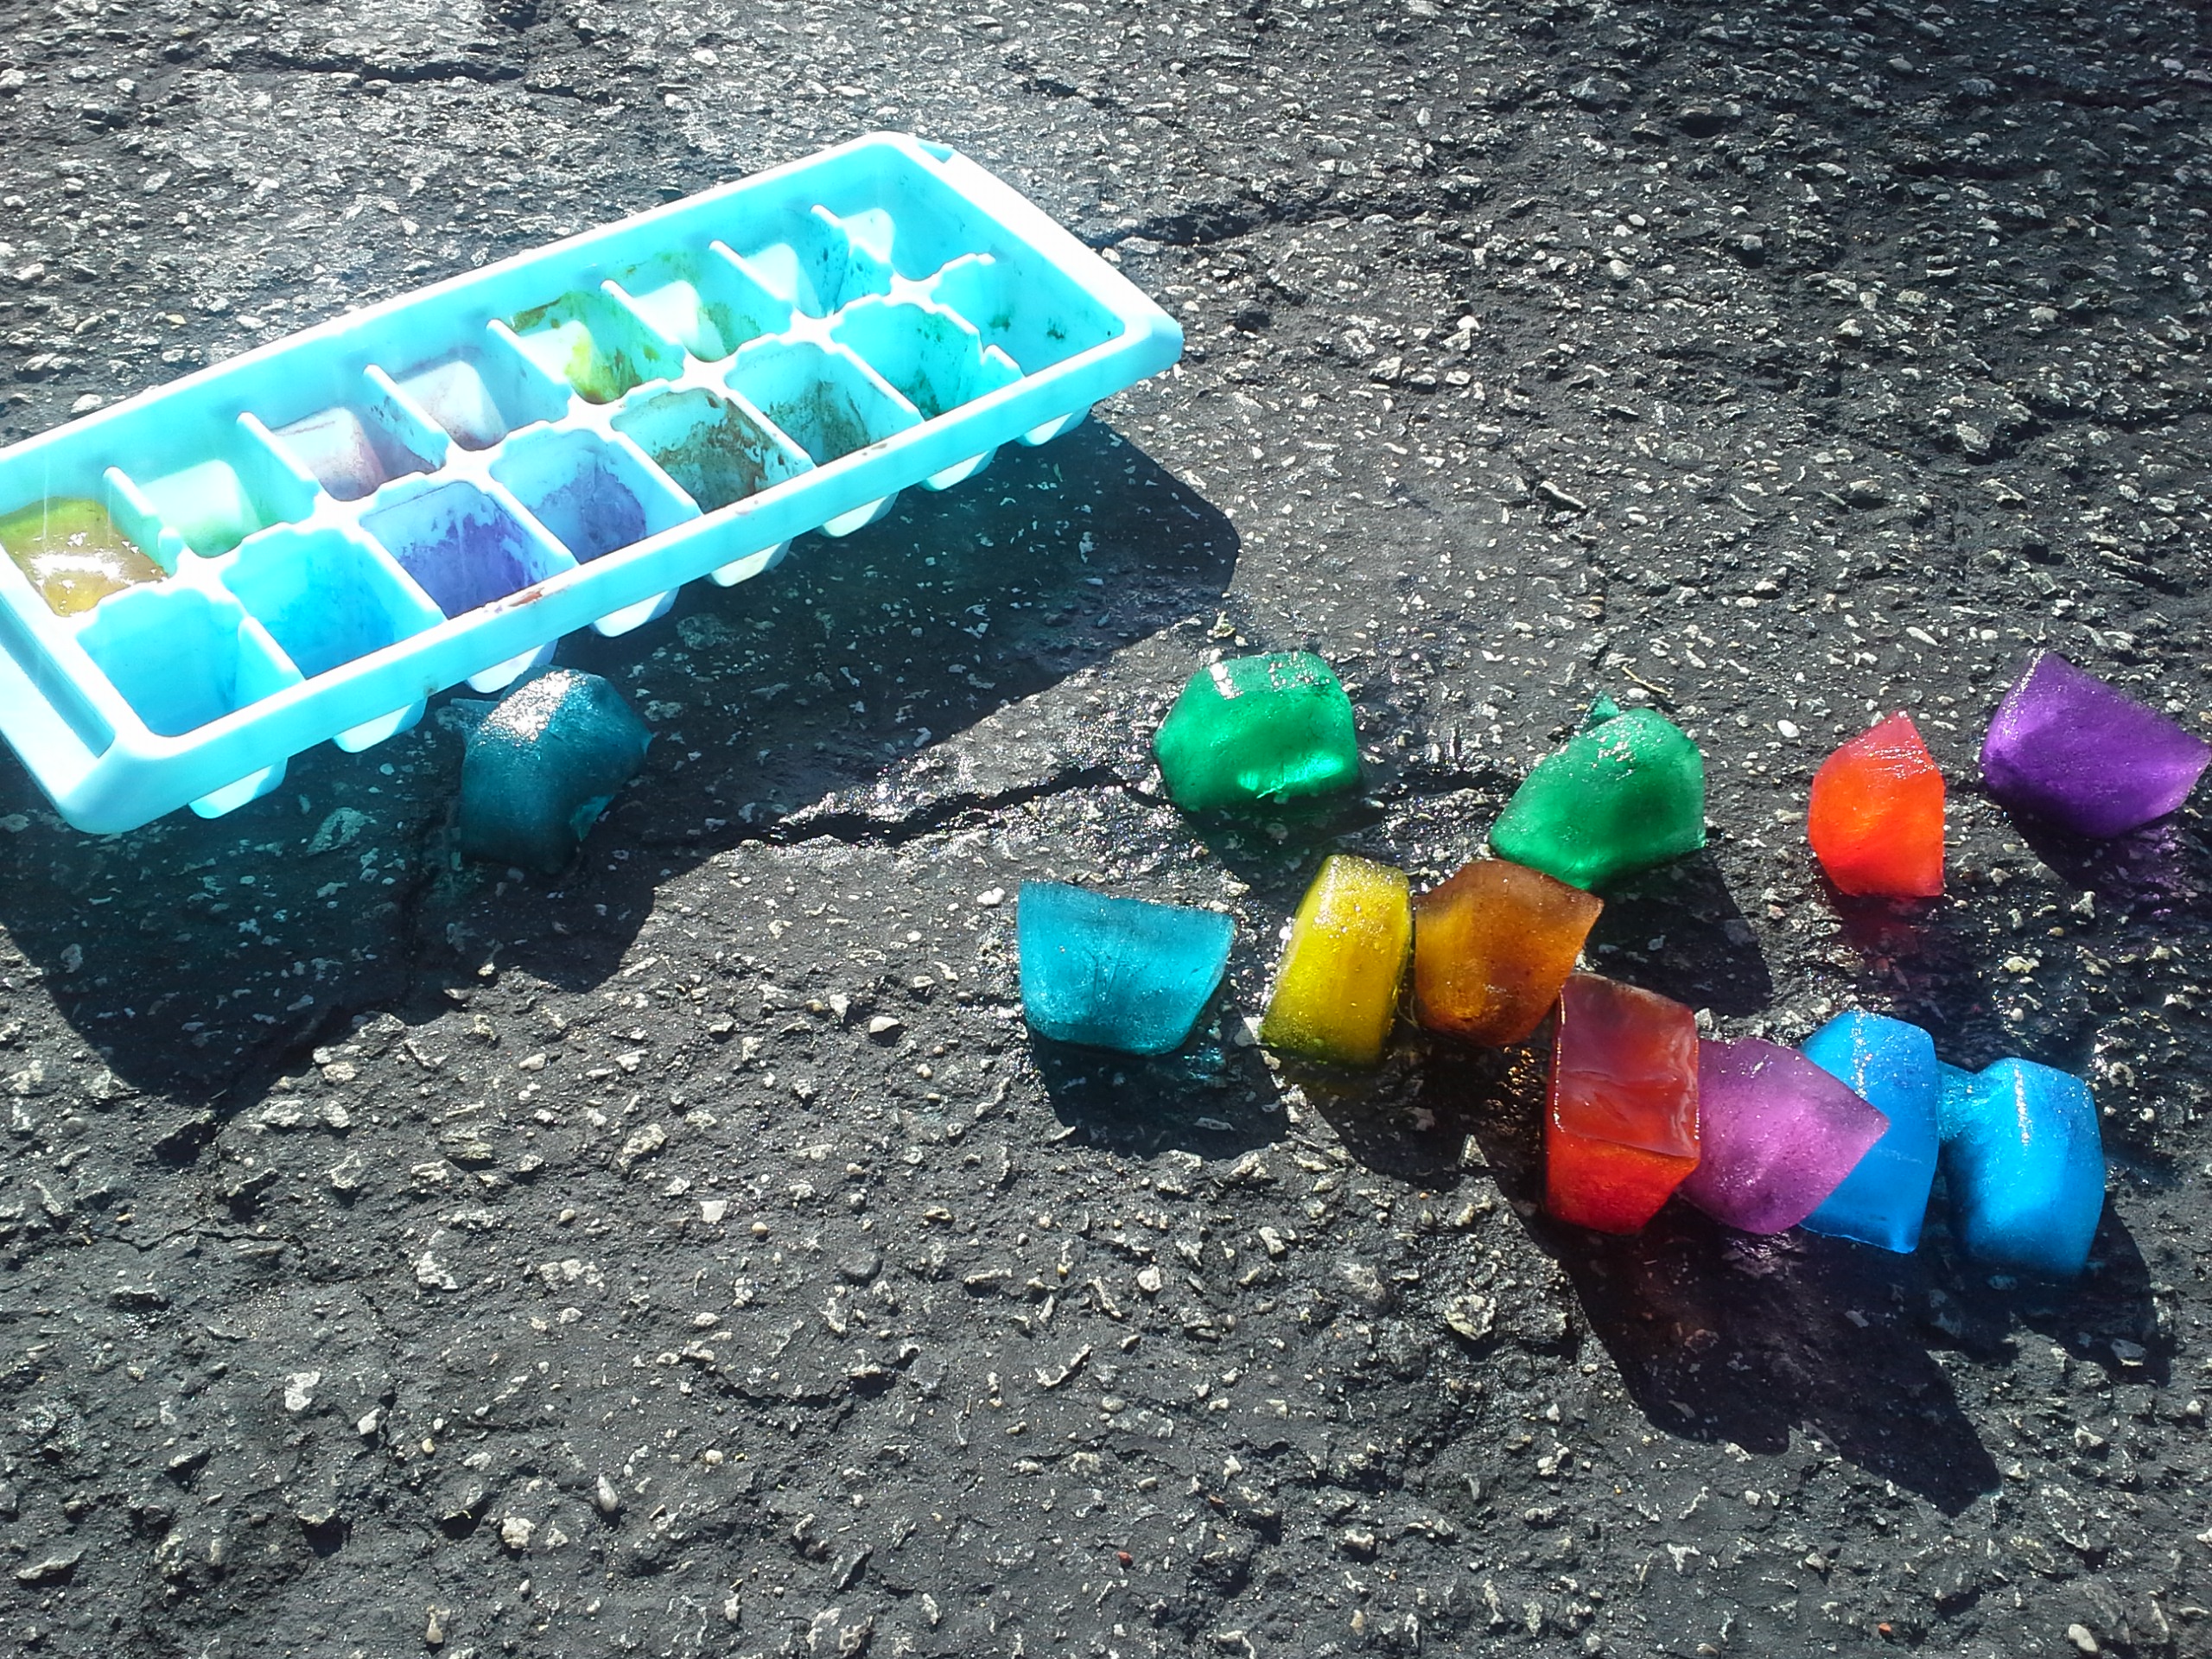
Using this color code, the first thing we used the cubes for was identifying parts of speech.  I wrote sentences on a sentence strip and had my son place a cube on top of each word identifying it’s part of speech. Once each word was identified, he linked the cubes together to represent the sentence.


Empowering Parents To Teach: Grammar With Linking Cubes

Color coding each word


When we first started this activity, he did not know all of his parts of speech. After a few times doing this activity, he knew them all.  I used a simple assessment to determine what parts of speech he already knew.  As we worked, I concentrated on discussing/explaining the parts of speech that he did not know yet.


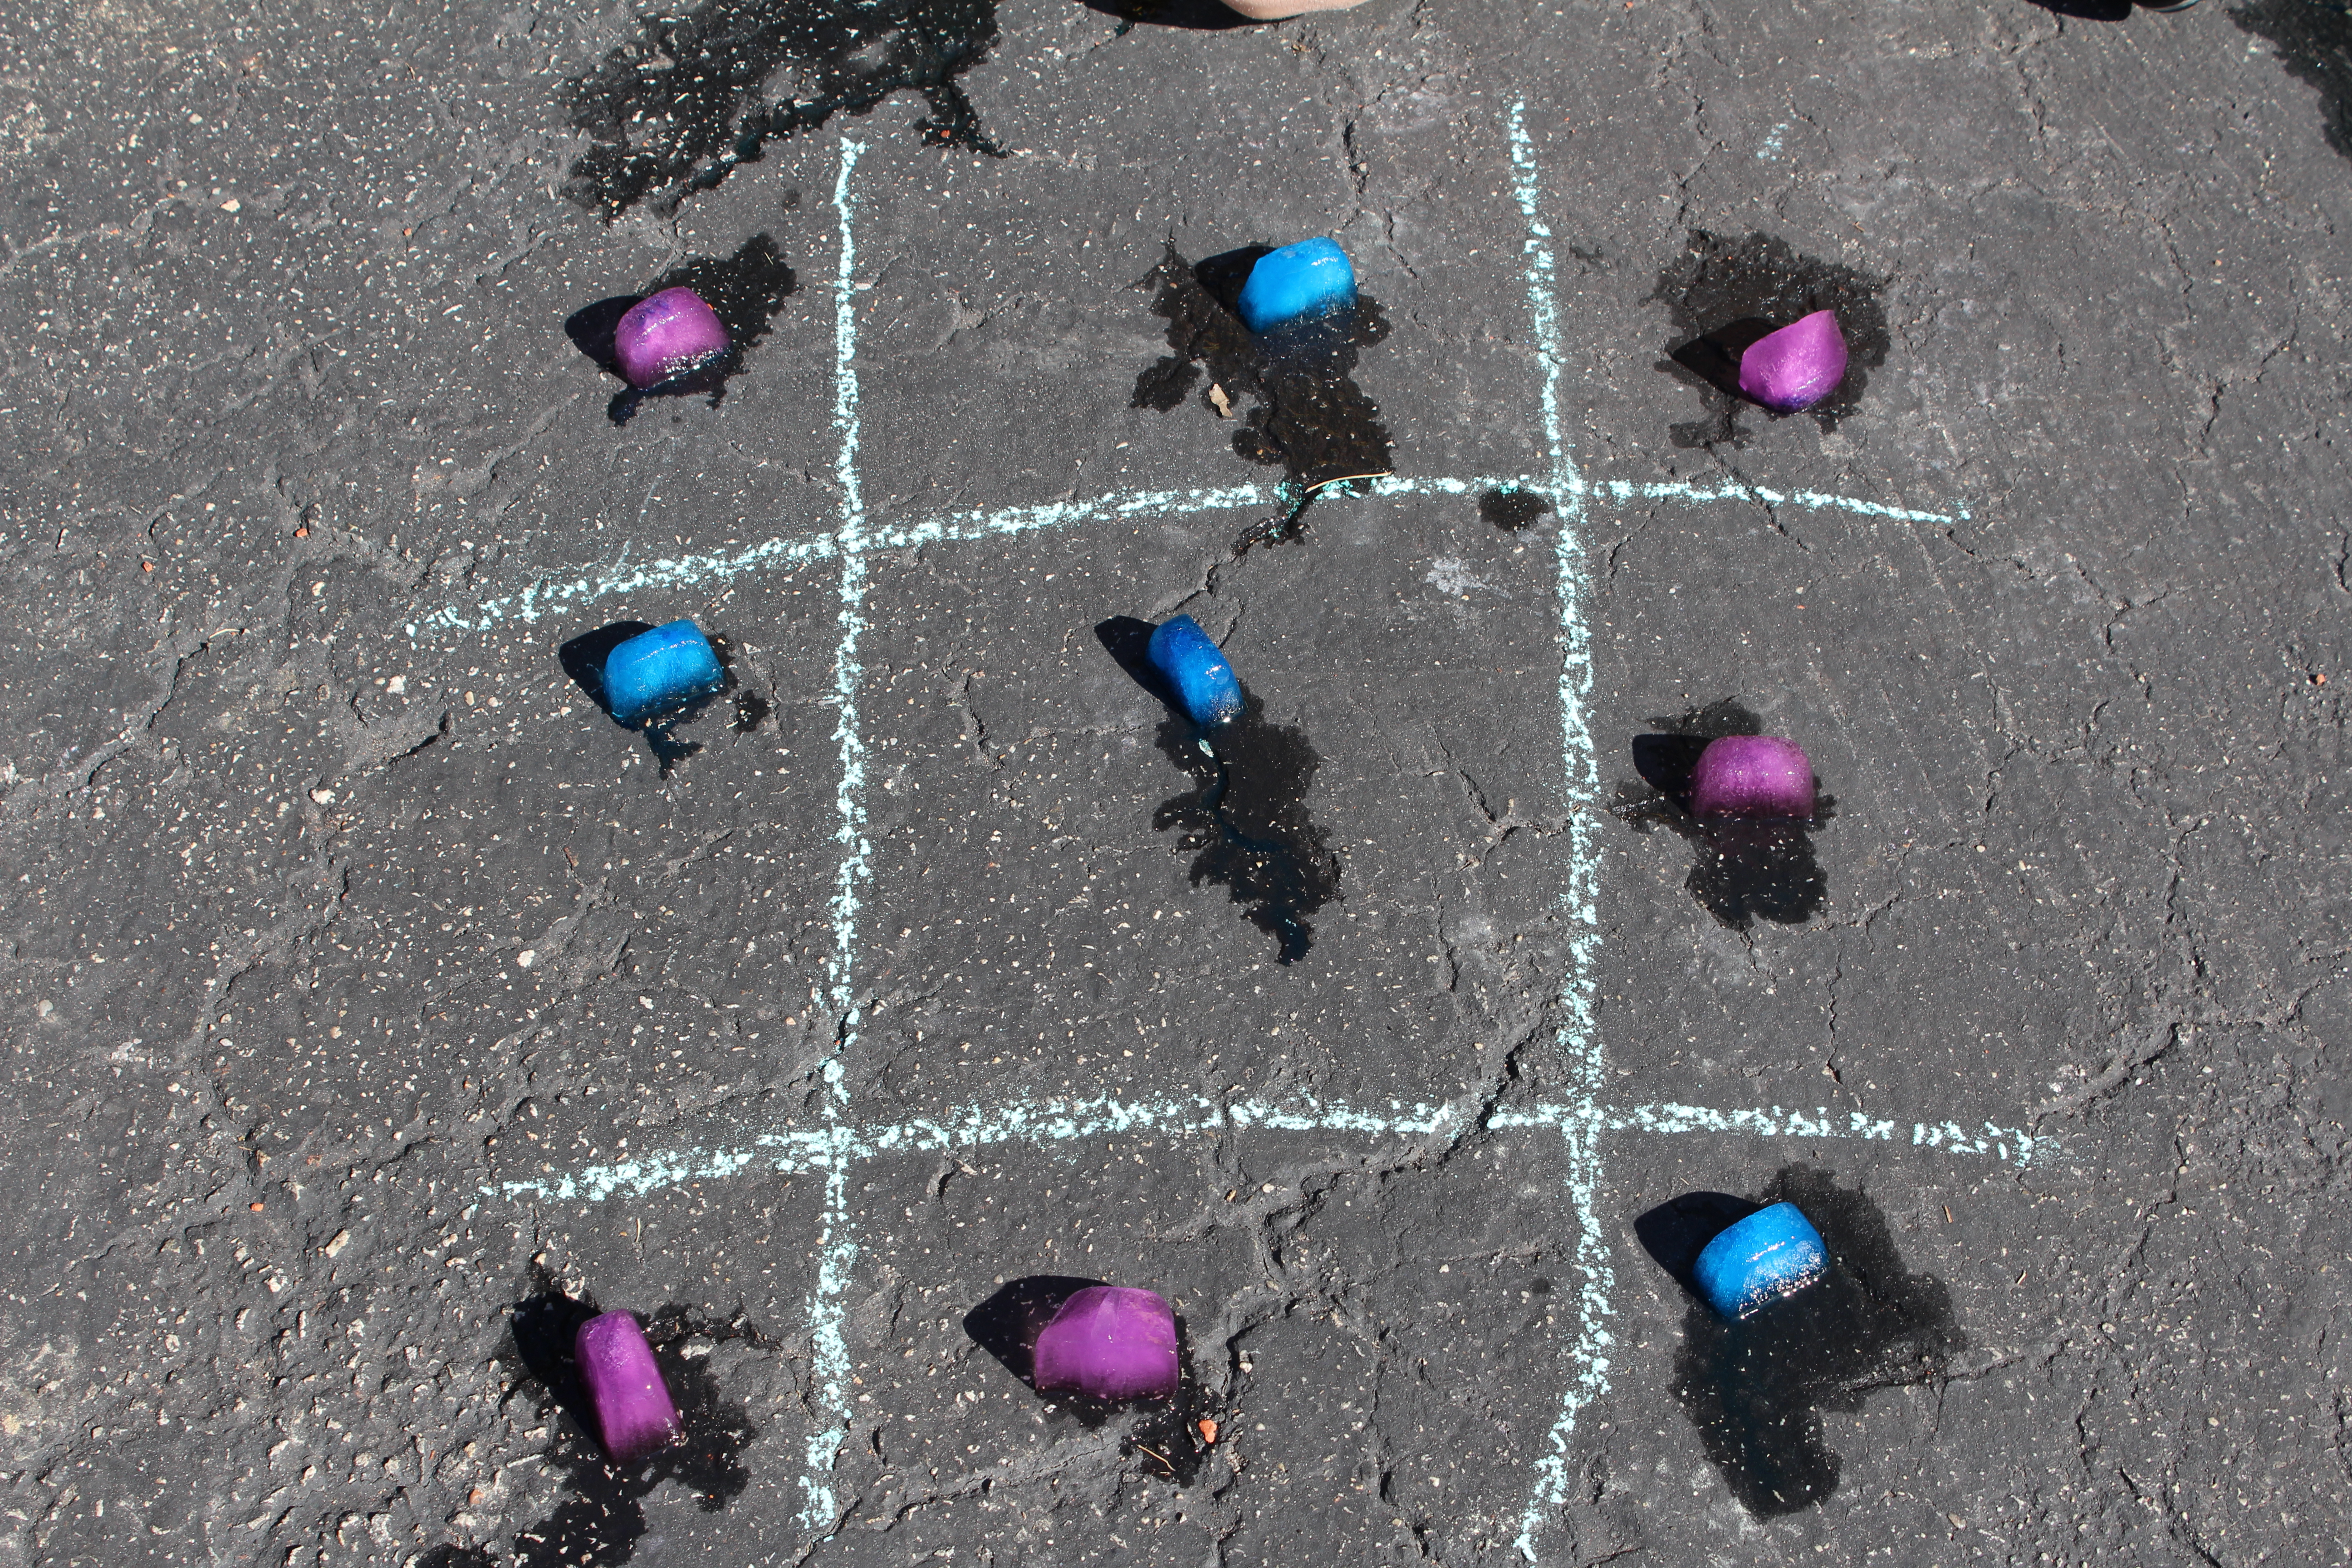
An interesting thing happened as we worked, my son began to notice patterns in the colors, which of course correlate to patterns in the sentences. It was a visual representation of how the words are often found together in sentences.  On top of that, some of the words were a little tricky to ascertain it’s part of speech.  Naturally, many words can be more than one part of speech depending on how it is used in the sentence. It’s not also so cut and dry, he really had to think! This led us to research certain words and understand the grammatical uses of the word to help us determine what part of speech it was in that particular sentence.  By doing this, we got into some great discussions. I never thought I was be discussing grammar so critically with a nine year old!


Noticing patterns

Noticing patterns


Once my son learned all nine parts of speech, we turned our focus to other aspects of grammar, such as prepositional phrases, compound sentences, etc.


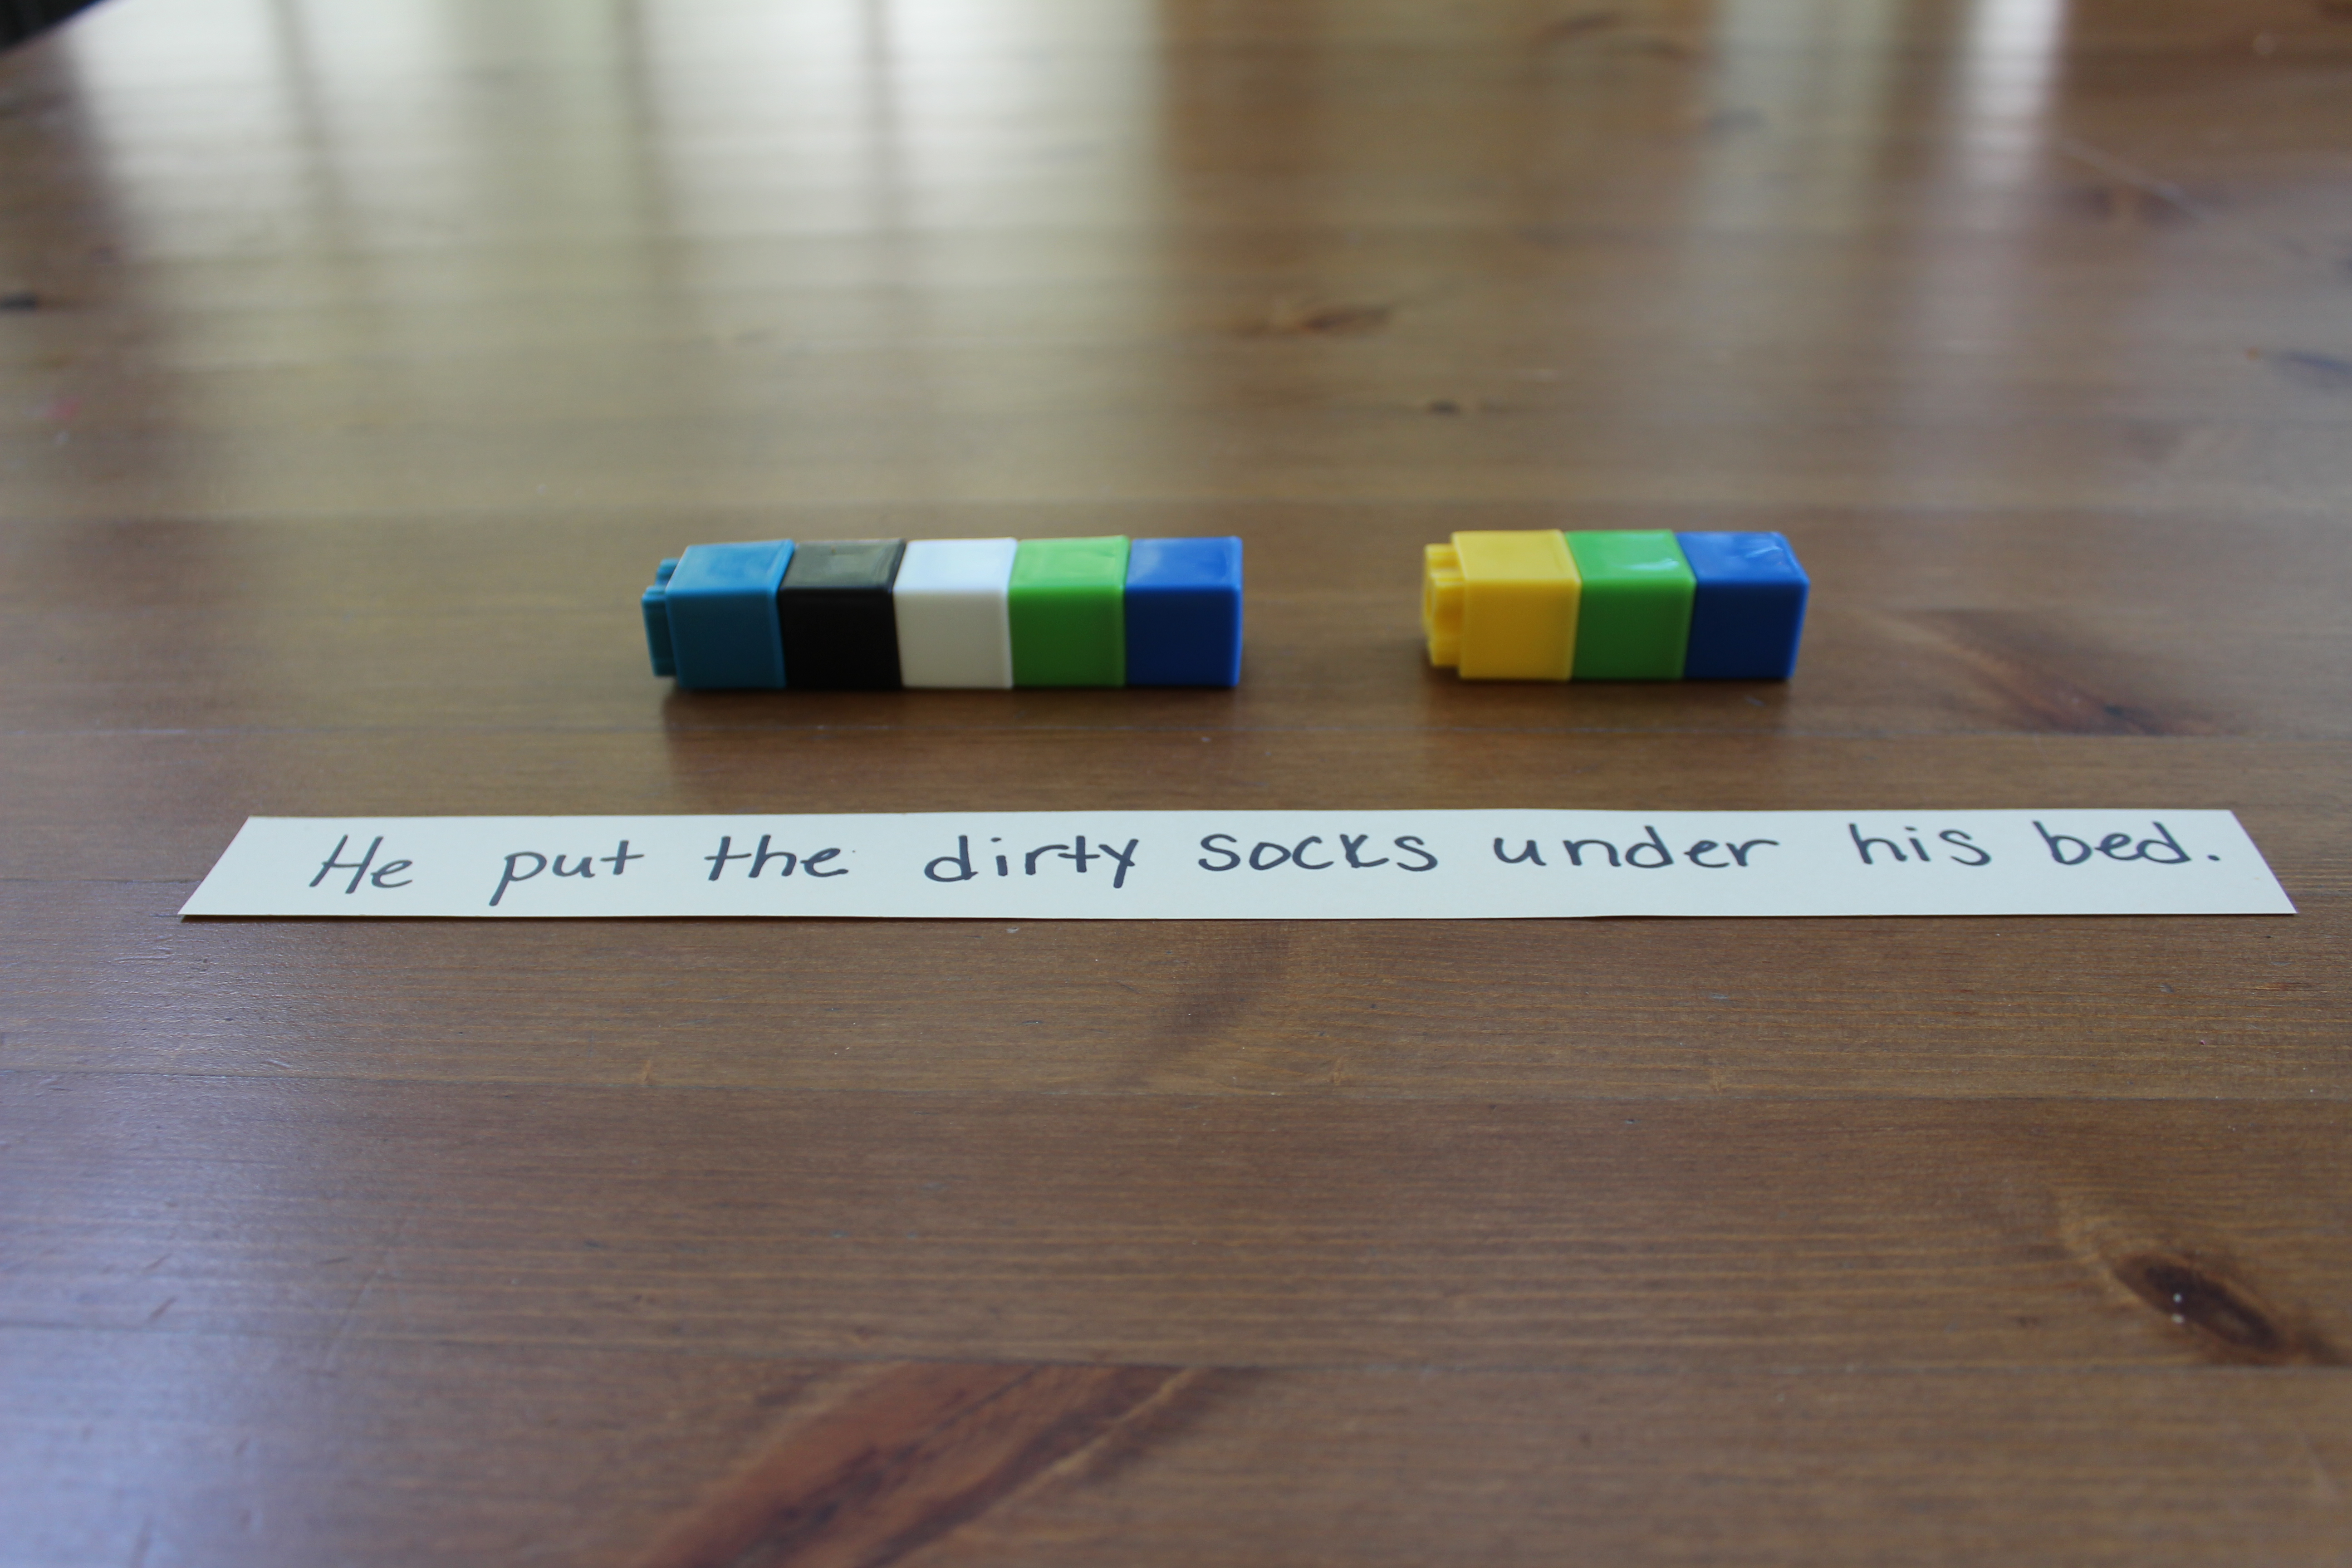
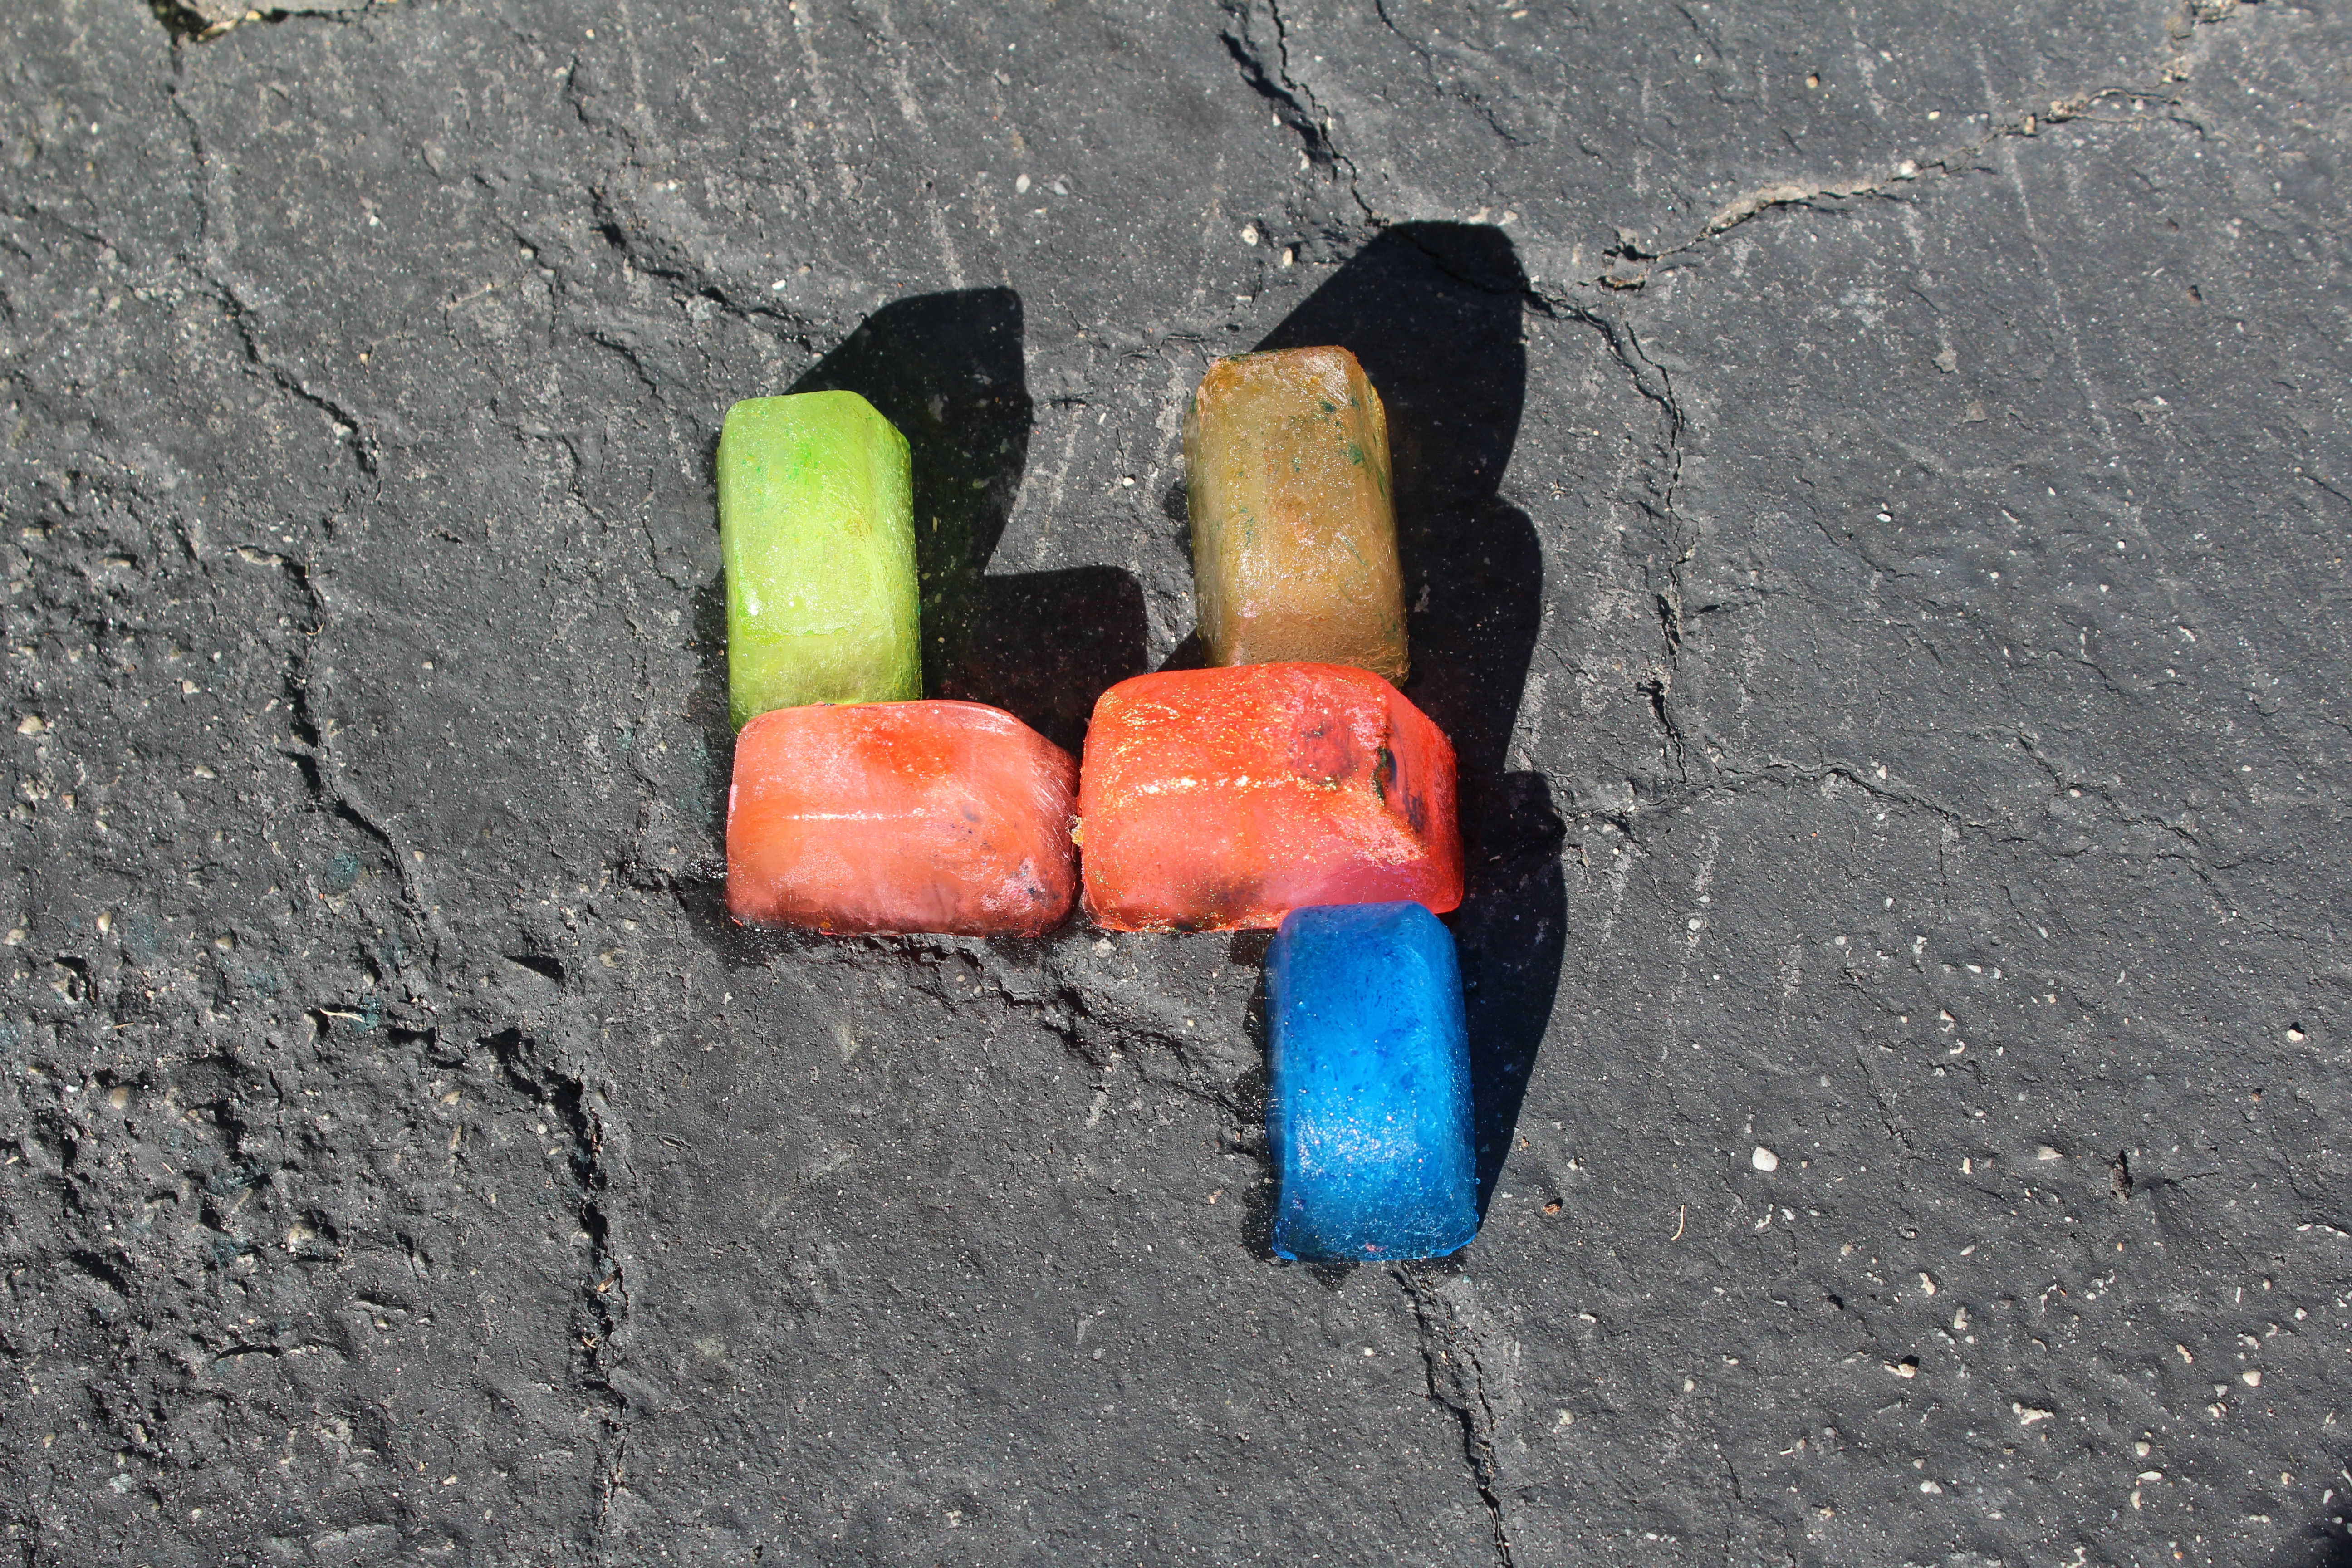
To illustrate a prepositional phrase, he first determined the part of speech for each word in the sentence and put down the corresponding cube.  Next, he had to find the preposition and figure out which words were working together to make the prepositional phrase. Once the words were identified, he linked just the prepositional phrase to show the relationship of the words. At first, this was new to him so we worked together. It only took one example, and he was able to do this independently with new sentences.


Example:


Color coding each word

Color coding each word


Empowering Parents To Teach: Grammar With Linking Cubes

Linking the prepositional phrase


Empowering Parents To Teach: Grammar With Linking Cubes

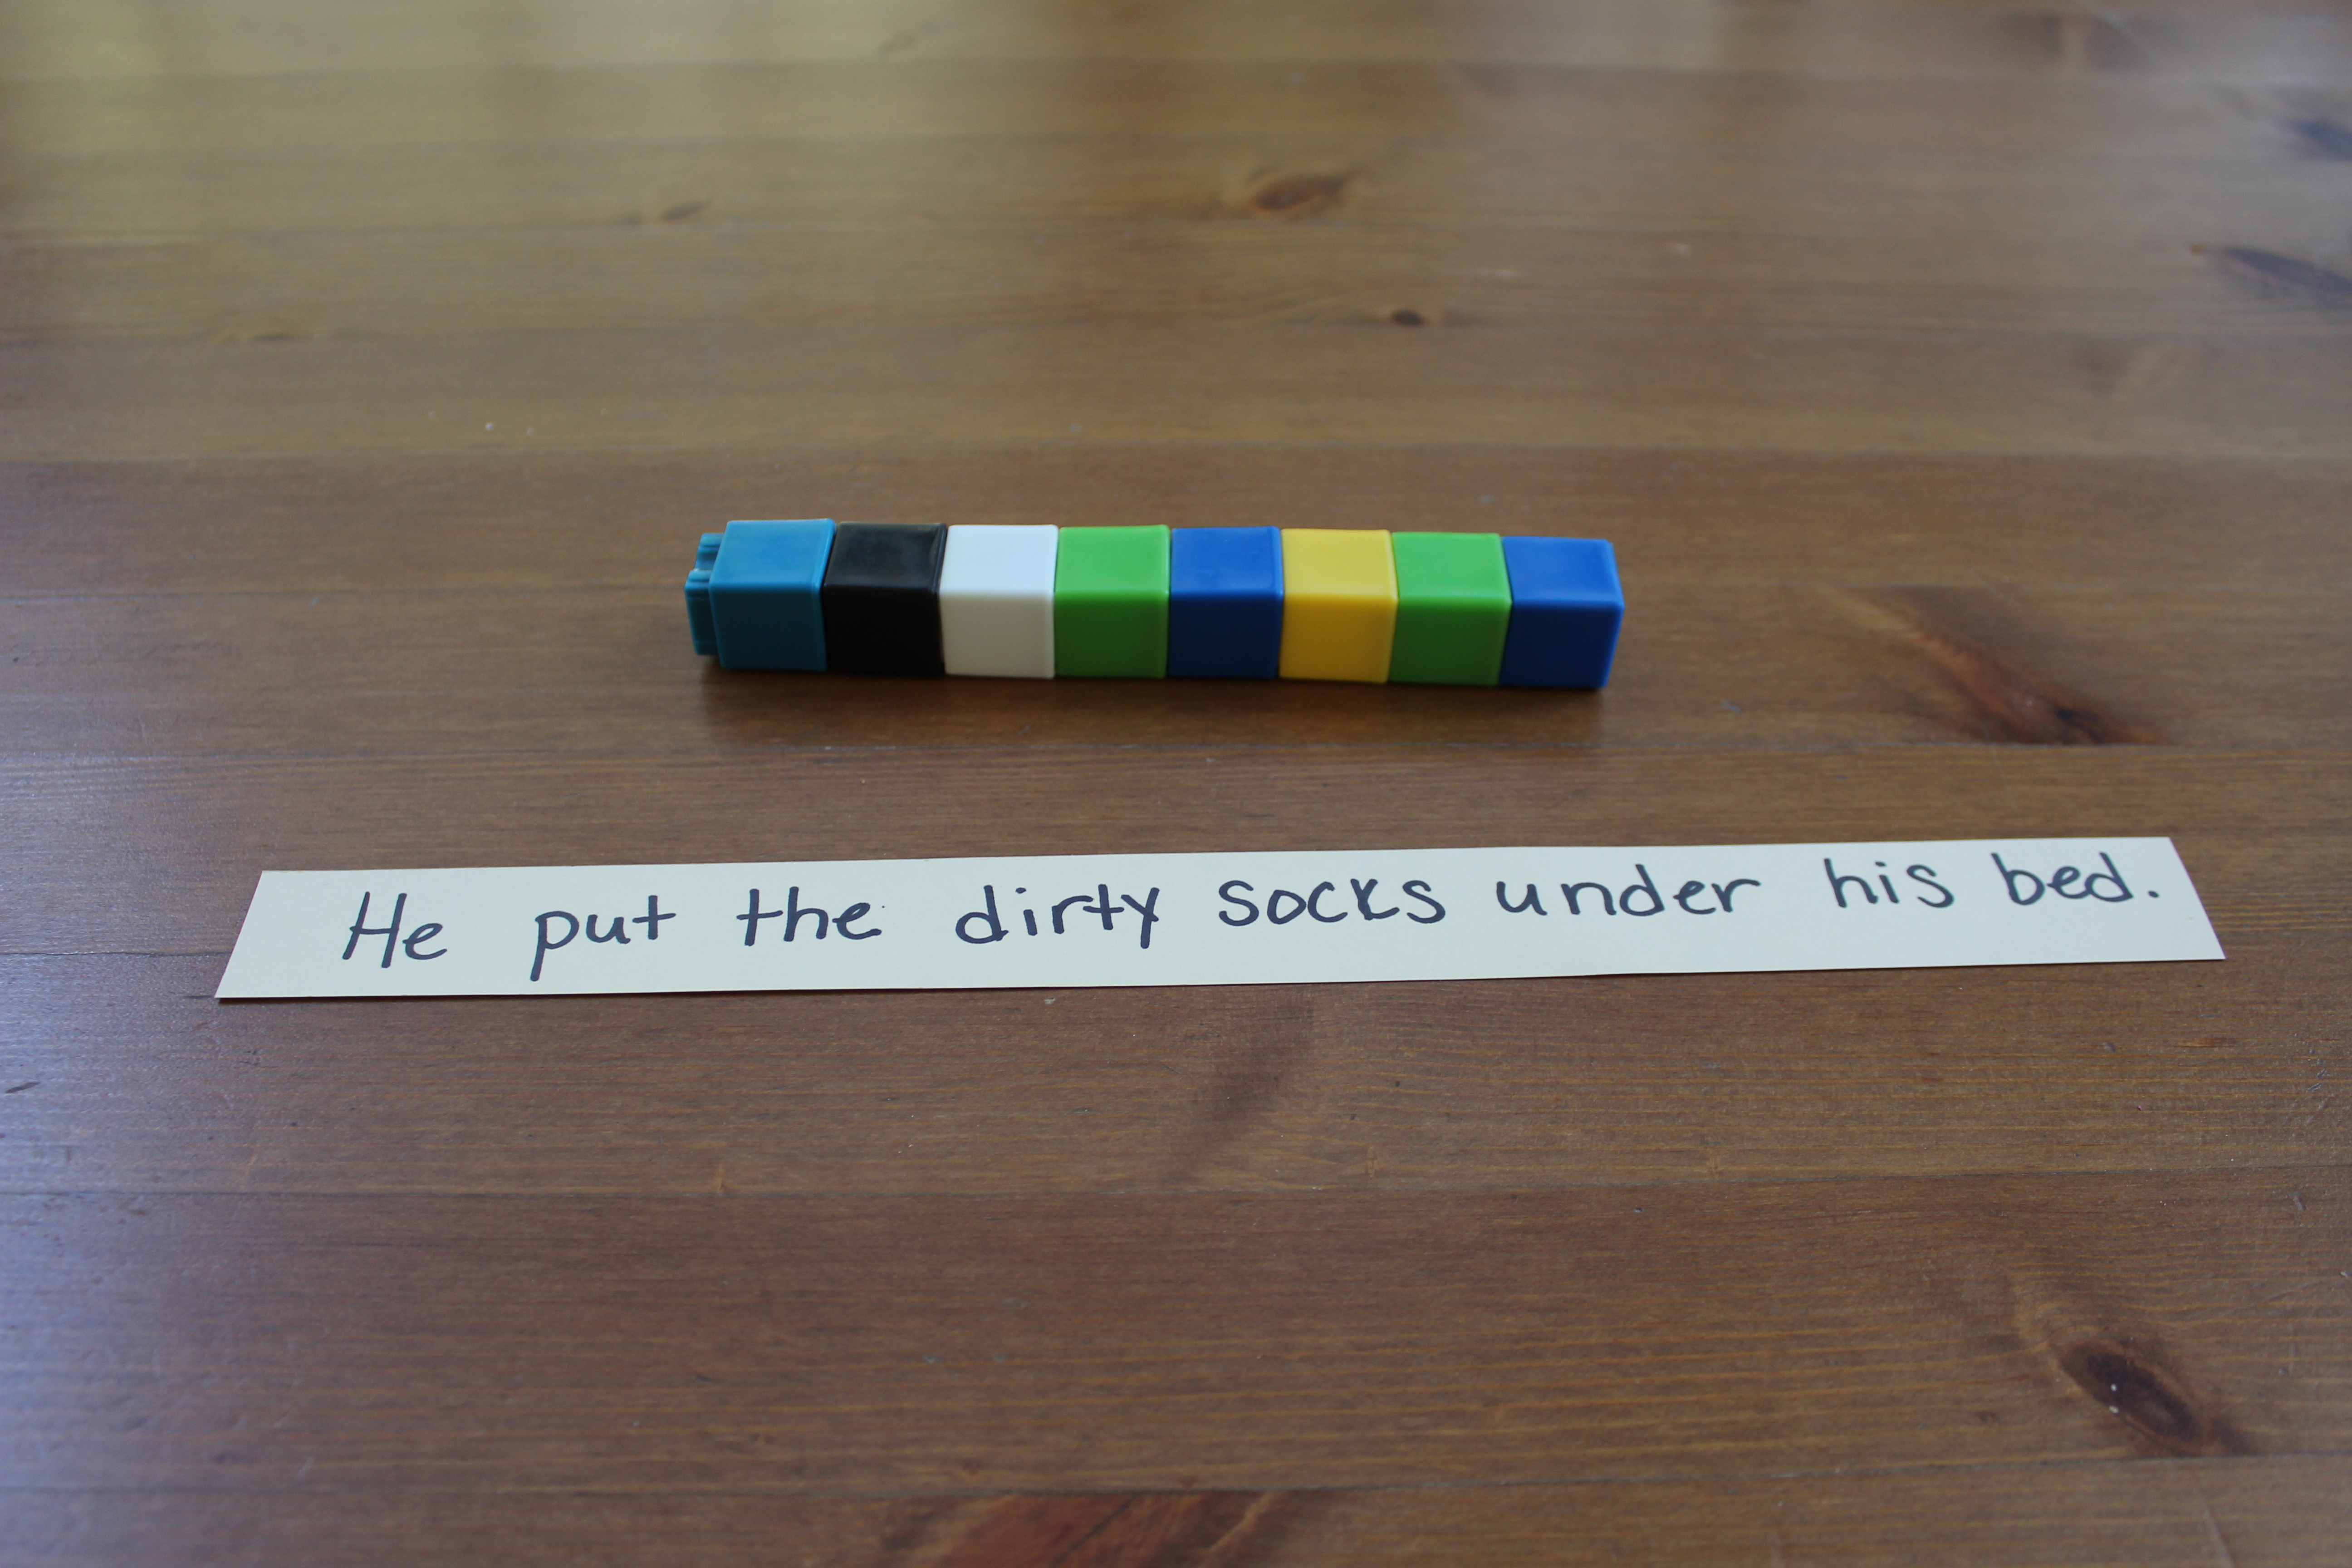
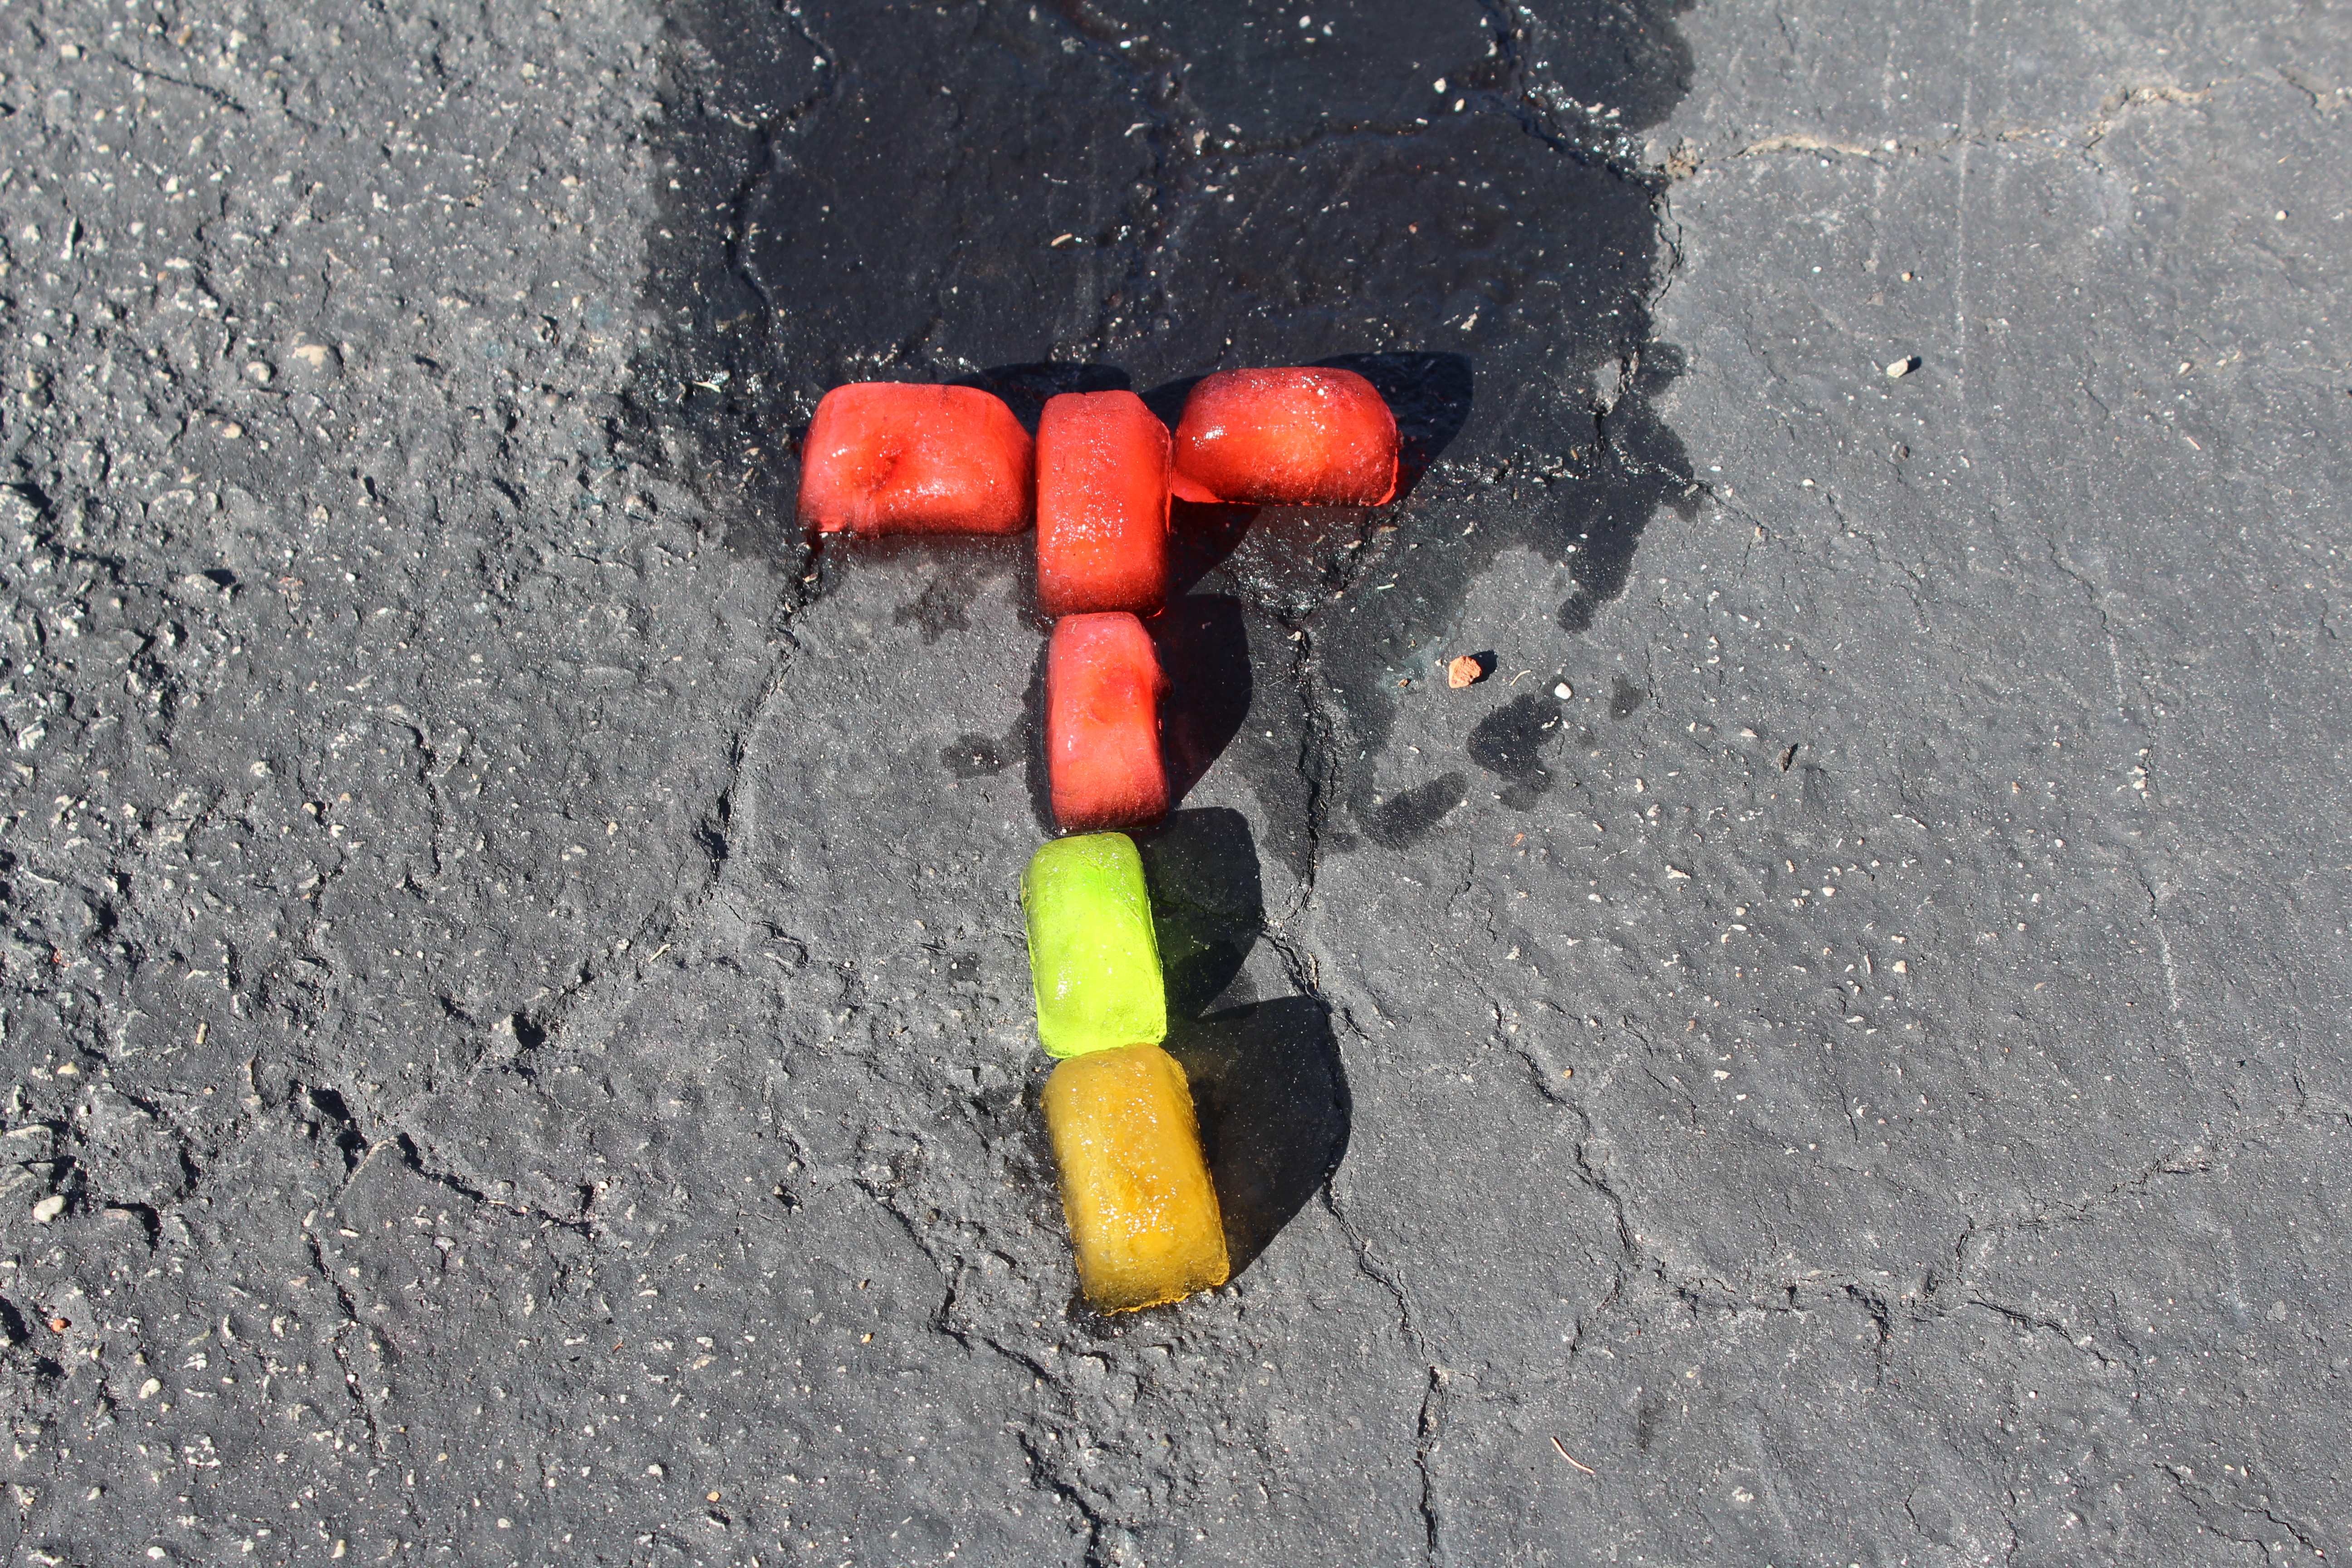
Combing the beginning of the sentence


Empowering Parents To Teach: Grammar With Linking Cubes

Putting it all together


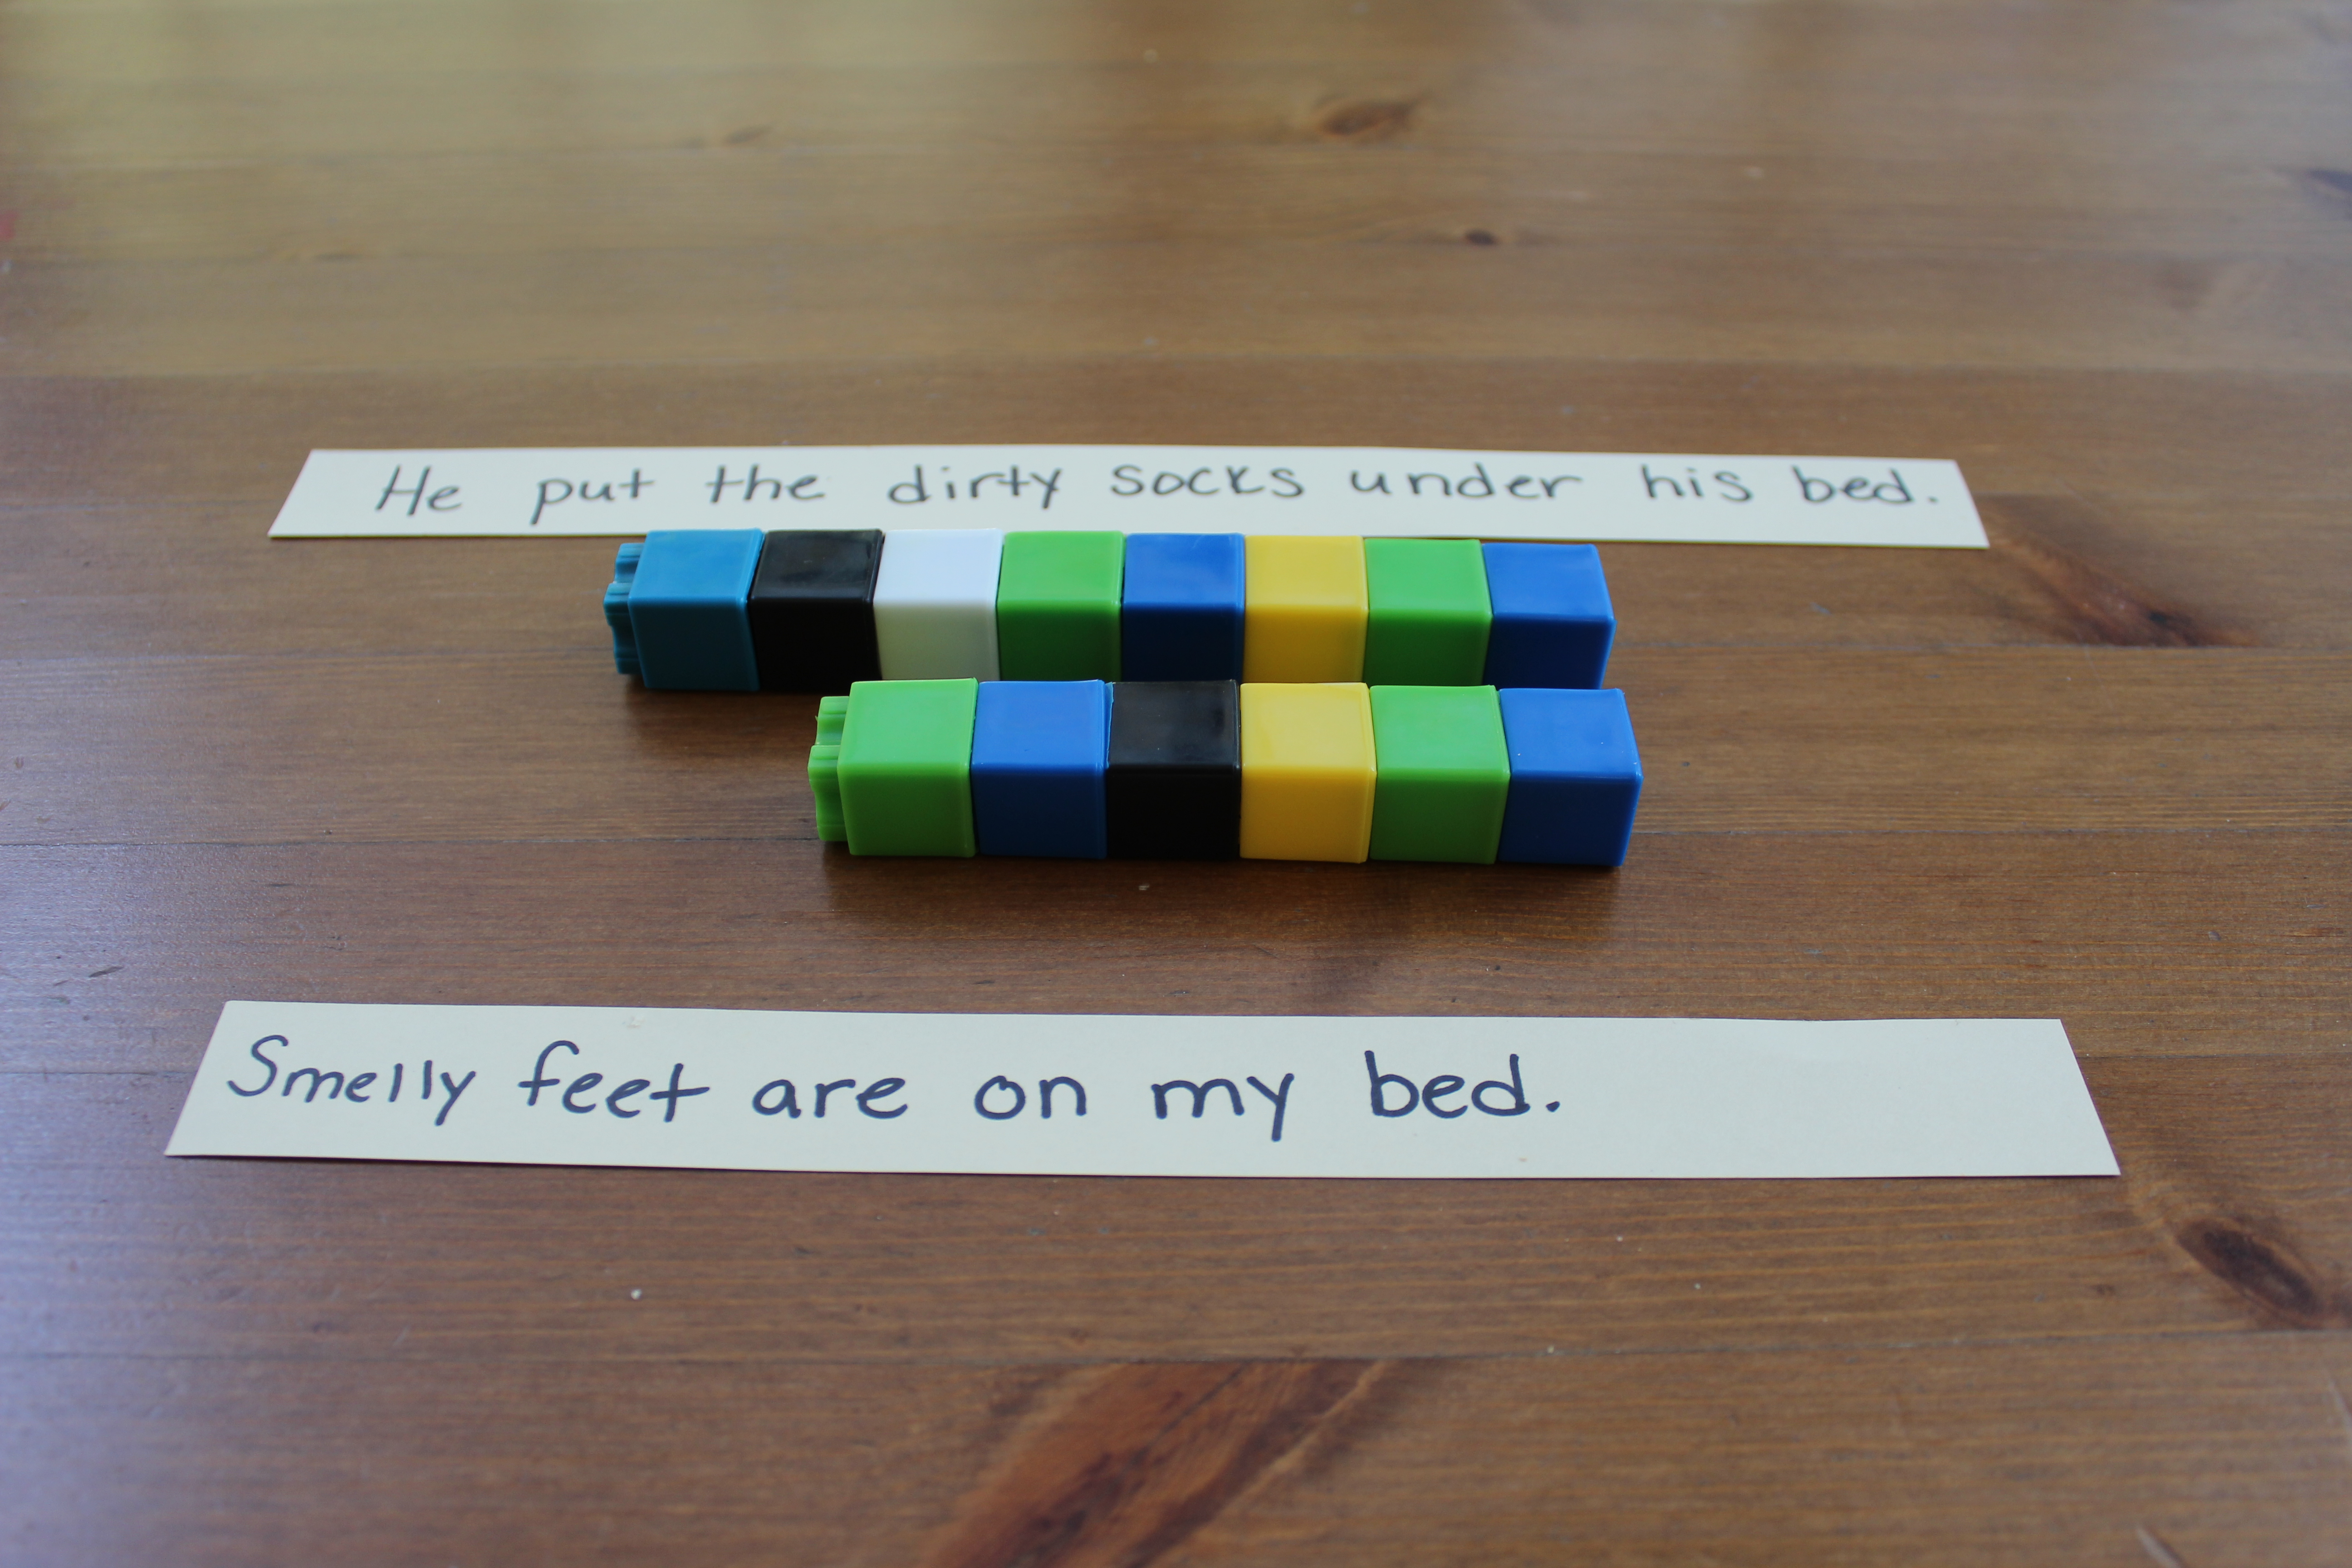
This same idea can be used to illustrate compound sentences. Using two sentences with their corresponding cubes, you can show how two sentences can be put together using a conjunction.


You can illustrate how a pronoun takes the place of a noun. Locate  pronouns in a sentence and determine what word the pronoun was referring to.


You can connect the subject or predicate. You can connect clauses. You can connect appositives.  The list goes on and on.  You can use the cubes to show so many different language patterns and parts!


Naturally, you will want to incorporate the things that you teach your child about grammar into their writing projects. When your child goes through the editing process in writing, have him or her look for grammatical errors.  Help your child recognize the elements that you’ve taught with the linking cubes in his or her own writing. Can s/he use what was learned to improve his or her writing? You can also point out great examples of grammar usage in books and stories that you read together. Reading is continually essential in your child’s education. It is through reading that your child hears proper grammar.


Read, write, and link to better grammar.   :)


Empowering Parents To Teach- eeboo give away

eeboo Tell Me A Story Cards- Give Away


This contest is now closed. The winner has been contacted and the prize was mailed.


As a thank you for being such a wonderful part of the Empowering Parents to Teach community, I’m giving away one package of these adorable story telling cards made by eeboo to one lucky winner.


The illustrations on these cards are perfect for children of many ages. Your child can tell you a story orally or create a written tale based on the pictures.  You can even use these with toddlers describing what you see in the illustrations!  I love open ended materials like this.  As an added bonus, they are not a bug, bulky toy adding clutter to your toy room!  They are small enough to put in a purse or bag, perfect for times when you need something handy, like in a restaurant, waiting in a doctor’s office, going on an airplane, or entertaining a little one at a sibling’s soccer practice!


How to enter:

There are two ways to enter:

1. Visit Empowering Parents to Teach on Facebook.   “Like” the Give Away status with the picture of the cards and leave a comment saying, “Just entered to win.”  You must leave a comment, or I can’t tag you to let you know if you’ve won!

2. Follow us on Twitter and tweet the phrase, “@EmpoweringPTT, Enter me to win!”  You must use include @EmpoweringPTT in your tweet or I won’t see your message!


These social media outlets are not in any way responsible for or in endorsement of this contest.


Details:

The contest begins on Wednesday, Feb.18, 2015 at 7am PST/4am EST and ends at 8pm PST/11pm EST on the same day.  A winner will be chosen at random and notified via Facebook, Twitter, or email. The winner must respond to this notification within 48 hours. If the winner does not respond within this time frame, the prize is forfeited and a new winner be will chosen at a random. Open to United States residents only.


Good luck and thank you again for being so awesome :)


Empowering Parents To Teach- Greek and Latin

Greek & Latin Roots and Affixes

With over sixty percent of English words stemming from Greek or Latin, one can see why familiarity with these roots and affixes can be valuable to students.  


Many prefixes, roots, and suffixes come from Greek and Latin.  These roots and affixes can be directly taught and studied or learned as the words are found in reading and writing activities.  For example, when we studied ecosystems in our homeschool, the words “biotic” and “abiotic” came up in our reading. This gave us the perfect opportunity to learn that “bio” means life and it comes from the Greek language. The suffix -ic, comes from Latin and means characterized by, or pertaining to.  Knowing this, it could help my son remember that the word biotic means the living things in an ecosystem. It can also help him in the future to solve an unknown word with “bio” or “ic” in it.


We also learned that the prefix “a” can mean not. With this knowledge, he can remember that abiotic refers to the non-living things in the ecosystem.  “A” means not and “bio” means life and “ic” means characterized by or pertaining to. By knowing these roots the definition is spelled out for him. Once again, these roots and affixes show up in many words, so by knowing them he is adding to a knowledge base that can help him determine the meaning of an unknown word.


To keep this knowledge, it’s helpful to record the roots and affixes that are learned.  I created a simple table to help your child record and organize the roots and affixes that arise in his or her studies. In our homeschool, I have my son record new roots and affixes that we learn along the way. He can then use the table as a reference in figuring out the meaning of new words that he encounters.  With enough recording and referencing, these roots and affixes can be memorized.


Making a chart is simple; You can easily create a chart to meet your child’s needs. To make things even easier, you can click on the link below for a free printable table to use:

Greek and Latin Roots Printable Table


For a great reference to look up the meaning unknown roots and affixes to include on your list click here.


Empowering Parents To Teach- DIY Printables

DIY Printables For Coloring

There are many playful ways to strengthen a child’s fingers for writing–  opening clothespins, mashing play-doh, squeezing a glue bottle, cutting with scissors, and building with Legos to name just a few.  Even with all of this, sometimes kids still struggle with taking command of a writing utensil and forming their letters when the time comes.  You may want to increase the type of activities that require your child to use a pencil, crayon, marker, or pen as your child gets older to provide more practice.


Empowering Parents to Teach- DIY Printables


Coloring is obviously a great fine motor activity because it requires the child to hold a pencil, crayon, marker, or colored pencil and control their movements to the best of their ability.  If your child resists practicing writing their letters (been there!), try encouraging your child to color them instead.  The best part of all, you can easily create your own coloring pages with letters, numbers, words, or sentences!


It takes time, practice, and developmental ability to move from writing and coloring with big movements down to small ones.  Typically, the younger a child is the bigger you want to make the letter or words. You can gradually make the open space smaller as the child’s writing and coloring matures.  However, if you have a little one that totally rocks at handwriting and coloring, make the opening space small for them. Or, if you have a big kid that struggles with coloring, keep the opening a little larger.  That’s the beauty of making your own pages, you can make it to suit your child’s needs!


Here’s how to do it:

  • Go to Microsoft Word
  • Click “insert” tab
  • Click on Word Art
  • Select the first type of word art
  • Type anything you want- letters, numbers, words, sentences
  • Choose your font
  • Drag the text box to the desired size
  • Print it out


Things to make:

Letters

This example has one letter taking up the whole page.  This would be good for young ones still learning to control a crayon.  You can make it smaller if needed.


Empwering Parents To Teach- DIY Printables


Numbers

Empowering Parents to Teach- DIY Printables


Sight words or Spelling list words

Display the sight words on a word wall!

Empowering Parents to Teach- DIY Printables


Child’s Name

Empowering Parents To Teach- DIY Printables


Sentence or Journal Page

Your child can color in the sentence and then illustrate it!  If they are old enough, you can even teach them how to make to sentences in Word Art.  In this example, the open space is a lot smaller.  Older kids or young ones with good control would find this a better fit.


Empowering Parents to Teach- DIY Printables


You can use this for so many things and you can adjust the pages to your child’s ability! The possibilities are endless :)


This post is linked to:

Montessori Monday