Ladybugs- Science, Math, and Art

One of our random library picks, Insect Invaders by Anne Capeci inspired us to create or very own ladybugs!  By creating these bugs, the kids engaged in hands on practice with math, science, and art.  I’ll show you how this seemingly unassuming craft is really a learning activity and possible math assessment!


This post contains affiliate links. If you purchase a book from the Amazon link, I receive a small portion of the sale at no additional cost to you.

For our nightly read aloud, I read Insect Invaders to both of my boys, age 4 and 9.  It turned out to be the perfect companion to my son’s study on food chains and ecosystems.  In the story, we follow the students as they search for two missing ladybugs and a spider.  Along the way, there is tons of information about predator and prey relationships on top of the abundant information about insects and spiders.  After learning so much about insects, ladybugs especially, I decided to have my boys create their own ladybug to reinforce some of the concepts learned in the book. I also used this opportunity to assess my oldest son’s knowledge of circles.  If your child is unfamiliar with the parts of a circle or the formulas for finding area and circumference, you could use this activity to introduce some of those concepts.


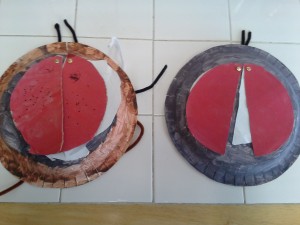
Here’s what we made:


Empowering Parents To Teach- Ladybugs

Four year old artwork on the left!


I like to be realistic in my posts.  I could attempt to create a perfectly created, pinterest-worthy ladybug to dazzle you with, but not that’s not real life. I’d much rather show you a finished product made by kids to set realistic expectations.


Materials used:

  • paper plate
  • black and red paint
  • pipe cleaners
  • paper fasteners
  • cardboard
  • computer paper
  • string and yardstick for measuring (optional)
  • pencil


Steps we took:

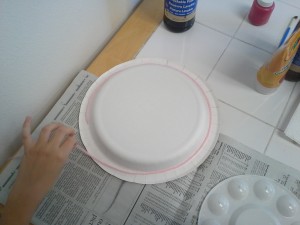
To start, we needed to set up the body parts that needed to be painted. The paper plate would be the ladybugs body and the cardboard would be the ladybug’s elytra (wing covers).  In the story we learned that ladybugs protect their delicate wings with their elytra.  To show that the elytra protects the wings we decided to use cardboard for the elytra and the computer paper for wings.  The stronger material (cardboard) had to fit over the weaker material (paper). We needed to figure out how big to cut our cardboard and paper before we could paint.


To do this we could have easily traced the circle on the paper plate onto the cardboard, but I wanted use this project to asses my nine year old’s knowledge of circles.  We did things in a more complicated manner so I could gain this information. I asked him how big the circle was so that we can make the same size circle on the paper.  To find this out, he said we would need to measure the circle.  “How do you measure something round?”, I asked. This could lead to many different responses.  For us, it led to measuring the circle with string, cutting the string, and measuring the string with a yardstick.

Empowering Parents to Teach- Ladybug

Empowering Parents to Teach- Ladybug


After he read the yardstick,  I asked what part of the circle he just measured.  He told me that he measured the circumference. At this point I also asked him if he remembered the equation for finding the circumference of a circle.  These questions allowed me to see what my son remembered about circles.


Realizing that it would be very hard to reform the string onto the cardboard accurately, this was a dead end for us.  Plan B was to find the radius of the circle. My son found the radius of the circle and cut a piece of string the same size of the radius.  Holding one end of the string on the center point of the cardboard and the other end by the tip of the pencil, essentially making a homemade compass, he rotated around the center point to create a new circle.  In theory, this circle should have been the same size as the original circle on the plate. In reality, due to error in holding the string, the circle was not actually the same size.  All of this is ok and part of the process of learning.  Next time we need to make a circle I will introduce a compass to my son.  After this experience, he can relate the purpose of a real compass to our homemade attempt at a compass.  He will hopefully see why the tool is necessary and more reliable.


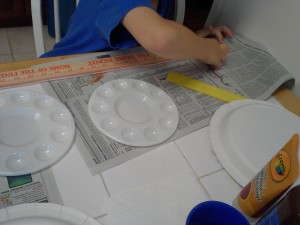
Once we had our cardboard circle for the elytra, the boys traced the cardboard circle onto the paper to create the wings.  Our body preparation was complete.  Now, they could paint!  They painted the upside down plate black for the body and the cardboard circle red.  As my nine year old painted to cardboard circle I asked him what part of the circle he was painting.  He told me it was the area. I then asked him what the formula for the area of a circle is. My informal math assessment was complete;  I had a good understanding of my son’s knowledge of circles.  If your child is new to the concept, you could change the assessment aspect of the craft to more of a teaching activity demonstrating the different parts of a circle as they work.


The paint dried overnight and we returned to our craft.  The boys cut the cardboard and paper circle in half.  I punched a hole in the top of the cardboard, paper, and plate so that all three could be attached together using a paper fastener. The wings and elytra were finished.  Both boys put antennae on the ladybug. My four year old happily put on six legs and wing spots just as we learned in the book. My nine year old left his ladybug legless and spotless. Ladybug spots are symmetrical.  Even though, my none year old did not put spots on his, we still discussed this.


Adding to this, my four year played with ladybug, acting out things he learned from the book.  He was pretending to feed the ladybug aphids using matchbox cars!  When one of the wing covers fell off, he first called it the wing, thought for a second, and corrected himself.  Creating this project definitely helped him learn some of the important body parts of the ladybug.


To summarize the concepts learned or reinforced by creating this project:

  1. Insects have 6 legs
  2. Ladybugs, like many insects, have antennea
  3. Ladybugs have protective wing covers called elytra
  4. Ladybugs eat aphids
  5. Parts of a circle- radius, diameter, circumference
  6. Pi
  7. Formulas: Area of a circle & Circumference
  8. Symmetry


We started with a book, created our own ladybug, then read three more books about ladybugs to add to our learning.  All of the books we read can be related back to the concrete object we made– our ladybug!


Our additional reading:

My Secret Weapon to Teach Early Math Skills

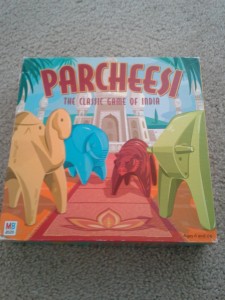
If you are teaching your young one early math skills, maybe you should head to the toy store!  My secret weapon for teaching kids skills such as one to one correspondence, counting, subitizing, doubling, and adding is Parcheesi!


Disclosure: This post contains affiliate links.If you make a purchase from Amazon, I receive a very small fee at no extra cost to you.


Empowering Parents to Teach- Parcheesi


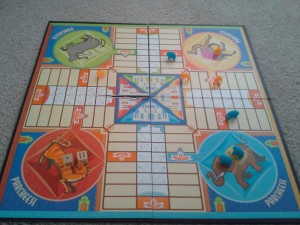
First of all, if you are unfamiliar with the game, I will very briefly describe how the game is played.  Your four pawns are at home, where you wait until you roll a five or a two dice combination of five to enter the board. The game uses two dice to indicate your spaces to move.  You can add the dice together to move one pawn or let two pawns share the dice combinations.  You have to go all the way around the board and get all four pawns to your home to win.  Along the way, you can block players and capture players.  It’s a great strategy game!


Empowering Parents to Teach- Parcheesi


How does Parcheesi help with all of the math skills mentioned?  Let me explain.


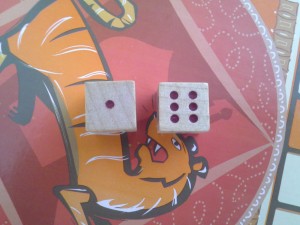
Counting:  When the child rolls the dice s/he can count the dots on each die to figure out the value of each one.  Your child can point to the dots while counting. This gives your child a concrete way of practicing counting with an authentic purpose (to see how far to move).


With enough practice, s/he may begin to recognize that three dots is “3” without even having to count the dots.  S/he is subitizing, or recognizing a number quantity quickly without the need to count.  With enough hands on practice counting, s/he will begin to do this automatically.  By playing this game your child is getting a lot of practice counting and subitizing.


Adding:  Since this is a game that allows two dice to be added together to determine the number of spaces to be moved, your child is also practicing adding.  With the help of the dots, your child has a visual representation of the numbers in which to count.  The more practice your child has with objects they can point to and add together (the dots), they will naturally begin to remember some of these math facts and also create a visual representation of number quantities which they will use to figure out new problems.


Empowering Parents to Teach- Parcheesi


One to One Correspondence: This skill is practiced in two ways. First, when your child counts the dots on the dice, s/he should only count each dot once.  For example, if your child rolled a six and counts one the of dots more than once, s/he may incorrectly say there are seven dots.  Encourage your child to count again making sure s/he doesn’t count any dots more than once. With sufficient experience your child will become very good at counting each dot only once.  S/he will likely figure out a strategy that works for him or her to keep track of which dots s/he already counted to avoid over or under counting.


Another way your child is practicing one to one correspondence is when s/he moves their pawn.  Your child can advance one space per number. So, if s/he rolled a six, s/he can only move six spaces.  Young kids may skip spaces or count faster than they move.  Encourage your child to count slowly and move the pawn as she counts.  Sometimes it helps if you, the parent, point with your finger to the next space so your child doesn’t skip spaces. With enough help and practice, your child will learn to move one space per number rolled.


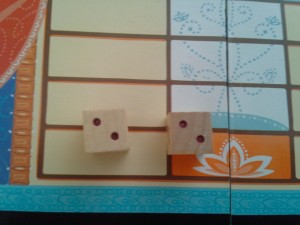
Doubles:  When your are working with two dice there is the chance that you roll two of the same number. You can introduce the term, “doubles”.  For example, if your child rolled two twos, you can explain that two of the same number is called “doubles”, so s/he just rolled double twos!  Not only are you introducing a new term, but you are also building a beginning foundation for multiplication. 

Eventually, your child will commit the these facts to memory.  Having double facts in their memory banks gives them a reference point when figuring out new facts. For example, if your child knows that 5+5=10,  s/he can can use that knowledge plus pattern recognition to quickly figure out that 5+6=11. 


Doubles


Truthfully, there are many games that can also help your child practice these skills.  Any game that has a board with individual spaces and uses dice can do this!  I like Parcheesi because it tends to be a little longer in terms of play time, giving more practice! My kids also love that they can capture me and send me back to home, keeping them motivated and excited to play.  So next time your child complains about math homework, maybe taking a game break might help :)


To purchase Parcheesi on Amazon:


Empowering Parents to Teach- Prime or Composite

Hands-on Math: Teaching Prime and Composite

If you’ve read my math posts before you know that I strongly encourage parents to make math hands-on as much as possible.  Everything we learn is rooted in concrete experiences. Therefore,  the more hands-on experience we give our children, the stronger their mathematical foundation will be!  Even older kids can benefit from hands-on math experiences.  In this post I will show you how your child can practice the concept of prime and composite numbers in a concrete way.


Prime and Composite Numbers

Prime numbers are simply numbers that have only two factors, one and itself.  For example, 3 is prime.  The only factors of 3 are 3 and 1.  Composite numbers have three or more factors. For example, 6 is composite. The number 6 can also be divided into two groups of three or three groups of two. It’s factors are 1, 2, 3, and 6.


Teaching Tip: It is important to think about the background knowledge needed for a lesson.  In this lesson, I am assuming the child has a good understanding of multiplication and division.  The student should also understand what a factor is.  If the child does not know what a factor is, I would teach that first.


Preparation:

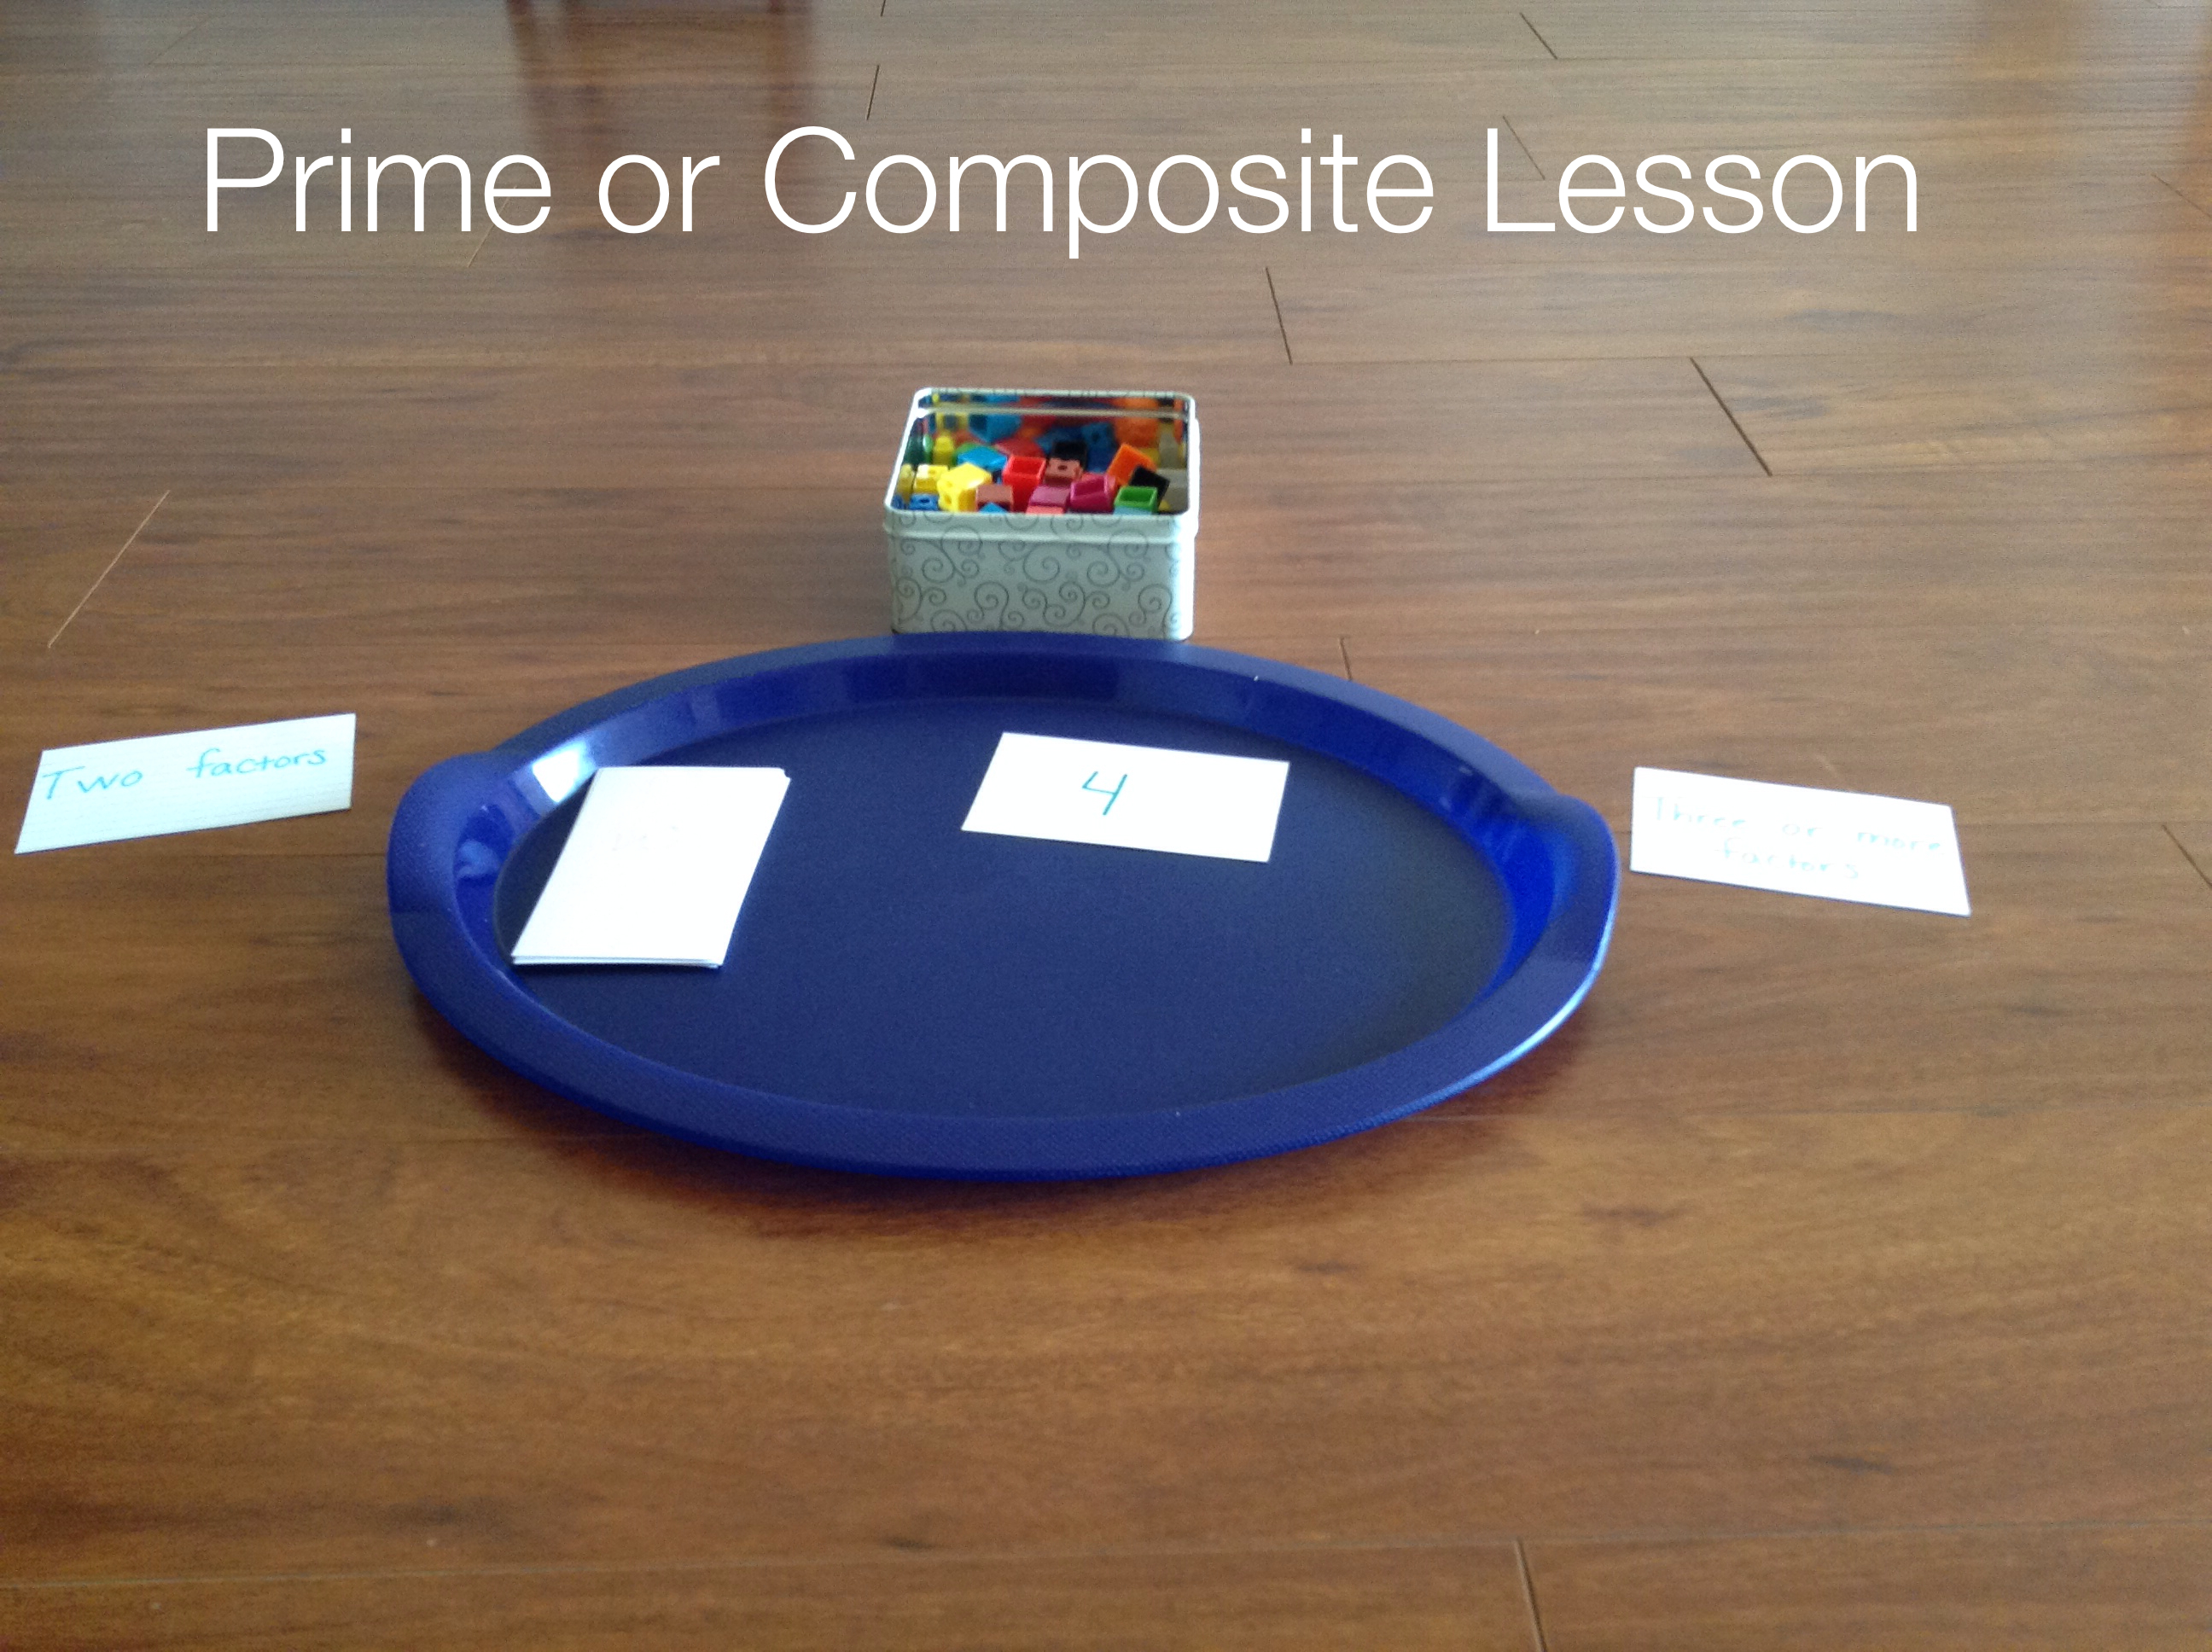
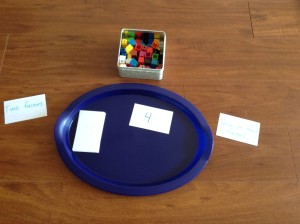
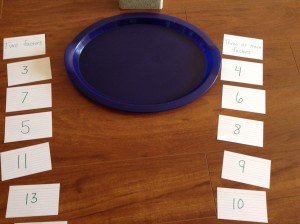
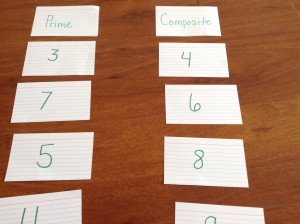
  • First, prepare index cards with various numbers on them.  Have a mixture of prime and composite numbers.  Don’t make the numbers too large.  You want them to be manageable.  I made cards with the numbers 2 through 14.
  • Gather your linking cubes (or other small similar items) and put them in a bowl.
  • Create two index cards labeled, “Two factors” and “Three or more factors”
  • Create two index cards labeled, “Prime” and “Composite”


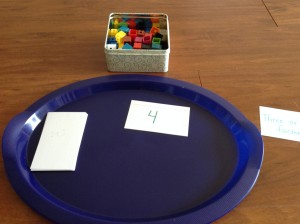
Set up tray like this (or what works for you!):


Empowering Parents to Teach- Prime or Composite

Click on the picture to enlarge it and see what is on the notecards.


Activity:

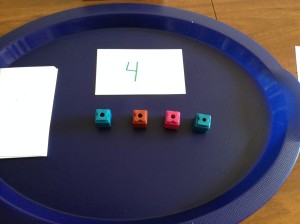
1. To demonstrate the activity, I put the number 4 face up.  I wanted to use a composite number first.  I had a prime number next in line (3).


Empowering Parents to Teach- Prime or Composite


2.  Looking at the four, ask the child to take out the corresponding number of cubes.


Empowering Parents to Teach- Prime or Composite


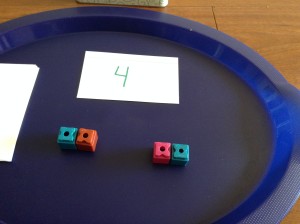
3.  Next, ask the child if the number (4) can be divided into equal groups. Have him or her actually divide them into groups using the cubes.  You should have two groups of two.  Remind the child that two is a factor of four.


Empowering Parents to Teach- Prime or Composite


4.  Ask your child to figure out all the factors of the number 4, demonstrating the factors by grouping the cubes. Have your child list the factors on the card.


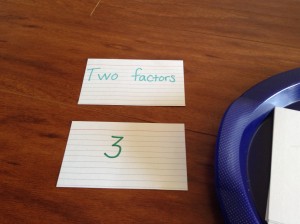
5. Have your child note how many factors the number 4 has.  Tell your child that we are going to sort the numbers based on how many factors they have. If it has two factors, place it in the “Two factors” group.  If it has three or more factors put it in the “Three or more factors” group.


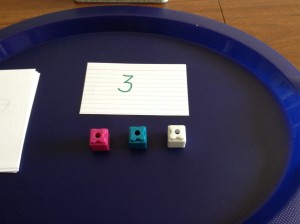
6. Using a prime number next (in this case 3),  have the child take out the corresponding numbers of cubes. Ask the child if he or she can divide three into any other equal groupings.


Empowering Parents to Teach- Prime or Composite


7. Have the child write the factors on the card and put it into it’s proper group.


Empowering Parents to Teach- Prime or Composite

The child can actually write the factors on the card underneath the number 3.


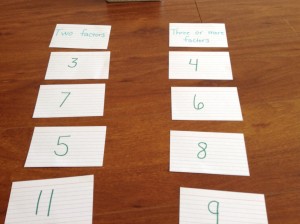
8. Continue this until the child has done the procedure with all of the cards.


Empowering Parents to Teach- Prime or Composite


factorsorting2


9.  Once all the cards have been sorted, draw your child’s attention to the two groups.  Tell your child that numbers that have only two factors- one and itself are called prime numbers.  Place the index card “Prime” over the card labeled “Two factors”.  Numbers that have three of more factors are called composite.  Place the index card labeled “Composite” over the card labeled, “Three or more factors”.


Empowering Parents to Teach- Prime or Composite


10. To see if your child understands, give him or her a number and ask if the number is prime or composite.  For example, is 16 prime or composite?  He or she may be able to answer right away or may need to use the cubes. Ask the child how s/he knows this.  The child should be able to articulate that sixteen has more than three factors, possibly even listing the factors.


11. If the child is confused, you may need to try the exercise again with a little more support. Or, possibly, the child may need to work on a background skill first, such as factors.


I hope you enjoy this activity together :)


For supporting literature check out (affiliate link):


Empowering Parents to Teach- Teaching Ratio

Use Linking Cubes to Teach Ratio

Linking cubes are a great resource for teaching ratio!   If your child is new to the concept this would be a wonderful starting point.  The hands on nature of this activity illustrates the concept in a concrete way to promote understanding.


Teaching Tip:  This activity is listed in steps.  Follow your child’s lead- he or she may be able to skip a step or may need to stay on a step for a little bit before moving on.  There is no time limit on this, you may break it down into smaller parts over the course of a couple of days or it could take just a couple of minutes.  Every child is different; teaching faster doesn’t make them learn faster.  Honoring their pace is honoring them as learners. Remember, the goal is to help your child understand the concept of ratio.


Teaching Ratio

Step 1:

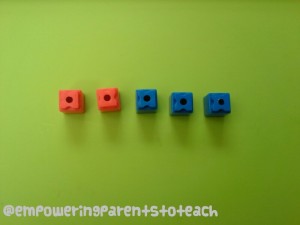
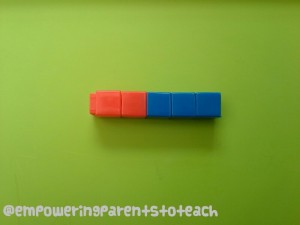
Show your child two red cubes and three blue cubes in a line together.  Tell your child, “The ratio of red cubes to blue cubes is 2 to 3.” Have the child link them together.  Lay the linked  cubes on the table.

Empowering Parents to Teach- Ratio

Two red and three blue in a line

Empowering Parents to Teach- Ratio

All five linked together


Step 2:

Tell your child that because the ratio of red to blue cubes is 2 to 3, every time you have two red cubes you need three blue cubes. This is because a ratio is a comparison of numbers.  The quantity of red cubes and blue cubes have a special relationship.  We physically linked them together to remind ourselves that the number of red and blue cubes are “linked” by this relationship.


Step 3:

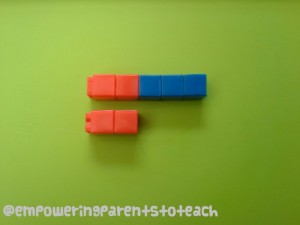
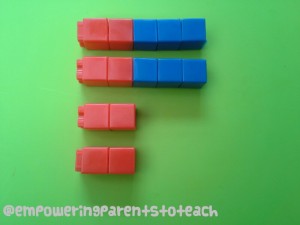
Take out two more red cubes and line them up underneath the previous red cubes.  Ask your child how many blue cubes need to be added to the red cubes to keep the ratio accurate.  He or she should say three.  Add three blue cubes and have your child link them together.


Empowering Parents to Teach- Ratio

Ask your child how many blue cubes need to be added

Step 4:

Take out four more red cubes.  Place two red cubes under the previous linkage and two red cubes under the new group of two (see photo).  Ask your child how many blue cubes need to be added to the sets to make the same ratio that was initially given (2:3).  Your child should add three blue cubes to each set, using six all together.


Empowering Parents to Teach- Ratio

How many blue cubes need to be added?


Step 5:

You should now have eight red cubes and twelve blue cubes.  Show your child that even though you have more cubes, you still have the same ratio of red cubes to blue cubes (2:3).  For every two red cubes, you have three blue cubes.


Step 6:

Ask your child, if he or she had ten red cubes, how many blue cubes would he or she have?  If your child noticed the pattern of multiplying each number by the same factor, he or she may quickly respond with the answer “15”.  If your child can not answer right away, let him or her take out ten red cubes and arrange them with blue cubes to figure out the solution using the manipulatives.


Step 7:

Continue working with the manipulatives until your child recognizes the pattern.


Step 8:

Once your understand the concept, you can show him or her the three ways we represent a ratio in writing:

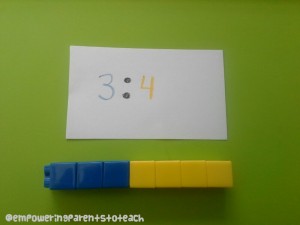
  • 2:3
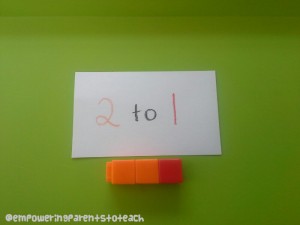
  • 2 to 3
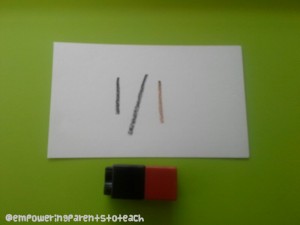
  • 2/3


For extra practice, you can give your child new ratios to build with the blocks, such as 4 green cubes to 1 white cube, or 3 blue to 4 yellow.  You can write the new ratios on index cards to practice reading the ratios as well as building them.  You can write each ratio in a different form.

Examples:

ratioblackbrown ratioblueyellow ratioorangered


Step 9:

Give your child a real life example of using a ratio.  For instance, if you were to make the non-newtonian fluid commonly referred to as Oobleck, the ratio of cornstarch to water is important for achieving the right consistency.  For every 2 cups of cornstarch, you need 1 cup of water.  Therefore, the ratio of cornstarch to water is 2 to 1 (2:1).  Ask your child, “What if we wanted to make a lot of Oobleck? If  we used 10 cups of cornstarch, how much water would we need to add?”  Your child will have to apply his or her understanding of ratio to answer this question!

If Oobleck doesn’t work for you, you can use this example with many different recipes.  Are you cooking rice or quinoa?  The ratio of the food to water is important! Your child can read the recipe and double it using the same ratio of rice to water or quinoa to water.

20130730_082729

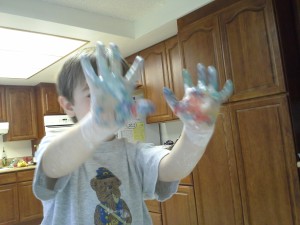
Colorful oobleck covered hands


Looking for extra practice?

Once your child understands the concept, he or she can practice a couple of problems using paper and pencil.  This is helpful for your child to learn how a ratio is represented in writing or is used in a math problem such as the cornstarch and water ratio used in the real life math scenario.

Resources found here:

Math Drill worksheet on equivalent ratios: here

Edhelper worksheets: here

Math- Salamanders’ ratio word problems: here


My two cents on using worksheets–  Many people are firmly against using worksheets. If you don’t believe in using worksheets, you can easily ignore this very last part.  I personally believe moderation is always key.  Worksheets are not inherently bad.  They are best used to practice a skill that a student already understands conceptually.  It’s not the best teaching tool, but can be a good “remembering tool”, providing reinforcement of already known skills. Worksheets can allow a child to master a skill that may otherwise be forgotten due to lack of practice.


Happy Ratio Building :)


Empowering Parents to Teach- Counting to fifty

Math in Literature: Counting to Fifty


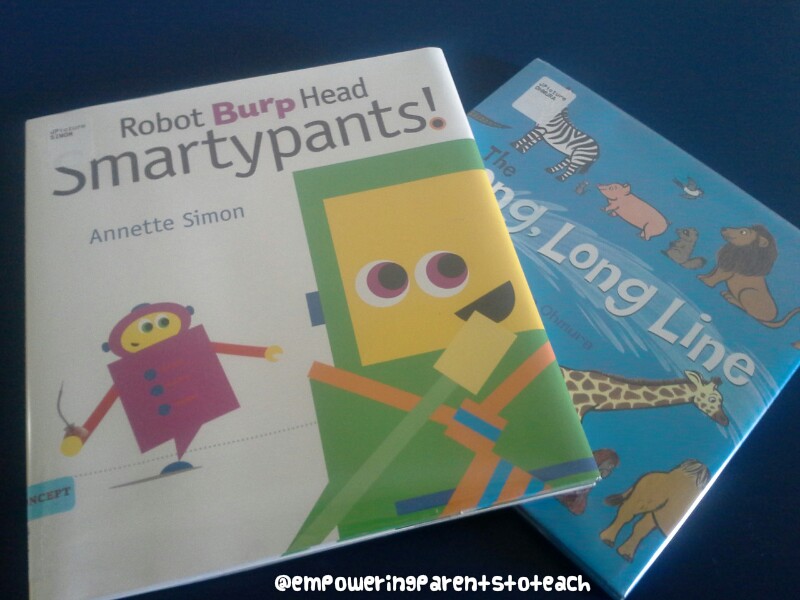
Is your little on learning how to count to fifty?  I found two fun books to help support their learning!  Read on and I will tell you more about them.


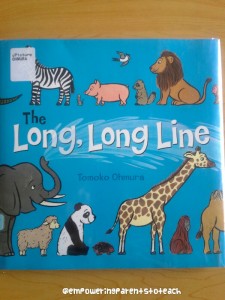
The Long, Long Line by Tomoko Ohmura

Empowering Parents to Teach- Counting to Fifty

In this book, you see a long line of animals who are all waiting for something.  That something will not be revealed until the end.  Starting with fifty, each animal is numbered according to their place in line until you reach number one.  It counts down instead of counting up.  If your little one is new to counting down, you could start at the beginning of the line (end of the book) to teach counting up to fifty.  I like that it is versatile, giving you the option of counting up or down depending on how you choose to read it. Also, if your child is learning how to identify bigger numbers, you can have the child attempt to read some of the numbers along the way.


It’s also really fun to see what the animals were waiting for at the end.  The author builds anticipation through the animal’s simple dialogue to one another!


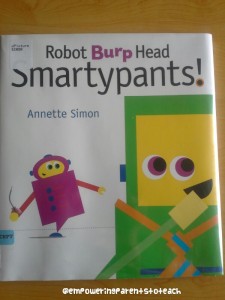
Robot Burp Head Smartypants! by Annette Simon

Empowering Parents to Teach- Coutning to 50

In this very silly book, two robots are trying to talk but they keep burping in the middle of their sentences.  Belching is usually met with a lot of laughs from little ones, which gets their attention!  Among the things the robot is trying to say is his numbers.  One robot manages to count to ten and then counts on by tens up to the number fifty.  So instead of counting each and every number up to fifty, they can practice skip counting.  Skip counting is a very useful skill, especially as they learn bigger and bigger numbers.


Put the two books together and your child is shown every number from one to fifty, how to count down, and counting by tens.  It’s a great combination!