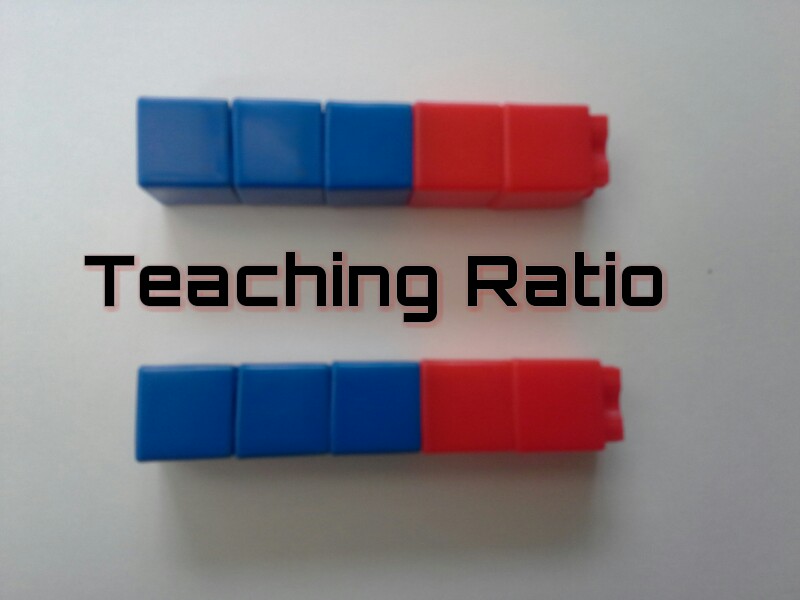
Linking cubes are a great resource for teaching ratio! If your child is new to the concept this would be a wonderful starting point. The hands on nature of this activity illustrates the concept in a concrete way to promote understanding.
Teaching Tip: This activity is listed in steps. Follow your child’s lead- he or she may be able to skip a step or may need to stay on a step for a little bit before moving on. There is no time limit on this, you may break it down into smaller parts over the course of a couple of days or it could take just a couple of minutes. Every child is different; teaching faster doesn’t make them learn faster. Honoring their pace is honoring them as learners. Remember, the goal is to help your child understand the concept of ratio.
Teaching Ratio
Step 1:
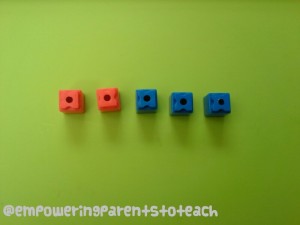
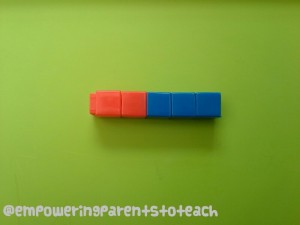
Show your child two red cubes and three blue cubes in a line together. Tell your child, “The ratio of red cubes to blue cubes is 2 to 3.” Have the child link them together. Lay the linked cubes on the table.
Step 2:
Tell your child that because the ratio of red to blue cubes is 2 to 3, every time you have two red cubes you need three blue cubes. This is because a ratio is a comparison of numbers. The quantity of red cubes and blue cubes have a special relationship. We physically linked them together to remind ourselves that the number of red and blue cubes are “linked” by this relationship.
Step 3:
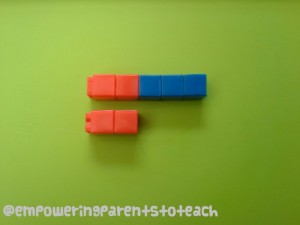
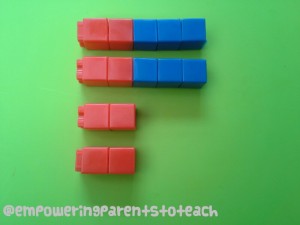
Take out two more red cubes and line them up underneath the previous red cubes. Ask your child how many blue cubes need to be added to the red cubes to keep the ratio accurate. He or she should say three. Add three blue cubes and have your child link them together.
Step 4:
Take out four more red cubes. Place two red cubes under the previous linkage and two red cubes under the new group of two (see photo). Ask your child how many blue cubes need to be added to the sets to make the same ratio that was initially given (2:3). Your child should add three blue cubes to each set, using six all together.
Step 5:
You should now have eight red cubes and twelve blue cubes. Show your child that even though you have more cubes, you still have the same ratio of red cubes to blue cubes (2:3). For every two red cubes, you have three blue cubes.
Step 6:
Ask your child, if he or she had ten red cubes, how many blue cubes would he or she have? If your child noticed the pattern of multiplying each number by the same factor, he or she may quickly respond with the answer “15”. If your child can not answer right away, let him or her take out ten red cubes and arrange them with blue cubes to figure out the solution using the manipulatives.
Step 7:
Continue working with the manipulatives until your child recognizes the pattern.
Step 8:
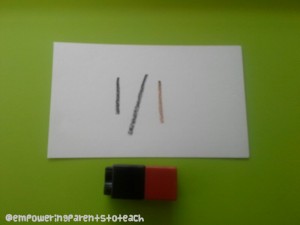
Once your understand the concept, you can show him or her the three ways we represent a ratio in writing:
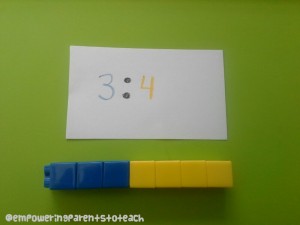
- 2:3
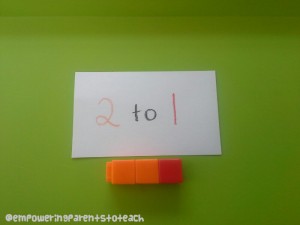
- 2 to 3
- 2/3
For extra practice, you can give your child new ratios to build with the blocks, such as 4 green cubes to 1 white cube, or 3 blue to 4 yellow. You can write the new ratios on index cards to practice reading the ratios as well as building them. You can write each ratio in a different form.
Examples:
Step 9:
Give your child a real life example of using a ratio. For instance, if you were to make the non-newtonian fluid commonly referred to as Oobleck, the ratio of cornstarch to water is important for achieving the right consistency. For every 2 cups of cornstarch, you need 1 cup of water. Therefore, the ratio of cornstarch to water is 2 to 1 (2:1). Ask your child, “What if we wanted to make a lot of Oobleck? If we used 10 cups of cornstarch, how much water would we need to add?” Your child will have to apply his or her understanding of ratio to answer this question!
If Oobleck doesn’t work for you, you can use this example with many different recipes. Are you cooking rice or quinoa? The ratio of the food to water is important! Your child can read the recipe and double it using the same ratio of rice to water or quinoa to water.
Looking for extra practice?
Once your child understands the concept, he or she can practice a couple of problems using paper and pencil. This is helpful for your child to learn how a ratio is represented in writing or is used in a math problem such as the cornstarch and water ratio used in the real life math scenario.
Resources found here:
Math Drill worksheet on equivalent ratios: here
Edhelper worksheets: here
Math- Salamanders’ ratio word problems: here
My two cents on using worksheets– Many people are firmly against using worksheets. If you don’t believe in using worksheets, you can easily ignore this very last part. I personally believe moderation is always key. Worksheets are not inherently bad. They are best used to practice a skill that a student already understands conceptually. It’s not the best teaching tool, but can be a good “remembering tool”, providing reinforcement of already known skills. Worksheets can allow a child to master a skill that may otherwise be forgotten due to lack of practice.
Happy Ratio Building ![]()

