Experimenting with Decomposition
The best learning opportunities happen naturally and are often unplanned so you have to keep your mind open and ready for those moments. Our pumpkin story is one example of how observing natural phenomena can turn into a scientific experiment.
Shortly after Halloween we noticed that the pumpkin we carved was already mushy and gross. I tried to move the pumpkin, but the bottom fell out and the whole thing was soft. We decided to move it into our backyard where we had some open space, hoping that after it fully decomposed new pumpkins would grow later in the year. After we got all the mushy pieces in the backyard, we returned to the front and noticed that the other pumpkins we had were still perfectly fine– no sign of decomposition. This is how our experiment was born!
The experiment started with this question–“Why did one pumpkin decompose, but the others didn’t?” (Step 1 of the Scientific Method: Question)
We observed the other pumpkins and compared it to our mushy, rotting one and we noticed that the difference between them was that one was cut and the others weren’t. That helped us generate our hypothesis: Hypothesis: Cutting open a pumpkin increases the rate of decomposition. (Step 2 of the Scientific Method: Hypothesis)
It was time to test out theory! We had three left over pumpkins that had not been cut open at all. We decided to use them for our experiment. (Step 3 of the Scientific Method: Experiment)
My son suggested that we cut open a pumpkin and see how fast it decomposed. So, Pumpkin A, was cut open completely in half. I mentioned to him that in order to tell if really decomposed faster, we need something to compare it to. So in order to be able to tell if it’s really faster we left one pumpkin untouched. But, since we had one more pumpkin I suggested to him that for the next pumpkin we just cut it open in one spot, not the whole thing (this gives us another comparison).
To recap we had:
Pumpkin A- Cut in half
Pumpkin B- One cut on the top
Pumpkin C- Completely untouched, no openings
After we had our pumpkins all set up I asked my son some questions: “Which pumpkin do you predict will decompose the fastest?”, “Which one will decompose the slowest?”
His prediction was that the pumpkin cut all the way open would decompose the fastest and the one uncut would decompose the slowest. He also stated that the one with one cut would decompose faster than the uncut pumpkin, but slower than the one cut in half. All of this was done with my preschooler with us too. He was watching and listening as we worked.
The following weeks we observed our pumpkins whenever we went out back. (Step 4 of the Scientific Process- Observe and Record Data)
We did not record our data because we were doing this informally, but if I were doing this as a home school lesson I could have him record his data on a chart.
After about a month or so, the pumpkin that was cut in half was clearly decomposing the fast, the pumpkin with one cut was in the middle, and the uncut pumpkin was not showing outward signs of decomposition, but when we pushed on the top of it, it was soft and easier to break open.
Here is what they looked like after a few months:
Pumpkin A-

One half of pumpkin A
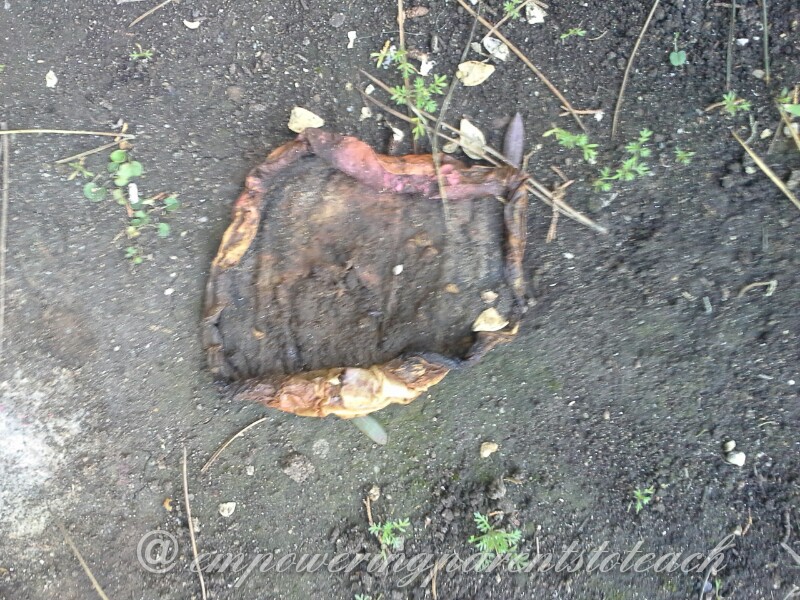
The other half of Pumpkin A
Pumpkin B-
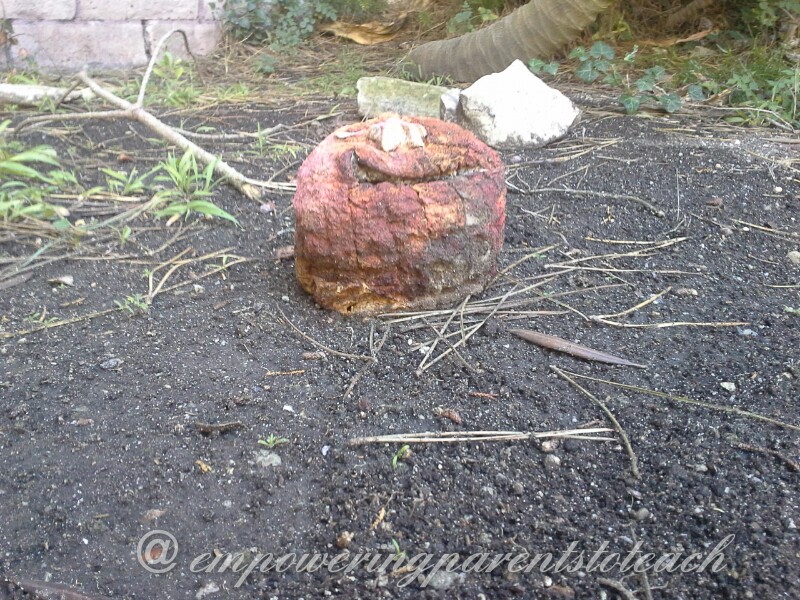
Pumpkin B
Pumpkin C-
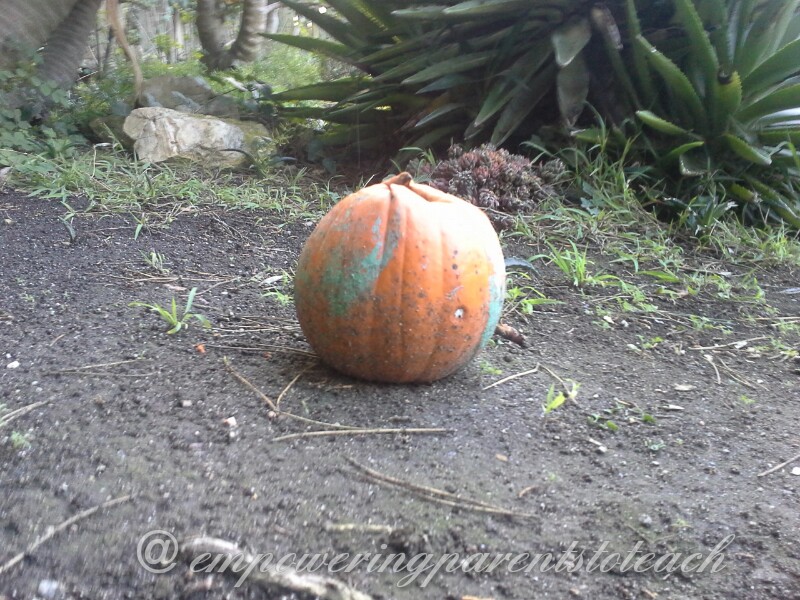
We used this to analyze our findings. (Step 5 of the Scientific Process: Analyze) Our final analysis was that the original hypothesis was correct- that cutting open a pumpkin increases the rate of decomposition.

All three pumpkins (The pumpkin on the right, Pumpkin C, was uncut in the experiment, but when we were done, we smashed open the top as you see in the picture)
And since we had two different pumpkins that were cut open to various degrees, we also found a correlation between how much the pumpkin is cut to decomposition rate. If we wanted to extend this experiment, we could test our new theory about the relationship between the amount the pumpkin is cut open and the rate of decomposition using various pumpkins all cut open in different amount. We could even measure how much area we cut open if we wanted to formalize it.
As I mentioned before, my preschooler was with us as we did this experiment, and even kids as young as him can learn from these kind of experiments. He now has the term “decomposition” in his vocabulary and understands exactly what that means. He really enjoyed checking on the pumpkins!
Step 6 of the Scientific Method- Share Results: The boys shared their findings with their dad and Grandpa. As they discussed what they found with their family, the question of “Why?” was asked. “Why did the pumpkin that was cut open decompose the fastest?”. They brainstormed a couple of ideas and we finally came to the realization that it was exposed to the air more. We realized that the more internal surface area of the pumpkin that was exposed to the air, the faster it decomposed. Why? Because the air sped up the growth of bacteria.
By being keenly aware of our environment, curious as to why things happen, and willing to test our ideas, a great science experiments are born!
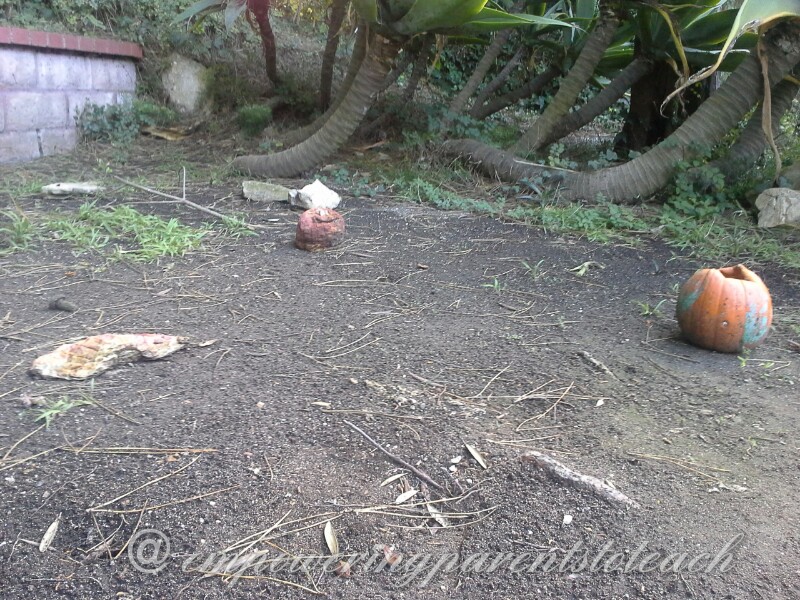
P.S. The mushy, rotting pumpkin that started it all is almost all gone:
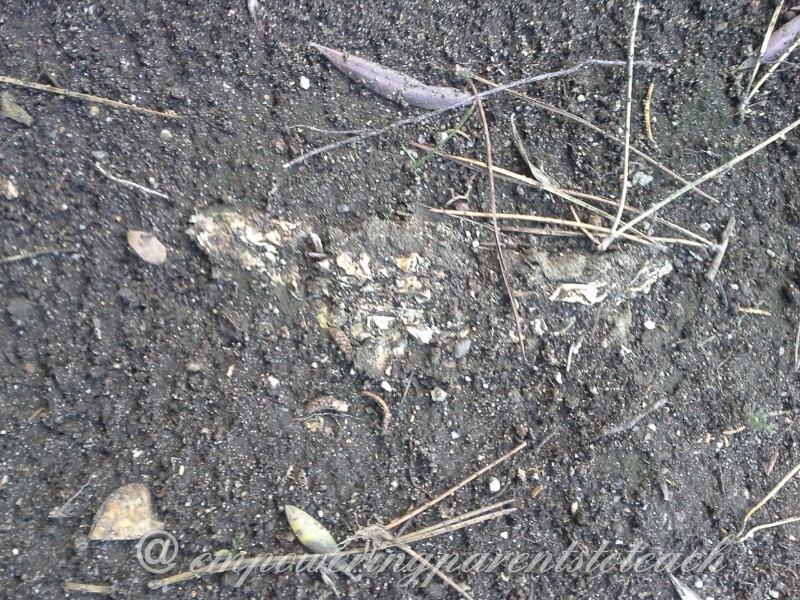
Can you find our pumpkin?
Looking for a fun story to read:
Too Many Pumpkins
by Linda White

In this story, the main character hates pumpkins! When a truck full of pumpkins drives by and accidentally spills pumpkins all over her yard, she tries to get rid of them by burying them. Silly idea, because pumpkins grow all over her yard! It creates some good discussion starting points on decomposition and how new pumpkins grew from the old ones.