Empowering Parents To Teach- Magnets

Learning About Magnets

Exploring magnetism was a hit in our home school last year. There are many simple, high-interest activities that you can do at home with your children to help them learn about magnetism.


The book Everyday Physical Science Experiments With Magnetism by Amy French Merrill is a very easy to read book that explains how to do many classic and simple activities designed to introduce your child to magnetism. After doing these activities, look for more books at your library to go more in depth with the topic. Additional book suggestions are at the end of this post.


Disclosure: This post contains Amazon affiliate links. If you make a purchase from Amazon, I receive a small fee at no extra cost to you.


To complete the activities we needed to purchase two items:

 Alnico Bar Magnets

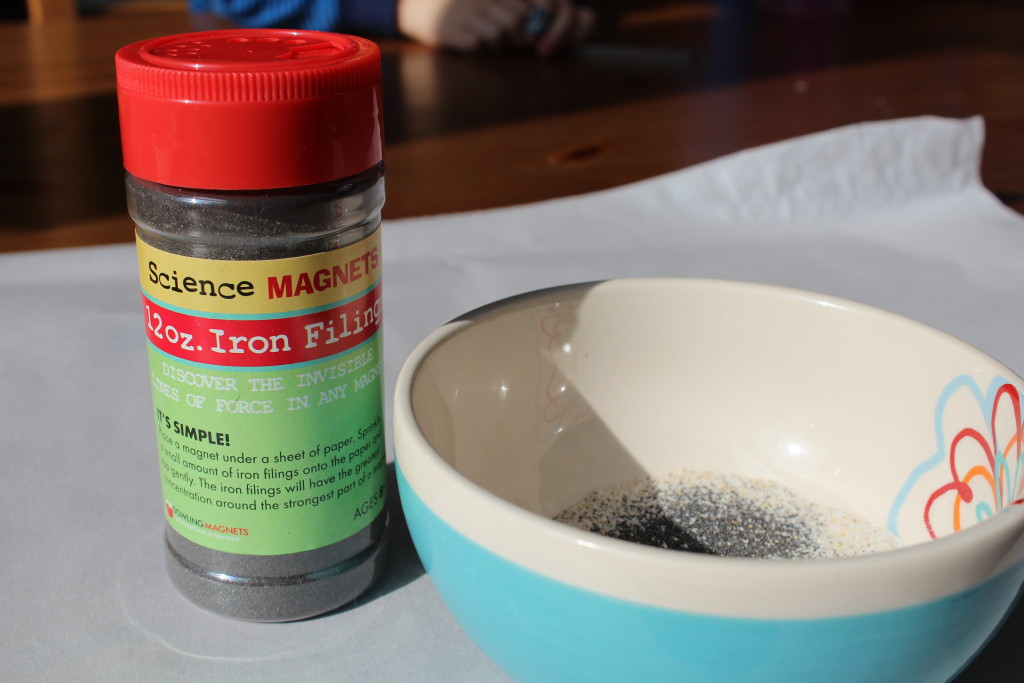
Iron Filings


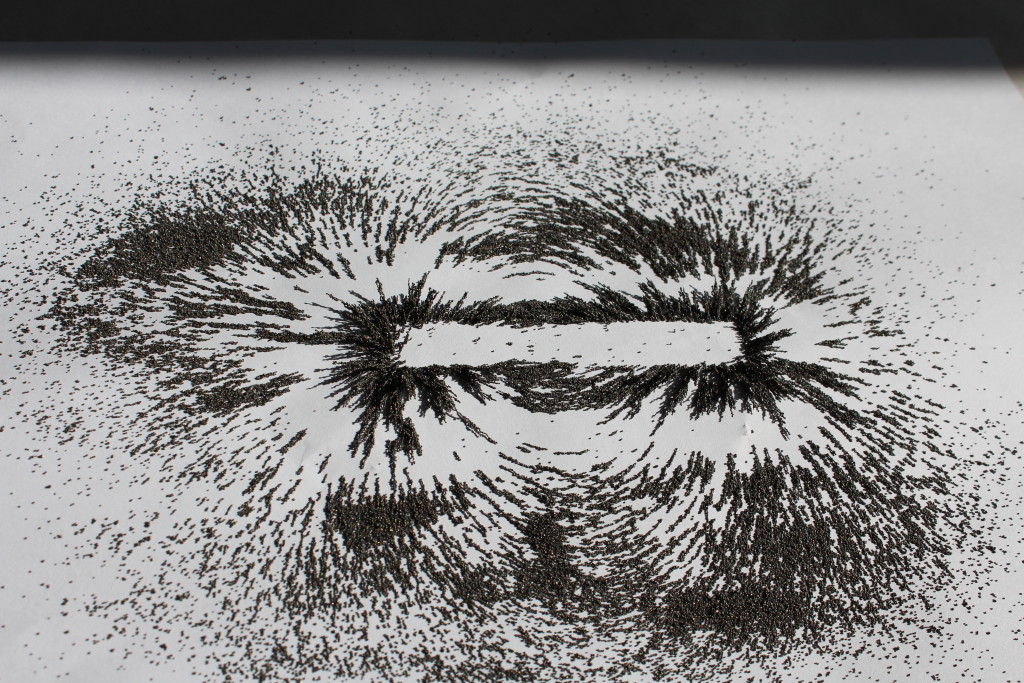
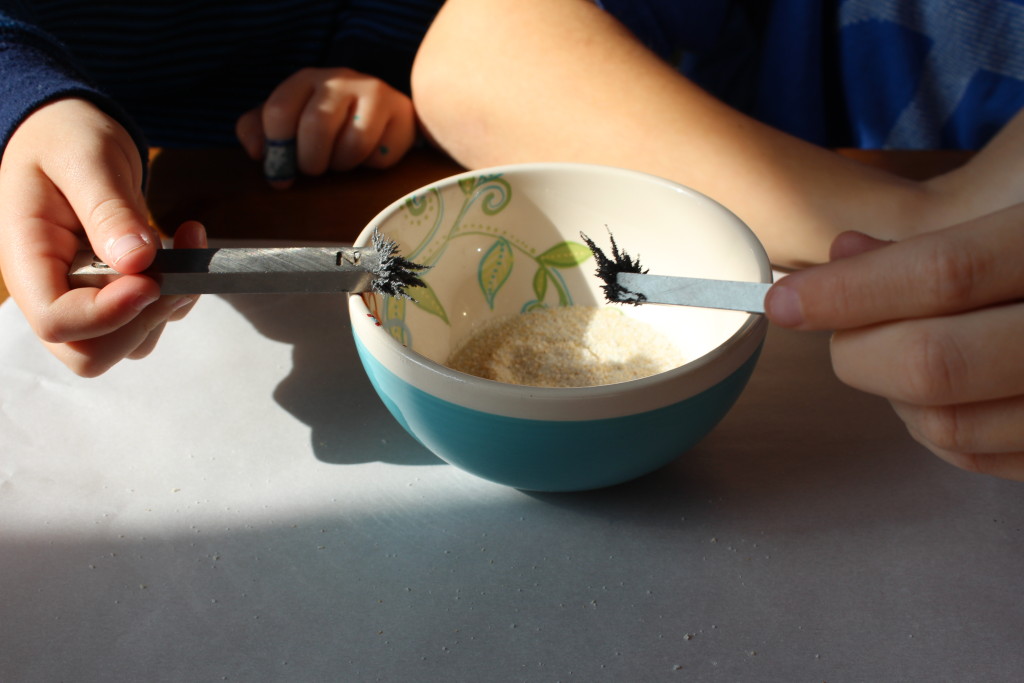
Using the directions from the book, my boys separated iron filings from garlic salt, witnessed magnetic field, and so much more! The instructions were so easy to follow and the activities held the attention of both of my boys, aged 4 and 9 at the time. Here’s a look at some of the things we did:


Magnetic Field

Empowering Parents To Teach- Magnets


Separating Iron Filings

Empowering Parents To Teach- Magnets


Empowering Parents To Teach- Magnets


After we did the activities in this book, we decided to make our own Lego car that we powered by magnets.


Lego Car

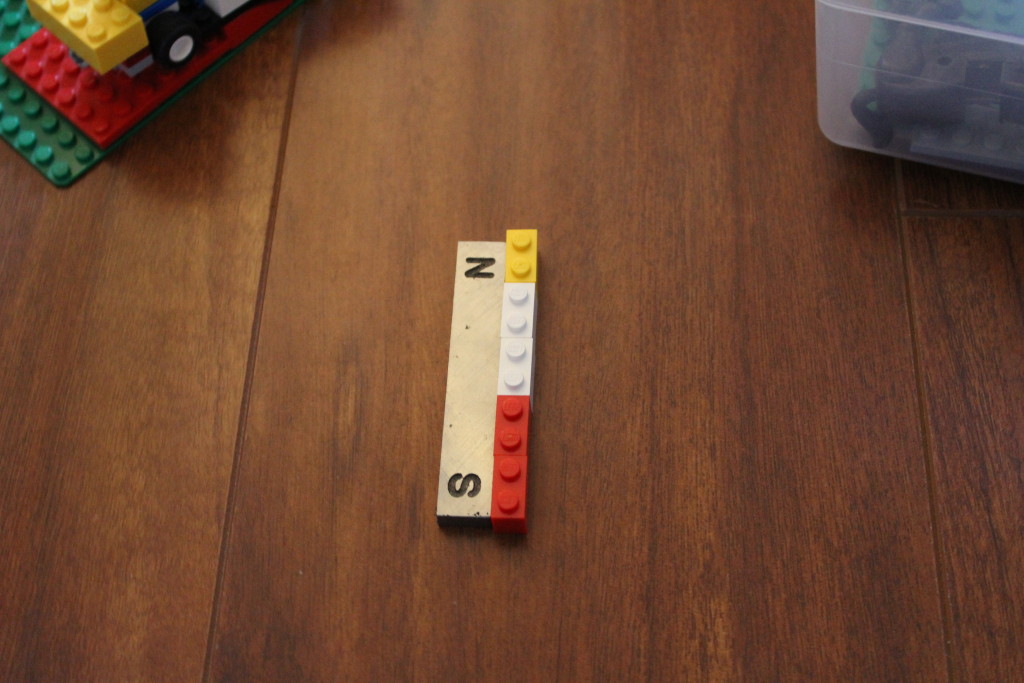
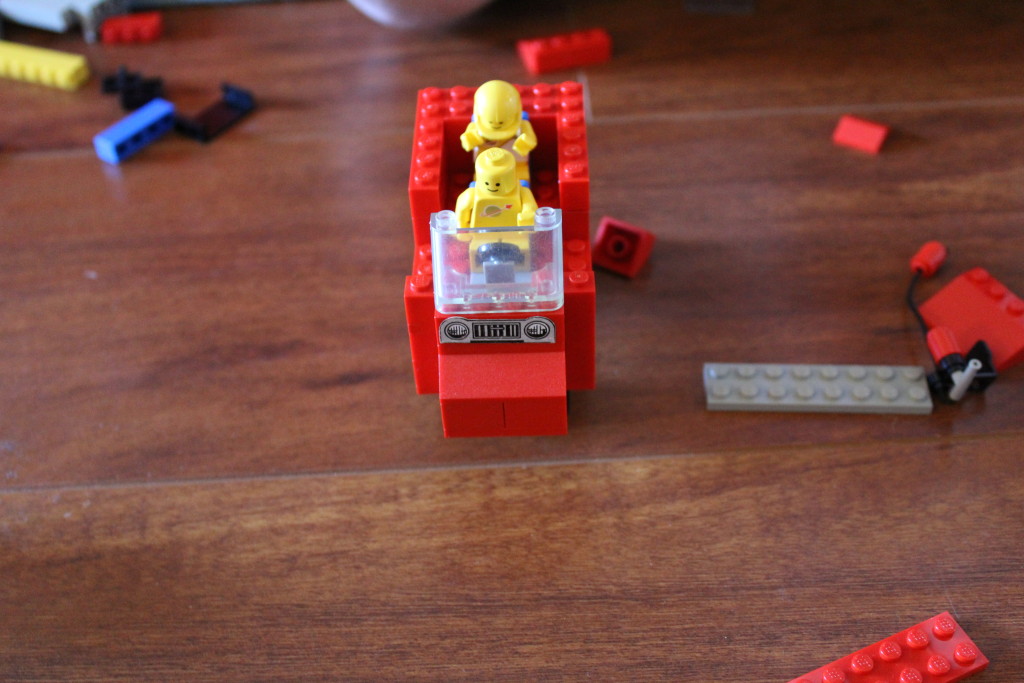
First, the boys figured out how long the magnet was.

Empowering Parents To Teach- Magnets


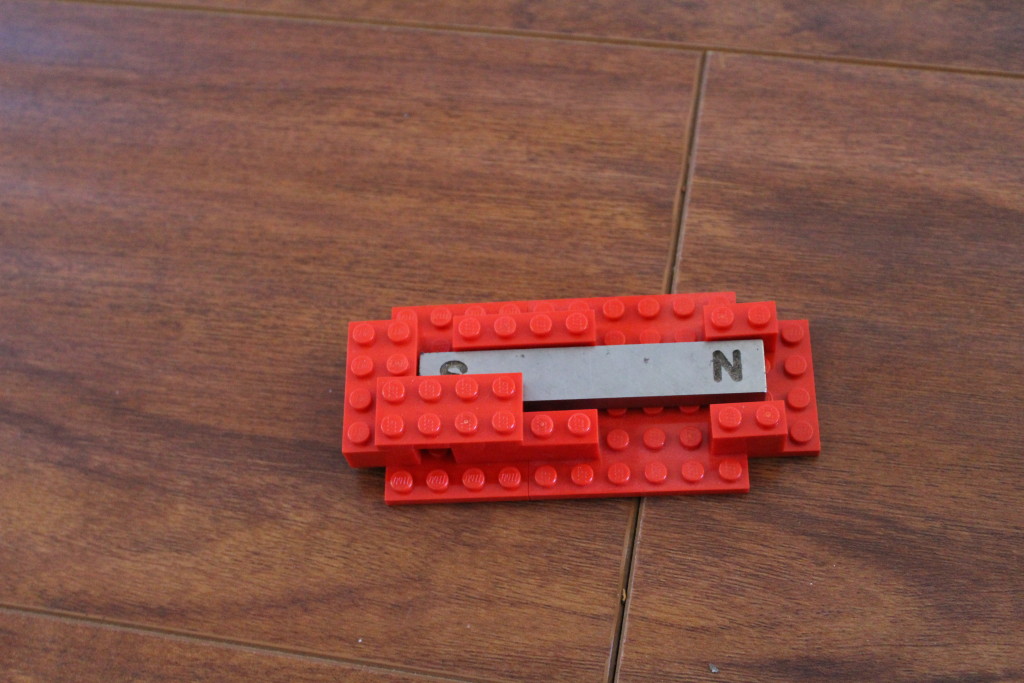
They hid the magnet inside the vehicle.

Empowering Parents To Teach- Magnets


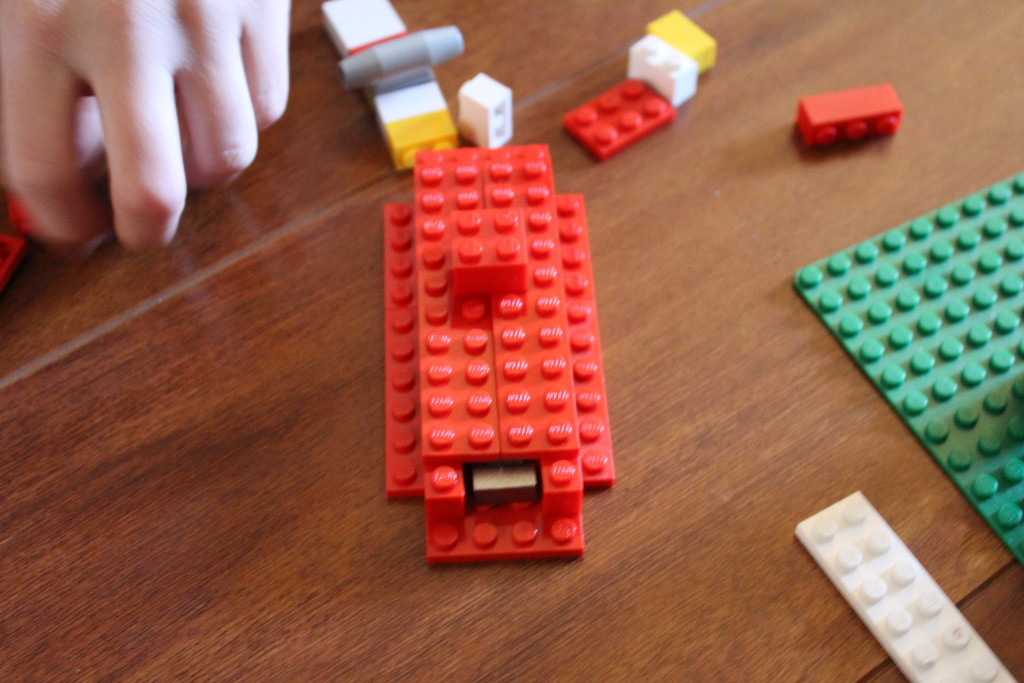
They continued building the car.

Empowering Parents To Teach- Magnets


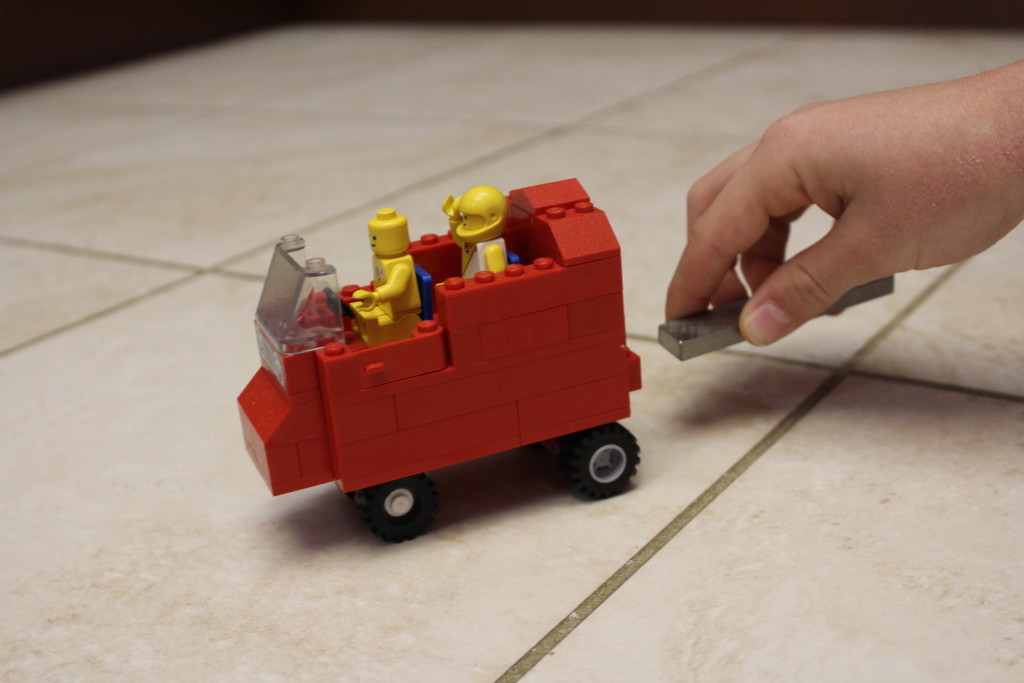
Finished!

Empowering Parents To Teach- Magnets


Using the invisible force of magnetism, the boys drove the car.

Empowering Parents to Teach- Magnets


Further your child’s study on magnetism with these books and products:


Empowering Parents to Teach- Colorful Eruptions

Colorful Eruptions


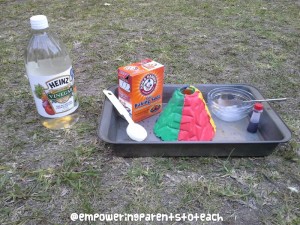
We had a dozen left over hard boiled eggs from our egg hunt.  My three year really wanted to do science experiments with them.  He enjoys mixing things, so his initial idea was to put the egg in some kind of mixture.  At first he said he wanted to get two cups- one with cold salt water and one with hot salt water.  He would put the egg in each cup and see what happens. But then, another idea came to him, he wanted to make a volcano and put an egg in it.  Mixing vinegar and baking soda is one of his favorite activities, so I think that is where his idea came from. He hypothesized that if he placed an egg on top of the volcano, the egg would fly into the air from the eruption.


That was how our adventure started!  My boys worked together to make a volcano using a kit my oldest received as a birthday present.  I was impressed with the quality of the kit, even the paint looked crisp.


Empowering Parents to Teach- Volcano Kit

My little one announced he would paint the volcano all red, but my oldest wanted to paint it multiple colors.  My youngest went along with his older brother’s idea and they created a super colorful volcano!


Empwering Parents to Teach- Colorful Eruptions


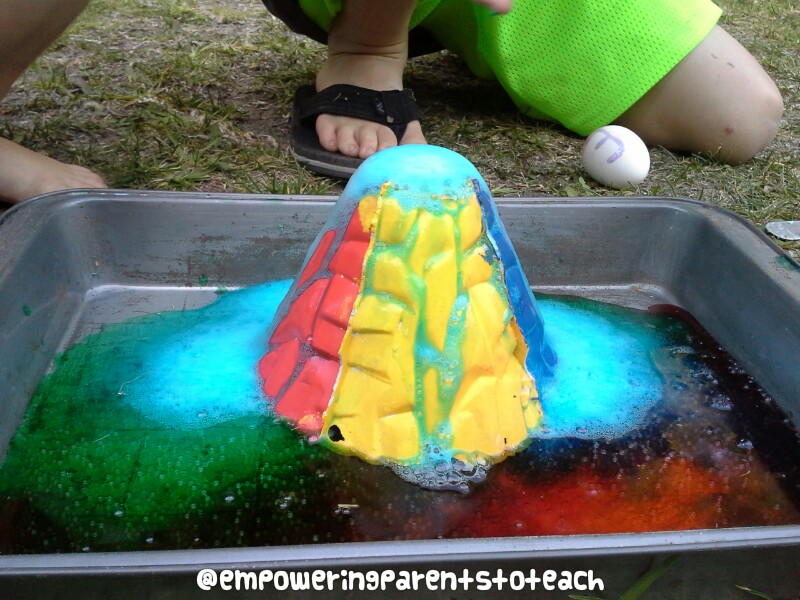
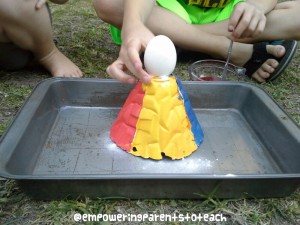
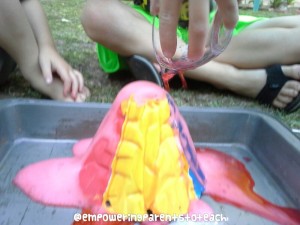
Next, we ventured outside to see what happens when you place an egg on top of a plaster volcano, mixing baking soda and vinegar to simulate an eruption.  We had red food coloring to dye the vinegar so the eruption looked more like lava.  With the baking soda already poured in the eruption chamber, the egg was carefully placed on top of the volcano.


Empowering Parents to Teach- Colorful Eruptions


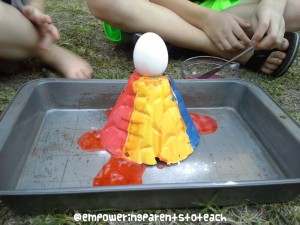
They lifted the egg slightly to add the vinegar.  Quickly, they placed the egg all the way on to see if it did in fact fly in the air.  It did not.  I asked the boys why they thought the egg didn’t fly into the air, and my oldest was able to articulate that there wasn’t enough force to send it flying.  We also chatted about the chemical reaction that occurred and the carbon dioxide that was formed.  To learn more about this with a kid friendly explanation we visited this website.


Empowering Parents to Teach- Colorful Eruptions


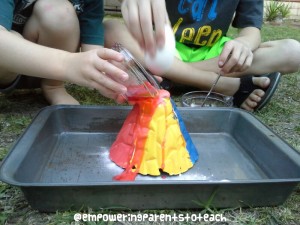
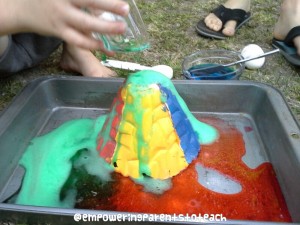
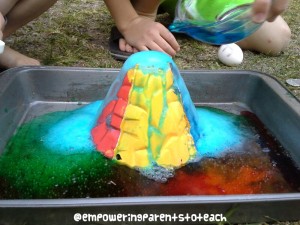
Another thing my kids love is coloring mixing, so upon seeing the food coloring, their next idea was to mix the vinegar with all different colors.


More red:

Empowering Parents to Teach- Colorful Eruptions


Empowering Parents to Teach- Colorful Eruptions


Some green:


Empowering Parents to Teach- Colorful Eruptions


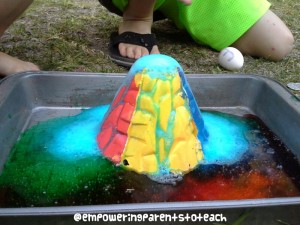
A beautiful blue:

Empowering Parents to Teach- Colorful Eruption


Empowering Parents to Teach- Colorful Eruptions


We had so many more colors- orange, bright green, purple, pink!  They had so much fun watching the colors erupt from the volcano.  This activity brought a lot of smiles and it was all their idea!  They were even surprised to see that the egg was dyed in the process.


Now that they are so interested in volcanoes we picked up these books at the library:


Empowering Parents to Teach- Weather craft

Weather Book and Craft


Spring is often a time when we think about the changing weather.  Pairing this craft and book will help your child learn about weather, foster reading comprehension, and learn to support ideas with evidence!


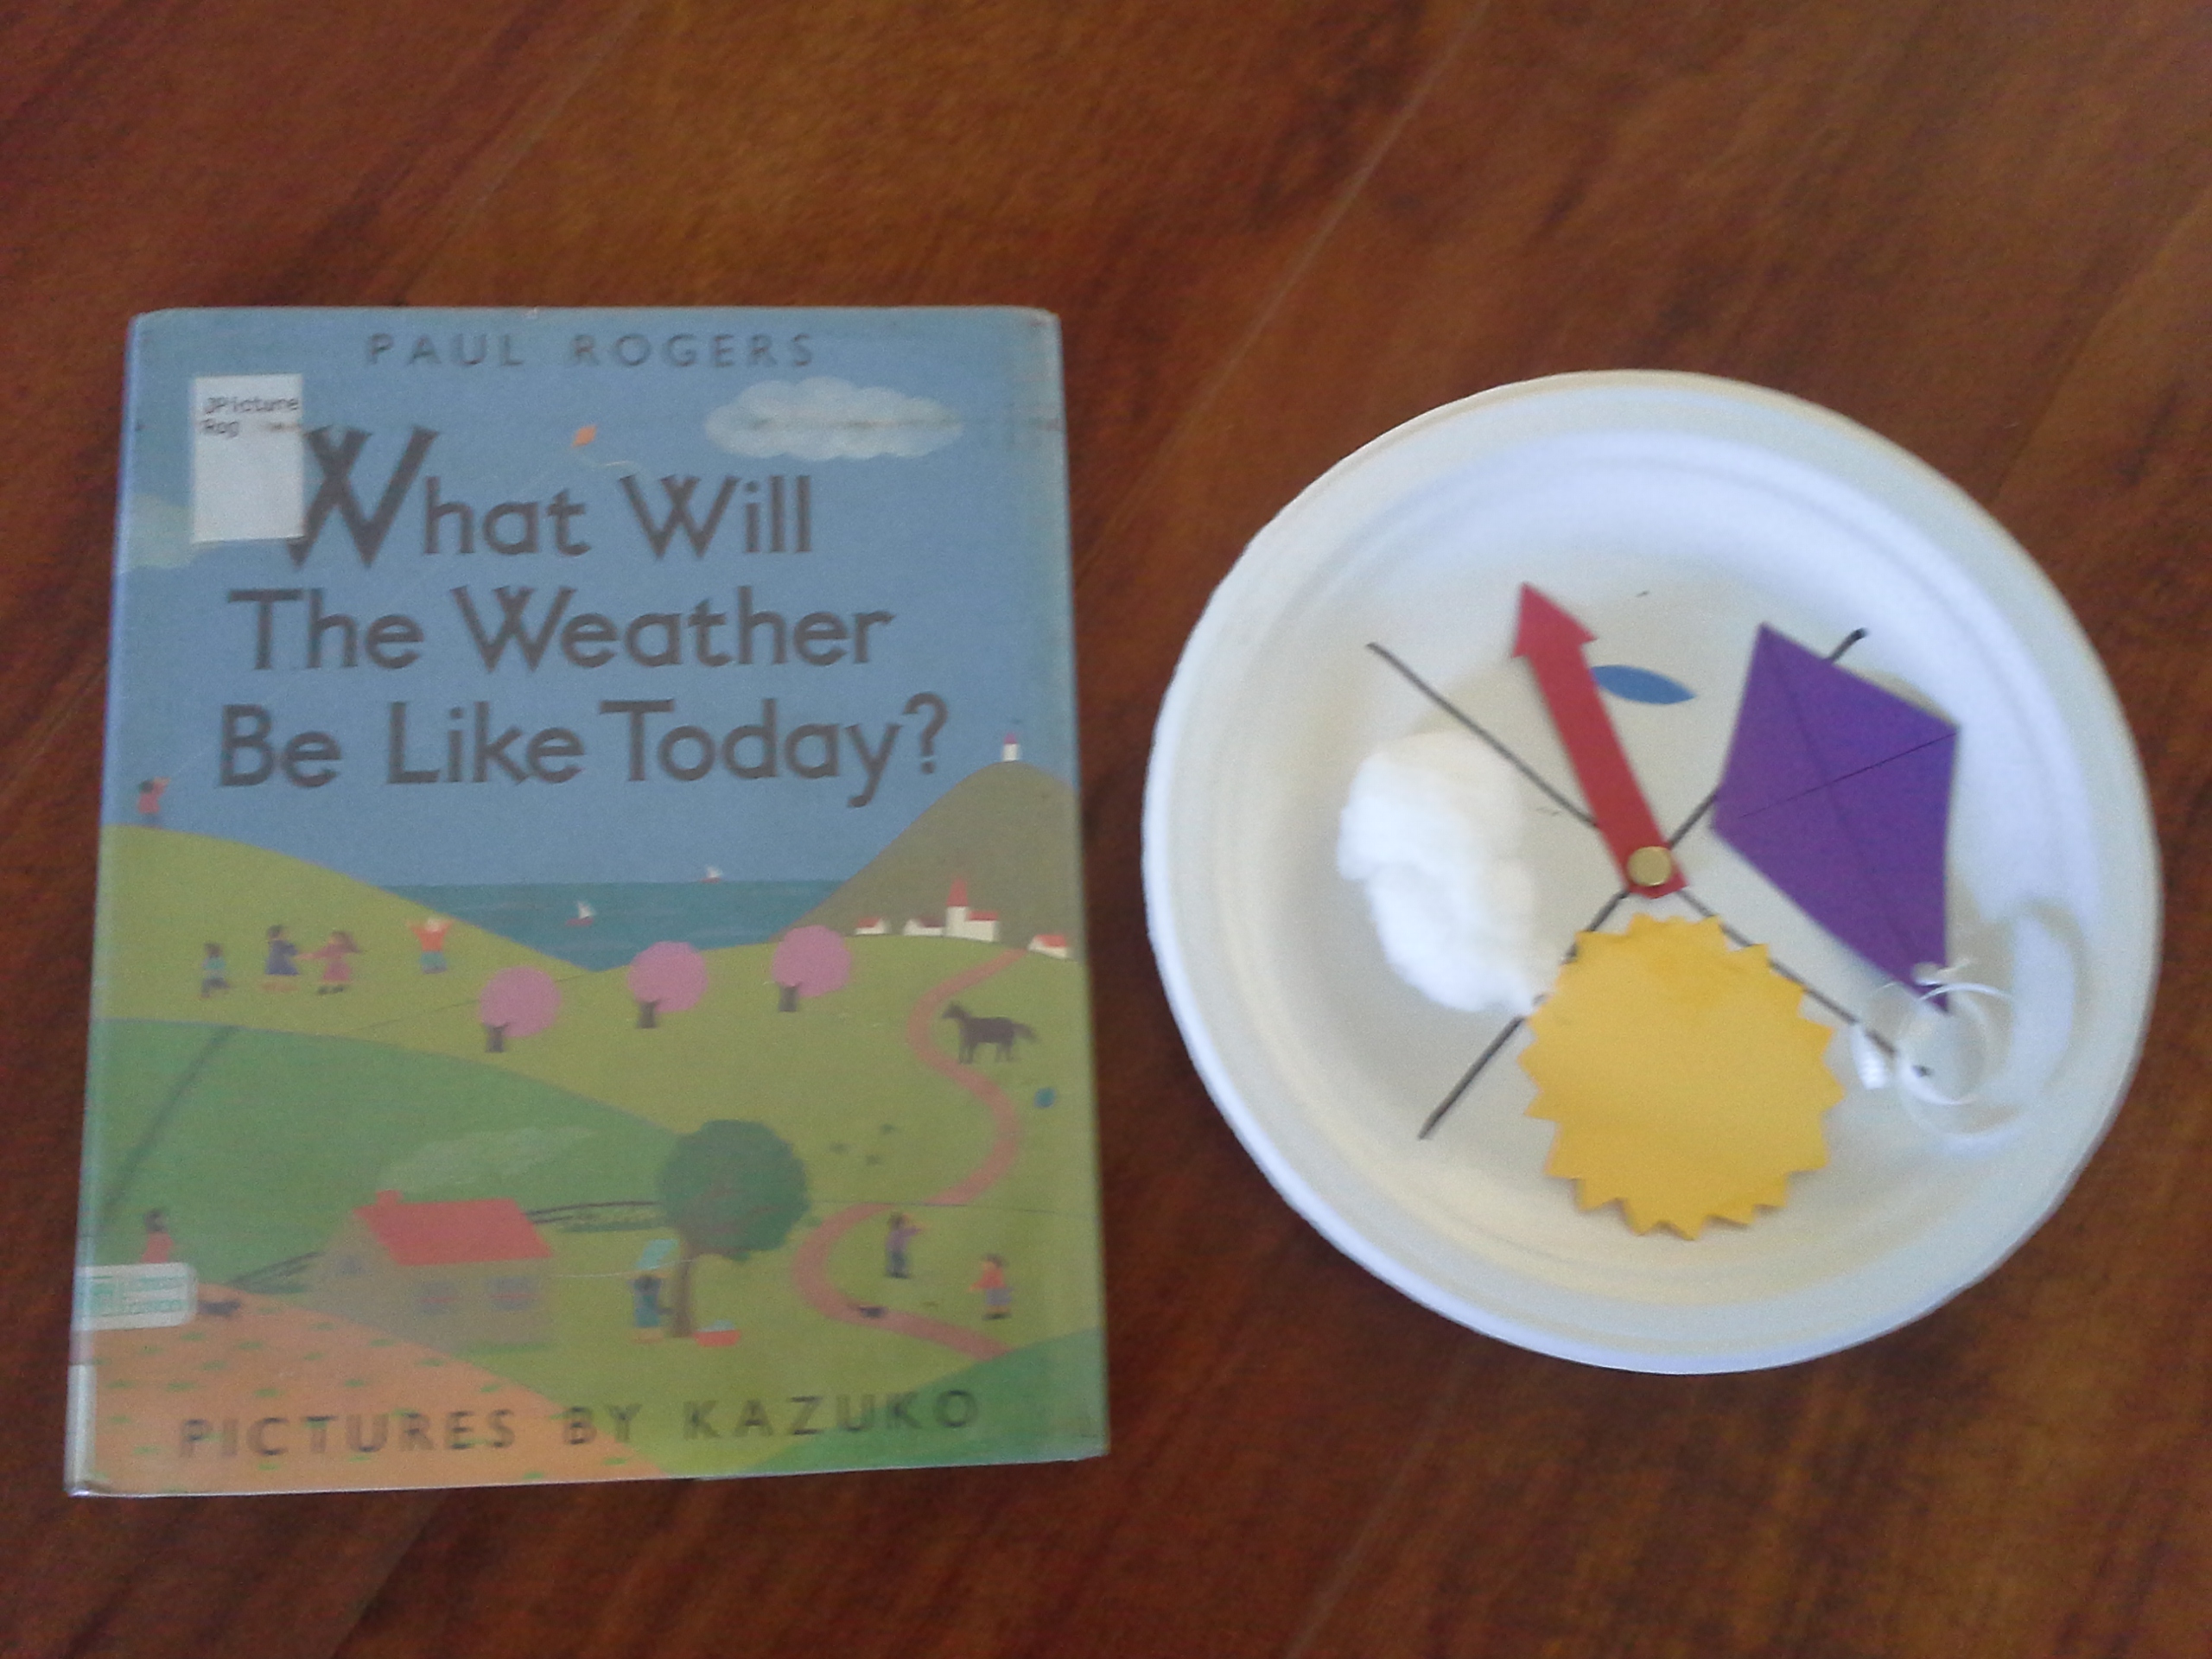
My son came home from preschool with an adorable craft which went along perfectly with a book we got from the library!


Craft idea:


Weather craft


They used a strong paper plate as the base, cotton for clouds, and cut- out shapes for a rain drop, the sun, and the kite.  The kite string is made out of ribbon.  The arrow is movable so you can turn it to whatever the weather may be each day.  What a great idea!


Pair this craft with the book, What Will Weather Be Like Today by Paul Rogers and you have a fun way to reinforce weather concepts for little learners.  The text is simple and focuses on one type of weather per page.


While reading the book, I would ask questions to my preschooler about clues that we see in the pictures to increase comprehension.  For example, the first type of weather mentioned is wind.  The author writes, “Will it be windy?”.   I asked my son what clues do we see in the picture that lets us know that it is windy outside.  At first, he did not have a response.  After giving him enough time to think I said, “Oh look, I see a clue, look at how the tree branches are tilted to one side.  That must be because the wind is pushing on it.”  You can even have the child recall a time when they saw tree leaves moving in the wind.  After hearing my example he pointed to the background where we see smoke being pushed in the wind and said, “I see a clue!”  We continued to find all the windy clues that we could.


We did this for the different types of weather.  We noticed people bundled up in the cold weather and people swimming and wearing shorts in the warm weather.  Dark, gray clouds and lightning let us know it was stormy.  Again, when possible relate this to the child’s own personal experiences with the weather mentioned. Have you ever been in a storm?  Were the clouds dark?  Does your child like to swim in the summer time to cool off?  All of these questions help children relate the information to their own experiences which fosters comprehension.


Each day, use the craft to show what the current weather is.  Don’t just state the weather, support it with evidence! How do you know it’s windy?  Have the child tell you the clues (evidence).  They will be thinking like a scientist :)


rattlesnake environment

Adapting to Your Environment

Life Skills: Adapting to the Environment

You won’t find skills like this in any type of government mandated curriculum, but it is just as important! Possibly, even more important. Do our kids understand how to survive and navigate their surrounding environment? Isn’t all of this learning from school and home supposed to teach them how to become independent? Don’t forget that there is more to learn that how to add!


Do your kids know what to do when they encounter different kinds of animals that live near you? Do they know to leave raccoons alone? Does your teenage driver know to watch out for deer on the road? Or moose? Are they gentle with bugs so they don’t get squished? Have they learned not to anger a bee or wasp? And whatever you do, don’t squash a stinkbug! They list is endless and will vary based on where you live. It’s not about teaching them to fear other creatures, but how to respectfully live beside them so we all can survive.


Some animals are pretty aggressive and we teach our kids to never go near them- like alligators! Of course, I make sure my children know that it is ok to protect ourselves, we only harm an animal in self defense if that ever happens. The more they understand about animals, bugs, fish, etc., the better they can live peacefully with them, help them, and protect themselves against them if needed.

Empowering Parents to Teach Rattlesnake Sign


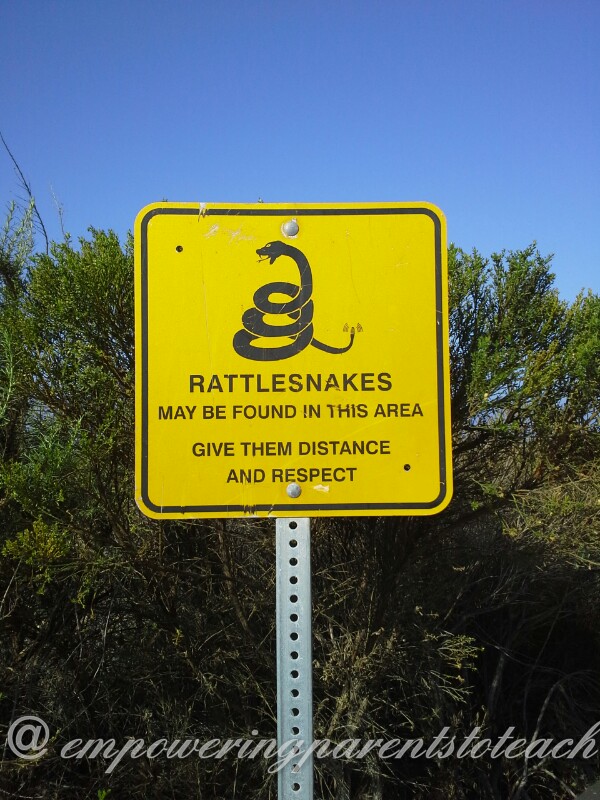
That is where our rattlesnakes come into the story. Where we live there are signs like this warning of rattlesnakes on many of our nature trails and some playgrounds. Do we avoid those places? No, we don’t, but I have taught my children about rattlesnakes and what to watch out for. These particular areas have rare encounters with the snakes. Here is what we’ve learned:


  • The places we frequent have cleared paths, we are not walking through untouched growth. It is more likely the rattlesnakes live in the more “natural’ areas of the preserve or playground. Sometimes, they may be out in the open path to sun themselves.
  • Snakes can sense the vibrations of our walking feet. They are more scared of us than we are of them. They will try to avoid us if they can.


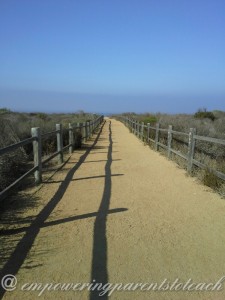
nature path

Most likely the snakes would be on the sides with the natural growth, not the walking path.

  • They would likely only to strike us if they felt that we were trying to harm them, intentional or not. Never go near the snake.
  • If you see a hole in the ground- DO NOT try to put your finger or a stick in it! They hide in holes. I will point out any holes I see so they understand what to avoid.
  • If we happen to see a rattlesnake on the trail, we do not approach it. Give it lots of room to retreat. This hasn’t happened to us yet, thankfully! But we teach the kids just in case.
  • If the snake rattles his tail, he is mad and feels like he is danger. He is about to strike. This is when you know you are in real danger.
  • Lastly, of course- They are poisonous. If bitten get help immediately!


Reinforcing Understanding

We have done a couple of things to reinforce our understanding of rattlesnakes and how to share the environment with them.


First, we went to a local nature park that has a rattlesnake in a glass case so the kids know what one looks like. This helps the kids identify the rattlesnake. I pointed to the rattle and reminded them that if they ever hear the rattle, they know the snake is mad and about to strike.


Second, we did some role play. My oldest son had a couple of snake puzzles. On one puzzle you see a rattlesnake in the desert. A large bird is swooping down with his talons open approaching the snake. The rattlesnake’s tail is up as if he is rattling. I explained to my son that the bird appears to be attacking the snake so the snake is trying to defend himself. He is rattling his tail to let the bird know that he is going to get him! Based on this we made up a game.


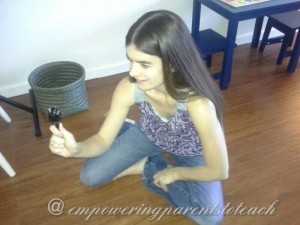
My son pretended he was the bird and I was the rattlesnake. I held a maraca in my hand to simulate the snake’s rattle. My son, the bird, would swoop at me. I would rattle the maraca pretending it was my tail’s rattle and he would pretend he was scared and fly away! We switched roles and played some more. He thought this was very fun. It also gave him a chance to act out how to respond to a rattlesnake’s rattle. And, since he also got be the rattlesnake, he could have a little empathy for the rattlesnake. He can see how the snake was scared of the bird, giving him insight into the snake’s natural instinct to defend himself like all creatures.


rattlesnake role play

Maraca used as a rattlesnake’s tail rattle!

Finally, the library is a wonderful resource. You can find information on any type of animal. We’ve read many snake books and even watched numerous nature shows on Netflix!


Think about the animals that live near you. What can you teach your child about living together with them? Are some of them potentially dangerous? How can you teach your children to protect him or herself? It is our job to protect our kids, but we also have to teach them how to protect themselves. The best protection is knowledge!


Empowering Parents to Teach- Pumpkin experiment- decomposition

Pumpkin Decomposition Experiment

Experimenting with Decomposition

The best learning opportunities happen naturally and are often unplanned so you have to keep your mind open and ready for those moments. Our pumpkin story is one example of how observing natural phenomena can turn into a scientific experiment.


Shortly after Halloween we noticed that the pumpkin we carved was already mushy and gross. I tried to move the pumpkin, but the bottom fell out and the whole thing was soft. We decided to move it into our backyard where we had some open space, hoping that after it fully decomposed new pumpkins would grow later in the year. After we got all the mushy pieces in the backyard, we returned to the front and noticed that the other pumpkins we had were still perfectly fine– no sign of decomposition. This is how our experiment was born!


The experiment started with this question–“Why did one pumpkin decompose, but the others didn’t?”  (Step 1 of the Scientific Method: Question)


We observed the other pumpkins and compared it to our mushy, rotting one and we noticed that the difference between them was that one was cut and the others weren’t. That helped us generate our hypothesis: Hypothesis: Cutting open a pumpkin increases the rate of decomposition. (Step 2 of the Scientific Method: Hypothesis)


It was time to test out theory! We had three left over pumpkins that had not been cut open at all. We decided to use them for our experiment. (Step 3 of the Scientific Method: Experiment)


My son suggested that we cut open a pumpkin and see how fast it decomposed. So, Pumpkin A, was cut open completely in half. I mentioned to him that in order to tell if really decomposed faster, we need something to compare it to. So in order to be able to tell if it’s really faster we left one pumpkin untouched. But, since we had one more pumpkin I suggested to him that for the next pumpkin we just cut it open in one spot, not the whole thing (this gives us another comparison).


To recap we had:

Pumpkin A- Cut in half

Pumpkin B-  One cut on the top

Pumpkin C- Completely untouched, no openings


After we had our pumpkins all set up I asked my son some questions: “Which pumpkin do you predict will decompose the fastest?”, “Which one will decompose the slowest?”


His prediction was that the pumpkin cut all the way open would decompose the fastest and the one uncut would decompose the slowest. He also stated that the one with one cut would decompose faster than the uncut pumpkin, but slower than the one cut in half. All of this was done with my preschooler with us too. He was watching and listening as we worked.


The following weeks we observed our pumpkins whenever we went out back. (Step 4 of the Scientific Process- Observe and Record Data)


We did not record our data because we were doing this informally, but if I were doing this as a home school lesson I could have him record his data on a chart.


After about a month or so, the pumpkin that was cut in half was clearly decomposing the fast, the pumpkin with one cut was in the middle, and the uncut pumpkin was not showing outward signs of decomposition, but when we pushed on the top of it, it was soft and easier to break open.

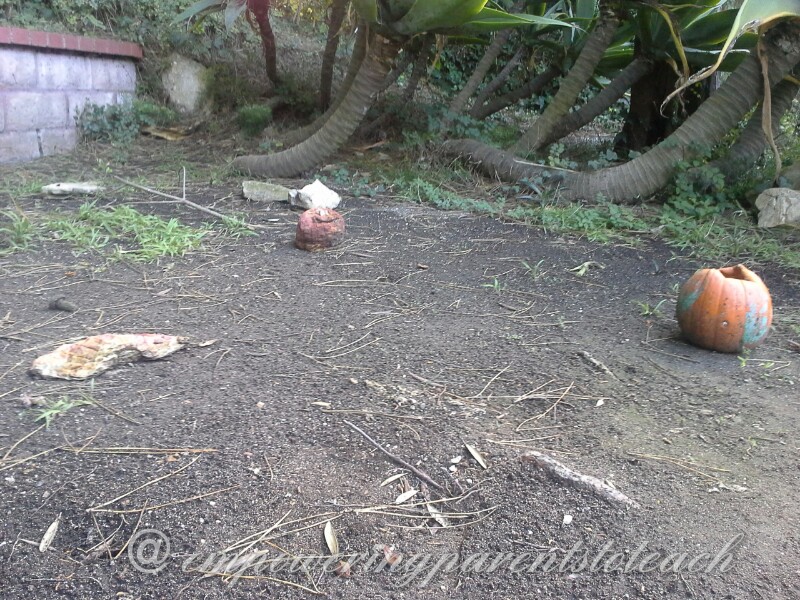
Here is what they looked like after a few months:

Pumpkin A-

pumpkindecompistion

One half of pumpkin A

pumpkin half decomposition

The other half of Pumpkin A


Pumpkin B-
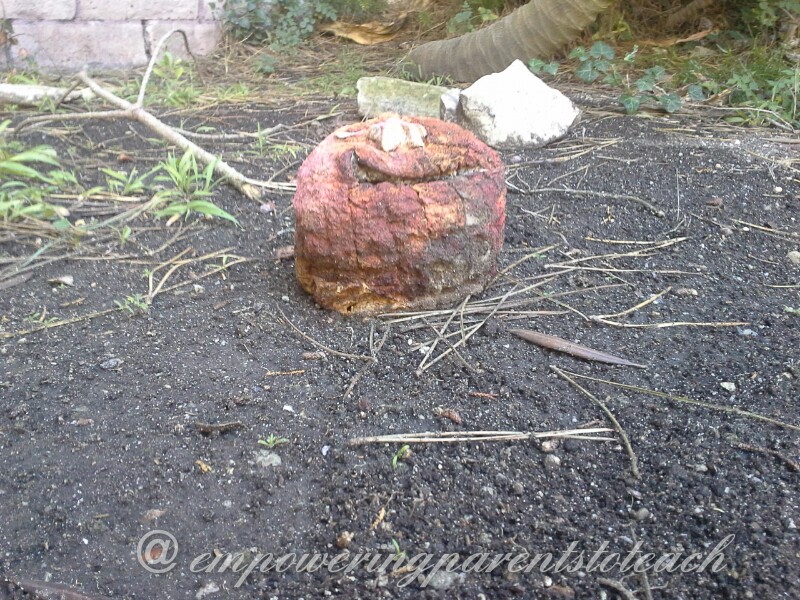
pumpkin B decompostion

Pumpkin B


Pumpkin C-

Pumpkin C decompostion


We used this to analyze our findings. (Step 5 of the Scientific Process: Analyze) Our final analysis was that the original hypothesis was correct- that cutting open a pumpkin increases the rate of decomposition.
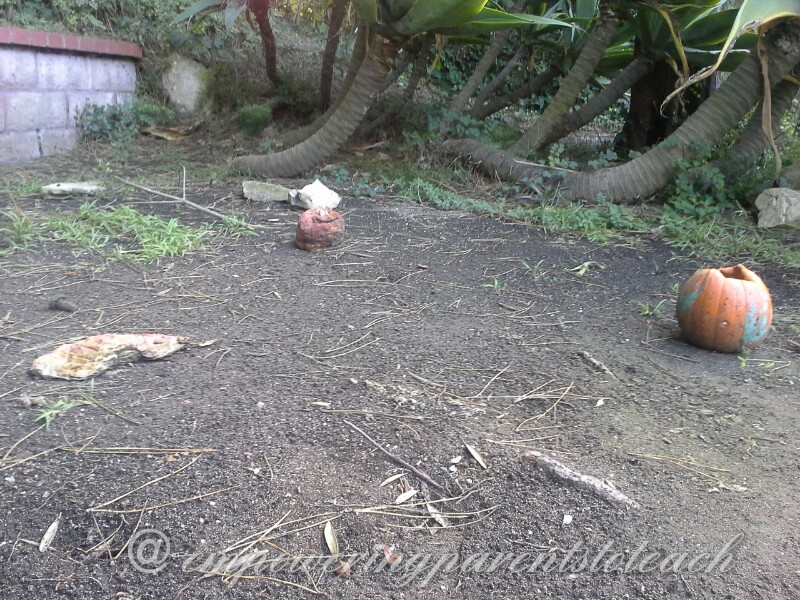
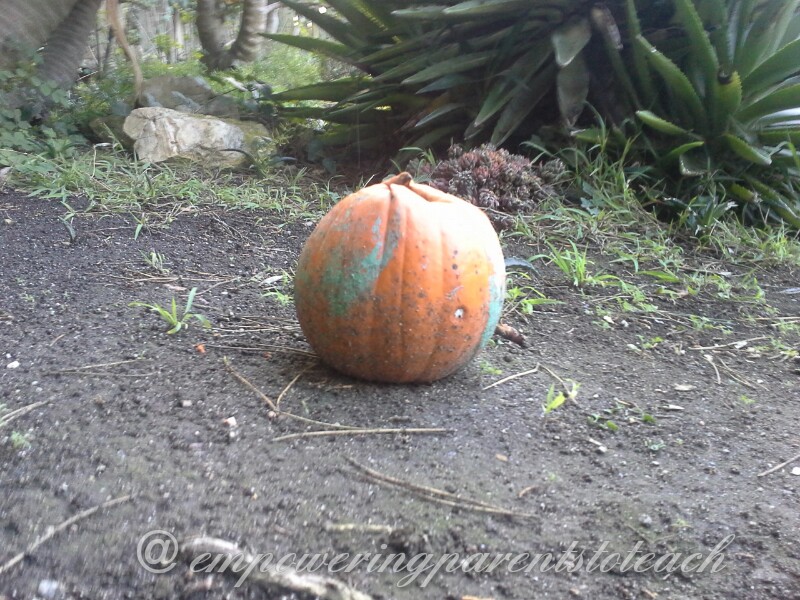
All three pumpkins (The pumpkin on the right, Pumpkin C, was uncut in the experiment, but when we were done, we smashed open the top as you see in the picture)

All three pumpkins (The pumpkin on the right, Pumpkin C, was uncut in the experiment, but when we were done, we smashed open the top as you see in the picture)


And since we had two different pumpkins that were cut open to various degrees, we also found a correlation between how much the pumpkin is cut to decomposition rate. If we wanted to extend this experiment, we could test our new theory about the relationship between the amount the pumpkin is cut open and the rate of decomposition using various pumpkins all cut open in different amount. We could even measure how much area we cut open if we wanted to formalize it.


As I mentioned before, my preschooler was with us as we did this experiment, and even kids as young as him can learn from these kind of experiments. He now has the term “decomposition” in his vocabulary and understands exactly what that means. He really enjoyed checking on the pumpkins!


 Step 6 of the Scientific Method- Share Results:  The boys shared their findings with their dad and Grandpa. As they discussed what they found with their family, the question of “Why?” was asked. “Why did the pumpkin that was cut open decompose the fastest?”. They brainstormed a couple of ideas and we finally came to the realization that it was exposed to the air more. We realized that the more internal surface area of the pumpkin that was exposed to the air, the faster it decomposed. Why? Because the air sped up the growth of bacteria.


By being keenly aware of our environment, curious as to why things happen, and willing to test our ideas, a great science experiments are born!


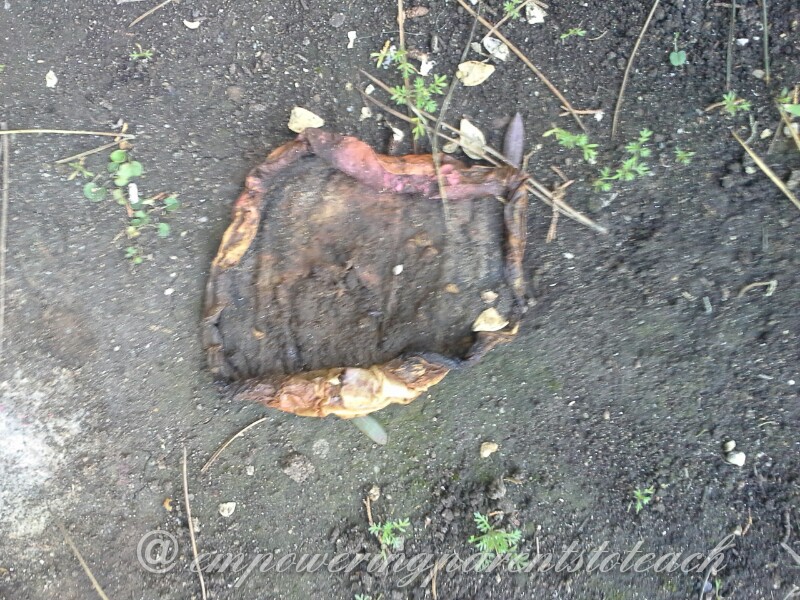
P.S. The mushy, rotting pumpkin that started it all is almost all gone:
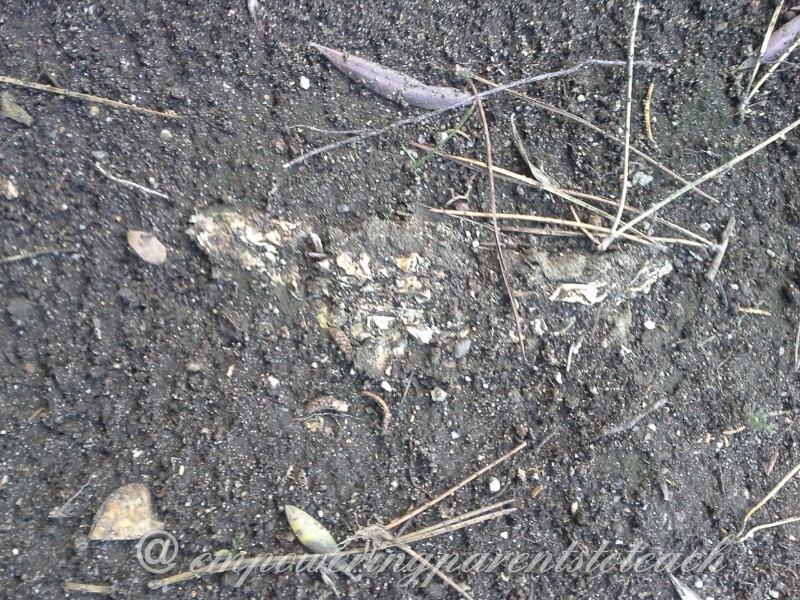
Empowering Parents to Teach- pumpkin

Can you find our pumpkin?

Looking for a fun story to read:


   Too Many Pumpkins by Linda White

In this story, the main character hates pumpkins! When a truck full of pumpkins drives by and accidentally spills pumpkins all over her yard, she tries to get rid of them by burying them. Silly idea, because pumpkins grow all over her yard! It creates some good discussion starting points on decomposition and how new pumpkins grew from the old ones.