Ladybugs- Science, Math, and Art

One of our random library picks, Insect Invaders by Anne Capeci inspired us to create or very own ladybugs!  By creating these bugs, the kids engaged in hands on practice with math, science, and art.  I’ll show you how this seemingly unassuming craft is really a learning activity and possible math assessment!


This post contains affiliate links. If you purchase a book from the Amazon link, I receive a small portion of the sale at no additional cost to you.

For our nightly read aloud, I read Insect Invaders to both of my boys, age 4 and 9.  It turned out to be the perfect companion to my son’s study on food chains and ecosystems.  In the story, we follow the students as they search for two missing ladybugs and a spider.  Along the way, there is tons of information about predator and prey relationships on top of the abundant information about insects and spiders.  After learning so much about insects, ladybugs especially, I decided to have my boys create their own ladybug to reinforce some of the concepts learned in the book. I also used this opportunity to assess my oldest son’s knowledge of circles.  If your child is unfamiliar with the parts of a circle or the formulas for finding area and circumference, you could use this activity to introduce some of those concepts.


Here’s what we made:


Empowering Parents To Teach- Ladybugs

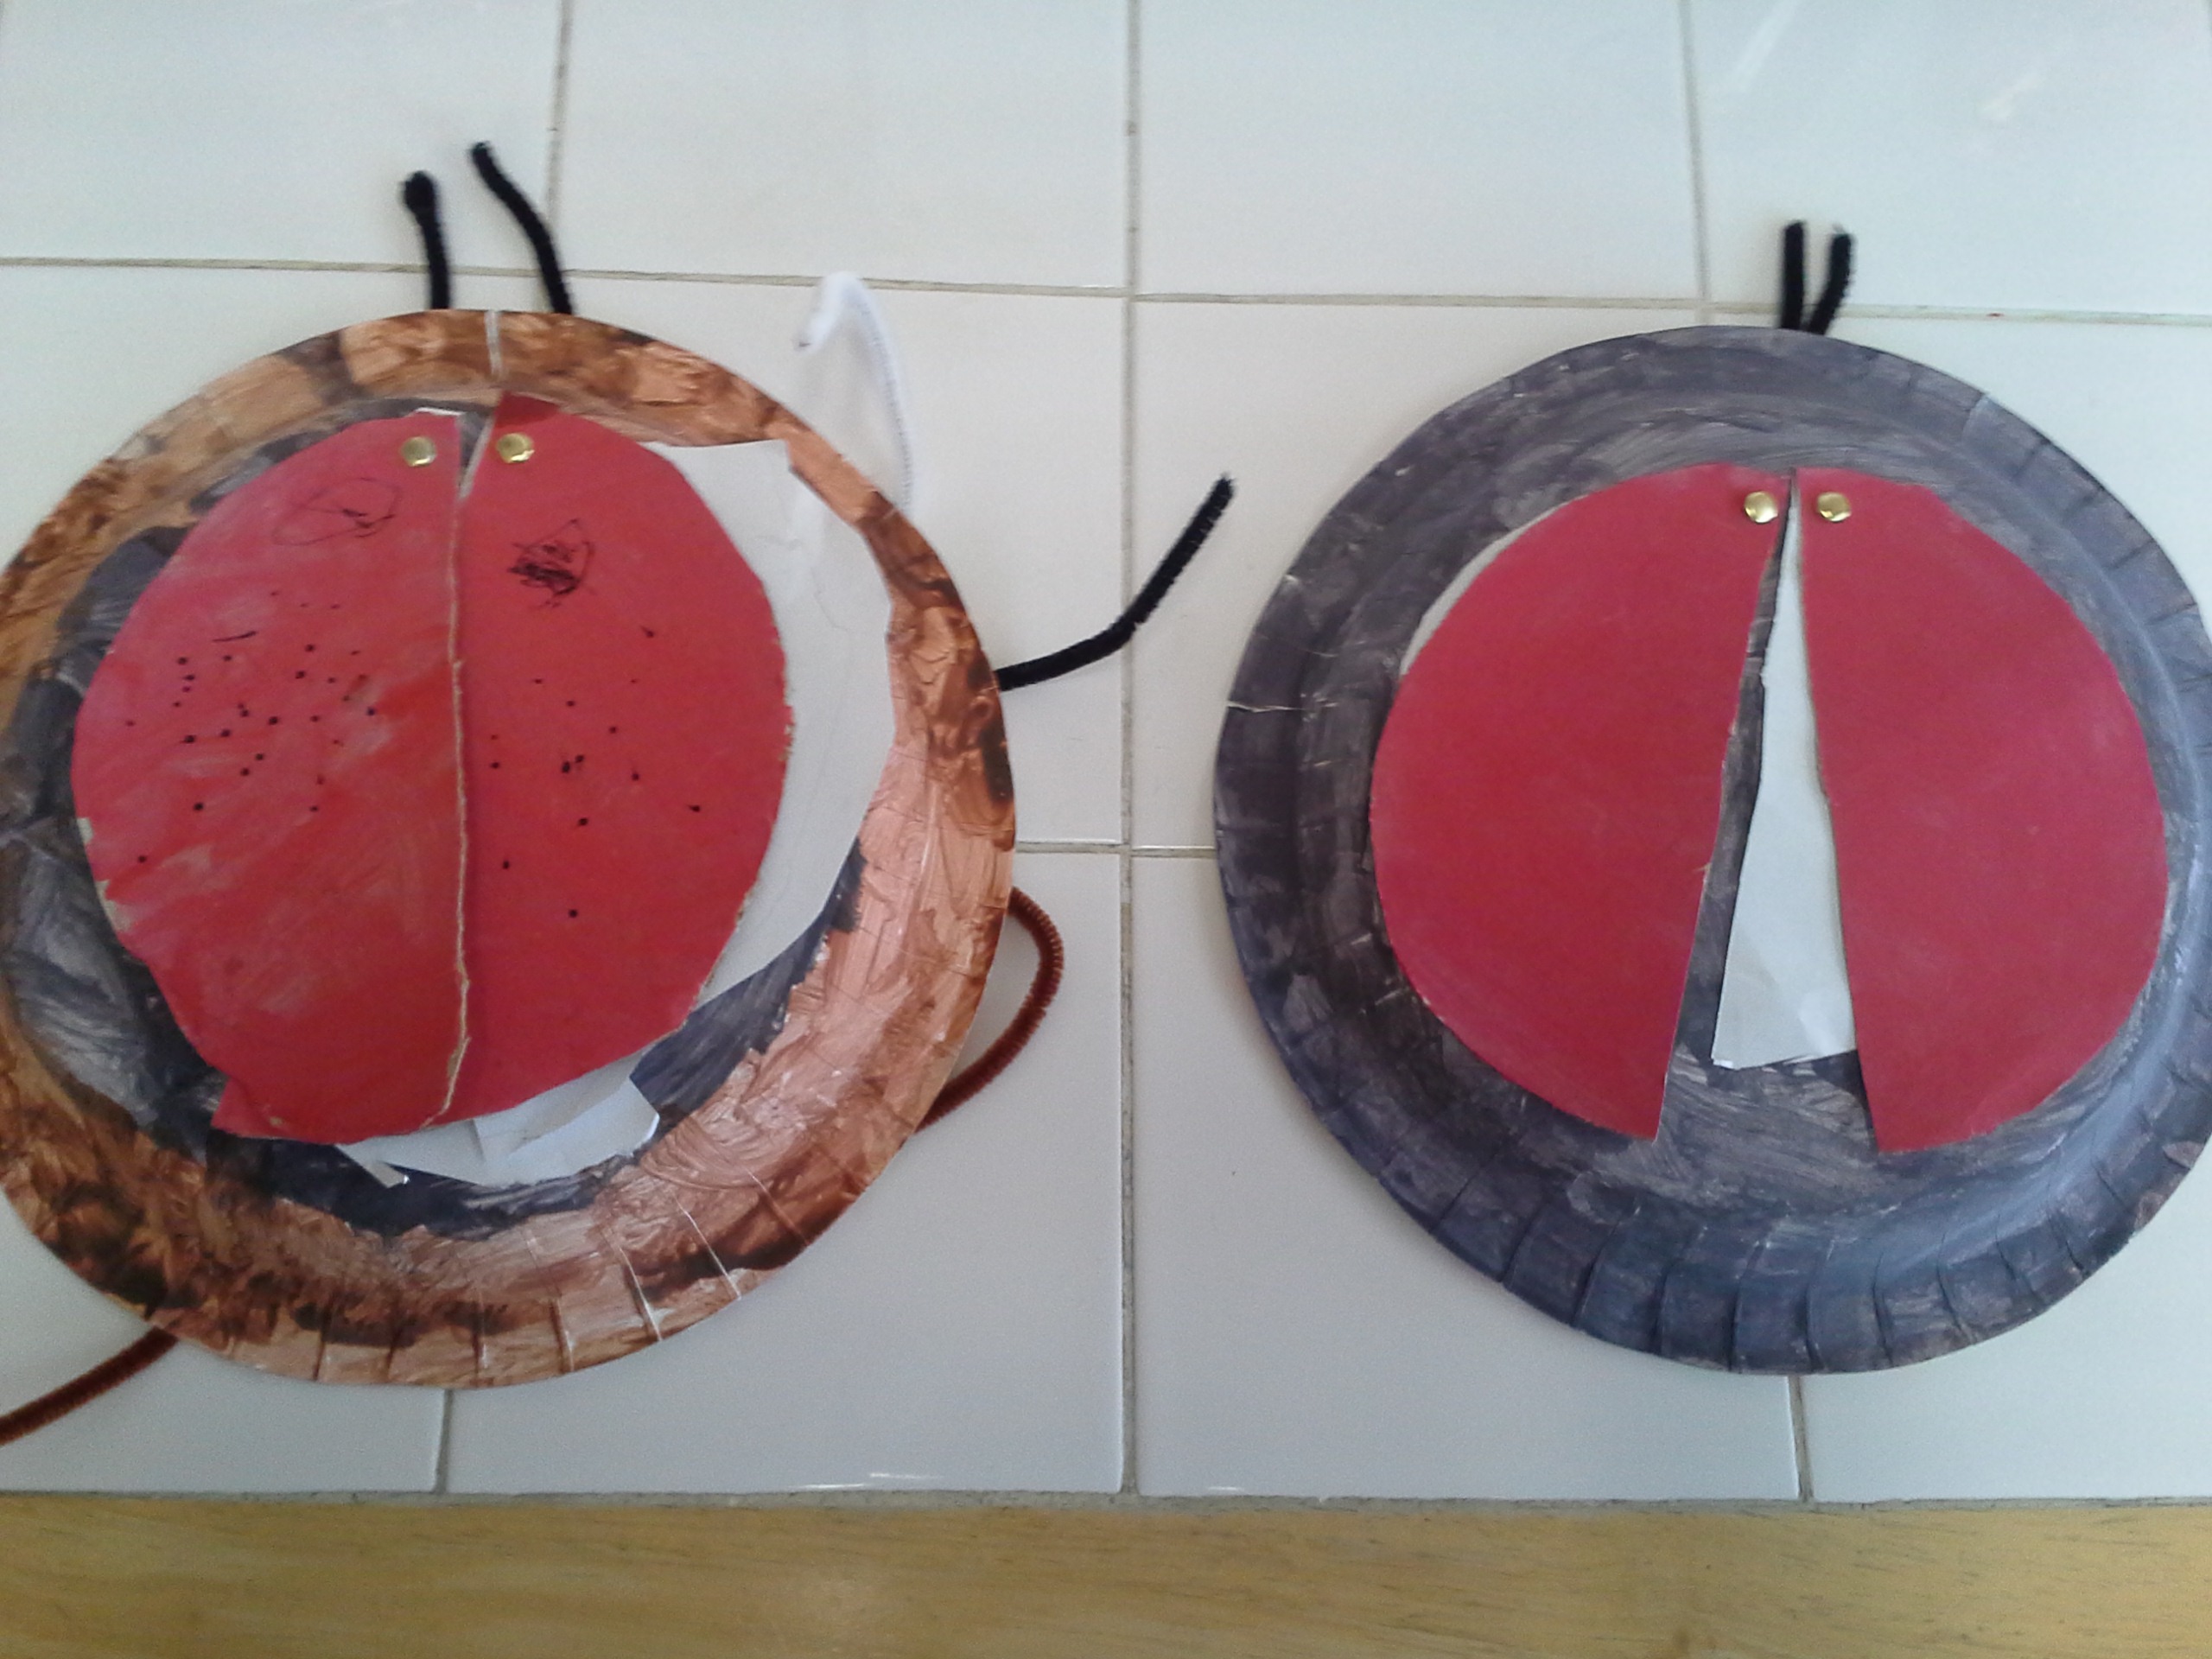
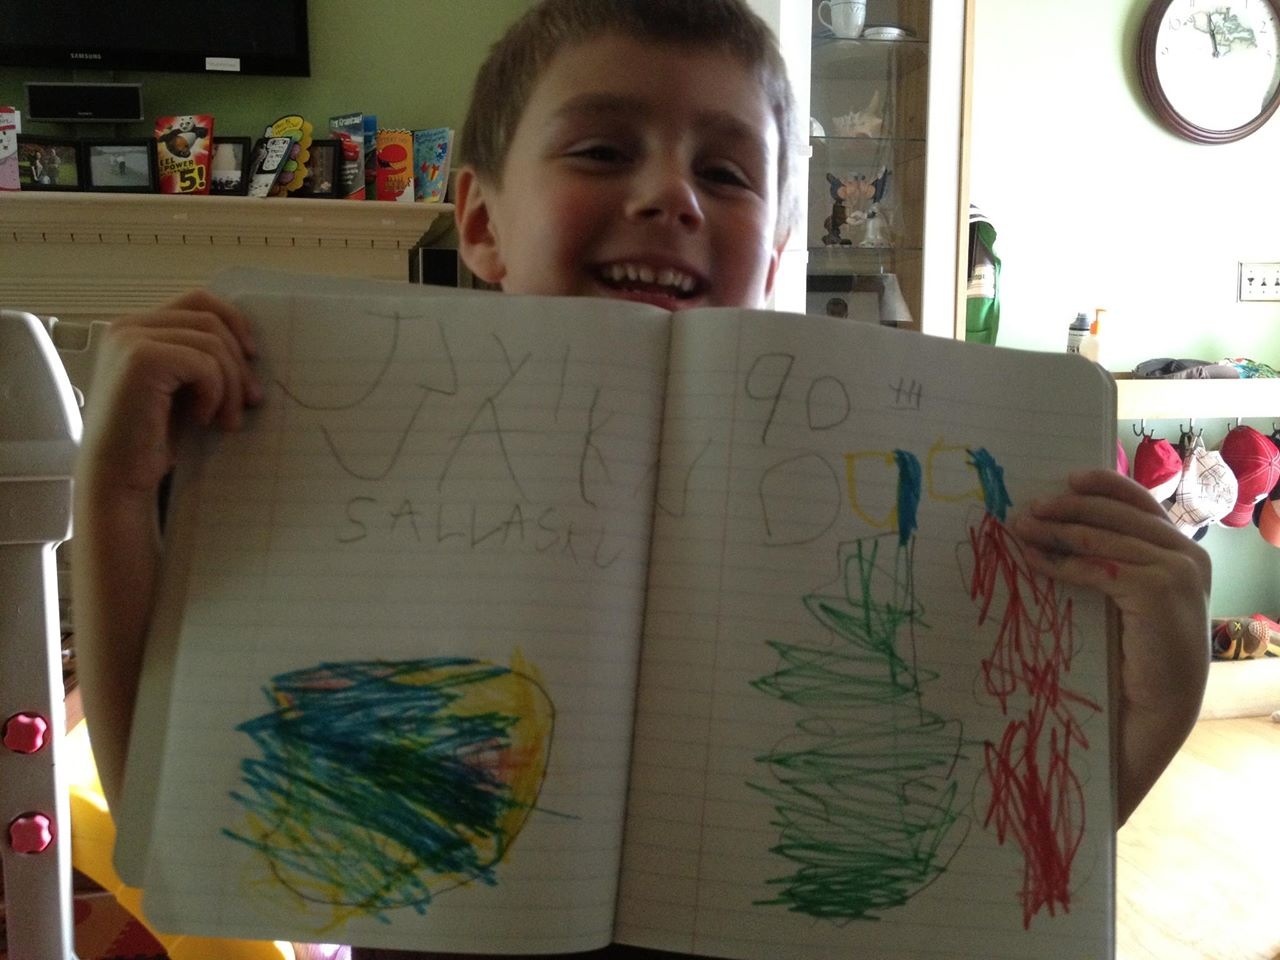
Four year old artwork on the left!


I like to be realistic in my posts.  I could attempt to create a perfectly created, pinterest-worthy ladybug to dazzle you with, but not that’s not real life. I’d much rather show you a finished product made by kids to set realistic expectations.
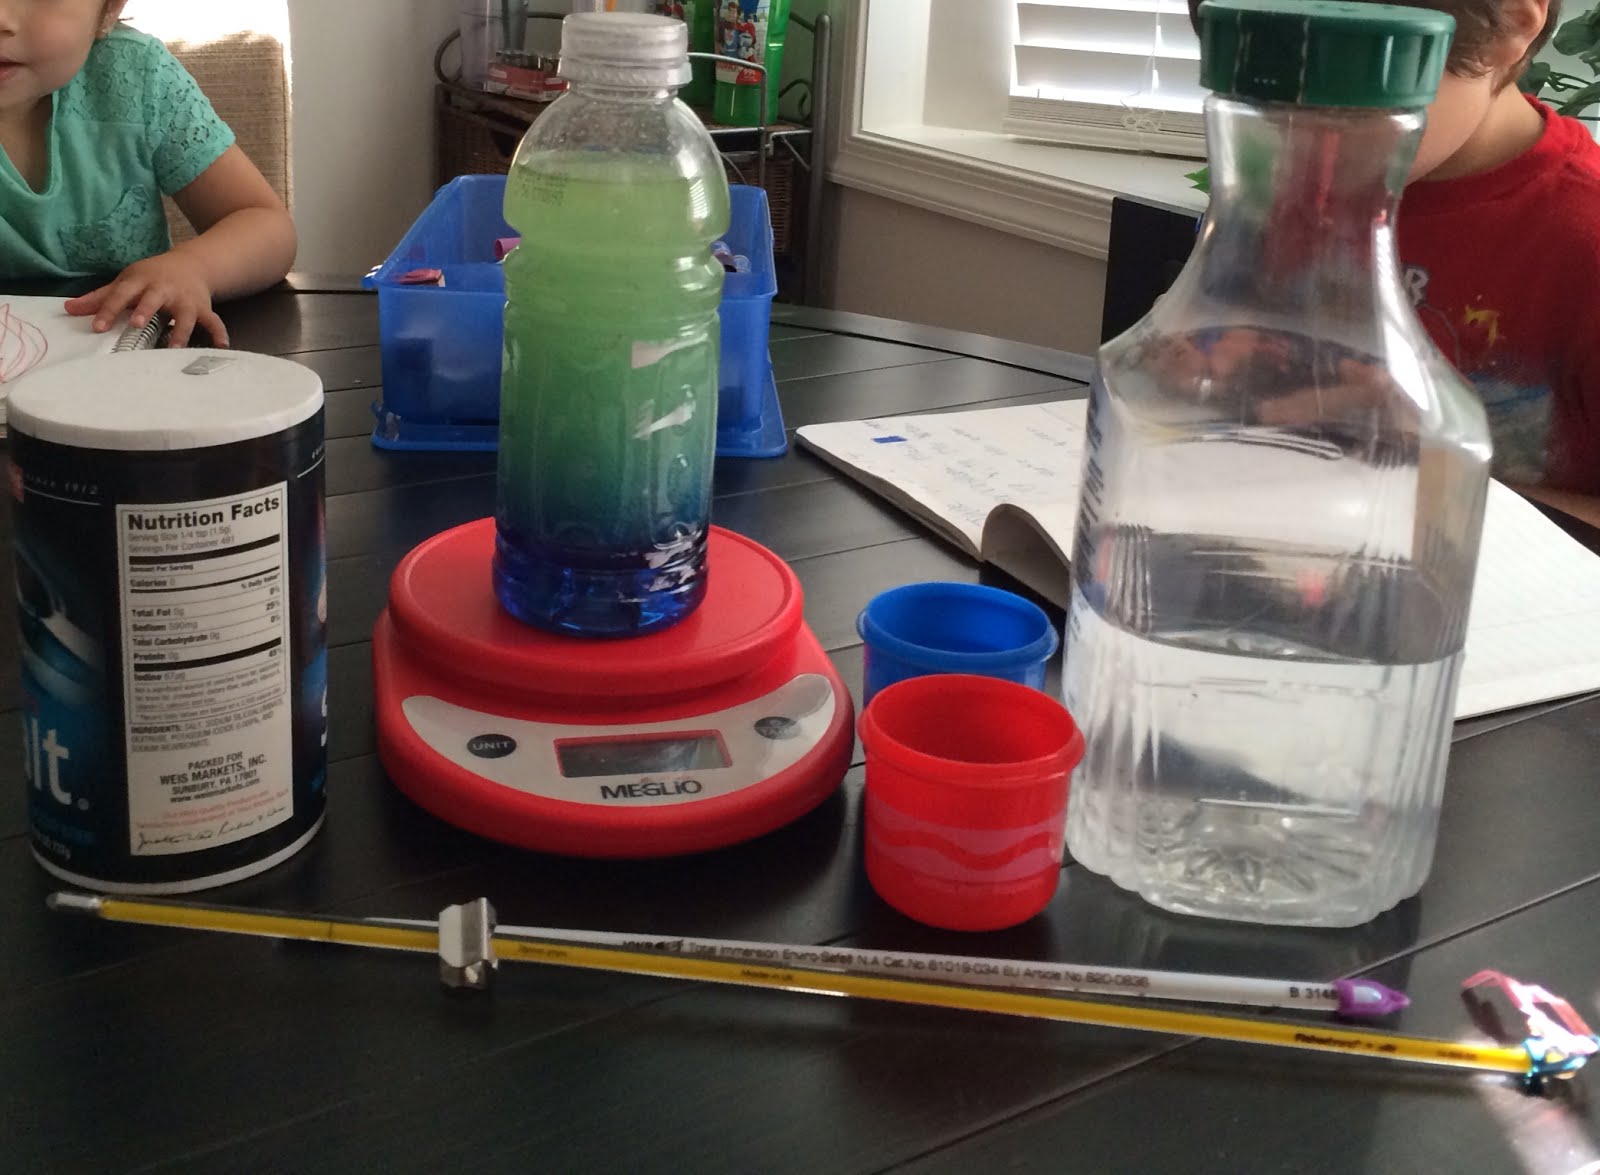
 

Materials used:

  • paper plate
  • black and red paint
  • pipe cleaners
  • paper fasteners
  • cardboard
  • computer paper
  • string and yardstick for measuring (optional)
  • pencil


Steps we took:

To start, we needed to set up the body parts that needed to be painted. The paper plate would be the ladybugs body and the cardboard would be the ladybug’s elytra (wing covers).  In the story we learned that ladybugs protect their delicate wings with their elytra.  To show that the elytra protects the wings we decided to use cardboard for the elytra and the computer paper for wings.  The stronger material (cardboard) had to fit over the weaker material (paper). We needed to figure out how big to cut our cardboard and paper before we could paint.


To do this we could have easily traced the circle on the paper plate onto the cardboard, but I wanted use this project to asses my nine year old’s knowledge of circles.  We did things in a more complicated manner so I could gain this information. I asked him how big the circle was so that we can make the same size circle on the paper.  To find this out, he said we would need to measure the circle.  “How do you measure something round?”, I asked. This could lead to many different responses.  For us, it led to measuring the circle with string, cutting the string, and measuring the string with a yardstick.

Empowering Parents to Teach- Ladybug

Empowering Parents to Teach- Ladybug


After he read the yardstick,  I asked what part of the circle he just measured.  He told me that he measured the circumference. At this point I also asked him if he remembered the equation for finding the circumference of a circle.  These questions allowed me to see what my son remembered about circles.


Realizing that it would be very hard to reform the string onto the cardboard accurately, this was a dead end for us.  Plan B was to find the radius of the circle. My son found the radius of the circle and cut a piece of string the same size of the radius.  Holding one end of the string on the center point of the cardboard and the other end by the tip of the pencil, essentially making a homemade compass, he rotated around the center point to create a new circle.  In theory, this circle should have been the same size as the original circle on the plate. In reality, due to error in holding the string, the circle was not actually the same size.  All of this is ok and part of the process of learning.  Next time we need to make a circle I will introduce a compass to my son.  After this experience, he can relate the purpose of a real compass to our homemade attempt at a compass.  He will hopefully see why the tool is necessary and more reliable.


Once we had our cardboard circle for the elytra, the boys traced the cardboard circle onto the paper to create the wings.  Our body preparation was complete.  Now, they could paint!  They painted the upside down plate black for the body and the cardboard circle red.  As my nine year old painted to cardboard circle I asked him what part of the circle he was painting.  He told me it was the area. I then asked him what the formula for the area of a circle is. My informal math assessment was complete;  I had a good understanding of my son’s knowledge of circles.  If your child is new to the concept, you could change the assessment aspect of the craft to more of a teaching activity demonstrating the different parts of a circle as they work.


The paint dried overnight and we returned to our craft.  The boys cut the cardboard and paper circle in half.  I punched a hole in the top of the cardboard, paper, and plate so that all three could be attached together using a paper fastener. The wings and elytra were finished.  Both boys put antennae on the ladybug. My four year old happily put on six legs and wing spots just as we learned in the book. My nine year old left his ladybug legless and spotless. Ladybug spots are symmetrical.  Even though, my none year old did not put spots on his, we still discussed this.


Adding to this, my four year played with ladybug, acting out things he learned from the book.  He was pretending to feed the ladybug aphids using matchbox cars!  When one of the wing covers fell off, he first called it the wing, thought for a second, and corrected himself.  Creating this project definitely helped him learn some of the important body parts of the ladybug.


To summarize the concepts learned or reinforced by creating this project:

  1. Insects have 6 legs
  2. Ladybugs, like many insects, have antennea
  3. Ladybugs have protective wing covers called elytra
  4. Ladybugs eat aphids
  5. Parts of a circle- radius, diameter, circumference
  6. Pi
  7. Formulas: Area of a circle & Circumference
  8. Symmetry


We started with a book, created our own ladybug, then read three more books about ladybugs to add to our learning.  All of the books we read can be related back to the concrete object we made– our ladybug!


Our additional reading:

Ecosystems- How Living Things Connect

How much of an impact can one species make on its ecosystem? What would happen if that species became extinct or left the ecosystem?  These four books illustrate for your child just how important a species is to the other living things in its environment.  They can help answer those questions and possibly have your children looking at nature just a little differently!


The following books are perfect for a study on ecosystems, food chains, food webs, animals, or any nature study!


This post contains affiliate links.


Horseshoe Crabs and Shorebirds by Victoria Crenson

This story follows the lives of horseshoe crabs in the Delaware Bay.  When they lay their eggs on the sandy beach, the reader sees just how many birds depend on those eggs for sustenance!  Many types of birds compete for the eggs and fish in the shallow water find the eggs to eat.  This in turn helps other predators, a falcon grabs a smaller feasting bird and a blue heron caught a minnow attracted by the feast of eggs.  Even in death, the horseshoe crab is providing for others as gulls, mice, and flies eat its remains.  The reader can see how this species plays a huge part in the food web of the ocean ecosystem in which it belongs.  They are essential to the survival of migratory birds making a long trip to the Arctic.  The author ends by showing us the eggs that survived  hatching into new horseshoe crabs.  The circle of life continues.


A Log’s Life by Wendy Pfeffer

This story opens with lots of activity going on in an oak tree, from squirrels to slugs this tree is bustling with life!  Once lightning strikes, a huge log falls from the tree.  The log now becomes shelter for many insects, a porcupine, and a salamander.  Decaying material is eaten by insects.  Eventually, rot takes over and the tree become soil with the help of earthworms. An acorn falls, which a squirrel buries right in this new rich soil that was once the oak tree.


The Wolves are Back by Jean Craighead George

In 1926 all the wolves that lived in Yellowstone National Park were gone. In 1995, ten Canadian wolves were brought to the Yellowstone habitat.  With their return, we see how the delicate balance of the ecosystem is restored.   Through the author’s words, the reader sees how important the wolves are and how they directly and indirectly affect life at Yellowstone.  The book is beautifully written.  My attempt at a summary wouldn’t do it justice!  You have to read this one to see how artfully the author conveys the importance of these animals.


One Day in the Tropical Rainforest by Jean Craighead George

Written by the same author as The Wolves are Back, this is the only chapter book on my list.  While the book shows many aspects of the tropical rainforest ecosystem, there are clear examples of how one species affects the others in its environment.  One of my favorite parts of the book is the description of the sloth as “an apartment house”. Covered in algae and home to more than ninety creatures, a sloth is an ecosystem of its own!  If you like this book, there are more in the series.


Empowering Parents to Teach- Five Senses

Exploring Your Five Senses

It all started with this book:


Empowering Parents to Teach- Five Senses

You Can’t Smell a Flower With Your Ear by Joanna Cole

We read this book before bed one night and my kids really liked it.  It had a couple of “try this” activities in it which the boys enjoyed.  While my nine year old knew the information, my four year old learned a lot about his five senses. A couple days later we went to our local Botanic Gardens where they have this awesome Sensory Garden.  It was the perfect place the kids to explore their five senses.

The Garden:

Empowering Parents to Teach- Five Senses

The key:

Empowering Parents to Teach- Five Senses

The signs that guide us:

willow

touchme

teatree

smellme

There wasn’t a plant for us to eat, but we did sit on a bench in the garden and eat our snack.  Right next to us was a water feature that allowed to to hear the sound of running water. We sat and listened to the sounds of the gardens, which was mostly birds and the water fountain.

You don’t have to have a specific Garden of the Senses to explore your five senses.  You can do it anywhere! If you want to make this an official lesson have the kids record what they saw, felt, touched, tasted, and heard to see if they can categorize what they experienced.

Or better yet, have them create their own sensory garden!  Have the children brainstorm what they would put into a sensory garden. Then, they can decide what kinds of things would put into the garden to stimulate all five senses. If they are old enough, they can draw a blueprint of the garden. If you have enough space, plant the garden at your home or school.  Your children can even make their own version of the signs and key :)

We really enjoyed the Garden of the Senses, but look what else the rest of the Botanical Garden had for us:

Click to see any of the pictures larger!

Empowering Parents to Teach- Five Senses

Empowering Parents to Teach- Five Senses

Do you see the butterfly?

Empowering Parents to Teach- Five Senses

Empowering Parents to Teach- Five Senses

My four year finding bugs. We saw a cool centipede!

My four year finding bugs. We saw a cool centipede!


If your looking to teach your little one all about their five senses, read the book then take a fabulous walk in a beautiful setting and talk about how you are using your senses!! I always love combining a book and real life experience :)


Empowering Parents to Teach- Science notebook

Notebooks and the Scientific Method

A Note about Notebooks and the Scientific Method


Our science mom, Staci, shows us how to use a science notebook to help our kids learn all about the scientific method!


I started doing Science Saturdays with my son the spring before his fifth birthday.  We tried to think of something fun and interesting to do every weekend.  From the very beginning it was important to me that we followed the scientific method and kept a lab notebook.  At the time, my son was just beginning to learn to write, he often asked how to spell things and spent a lot of time drawing pictures of his observations and dictating to me his conclusions. He has graduated to writing his own hypothesis, adding sentences to his observations and writing his own conclusions.  Now that my almost 3 year old has joined our science fun, we spend a lot of time drawing pictures of our set-ups and observations again.  If you are introducing your children to science, don’t be afraid to encourage the use of a lab notebook, no matter their ages.  They may surprise you with their observations and attention to detail!


Teaching the scientific method can seem like a daunting task, especially if you are teaching young children. The good news is that you are probably already following the process without even thinking about it.  Adding the vocabulary of the scientific method during your experiments can encourage critical thinking and reasoning skills.

Observation:  about what can you use your senses to ask a question.

Question: the why, what, or how you want to know about what you are interested.

Hypothesis: a guess about why or how something happens.

Prediction: how can you test your hypothesis and what will happen if…

Testing: conduct your experiment.  Sometimes this will lead to more questions and more testing.

Conclusions:  what have you learned from your testing.

Communicate:  tell others what you have discovered so they can learn more.

Not every step of the scientific method needs to be recorded in your notebook, but we are sure to include a few sections.  Specifically, we write a question about our experiment to highlight the purpose of the experiment.  Next we make and write a hypothesis about our experiment.  We take careful notes and draw figures of our observations.  And finally, we write a conclusion about what we have learned from our data.  Sometimes we also include questions that we thought about while learning the answers to other questions.  We call that the Circle of Science!

Does your family consider the scientific method when you are doing at home experiments?  My son’s lab notebook is a childhood memento that I treasure.  I can’t wait to keep filling it’s pages with our science fun and I hope your family can find just as much enjoyment in your own lab notebooks as we do.

Empowering Parents to Teach- Salinity

Oceanography Exploration- Salinity

Staci is a mom and Cancer Biologist. With her expertise in science and experience as a mom, she shares with us how she incorporates science activities into her children’s everyday experiences. Her son has been really interested in oceanography, so Staci has been nurturing that curiosity with science activities and experiments at home.  Last week, she showed us one way to explore waves; today she shares some fun salinity experiments!

Oceanography Week 2:  Salinity Part One


From our science mom:


Salinity is defined as the salt content dissolved in water and is important in determining both chemical and physical characteristics of water, such as density and heat capacity.  This week we wondered if ocean salt water behaves differently than our water from the tap at home.  Specifically, my son wondered which water would freeze first and if the waters would heat up at different rates.


To begin, we needed to make up a salt water solution.  We learned the average salinity of the oceans is 3.5% by looking it up on Google.  A 3.5% solution is 3.5 g solute in 100 ml of solvent.  We made 1L of our salt water solution by dissolving 35 grams of table salt into 1 L of tap water.

image (1).jpeg

I asked my son to make a hypothesis about which solution would freeze first and why he thought that.  Using a measuring cup and identical cups, we poured water into our containers and placed them in the freezer.  We were sure to carefully note which color container held which solution in our lab notebook.  We set a timer for 15 minutes and continued to check on the containers periodically.  Which container of water began to freeze first?  How does your hypothesis compare with your observations?  What conclusions about properties of salt water can you make?


After making and recording our observations, we set out to learn the whys and hows to our data.    Both salt water and fresh water will freeze, but salt water freezes at a lower temperature. According to the National Oceanic and Atmospheric Administration (NOAA), fresh water freezes at a temperature of 0 degrees celsius, while salt water freezes at -2 degrees celsius.  The lower freezing point is due to the salt crystals disrupting the ideal crystal forming lattice that water prefers.  In order to form an ice cube, the motion of the water molecule has to be restricted in a very specific crystal structure.  When you add salt to the water, both the water molecules and the salt molecules must be restricted, which is much harder to do and this lowers the freezing temperature. Interestingly, when you have an unsaturated salt water solution, the water will begin to freeze at the top and push the salt crystals into the remaining liquid.  Because of this property, sea ice can be melted into drinking water.


If you want to take your science outside, try taking your frozen cups of salt water and tap water out to melt.  Do they melt at the same time?


The second part of our experiment explored whether salt water and tap water heated up at different rates.  After making a hypothesis, we measured equal amount of water into similar cups and attached thermometers.  We placed the cups in a sunny spot outside and took the starting temperature and continued to monitor the temperature of the waters every 30 minutes.  My son took careful notes and recorded the temperature for a few hours.  What were your observations?  Was there a difference in the heating pattern between the two waters?


10172816_10202838242536184_1018057594821690582_n.jpg


These were the first two experiments I had planned to explore the salinity of water.  In an upcoming experiment, we will determine how different salt concentrations in water affect the density of water.