This is our very first year for home school! My oldest is nine and entering fourth grade. My youngest is four and attends preschool three mornings a week. That means I have a couple of hours every other day, where it’s just me and the big man. Little man will be with us most of the time ![]()
Here’s the room from different angles:

The school room (which was formerly our playroom)
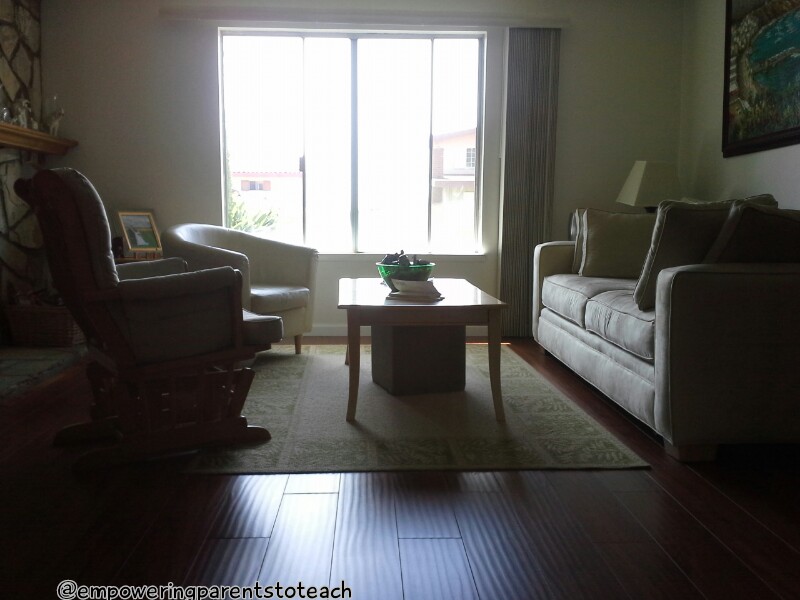
The living room is part of the schoolroom
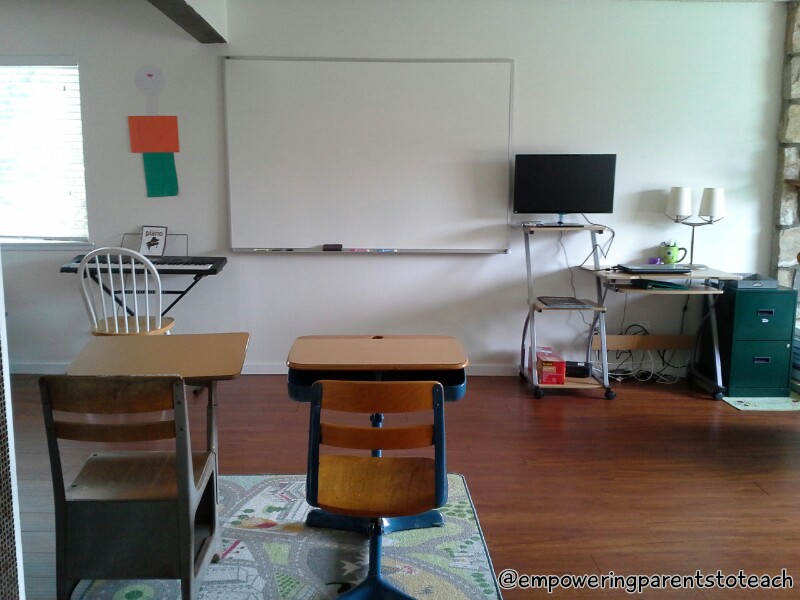
I have to figure out how to hide all of those wires behind the desk!
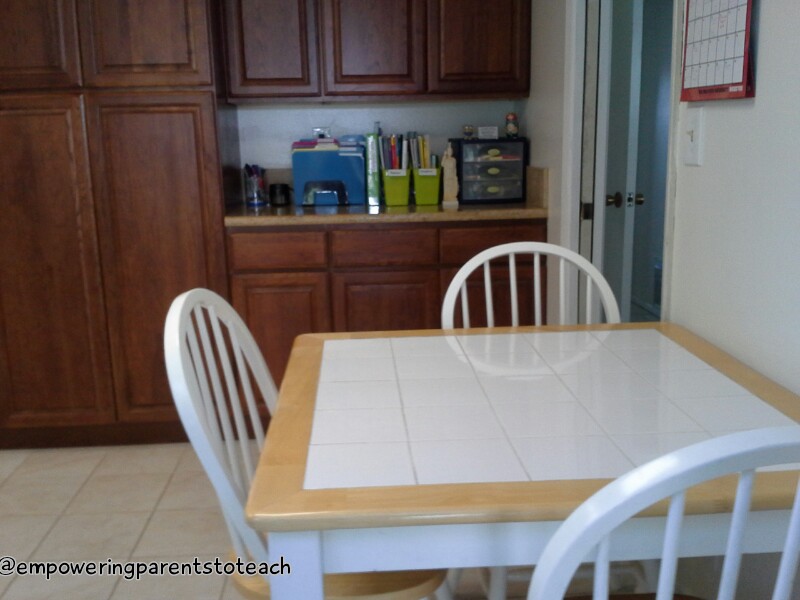
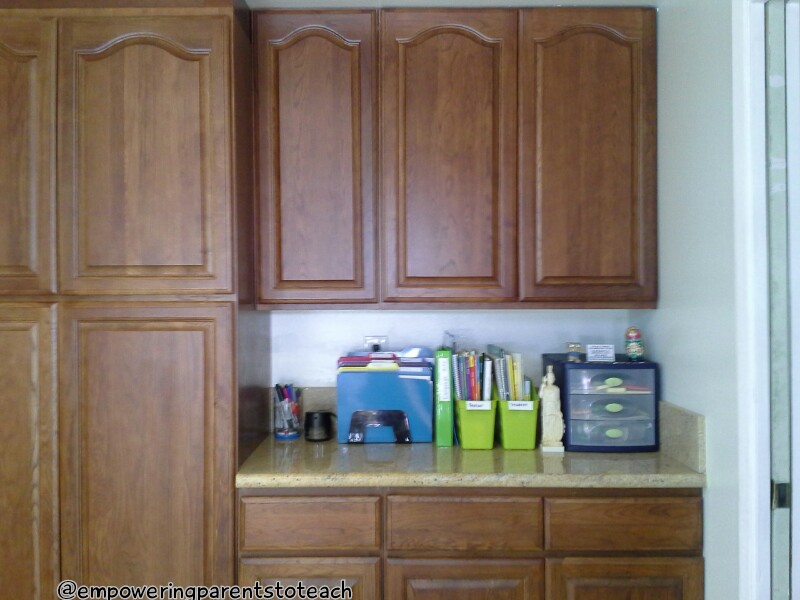
Our kitchen will likely be another place that we work!
Organization was number one
The majority of our room set-up is focused on my oldest son’s needs. I wanted things to have a place so that he knows where everything goes allowing him to get the things he needs and put things away by himself. Having supplies easily accessible makes him more independent and frees me to focus on bigger things than finding supplies! This took a lot of thought as to what items were essential so that I can have those things ready to go. I had to imagine what a day might look like and what needs may arise.
Lack of clutter was my second goal
It was very important to me that the room was not too “busy” and overrun with stuff. I really believe that a cluttered room breeds a cluttered mind! Don’t get me wrong, the room will get messy, used, and probably look like it is in shambles as we work, but as a starting point, I wanted the room to be a blank slate ready to be decorated with learning!
To achieve this I did a couple of things:
1. I have tons of stuff from my teaching days so I sorted through everything and determined what I may use this year and what I thought would not be used. The books, materials, and resources that I wanted available for this year were then organized by how often I thought we would use them. Only things that we need on a daily basis needed to be in sight, the rest got put away in a closed cabinet. That way it did not take up visual space but was put away in a place that made it easy to find!
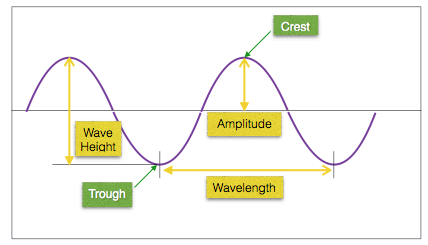
2. I purposefully did not but a bunch of stuff on the walls. Currently, I have two posters at different heights, a US map, and one art project that my four year did. The posters I have hanging are a 100 chart for my preschooler and the scientific method chart for my oldest to use as a reference. The 100 chart will stay for a while (it’s been hanging in our house since little man was 2). The scientific method poster will only be there as needed. I know things will be added as we begin school, but I plan not to overload the wall space.
3. The teacher desk that I found is small and very open. I got this desk because it is not big and bulky taking up too much visual space. Although, all of the wires hanging down is driving me nuts. I have to remedy that, suggestions are welcome ![]()
Comfort was important
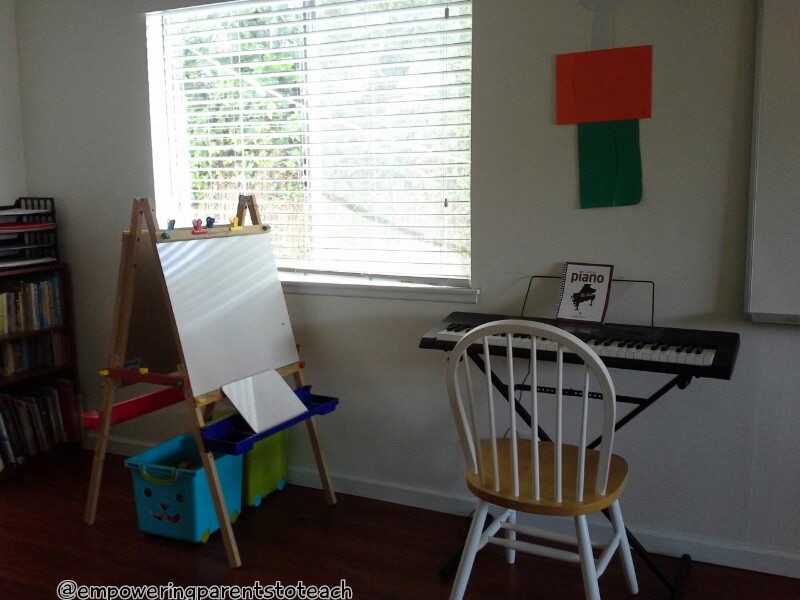
The most important thing about home school is you get to be at home where you live as a family! The room should have all the comforts of home, not a sterile hospital like environment. I love that our school room in located in the family room because my oldest LOVES sitting in the rocking chair and reading his books. Now he can do that whenever he wants! We can sit on the couch to read or sit at our coffee table to learn math if we wanted to! Our new room has the best of both worlds. My son has a place to sit and focus at a desk or find a soft place to sit and spread out depending on what it is needed. There is also a lot of floor space for puzzles, posters, or playing.
Putting all three of these things together resulted in this
Books, papers, science, and guided reading tools
The everyday materials:
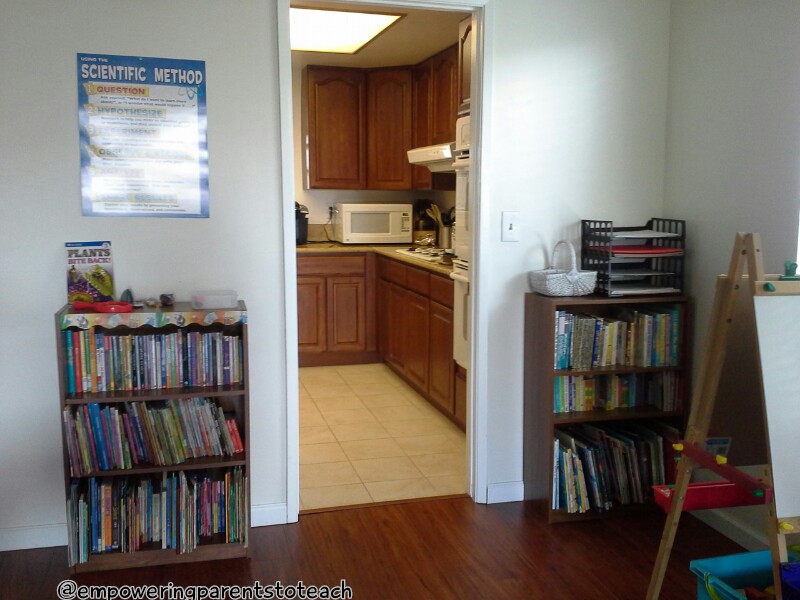
Paper trays organized by paper type (lined paper, construction paper/colored paper, editing checklists, scrap paper & tracing paper)
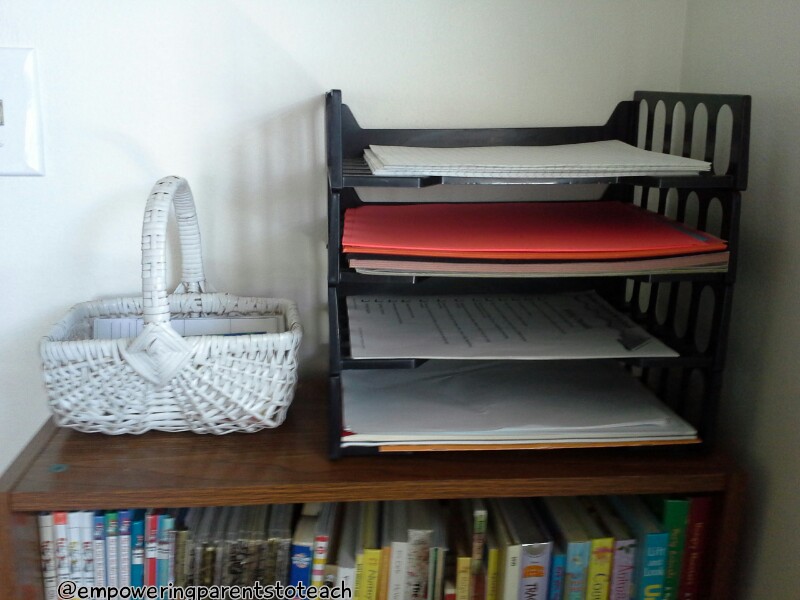
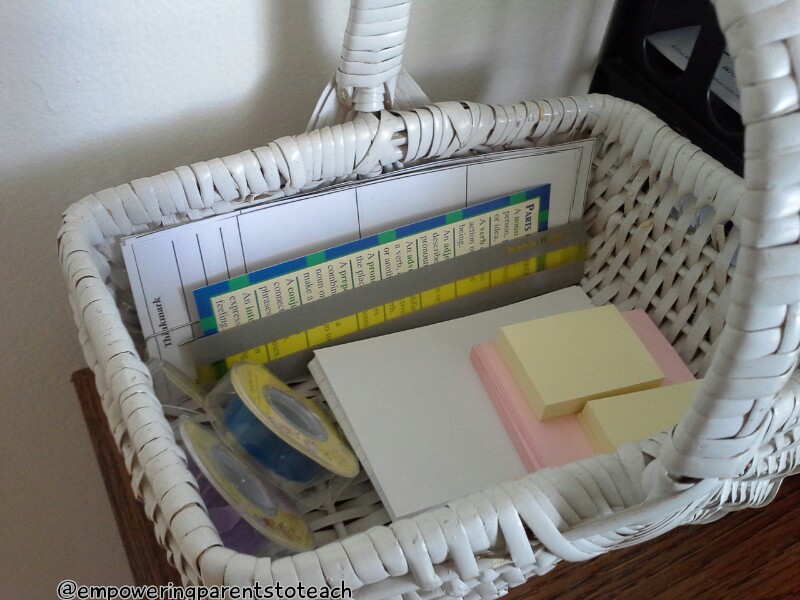
Guided reading materials in the white basket (highlighter tape, thinkmarks, post-its, index cards,etc.)
Current science topic materials
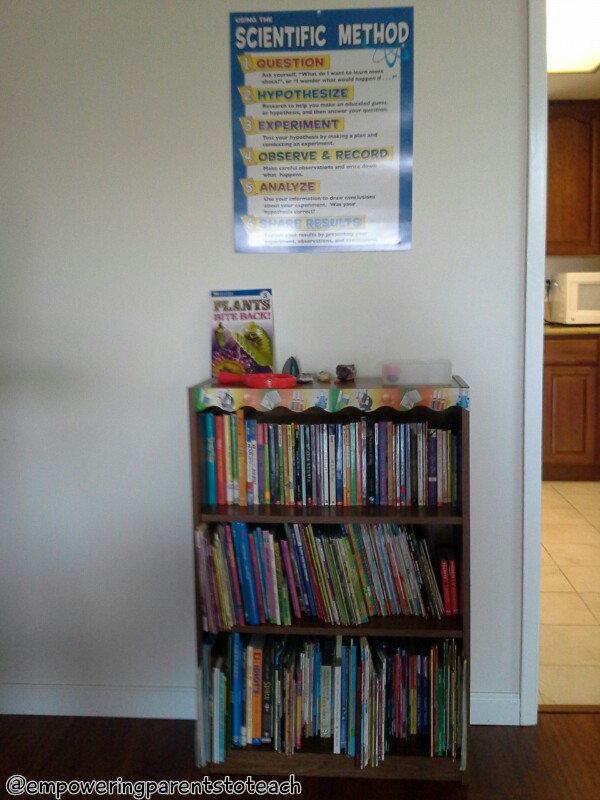
Some of our rocks and gems have been here forever. They will be moved as we explore different topics, changing this display regularly. We are in the process of collecting seeds for our plant study coming up. It will be used to study different characteristics of seeds and how they are dispersed. So for now, this is a work in progress ![]()

See this closed door in our school room? It is the area under the stairs that we use for toy storage. Now, I’ve added some teaching supplies too. This is where I store some of the things that don’t need to be used everyday.


Opens up to storage!
Here’s what’s inside:
Toys that can also be used for learning or keeping a preschooler occupied!
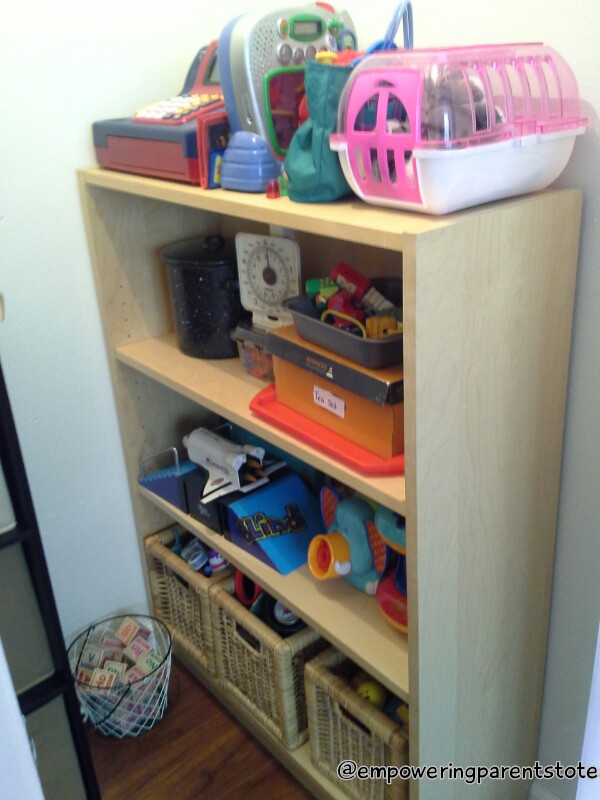
In the bins pictured below are puzzles, cars, play weapons (I have boys), card games, flashcards, foam letters, and small building toys. There are plastic animals on one shelf and activity books and coloring books on the bottom.

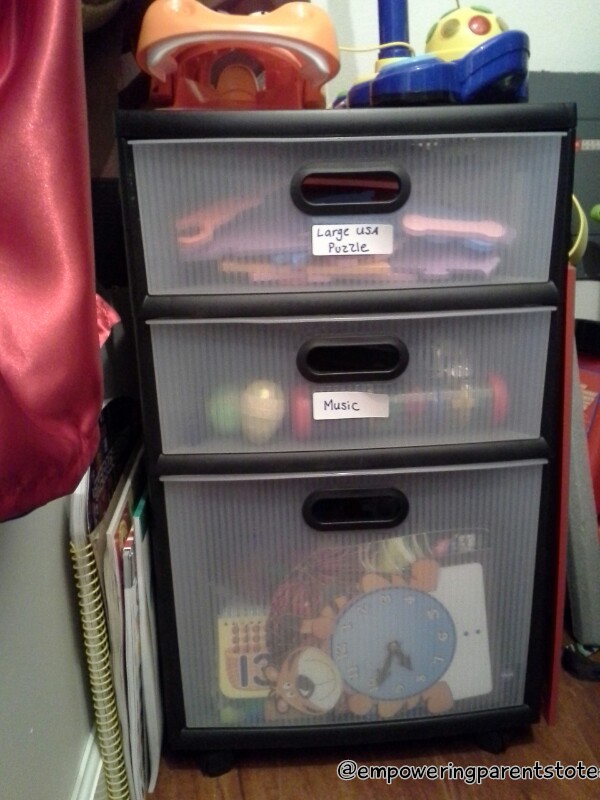
The next wall has my organizer that holds our large USA puzzle, musical instruments, and math manipulatives.
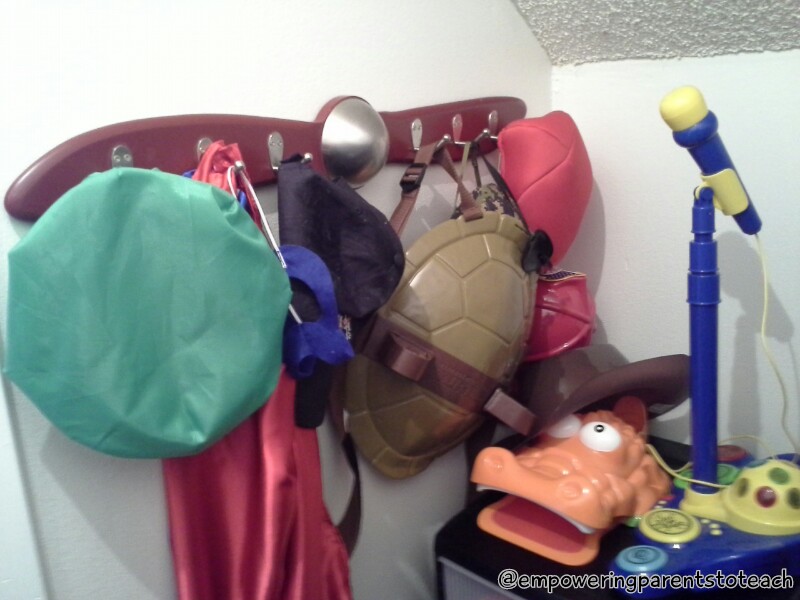
On the wall by the black organizer is some of our up dress clothes!
I love having our toys in the school room, because playing is learning! I also love that I can close the door and all of this is out of sight when we need to focus on an academic task.
In addition to our school room, I used our kitchen for storage of materials.
Notebooks, workbooks, books, binders, other school supplies
In our kitchen, which is attached to the school room:
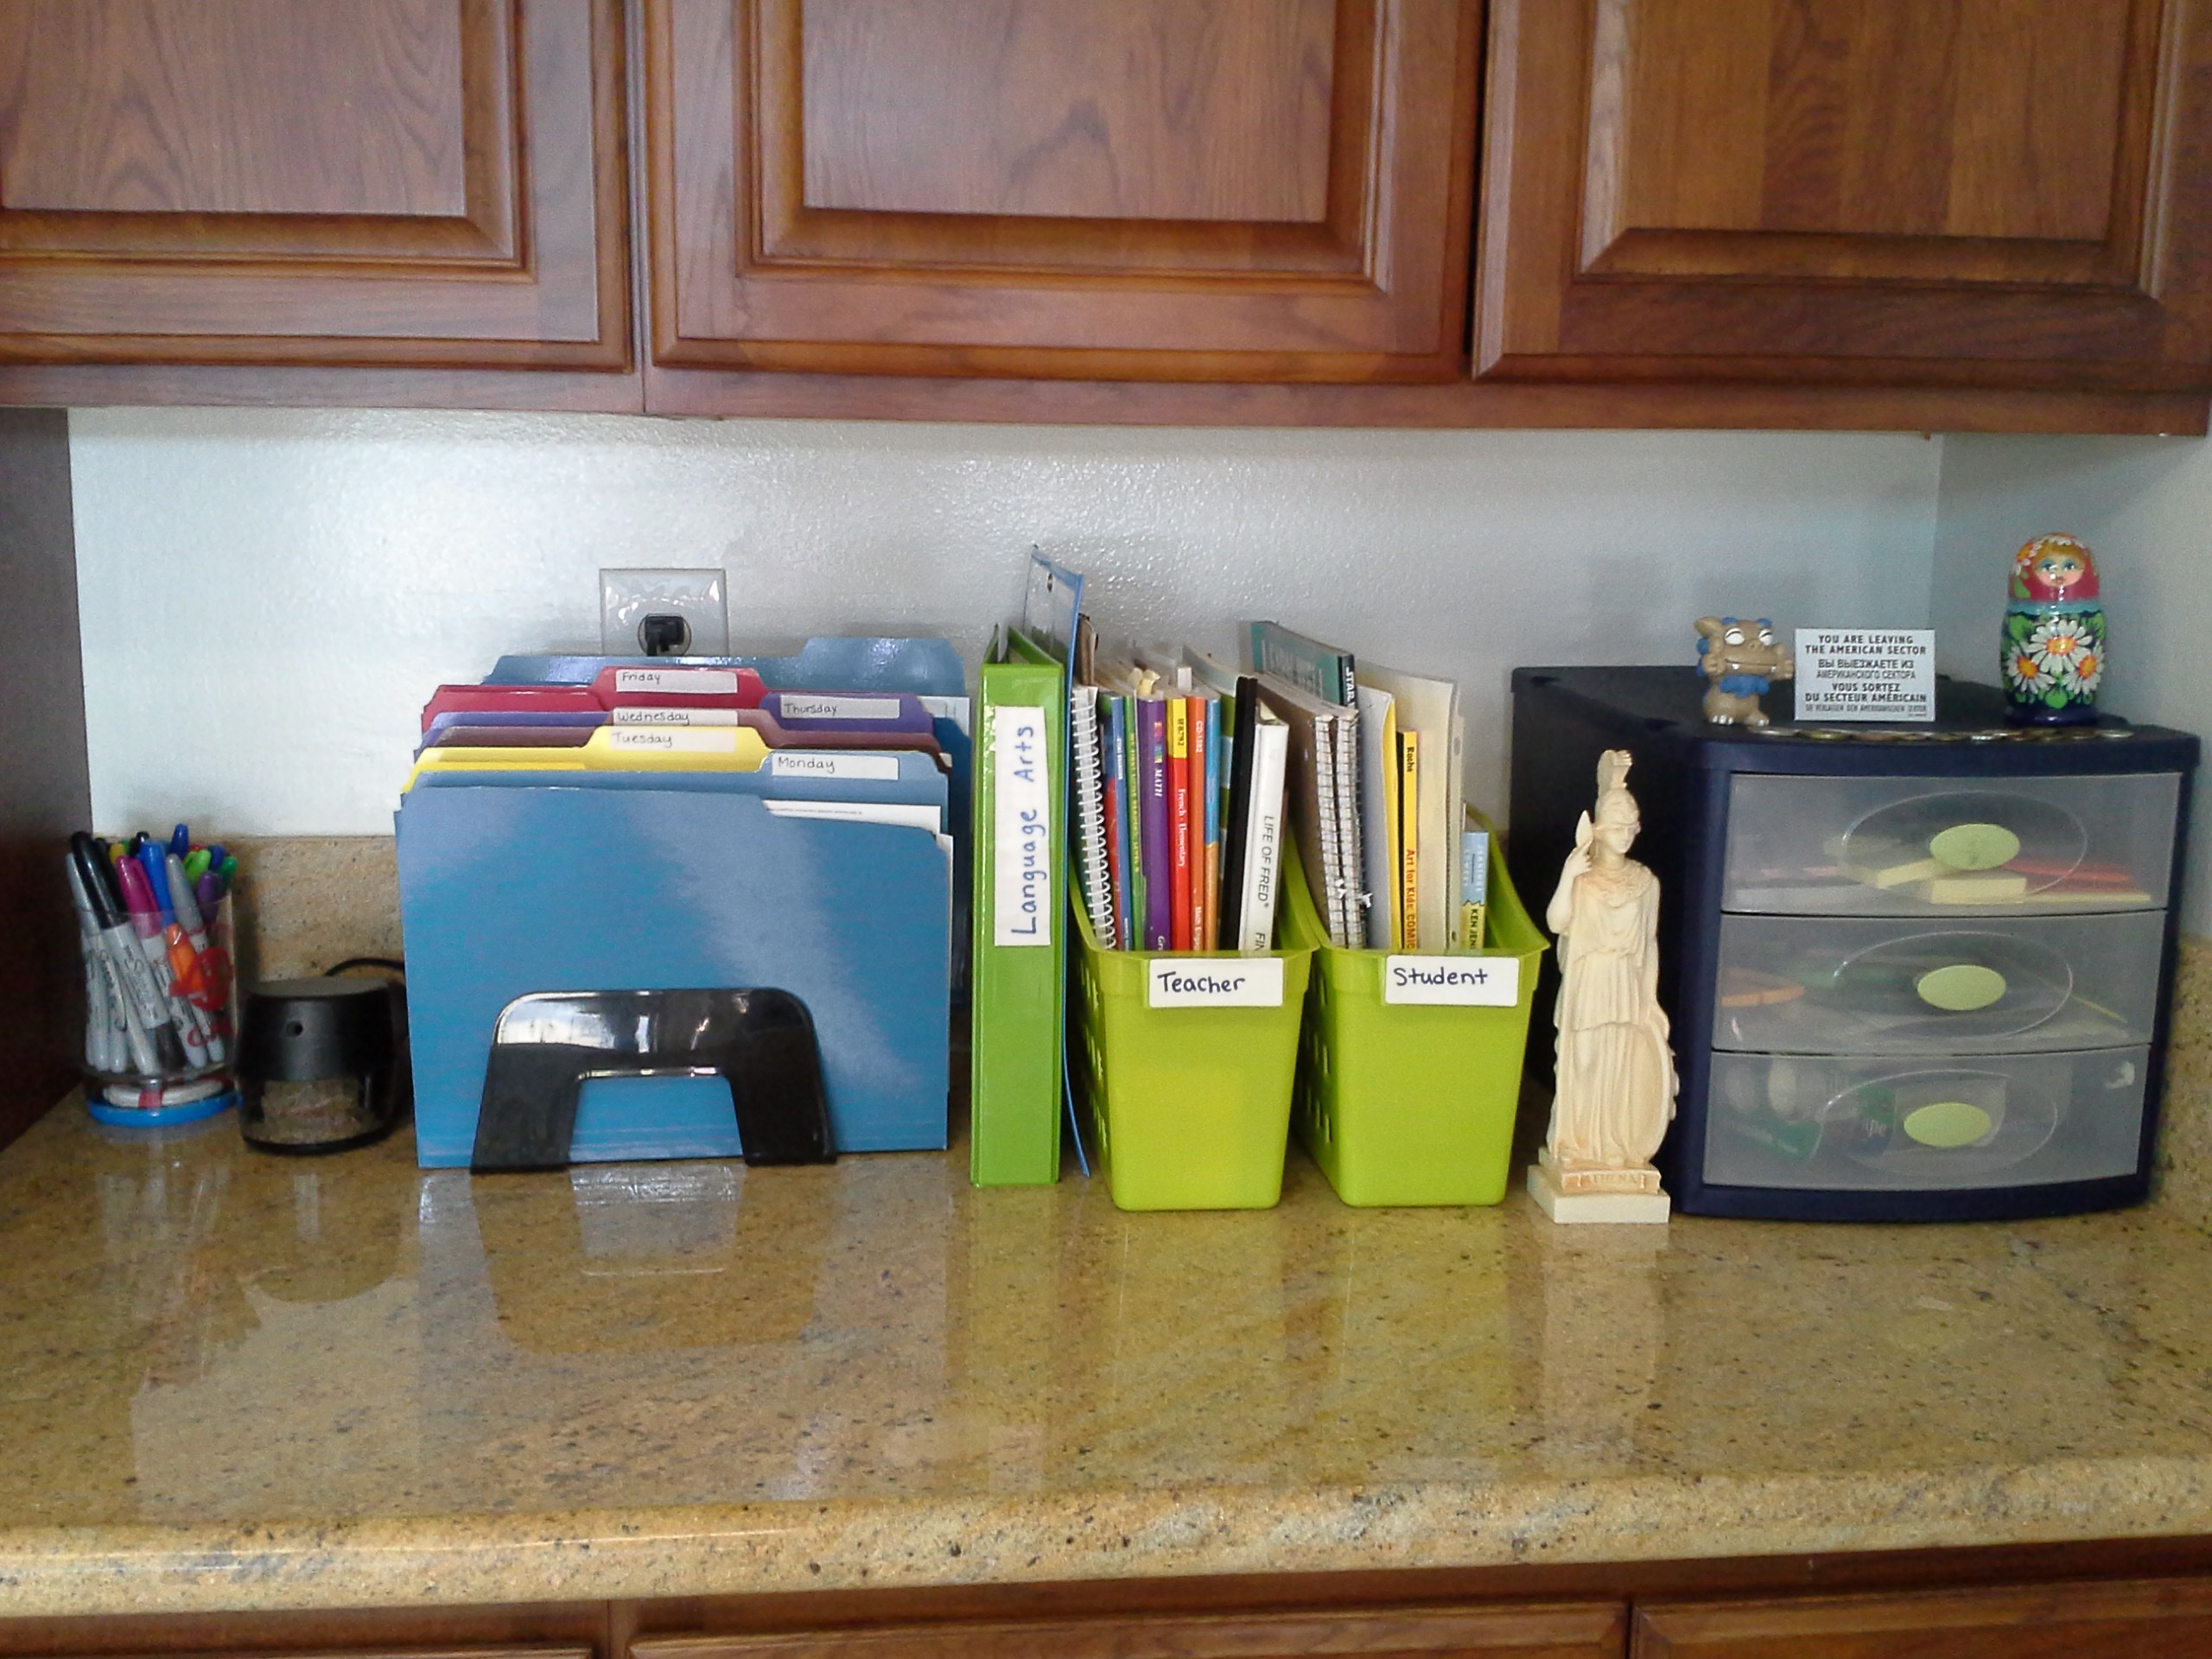
In the small organizer–
Top drawer: more post-its, index cards, bookmarks, small paper items
Middle drawer: scissors (regular and craft), rulers, protractors, calculator, straight edge, small graph paper, rubber bands
Bottom drawer: scotch taper, colored pencils, glue

The items on top and on the side are from other countries. My husband brought back the nesting dolls from Russia, the bearded dragon from Japan, and the Berlin magnet from Germany. My sister gave me the statue from Greece. I like to have them visible for my boys to explore and ask questions. I also keep coins from many countries on top. The boys actually really love playing with the nesting dolls.
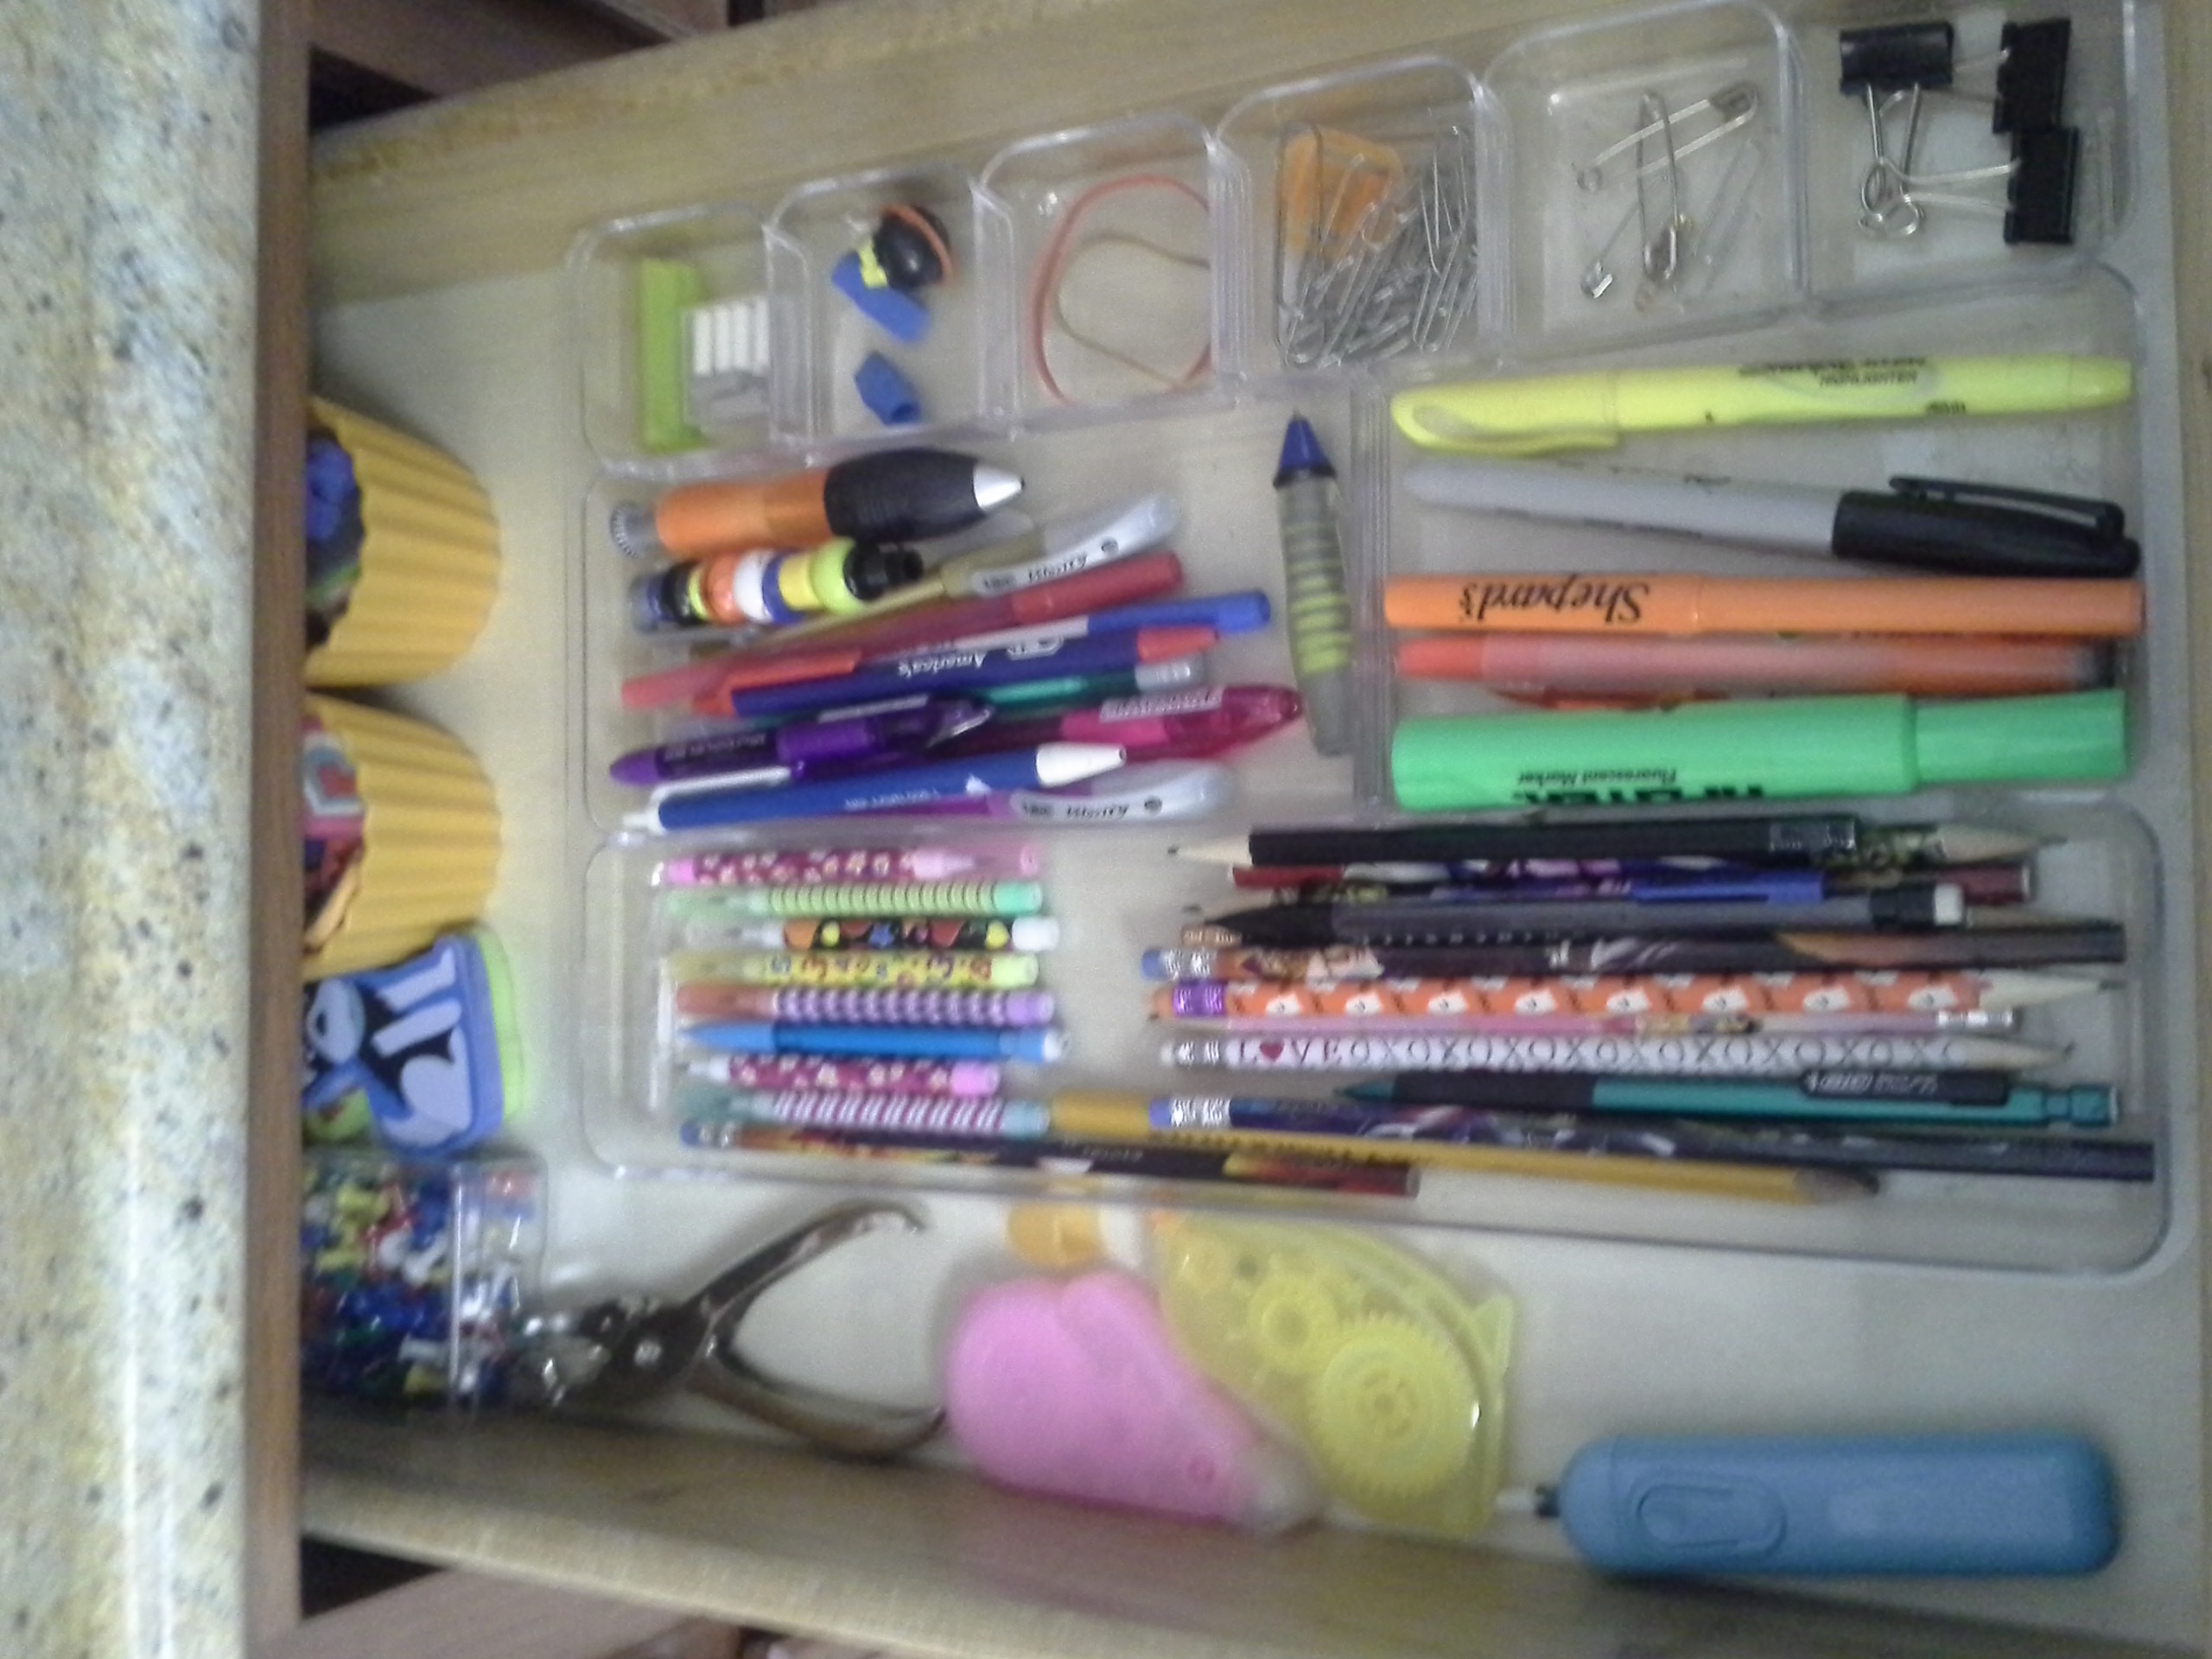
Pencils, pens, highlighters, correction tape, erasers, small supplies
There is a drawer right under the counter where we can keep all of these items.
Teacher Materials, Craft Supplies, and Science
I used the bottom cabinets and one shelf in the upper cabinet located in the kitchen to hide some of the materials, but still have them within our reach.
Upper cabinet:
On the left, I put extra office/school supplies and small sensory items.

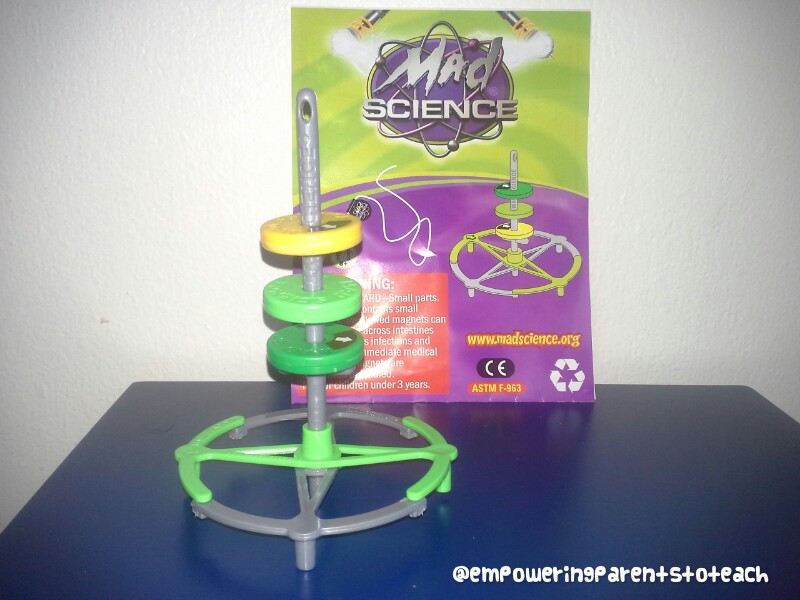
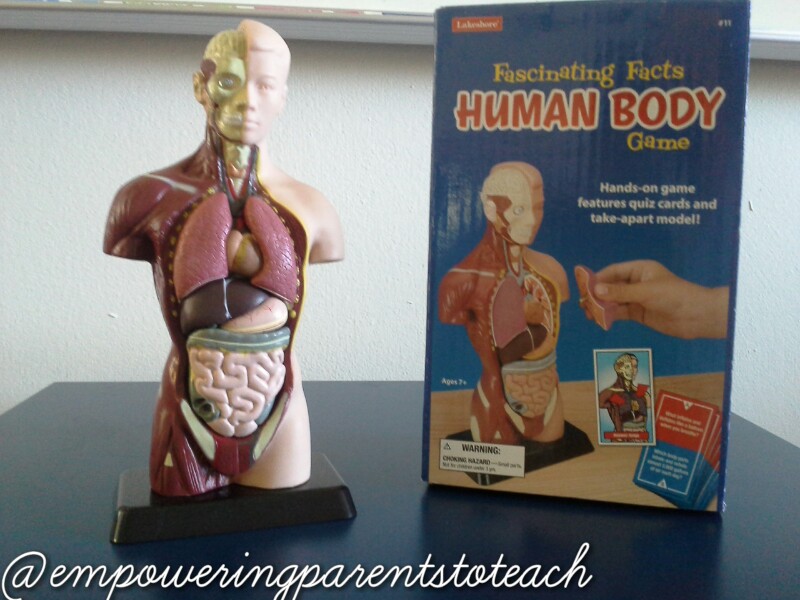
One the right, I have some of our science supplies that we will use somewhat regularly.
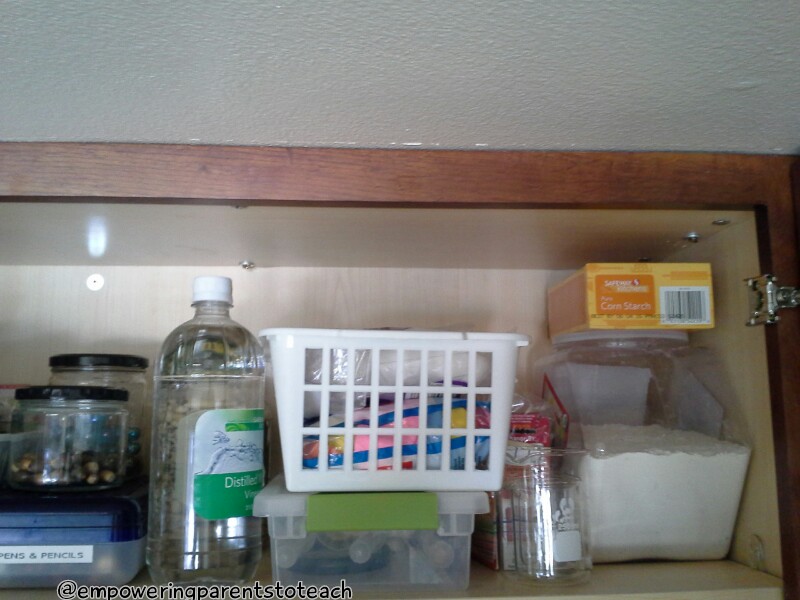
Science supplies
The bottom cabinets:
Here, I have teaching books and materials, markers, crayons, craft supplies, preschool reading supplies, extra paper, paint and paint supplies.
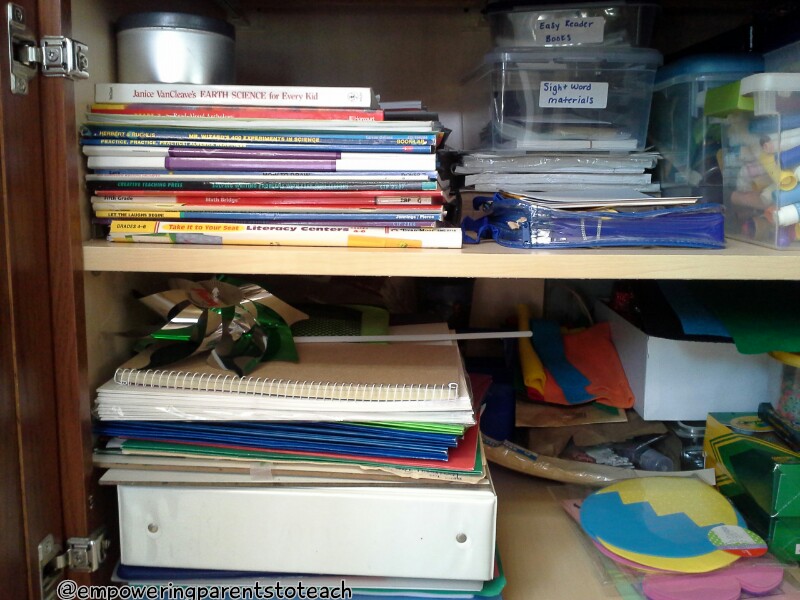
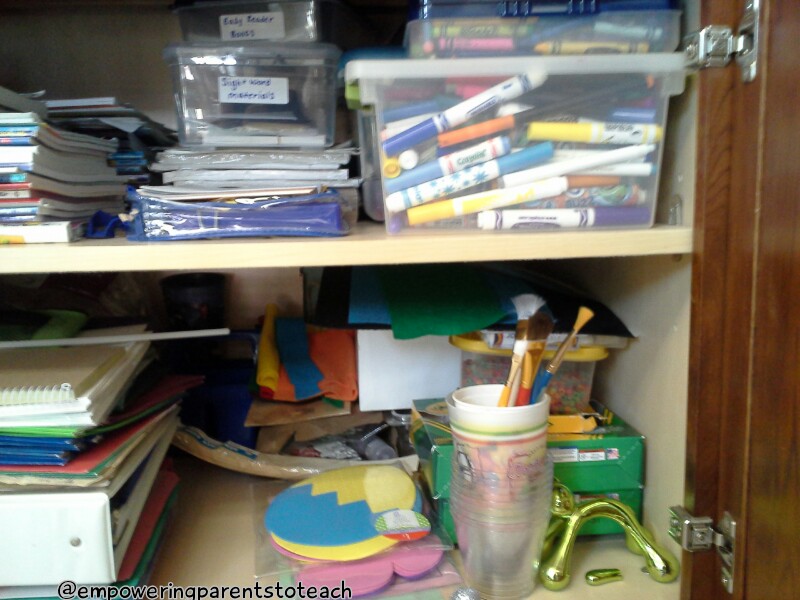
Even when organized, it looks cluttered. This is why it hides behind a cabinet ![]()
Why did I put this in the kitchen and not in the school room?
It was important for me to use my house as efficiently as possible. I did not want to bring in too many organizing tools such as bookshelves and large shelves if it could be avoided. I’m the kind of person that tries to use what I have before buying more stuff. Luckily, we have a lot of counter space in our kitchen so I used what I had available. And, I like where it is, because I know we won’t do all of our work in the school room. The nice thing about home school is you can do it anywhere! If we work in the kitchen, the school room, or anywhere else, we still have the stuff nicely organized and easy to find to take with us.
To top it all off, we have the comforts of home
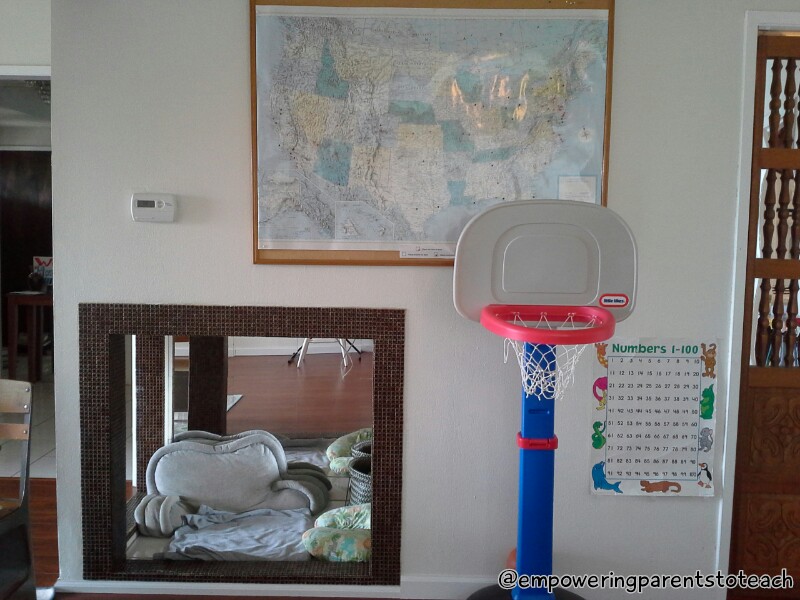
That hole in the wall has become our snuggle cubby with blankets, pillows, and books!
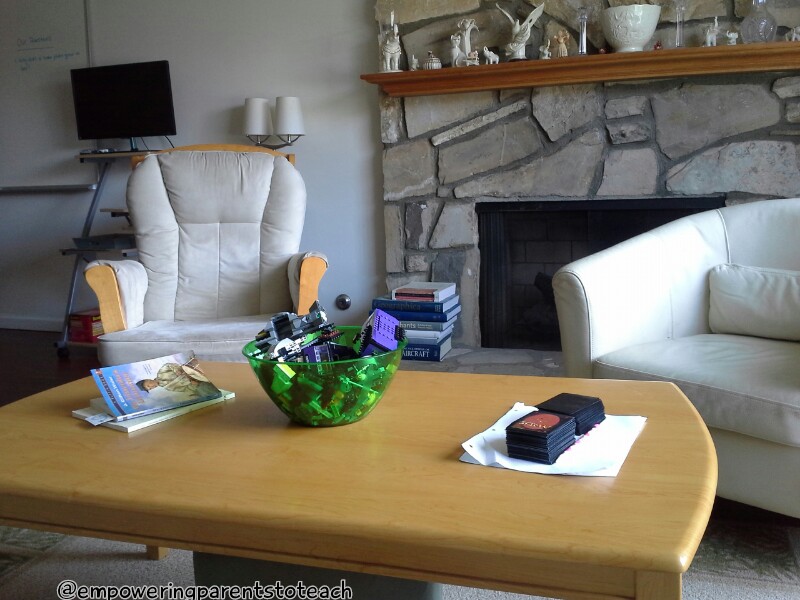
My oldest absolutely LOVES reading in that rocking chair. On the coffee table are three ever present items– his current reading book, a big bowl of Legos, and our Magic the Gathering cards!
That’s our school room! I hope you found our school room tour helpful ![]()