Empowering Parents to Teach- Letter E hiding

Alphabet Eggs


 The Bunnies’ Alphabet Eggs by Lisa Bassett inspired us to make our own alphabet eggs just like the little bunnies in the story.


Empowering Parents to Teach- The Bunnies' Alphabet Eggs


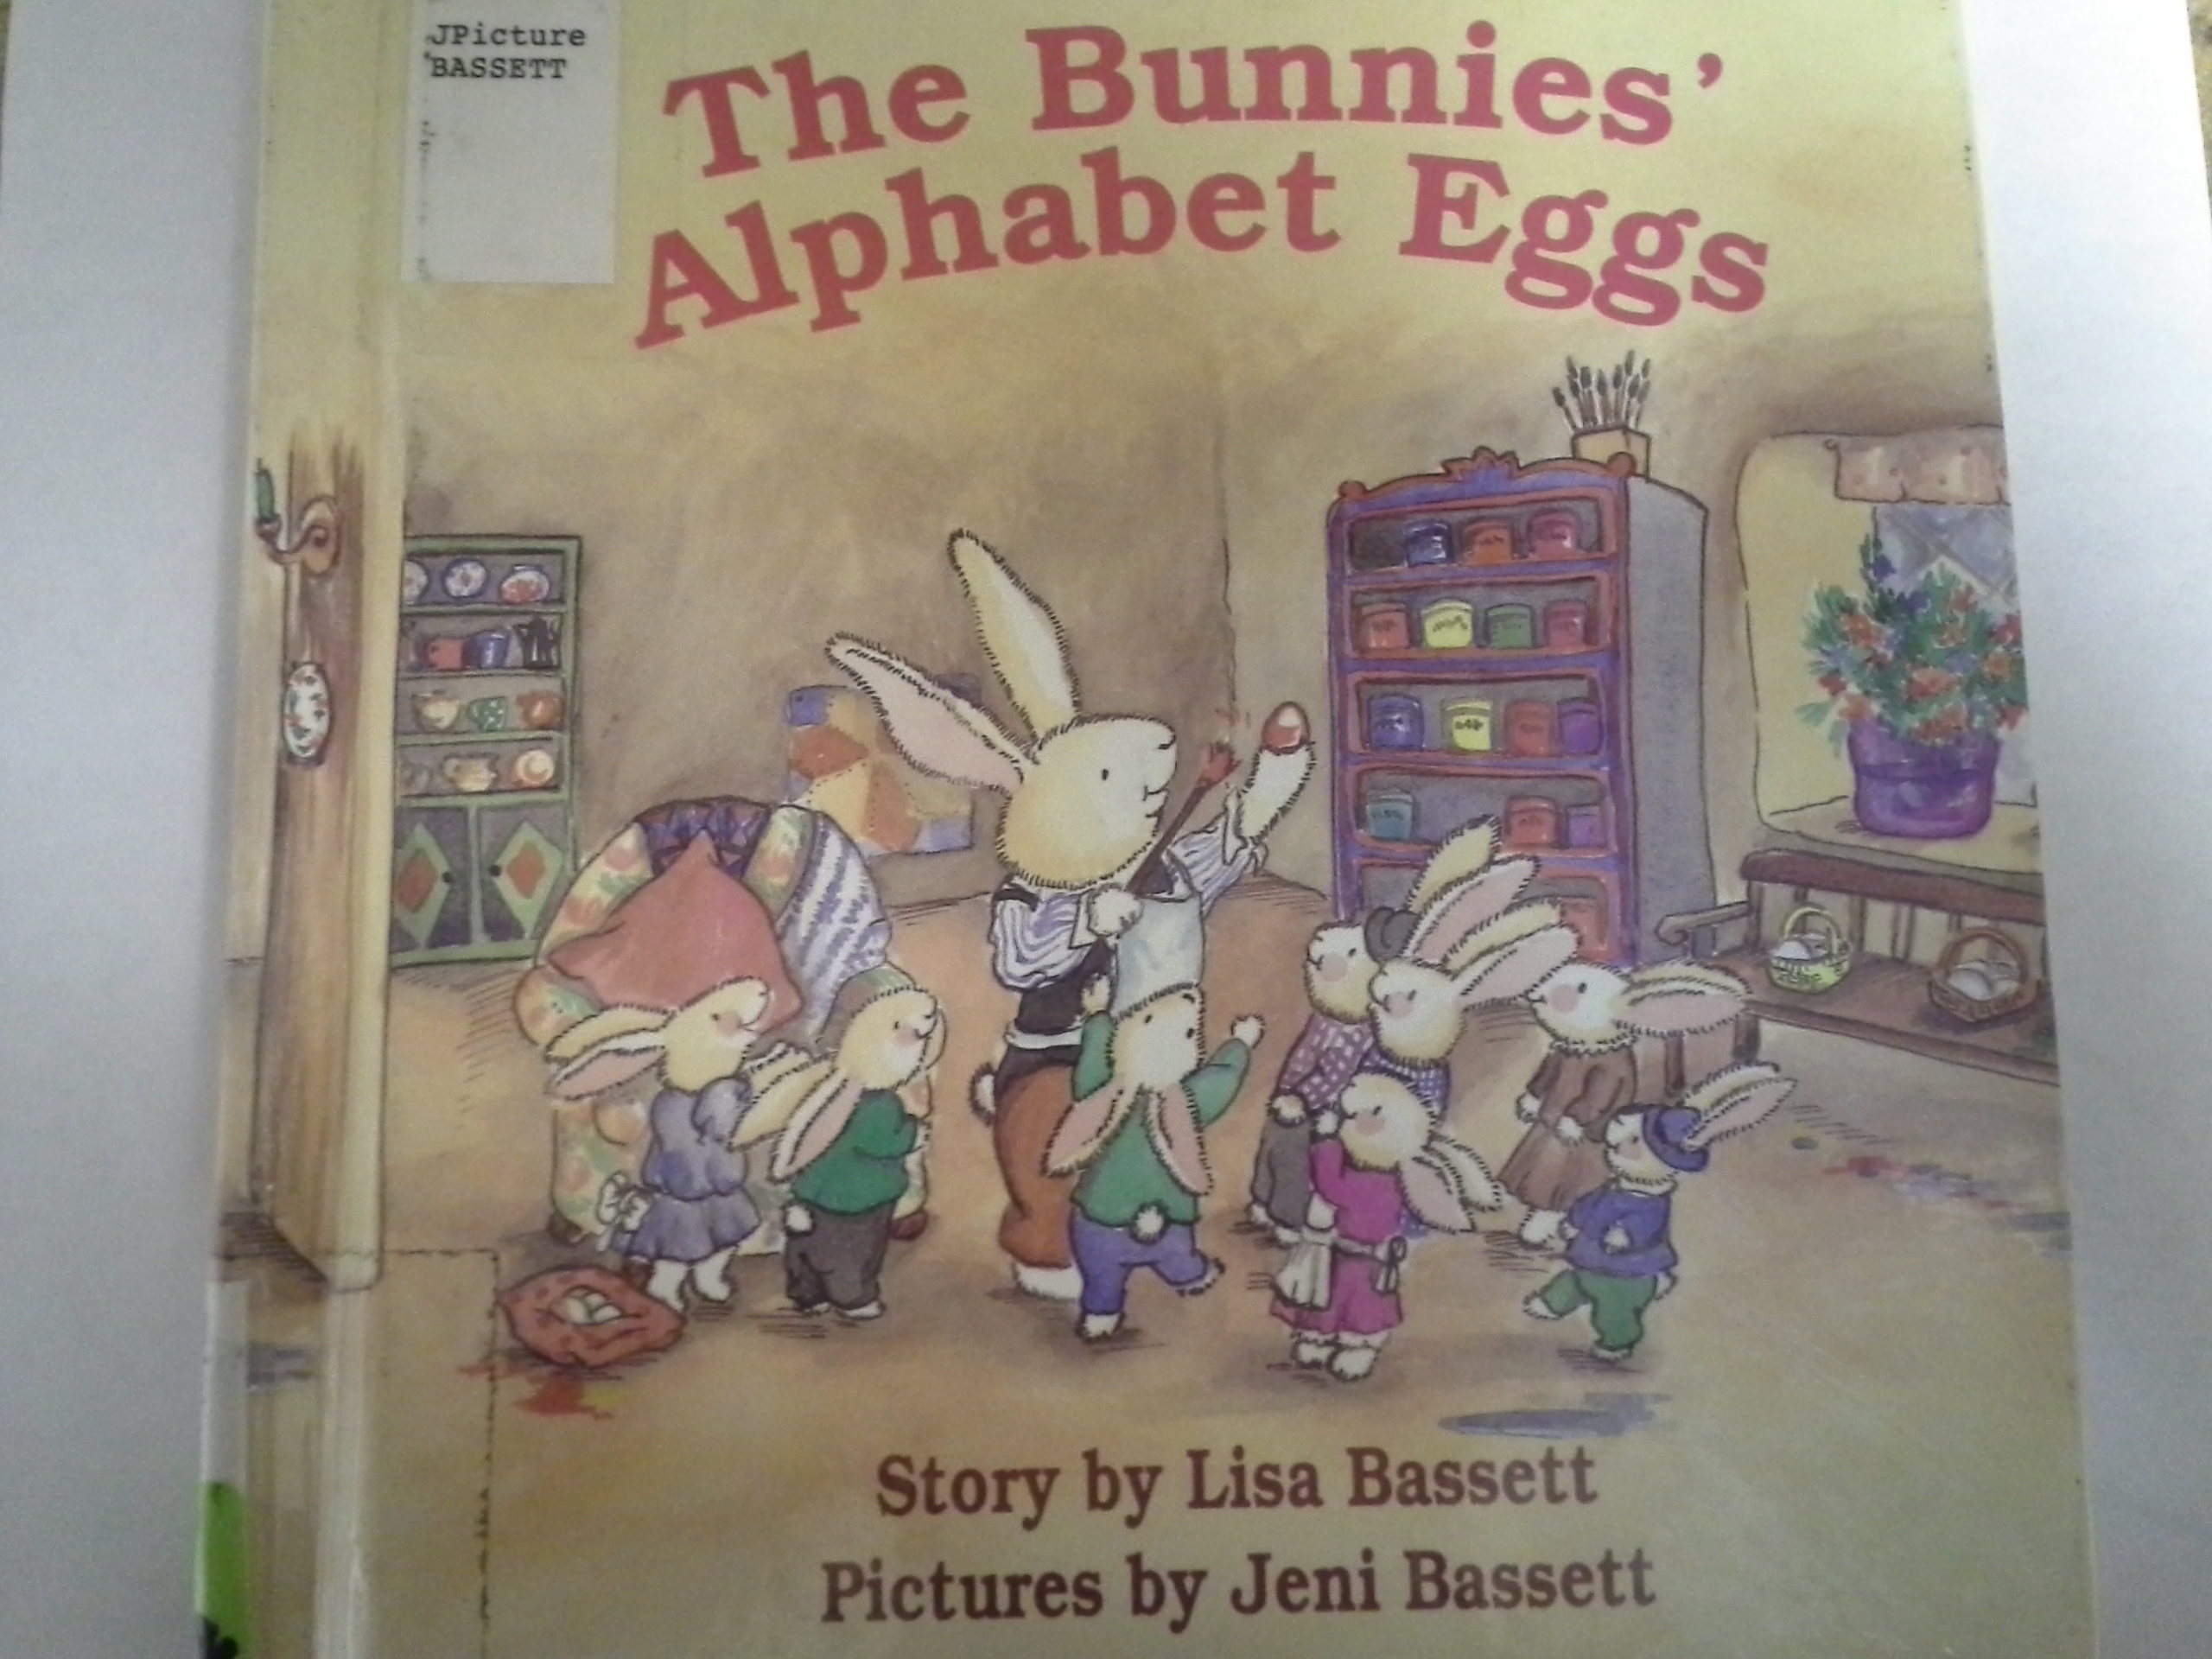
In the story, the Easter Bunny’s eggs are ruined the day before Easter.  Mr. Rabbit was watering his garden and did not realize the water was soaking through the ground and spilling into the Easter Bunny’s burrow.  Noticing all the color has washed off of the eggs, the Easter Bunny begins to worry that he does not have time to make new eggs in time for the morning.  Mr. Rabbit suggested that his ten children could help him make more.


While the Easter Bunny really wanted beautifully crafted eggs, the kids had another idea.  They painted letters on the eggs.  With very little time left, the Easter Bunny let the children paint as they pleased.  In the morning he was still nervous that the children would be disappointed with the eggs since they would be expecting finely decorated ones.  Instead, the children were very happy to find the letter eggs and they started spelling words with the eggs too!


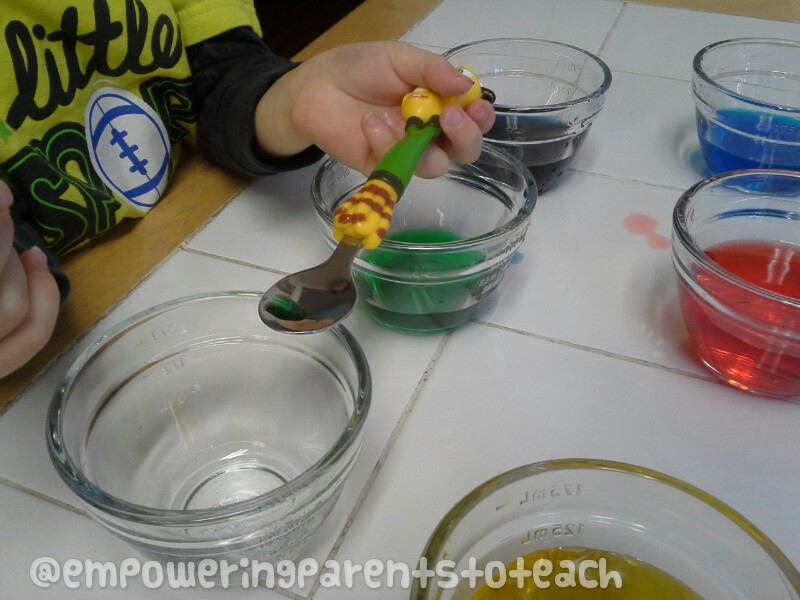
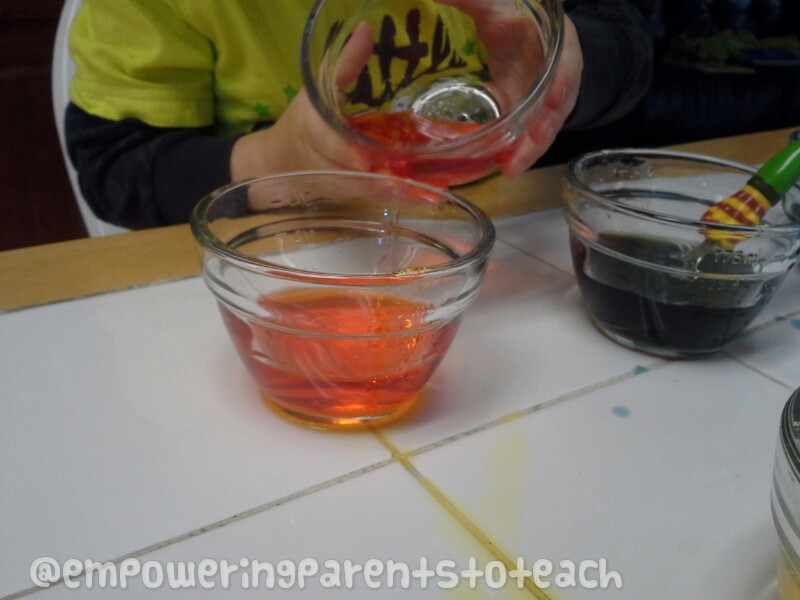
Inspired by this, we decided to make some letter eggs to hide too!  I made alphabet eggs simply using glitter glue on hard boiled eggs.
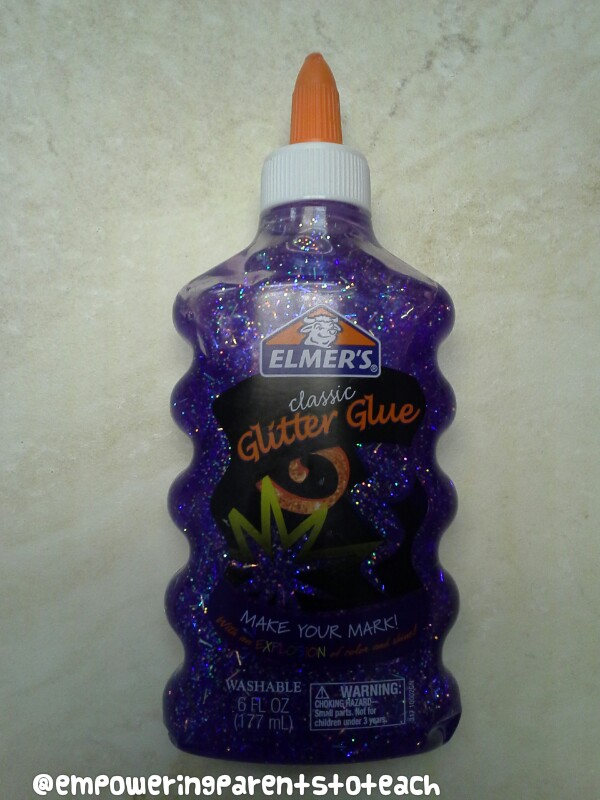
 

Glitter glue

Glitter glue


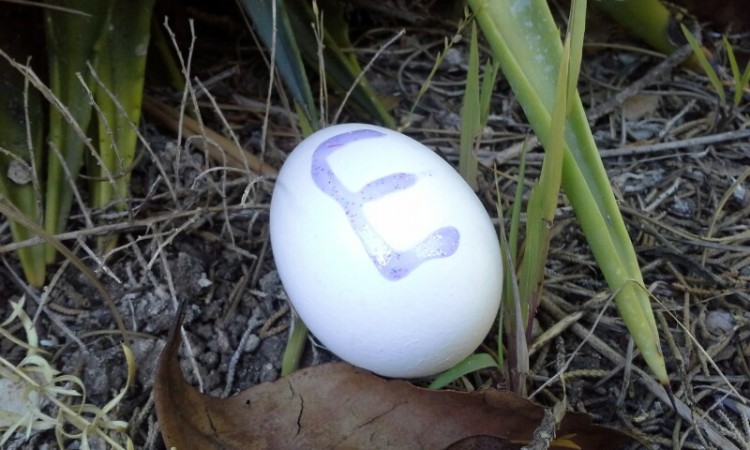
Squeezing that glue bottle took a lot of hand and finger strength!  It made me realize that making the letters on the eggs are a wonderful fine motor skill for kids that can make the eggs themselves.  To help, you can write the letter on the egg for them with a marker and they can trace over the letter with the glue.
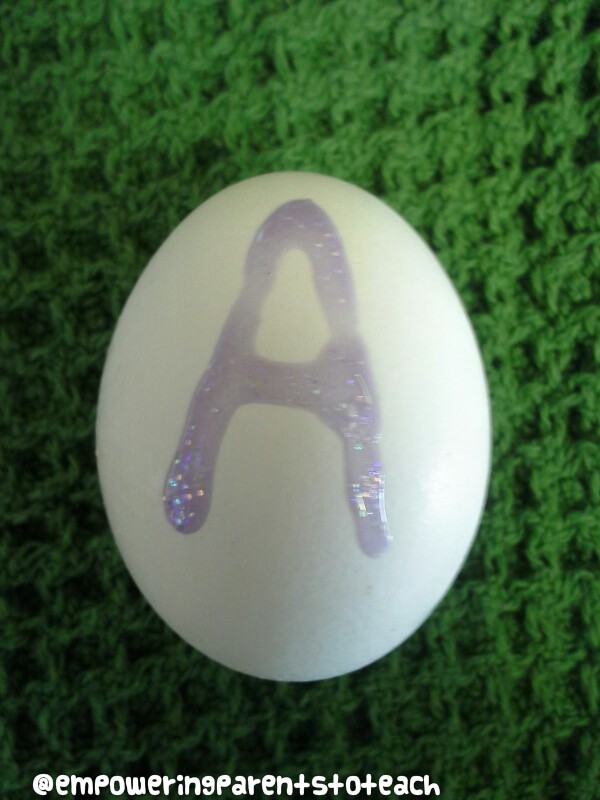
 

Letter A egg

Letter A egg


Time to hide the eggs and find them!


Empowering Parents to Teach- Letter E hiding


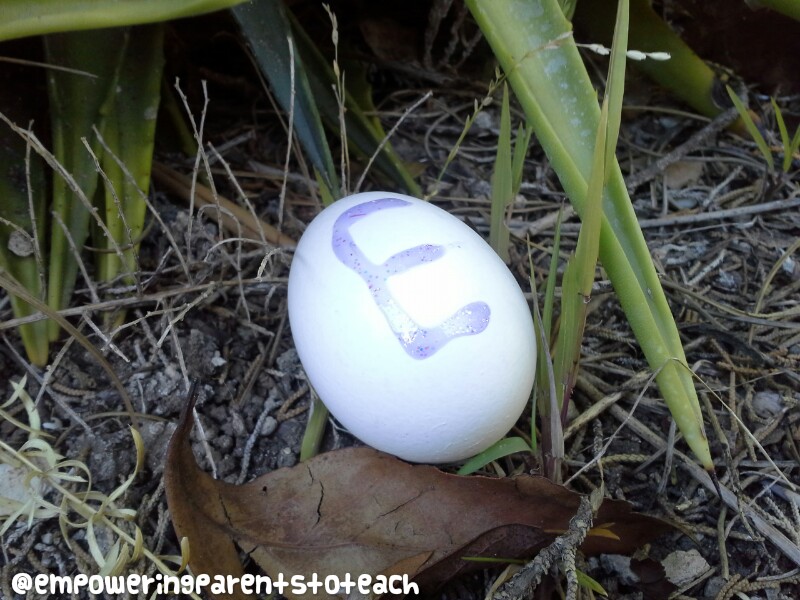
There are so many ways to use the eggs:

  • Find all the eggs and put them in alphabetical order
  • Spell words with the letter eggs
  • Sort them into vowels and consonants once they are found
  • Group them together into words and hide them as a word unit
  • Instead of writing letters on the eggs, write sight words!
  • If you write words on them- create sentences or phrases
  • Try some hands on math when you’re done- add, subtract, compare quantities, etc
  • Have your child trace the glue letter with his or her finger.


The possibilities are endless.  Like the Easter Bunny in the story- follow the children’s lead!  Their ideas may surprise you!


Following my boys’ lead, they wanted to smash the eggs when they were done. They smashed half of them and left the other half to do experiments- my 3 year old loves making up his own experiments.


Empowering Parents to Teach- Egg smashing


Empowering Parents to Teach- Smashed Eggs


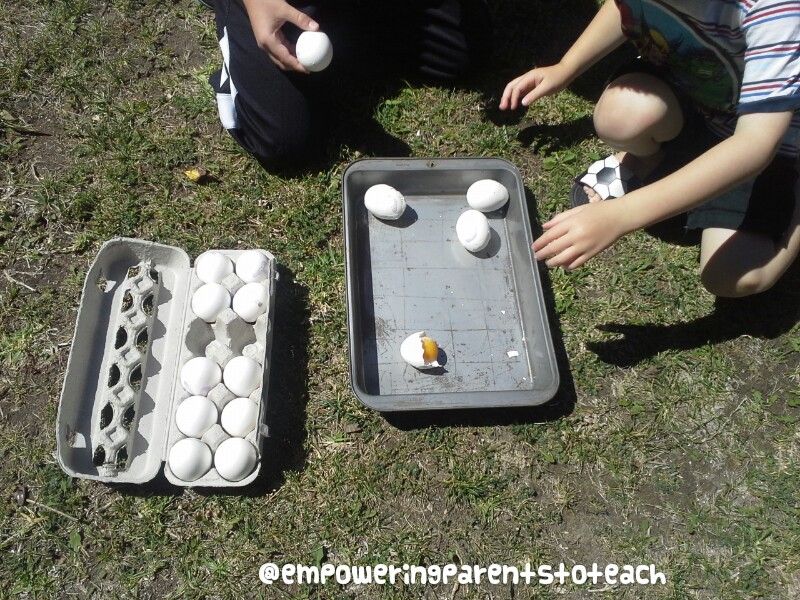
Smashing the eggs, squishing them, and peeling them is a great fine motor activity and sensory experience!  They even started hitting the eggs like baseballs with the carton as a bat!  You never know where this activity can lead you :)


Linked to:
Montessori Monday

Empowering Parents to Teach- Felt scene

Camouflage


Even very young kids can understand that animals try to hide from predators by blending in to their environment.  One way to reinforce this understanding is through literature and a hands on activity.   After reading Hide and Seek: Nature’s Best Vanishing Act by Andrea Helman, my preschooler and I talked a lot about camouflage, why animals may want to hide, and how animals protect themselves.  Another enjoyable book to reinforce the concept is Hide and Snake by Keith Baker. Kids have a lot of fun trying to find the snake blended into its environment.  I like the combination of a non-fiction and a fiction book to introduce the concept.


To further his understanding, I made a felt activity that allowed my preschooler to hide an animal so that it could not be seen!


Here’s the scene:


Empowering Parents To Teach- Camoflouge


How I used it:

  • First, I presented the simple scene with four animals on the right hand side.

Empowering Parents to Teach- Felt scene

  • Second, I brought out a stuffed animal.  In this case I used a purple dog.  I told my little guy that the purple dog wants to eat the animals, so we have to hide them like the animals in the book.  At first he wanted to hide them behind the wagon, so I explained to him that he had to camouflage them so that they dog can’t see them.


Empowering Parents To Teach- Felt scene with dog


  • He hid the animals one by one.
Empowering Parents To Teach- hidden caterpillar

Can you see the orange caterpillar?


  • After he hid each animal, the dog came by to see if he could find them.  Can he find the brown mouse hiding on the brown tree trunk?  (He’s only using his sense of sight, in real life the dog could smell the animal of course!)
Empowering Parents To TEach- dog looking for mouse

The dog can’t find the mouse!


My little guy had a lot of fun hiding the animals.  My oldest even wanted to try!   I always love the combination of literature and hands on experience.  He will always have the memory of hiding the animals from the dog to draw upon as his understanding of the topic grows.


The books we used:

Click on the cover for Amazon affiliate link. I do receive a small percentage of the sale if you choose to buy these books on Amazon via these links. Thank you for support of Empowering Parents To Teach!


Empowering Parents To Teach- Charlotte's Web

Charlotte’s Web- Reading Activities

We just finished reading Charlotte’s Web by E.B. White. My boys really enjoyed the story! A couple of extension activities came to my mind as we were reading that I’d love to share.


Message Web

Just as Charlotte loving wove her web for Wilbur and wrote flattering messages, you can do the same for your children!


blueweb


When I was a kid, my mother taught me how to make Dreamcatchers.  It’s been quite a while since I made one, so I needed a refresher.  I found a great tutorial on wikiHow.  Using Dreamcatchers as my webs, I added a word to each one that describes my little ones and hung it outside their bedroom doors as they slept- just as Charlotte made her web for Wilbur late into the night!


Warning, I am about to get sentimental and cheesy.  But, as I was making these webs for my boys I couldn’t help but feel the kind of love that Charlotte was feeling when she made hers.  All of my thoughts were of my love for my kids as I was making these.  Taking the time to do this,  just to let my boys know I love them, really made this project feel special.  I did warn you about the cheesiness. Moving on…


To make a Dreamcatcher:  Make-a-Dreamcatcher

Some modifications I made to the above tutorial:

  • I did not make my own hoop, I bought two hoops from the craft store
  • I used different material on the outside of the hoop. Many materials can work on the outside of the hoop, a little trial and error helps me find the one I like the best.
  • I left out the attached feather, because I wanted it to resemble a web.


My finished products:


bothwebs

Rarely (ok, never)  do my crafts look like they belong in a magazine, but they are definitely made with love :)

Here they are hung over the doorway for a surprise in the morning:


Webs in the doorways!


To extend this even further:  I invited my kids to find words in a magazine or in the environment for me to add to their siblings web, just as Templeton found words for Charlotte to use.  At night I would put the found words into their brother’s web so they have new words to wake up to. What I also like about this is how it bonds the boys.  They are finding positive words about their sibling, making them focus on the good qualities of each other. They also have the satisfaction of knowing they did something nice for their brother.


If your kids are old enough and have the motor skills, they could even make the web themselves.  They could surprise a sibling, parent, or friend with a message web.  They will really get the feeling for the time it takes to make something like this,  therefore better understanding Charlotte’s devotion!


Some Boy (or Girl)

someboycraft


Another activity to extend your child’s experience with the book is to make a poster of themselves with positive words that describe them.  Just as Templeton searched for words in the dump to help Charlotte with her web, your kids can search through magazines for positive words for their posters!  This is something they can do on their own.


The steps:

  • Using Clip art, print out a web. Or, if your child is a good artist have them draw a web.
  • Write Some Boy or Some Girl on the web.
  • Attach it to a corner of the page.
  • Have the child draw a picture or paste a picture of him or herself.
  • Have the child go through magazines to find positive words that describe him or herself.


Variations:

  • Have a sibling or other students find the positive words to put on the bottom.
  • Have children only find adjectives to teach the concept of adjectives.


Not only do activities like these help reinforce understanding of the story,  they also help kids focus on the positive qualities of themselves and others.


Linked to: Montessori Monday!

Montessori Monday


To purchase the book on Amazon, click on the book cover:


Empowering Parents to Teach: Apple Math

Teachable Moments

Education is not preparation for life; education is life itselfJohn Dewey


There are so many learning opportunities around us, naturally, everyday.  Life requires skill, knowledge, patience, problem solving, and sometimes research.  We don’t have to contrive a learning experience for our children to learn.  We need to learn to survive and survival is our basic instinct.  Your child wants to learn!  Keep your eye open to opportunities in your children’s everyday experiences.  What skills or knowledge do they need to complete a task or solve a problem?


Sometimes it is best to let your child figure it out themselves, other times your guidance with the experience is beneficial.  I truly believe finding these natural teachable moments are the best way to teach!  Why?  Simply because the child is learning the skill within the context that is actually used, is by nature hands-on, and the child has a real purpose for solving the problem or learning the skill.


I’ll show you what I mean:


My son wanted make fresh juice.  Our go to recipe is to add kale, apples, celery into our juicer.  As I was finishing the dishes in the sink I asked my son (age 3) to get the apples out for me.  He took the whole bag to the table and I hear him count- one, two, three, four, five, six, seven, eight, nine.  I walked over to him and noticed how he placed the apples. Instead of lining them up he placed them two by two with one by itself (as pictured).


Empowering Parents to Teach: Apple Math


By setting up his apples this way I noticed a natural occurrence of something that I knew he was learning.

A little while ago we read the book One Odd Day by Doris Fisher.  It touched on the concept of numbers being even or odd.  My little guy was catching on to the idea.  Once I realized this was a developing skill for him, I later introduced some hand-on activities to play with the concept.  He really liked it!  Knowing that this was a skill he was working on, I asked him if the nine apples were an even or odd number. We talked again about what makes a number even or odd.  We could tell that nine was odd because one apple doesn’t have a buddy (that’s our preschool language).  He looked at his apples again, he told me that four was even.  This showed me that he was continuing to think about the math concept by mentally checking other numbers to see if they were odd or even.


By taking out nine apples, we had a problem to solve.  We only needed four apples to make juice.

Other concepts he’s been working on is addition and subtraction with objects.   Since I only needed four apples for the juice I told him, “I only need four apples.  You need to take some away.  Do you know how many to take away?” At first, he insisted on putting all nine apples in the juicer.  That was really too much so I encouraged him to take away apples until there were only four left.  He took away the apples one or two a time until he only had four left.  As he took away the apples he lined them up on a different spot on the table.  Once he got down to only four apples, he counted how many had taken away to leave only four. Therefore, he realized that he had to take away five apples to get down to four apples remaining.


Empowering Parents to Teach- Teachable Moments

From nine apples, he took away five. The apple in his hand was never counted originally.


My hope is that this gets you thinking about your everyday experiences with your child and realizing their true potential.  You do not have to replicate things exactly as you see them.  A true teacher knows that every child is different and there is no script for learning. Follow your child’s lead.  Keep a mental note of what they can do, what they are learning, and what is too difficult for them.  Life will hand you teachable moments.


Empowernig Parents to Teach- Color Mixing Activity and Book

Color Mixing


Mixing colors is one of my preschooler’s favorite things to do.  It’s messy, he gets to play with water, and it’s fun to see what colors he can make!  However, it’s not just for preschoolers.  Older kids love color mixing too, probably for the same reasons!  They can explore the concept a little deeper by experimenting with shades of color.


We have done color mixing before and listened to the story Mouse Paint by Ellen Stohl Walsh at our library story time.  My son loves this book.  In the story you see the white mice hop into different color paints and they begin mixing colors, thus creating new ones. It is a great visual for color mixing.  Better yet, our librarian turned this into a felt story.  My son still thinks our librarian is magic because because she put a white felt mouse into a small box and he came out red!  If you have the time, making this into a felt story would be fantastic.  This book illustrates how the three primary colors create three secondary colors.


Kids tend to learn the three basics first:

  • Red and yellow make orange
  • Blue and yellow make green
  • Red and blue make purple


Extending the basics of color mixing, Color Dance by Ann Jonas takes the concept a little deeper.  You start with the three dancers holding long scarves- red, yellow, and blue.  At first they dance together making orange, green, and purple.  After that, you see how they can make various shades of each color- such as marigold, vermilion, aquamarine.  A boy comes by holding a white scarf and we see the colors become paler.  He brings a gray scarf and the color become dark.  And lastly, he dances by with a black scarf and the colors are barely visible.  This is what inspired our latest color adventure.


First, I made a big circle with six pieces to make a color wheel.  I colored every other spot with a primary color- red, blue, and yellow.  We opened up to the first page of the book, Color Dance and matched the color of the dancers with the colors on our wheel. We looked at the page where the red dancer and the yellow dancer made the color orange.  My little one saw the orange and noted that red and yellow were the two colors that made orange.  He started looking for an orange crayon to add it to our color wheel.


Empowering Parents to Teach- Orange on the color wheel


I showed him how we color the orange between the two color that made it- red and yellow.  He attempted to do this himself, then asked me to color it in.


Empowering Parents to Teach- Adding Orange to the Color Wheel

We continued using the book to figure out what colors go in our remaining spots.  We saw the yellow and blue dancers made green and the blue and red dancers made purple.  We added them to our color wheel.

Empowering Parents to Teach Color Wheel

Following along in the book, we learned that white makes colors appear pale.  So he grabbed a white crayon and rubbed it over the blue to see what would happen.   Next, he tried coloring over the blue with the black crayon since we learned from the story that black seems to block the color.  The difference was not that noticeable using crayons!

Empowering Parents to Teach- Color testing

I hung the color wheel up on the wall and we began some hands on fun of color mixing.  We started out very orderly.  I added food coloring to three glass measuring bowls of water- red, blue, and yellow.  First, he tested the primary colors just as it was in the book.  He poured some yellow and blue together, yellow and red together, and some blue and red together.  As he did each one we predicted what color would be made by referring to the color wheel we had just completed.  He successfully made all three secondary colors.

Empowering Parents to Teach-  Making secondary colors

After making purple, he mixed the blue and yellow to make green.


Empowering Parents to Teach- Making Green

Checking out the green!


After that, he had a color mixing and pouring free for all!  He kept mixing all kinds of colors together, eventually ending with all the colors mixed together. It resulted in a very dark forest green.


Empowering Parents to Teach- Mixing orange and red

Mixing red and orange


Empowering Parents to Teach- Pouring the color mixture

All the colors mixed together


For older kids, they can experiment with the shade of the colors.  What happens if you pour more red than yellow?  What of if you have more yellow than red?  The different amounts of each color affect the shade it creates.  They can compare this with the shades shown in the book Color Dance.


Color mixing is so much fun.  Your little one can explore science and art together!  Happy mixing :)


                             Mouse Paint Color Dance