Empowering Parents to Teach- Color notebok

Use Color Swatches to Teach Descriptive Writing

Today, our guest author Kelly shares with us one of her strategies for making her writing more descriptive and colorful!  It’s a strategy we could easily do with our little ones to help them edit their own writing.


From our guest author, Kelly:


“The green car was speeding down the road” or “The hunter green SUV sped down the road.”  Which sentence gives you a clearer picture of the car?  Challenge your young ones to think outside of the painted box by picking non-primary colors as adjectives.


As a writer, I know firsthand how challenging it is to not use the same adjectives over and over again. While editing a fiction project that relied heavily on colors, I came up with a creative solution to my habitual use of generic color descriptors – paint swatches!  Replacing “yellow” with “marigold” and “dark red” with “burgundy” more accurately reflected the visual I was attempting to achieve.  So when you’re looking to add a splash of color to a routine day, try this colorful and budget-friendly exercise:


• Go to your local home improvement store with your child and ask them to select one swatch per color in the rainbow (RED, ORANGE, YELLOW, GREEN, BLUE, INDIGO, and VIOLET).


• Spread out the swatches (face down first) on your dining room table, in a semi-circular pattern to resemble a rainbow.


• Write a one paragraph story together using each of the rainbow colors as adjectives. Read the story aloud so that you both have a visual of what you described.


• Now, flip the swatches over one by one and replace each rainbow color in your story with one of the colors shown on the swatches.  Read this version aloud for comparison.

Empowering Parents to Teach- Color Swatches for Writing


FINAL QUESTIONS - Did the story change?  Does the image you created when using the swatch colors differ from the first version?


*If it’s a rainy day, just use a box of crayons and the internet. Instead of using the swatch colors, type “shades of red” into your internet browser and she what results come up.*


Challenge yourself to color outside of the lines because you’ll paint an even more vivid picture than you previously imagined!


About the author:  Kelly uses her love of writing, music, theatre, film and television to inspire others.  She maintains numerous blogs and just recently finished her premiere novel.  With all of the roles she takes on during the day, she most loves being an aunt to five amazing kids. Visit her website (www.kellydeeny.com) to learn more! Like Kelly on Facebook to keep up with her creative endeavors!


Linked to:

Montessori Monday


Empowering Parents to Teach- Salinity

Oceanography Exploration- Salinity

Staci is a mom and Cancer Biologist. With her expertise in science and experience as a mom, she shares with us how she incorporates science activities into her children’s everyday experiences. Her son has been really interested in oceanography, so Staci has been nurturing that curiosity with science activities and experiments at home.  Last week, she showed us one way to explore waves; today she shares some fun salinity experiments!

Oceanography Week 2:  Salinity Part One


From our science mom:


Salinity is defined as the salt content dissolved in water and is important in determining both chemical and physical characteristics of water, such as density and heat capacity.  This week we wondered if ocean salt water behaves differently than our water from the tap at home.  Specifically, my son wondered which water would freeze first and if the waters would heat up at different rates.


To begin, we needed to make up a salt water solution.  We learned the average salinity of the oceans is 3.5% by looking it up on Google.  A 3.5% solution is 3.5 g solute in 100 ml of solvent.  We made 1L of our salt water solution by dissolving 35 grams of table salt into 1 L of tap water.

image (1).jpeg

I asked my son to make a hypothesis about which solution would freeze first and why he thought that.  Using a measuring cup and identical cups, we poured water into our containers and placed them in the freezer.  We were sure to carefully note which color container held which solution in our lab notebook.  We set a timer for 15 minutes and continued to check on the containers periodically.  Which container of water began to freeze first?  How does your hypothesis compare with your observations?  What conclusions about properties of salt water can you make?


After making and recording our observations, we set out to learn the whys and hows to our data.    Both salt water and fresh water will freeze, but salt water freezes at a lower temperature. According to the National Oceanic and Atmospheric Administration (NOAA), fresh water freezes at a temperature of 0 degrees celsius, while salt water freezes at -2 degrees celsius.  The lower freezing point is due to the salt crystals disrupting the ideal crystal forming lattice that water prefers.  In order to form an ice cube, the motion of the water molecule has to be restricted in a very specific crystal structure.  When you add salt to the water, both the water molecules and the salt molecules must be restricted, which is much harder to do and this lowers the freezing temperature. Interestingly, when you have an unsaturated salt water solution, the water will begin to freeze at the top and push the salt crystals into the remaining liquid.  Because of this property, sea ice can be melted into drinking water.


If you want to take your science outside, try taking your frozen cups of salt water and tap water out to melt.  Do they melt at the same time?


The second part of our experiment explored whether salt water and tap water heated up at different rates.  After making a hypothesis, we measured equal amount of water into similar cups and attached thermometers.  We placed the cups in a sunny spot outside and took the starting temperature and continued to monitor the temperature of the waters every 30 minutes.  My son took careful notes and recorded the temperature for a few hours.  What were your observations?  Was there a difference in the heating pattern between the two waters?


10172816_10202838242536184_1018057594821690582_n.jpg


These were the first two experiments I had planned to explore the salinity of water.  In an upcoming experiment, we will determine how different salt concentrations in water affect the density of water.

Empowering Parents to Teach- Waves

Oceanography Exploration– Waves

I’m so thrilled to have our science mom, Staci, write another guest post for us!  Staci is a mom and Cancer Biologist. With her expertise in science and experience as a mom, she shares with us how she incorporates science activities into her children’s everyday experiences. 


Today, she shares how her son’s interest in oceanography led to some fun and educational science activities to do at home!  This week it’s all about waves :)


Oceanography Exploration– Week One


From our science mom:


I whole-heartedly believe in child-led learning and think my kids appreciate and understand better when we are discussing topics that they are interested in.  My son has been on an oceanography kick lately, so we decided to do a couple at home science experiments to learn more.  When I started thinking about what types of things we could explore, I realized we could have several weekends worth of material for our Science Saturday adventures.  For the first weekend, I decided we would deal with ocean water properties; specifically, wave dynamics.


We started our wave exploration by making our own wave bottle.


You can easily make a wave bottle at home, too.  We made ours in a smaller, individual sized water bottle so it would be easier for small hands to manipulate.  To make your own, fill any sized bottle 1/3 with water and add a few drops of food coloring.  My daughter really wanted to make a purple one, but we stuck with the usual blue.  Fill the rest of bottle most of the way with cooking oil.  I superglued the bottle cap back on, because you can’t be too careful!  Both of my children really enjoyed tipping the bottle and watching the waves.  My daughter also really liked shaking it up and watching the layers separate, but that’s a lesson for a different day!

After my son played awhile with the bottle we began discussing simple wave dynamics.

Using this figure, we defined these terms of simple wave dynamics:

 Crest:  The highest point of the wave.

Trough:  The lowest point of the wave.

Wave Height: The distance between the crest and trough of the wave.

Wavelength: The distance between successive crests or troughs.

Amplitude: One half the wave height; or the distance of either the crest or trough to the water line.


Seeing this diagram and discussing the definitions reminded my son of an episode of Bill Nye the Science Guy we watched recently that also discussed waves.  He asked if ocean waves are the same as sound waves.  I love when science concepts are applied across topics!  We only briefly discussed the frequency, vibration and volume of sound waves, but I promised we would delve further into sound waves in future experiments.


We all had a lot of fun playing with the wave bottle and learned a lot about wave dynamics.  I hope your family enjoys this activity as much as we did.

Empowering Parents to Teach- 26 ABC Books

26 Alphabet Books

There is definitely not a shortage of alphabet books out there!  Thankfully, with so many to choose from you are sure to find at least one that your child will enjoy.  I’ve listed twenty six of them to help you find one (or two, or three…) just right for your little one!


From classics, such as The Z was Zapped by Chris Van Allsburg to high interest books with princesses or Star Wars, I wanted to include books that were either beautifully illustrated, unique, whimsical, themed, or funny.  You will even find an ABC book is three languages!  I selected these carefully focusing on books that highlight each letter with minimal text to it.  They are all wonderful in their own way!


If you click on the book’s picture, it will take you to Amazon.com (affiliate links).  Once there, you can use the “Look Inside” button to see inside some of the the books and read the summaries and reviews.


1.  Usborne’s Alphabet Picture Book


2.  Sleepy ABC by Margaret Wise Brown


3.  The Jet Alphabet Book by Jerry Pallotta


4. Twenty-six Pirates by Dave Horowitz


5. Twenty-six Princesses by Dave Horowitz


6.  A Fabulous Fair Alphabet by Debra Frasier


7.  Eating the Alphabet: Fruits & Vegetables from A to Z by Lois Ehlert


8.  Alphabeasts: A Hide and Seek Alphabet Book by Durga Bernhard


9.  Goodnight Moon ABC by Margaret Wise Brown


10.  Star Wars ABC


11.  B is for Brooklyn by Selina Alko


12.  African Animals ABC by  Phillipa-Alys Browne


13.  ABC Drive by Naomi Howland


14.  ABC NYC: A Book About Seeing New York City by Joanne Dugan


15.  Z is for Zamboni: A Hockey Alphabet by Matt Napier


16.  Astonishing Animal ABC by Charles Fuge


17.  The Z was Zapped: A Play in Twenty-Six Acts by Chris Van Allsburg


18.  G is for Golden: A California Alphabet by Dave Domeniconi  (other states available too)


19. P is for Princess: A Book of First Words and ABCs by Disney Book Group


20.  LMNO Peas by Keith Baker


21.  ABC: A Child’s First Alphabet Book by Alison Jay


22.  Sign Language ABC by Lora Heller


23.  ABC X 3: English, Espanol, Francais by Marthe Jocelyn
The book’s picture is unavailable on Amazon.  Information can still be found by clicking here: ABC x 3 English, Espanol, Francais


24.  Boo ABC: A to Z with the World’s Cutest Dog by J.H Lee


25.  A World of Words: An ABC in Quotations by Tobi Tobias


26.  A Isn’t For Fox: An Isn’t Alphabet by Wendy Ulmer


To be released on June 26:  R is for Robot: A Noisy ABC by Adam F. Watkins


I hope you found something that you and your little one will enjoy reading together!  My sentimental favorite is Usborne’s Alphabet Picture Book because I have so many memories of my youngest as a baby hidden in those pages.


Linked to: Montessori Monday

Empowering Parents to Teach- Teaching Ratio

Use Linking Cubes to Teach Ratio

Linking cubes are a great resource for teaching ratio!   If your child is new to the concept this would be a wonderful starting point.  The hands on nature of this activity illustrates the concept in a concrete way to promote understanding.


Teaching Tip:  This activity is listed in steps.  Follow your child’s lead- he or she may be able to skip a step or may need to stay on a step for a little bit before moving on.  There is no time limit on this, you may break it down into smaller parts over the course of a couple of days or it could take just a couple of minutes.  Every child is different; teaching faster doesn’t make them learn faster.  Honoring their pace is honoring them as learners. Remember, the goal is to help your child understand the concept of ratio.
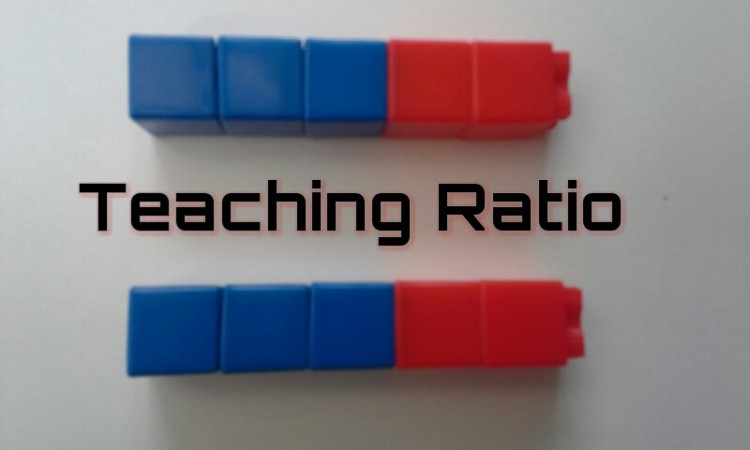
 

Teaching Ratio

Step 1:

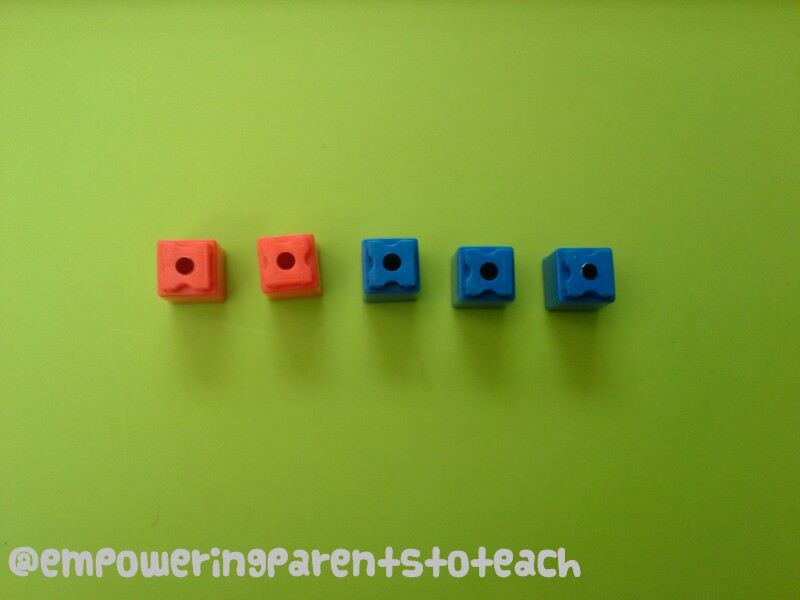
Show your child two red cubes and three blue cubes in a line together.  Tell your child, “The ratio of red cubes to blue cubes is 2 to 3.” Have the child link them together.  Lay the linked  cubes on the table.

Empowering Parents to Teach- Ratio

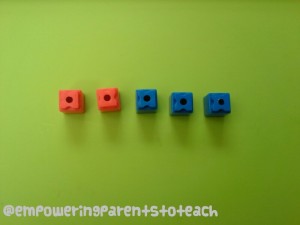
Two red and three blue in a line

Empowering Parents to Teach- Ratio

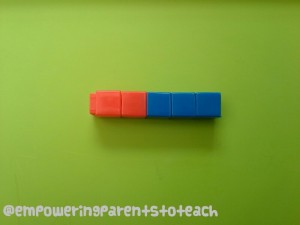
All five linked together


Step 2:

Tell your child that because the ratio of red to blue cubes is 2 to 3, every time you have two red cubes you need three blue cubes. This is because a ratio is a comparison of numbers.  The quantity of red cubes and blue cubes have a special relationship.  We physically linked them together to remind ourselves that the number of red and blue cubes are “linked” by this relationship.


Step 3:

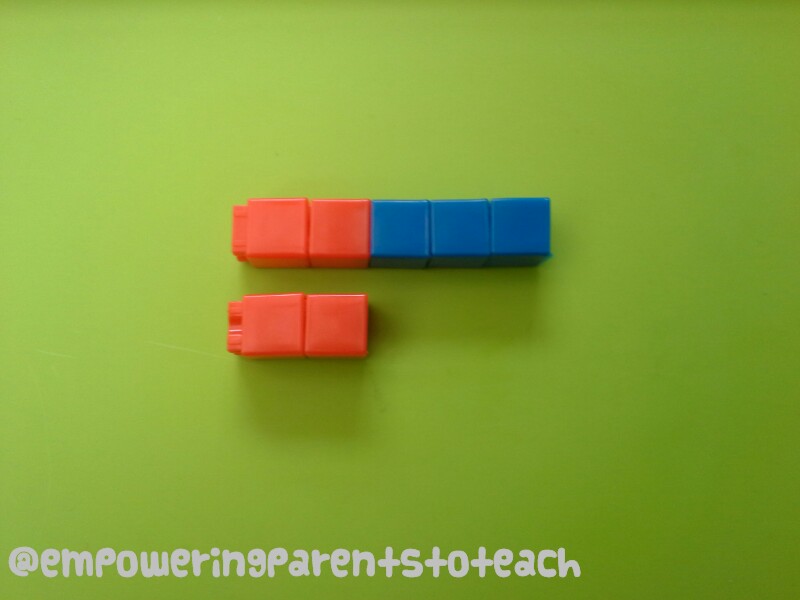
Take out two more red cubes and line them up underneath the previous red cubes.  Ask your child how many blue cubes need to be added to the red cubes to keep the ratio accurate.  He or she should say three.  Add three blue cubes and have your child link them together.


Empowering Parents to Teach- Ratio

Ask your child how many blue cubes need to be added

Step 4:

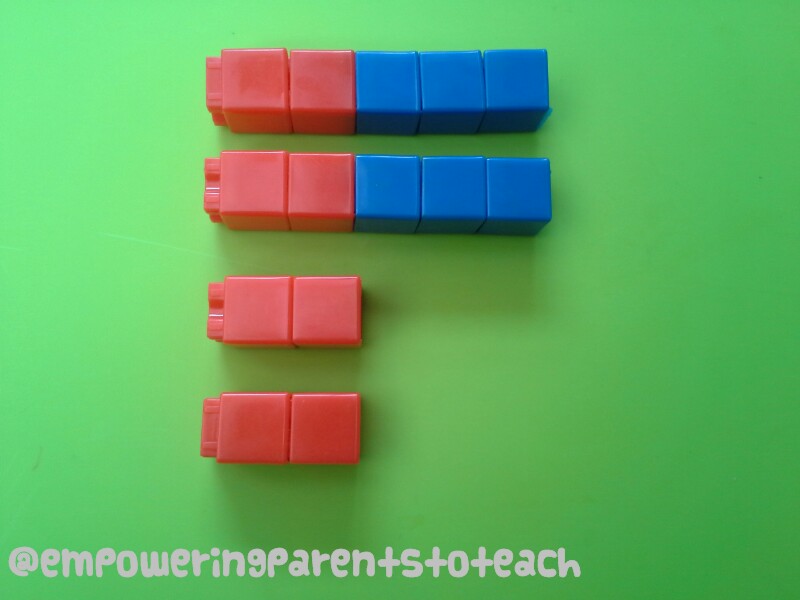
Take out four more red cubes.  Place two red cubes under the previous linkage and two red cubes under the new group of two (see photo).  Ask your child how many blue cubes need to be added to the sets to make the same ratio that was initially given (2:3).  Your child should add three blue cubes to each set, using six all together.


Empowering Parents to Teach- Ratio

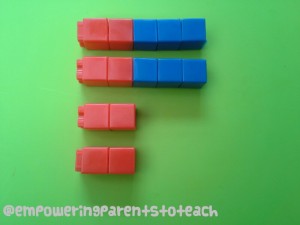
How many blue cubes need to be added?


Step 5:

You should now have eight red cubes and twelve blue cubes.  Show your child that even though you have more cubes, you still have the same ratio of red cubes to blue cubes (2:3).  For every two red cubes, you have three blue cubes.


Step 6:

Ask your child, if he or she had ten red cubes, how many blue cubes would he or she have?  If your child noticed the pattern of multiplying each number by the same factor, he or she may quickly respond with the answer “15”.  If your child can not answer right away, let him or her take out ten red cubes and arrange them with blue cubes to figure out the solution using the manipulatives.


Step 7:

Continue working with the manipulatives until your child recognizes the pattern.


Step 8:

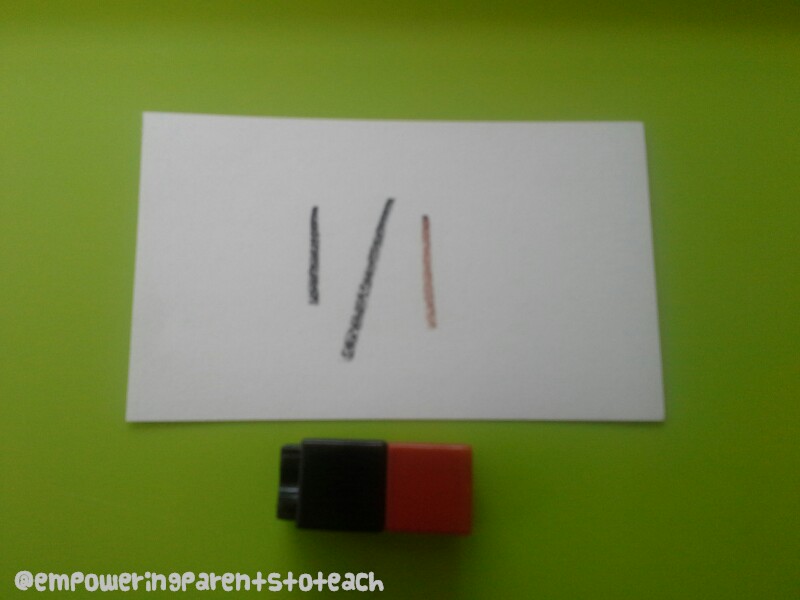
Once your understand the concept, you can show him or her the three ways we represent a ratio in writing:

  • 2:3
  • 2 to 3
  • 2/3


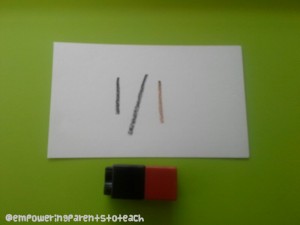
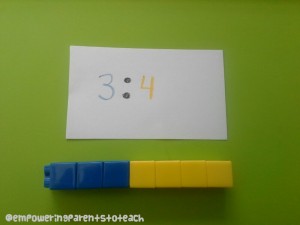
For extra practice, you can give your child new ratios to build with the blocks, such as 4 green cubes to 1 white cube, or 3 blue to 4 yellow.  You can write the new ratios on index cards to practice reading the ratios as well as building them.  You can write each ratio in a different form.

Examples:

ratioblackbrown ratioblueyellow ratioorangered


Step 9:

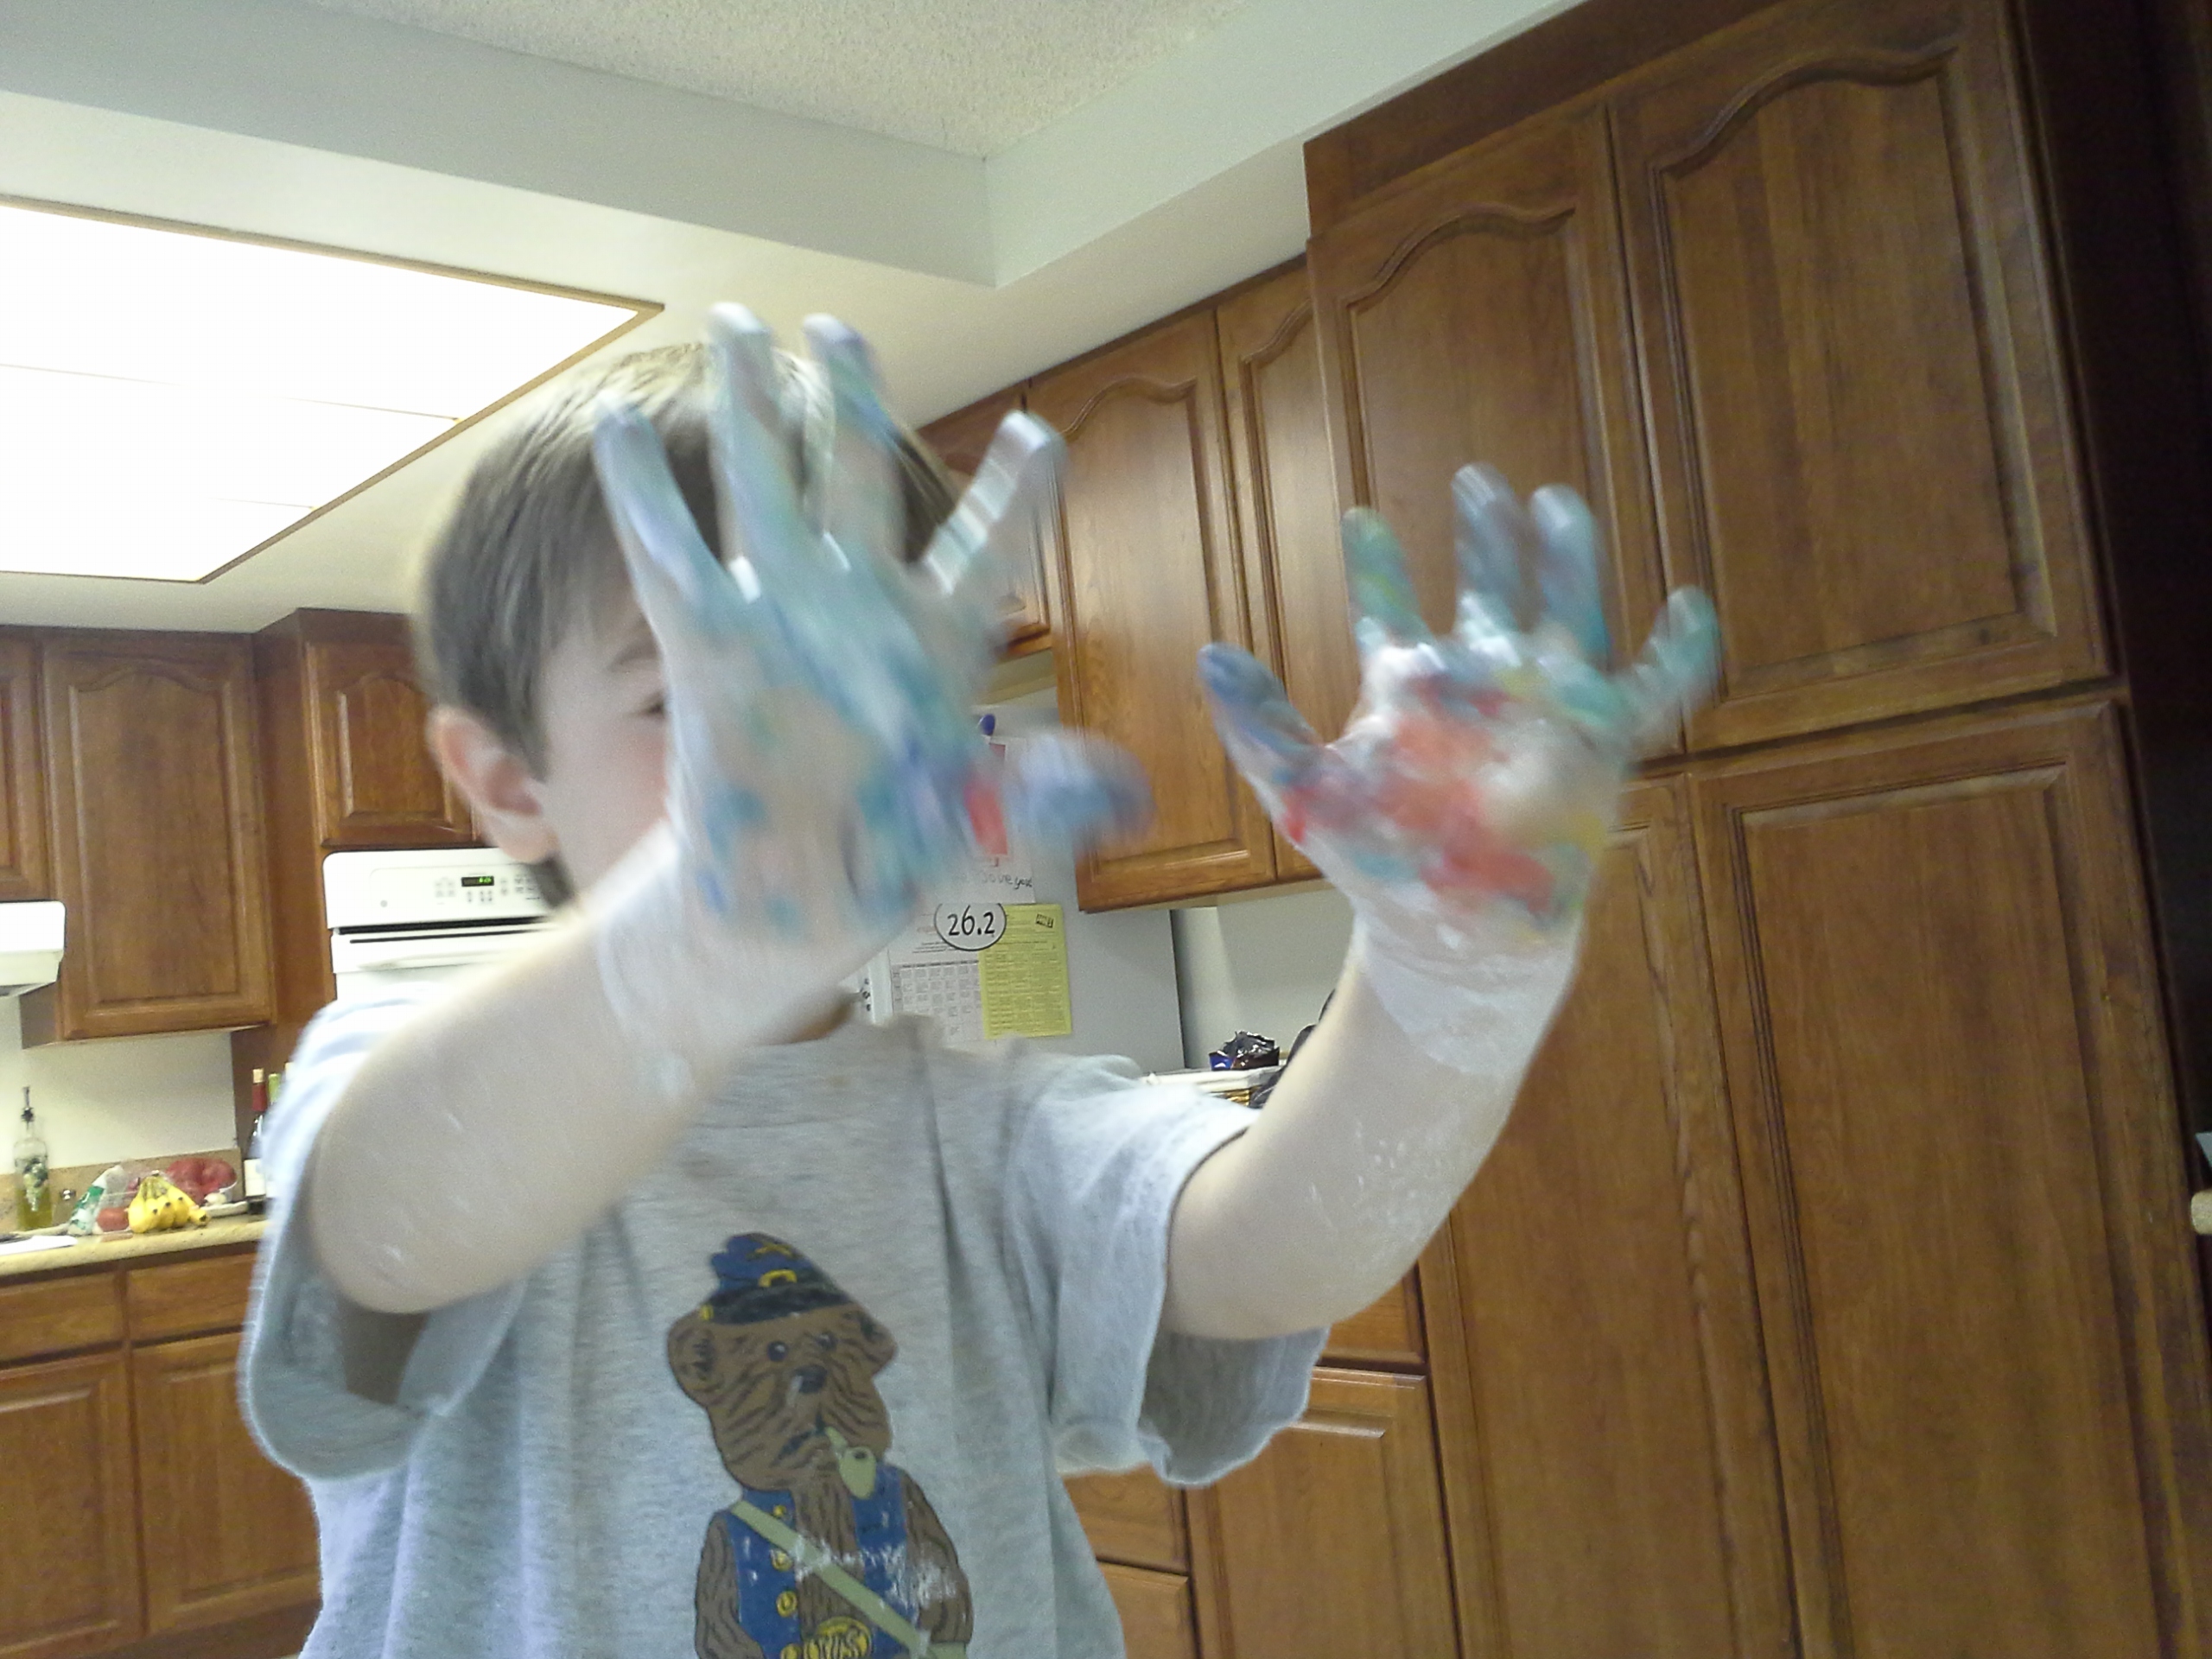
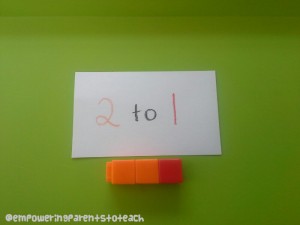
Give your child a real life example of using a ratio.  For instance, if you were to make the non-newtonian fluid commonly referred to as Oobleck, the ratio of cornstarch to water is important for achieving the right consistency.  For every 2 cups of cornstarch, you need 1 cup of water.  Therefore, the ratio of cornstarch to water is 2 to 1 (2:1).  Ask your child, “What if we wanted to make a lot of Oobleck? If  we used 10 cups of cornstarch, how much water would we need to add?”  Your child will have to apply his or her understanding of ratio to answer this question!

If Oobleck doesn’t work for you, you can use this example with many different recipes.  Are you cooking rice or quinoa?  The ratio of the food to water is important! Your child can read the recipe and double it using the same ratio of rice to water or quinoa to water.

20130730_082729

Colorful oobleck covered hands


Looking for extra practice?

Once your child understands the concept, he or she can practice a couple of problems using paper and pencil.  This is helpful for your child to learn how a ratio is represented in writing or is used in a math problem such as the cornstarch and water ratio used in the real life math scenario.

Resources found here:

Math Drill worksheet on equivalent ratios: here

Edhelper worksheets: here

Math- Salamanders’ ratio word problems: here


My two cents on using worksheets–  Many people are firmly against using worksheets. If you don’t believe in using worksheets, you can easily ignore this very last part.  I personally believe moderation is always key.  Worksheets are not inherently bad.  They are best used to practice a skill that a student already understands conceptually.  It’s not the best teaching tool, but can be a good “remembering tool”, providing reinforcement of already known skills. Worksheets can allow a child to master a skill that may otherwise be forgotten due to lack of practice.


Happy Ratio Building :)