Empowering Parents to Teach- Hidden Presents

Hidden Presents: Christmas Sensory Play


First of all, you may be wondering, what is sensory play and why is it so important? If you are, read on. If you already know, scroll down  to see the sensory play activity.


Sensory play is play that engages your child’s senses. There may be interesting textures to feel, new smells or tastes, fascinating sounds to hear, or visually stimulating colors, patterns, etc.  We interpret the world through our senses, so it is important for young children to have play opportunities that allow them to do what they were born to do- explore with their senses!


Have you ever noticed a smell and it made you think of something? Whenever I smell honeysuckle I always remember walking home from school as a child because on my way home was a fragrant honeysuckle bush that I always stopped at to smell. Even as an adult, honeysuckle always brings up the same childhood memory. That’s how our brain works! We are always connecting information that we gathered from concrete, sensorial experiences.


Real life provides us with an innumerable amount of these experiences everyday.  We don’t have to sit around fretting over providing sensory experiences, it happens naturally.  Just like we buy our kids toys, take them to the park, or read them stories we like to provide our kids with fun things to do. Sensory play can be one of those fun things.


Kids enjoy sensory play because, even though they don’t realize it, they are satiating their need to examine the world through their senses. When they are engaged in an activity like Hidden Presents, they are learning!


Rice is a fantastic sensory material.  Kids can scoop it, pour it, hold it, run through fingers through it, and so much more.  What is fantastic about sensory play is that the child decides how to play with the materials provided. They learn to make decisions and experiment with their own ideas.


I tend to create activities using things I already have around the house.  In this case, I had rice, food coloring, and some sticky foam presents left over from Christmas crafts years ago. So, you can follow this idea or use it to spur your own ideas for sensory play activities using items that you have around your house.


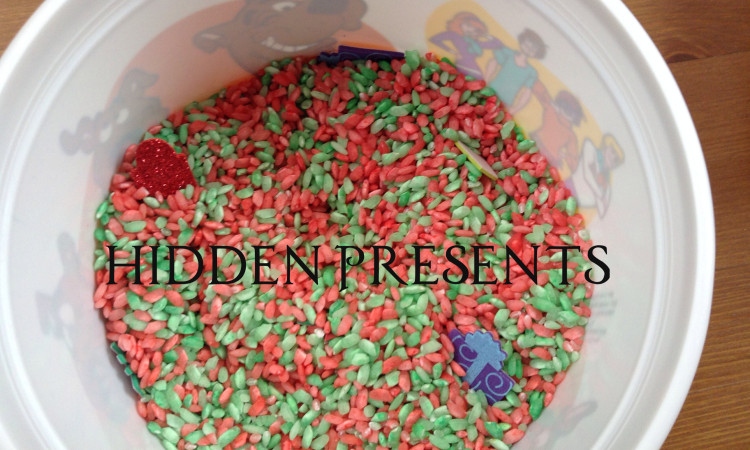
For this activity I focused on three senses. The sense of sight was stimulated by the red and green colored rice, as well as the brightly-colored presents hiding. The sense of touch was stimulated through manipulating the rice. The sense of hearing was stimulated by the sounds of the rice being moved and poured.


Hidden Presents

Materials:

  • Dyed Rice (Prepare in advance)
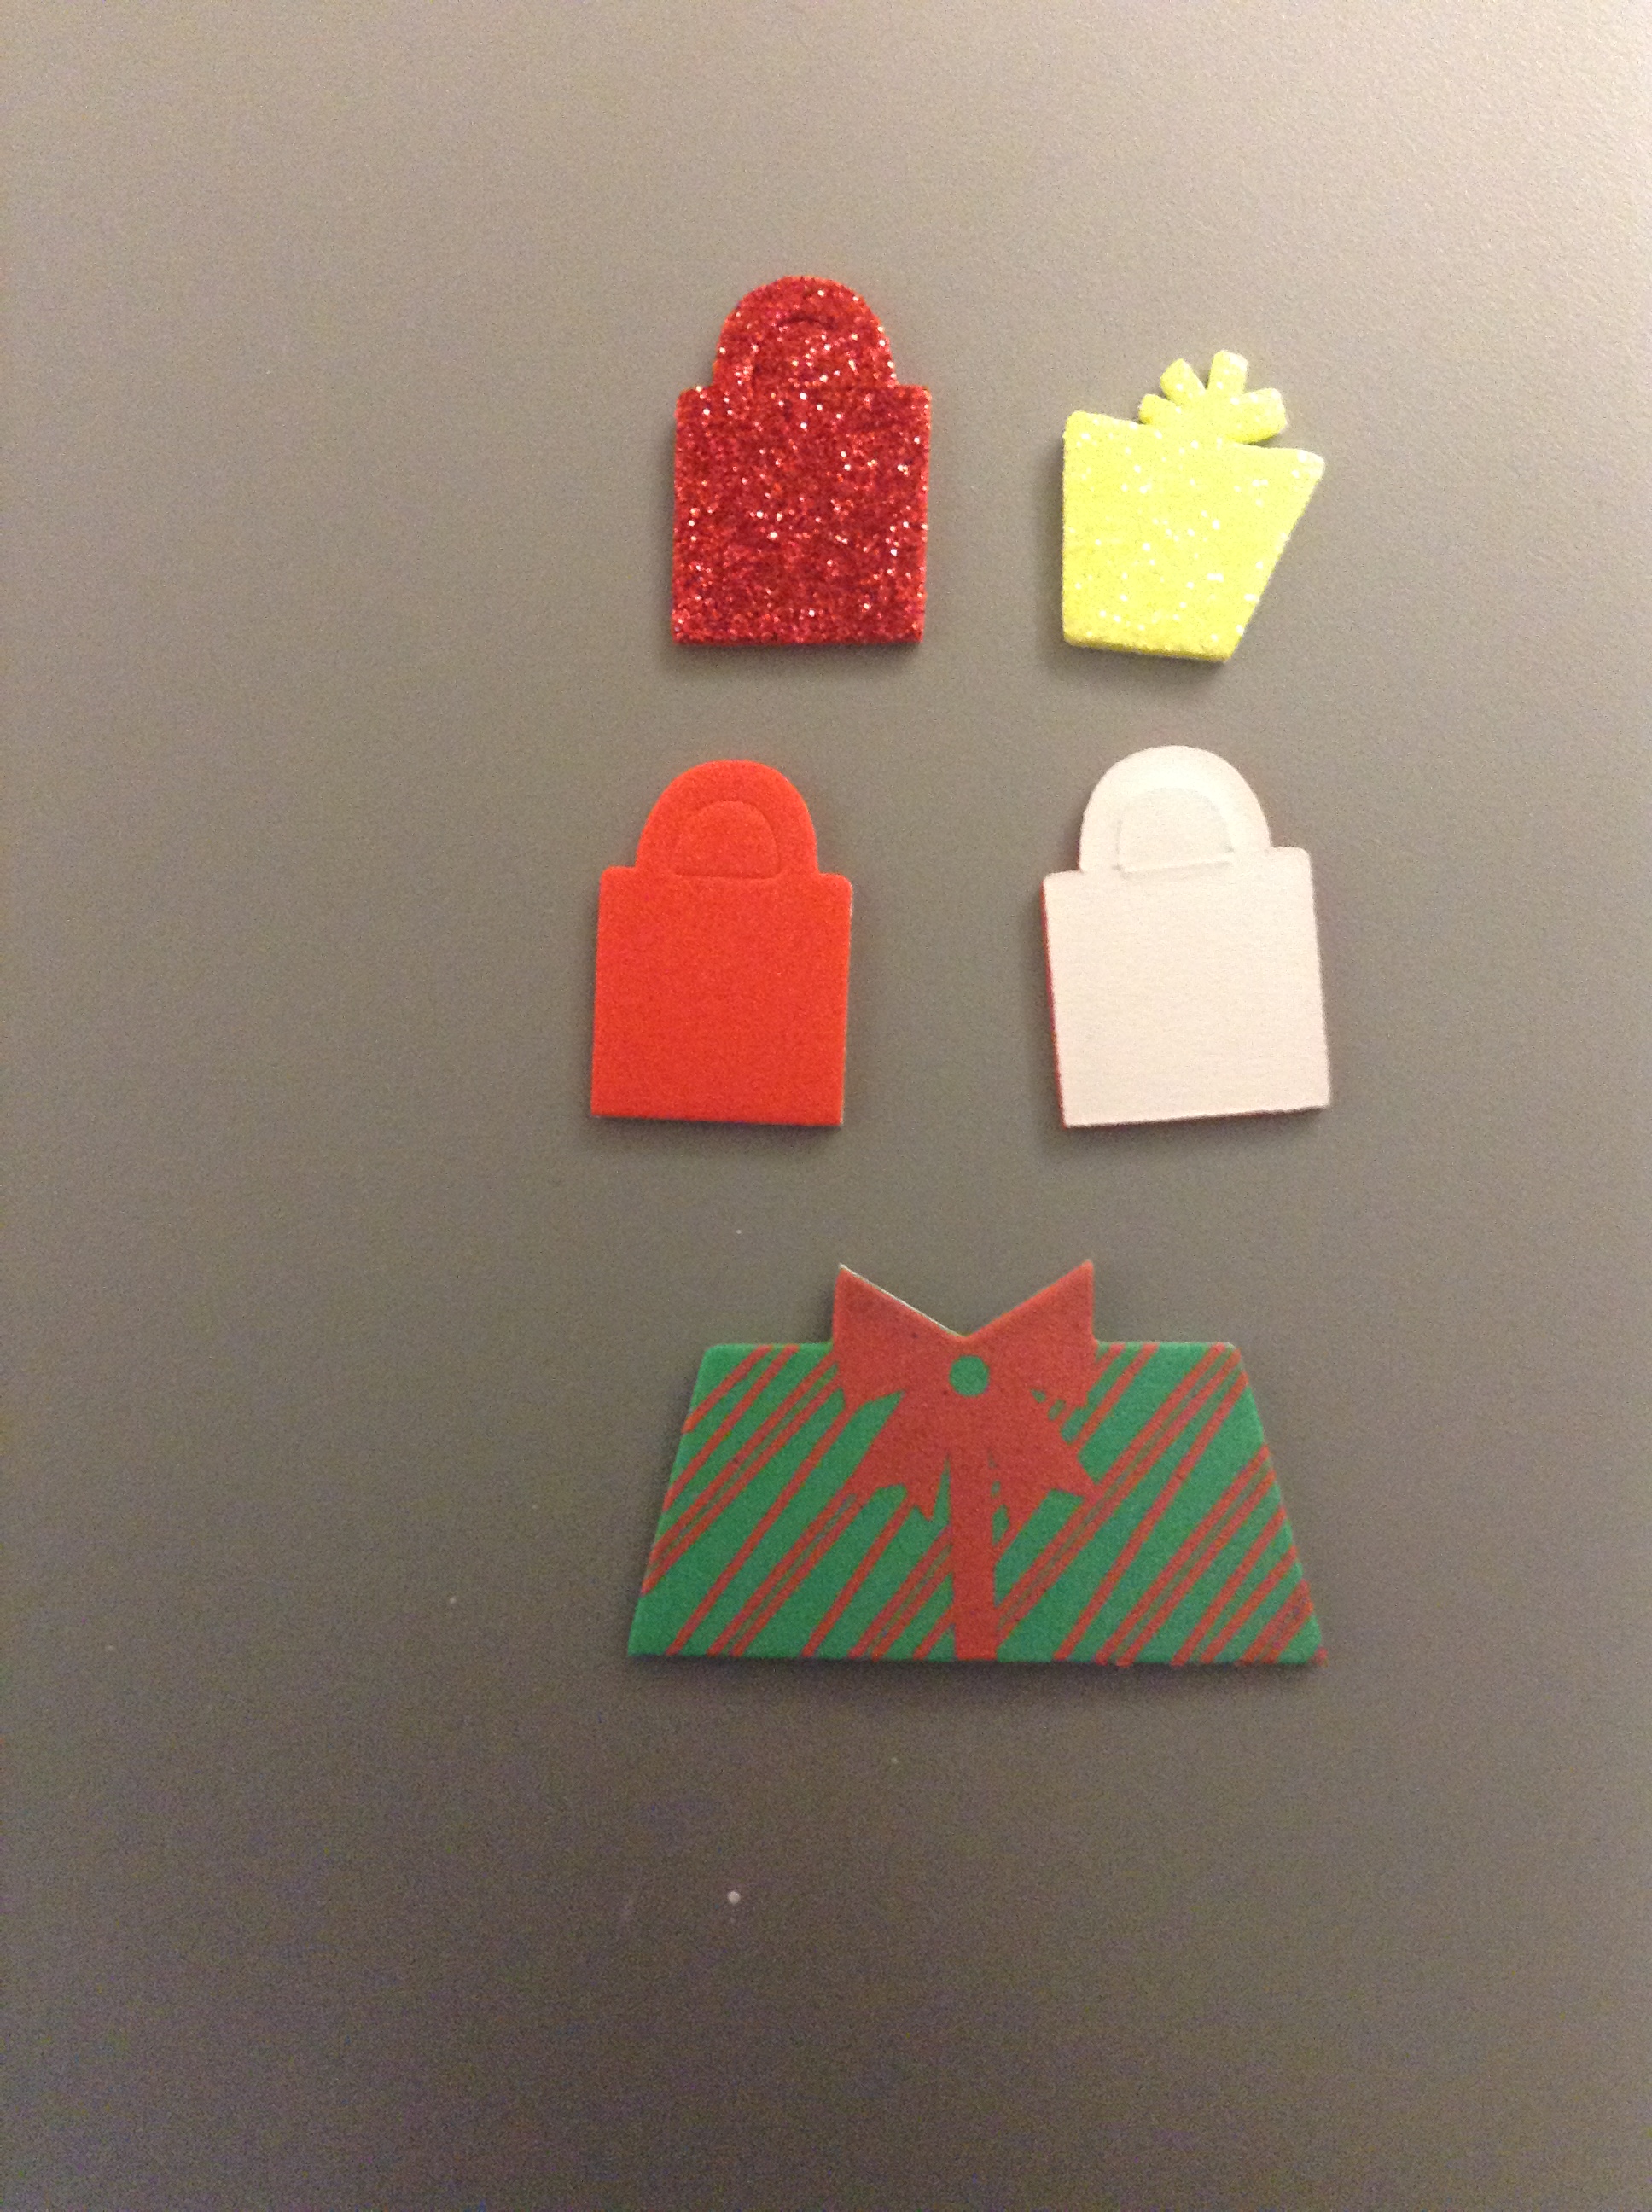
  • Small foam presents with a sticky back (found at craft stores)
  • Paper and Crayons to draw a tree


Preparation:

To make the red and green rice, simple mix the rice in a Ziploc bag with food coloring and water. Set it out to dry overnight.  Wikihow has a link that can walk you through the process with pictures to help: click here for instructions


Here is what some of the presents looked like:

Empowering Parents to Teach- Hidden Presents


What we did:

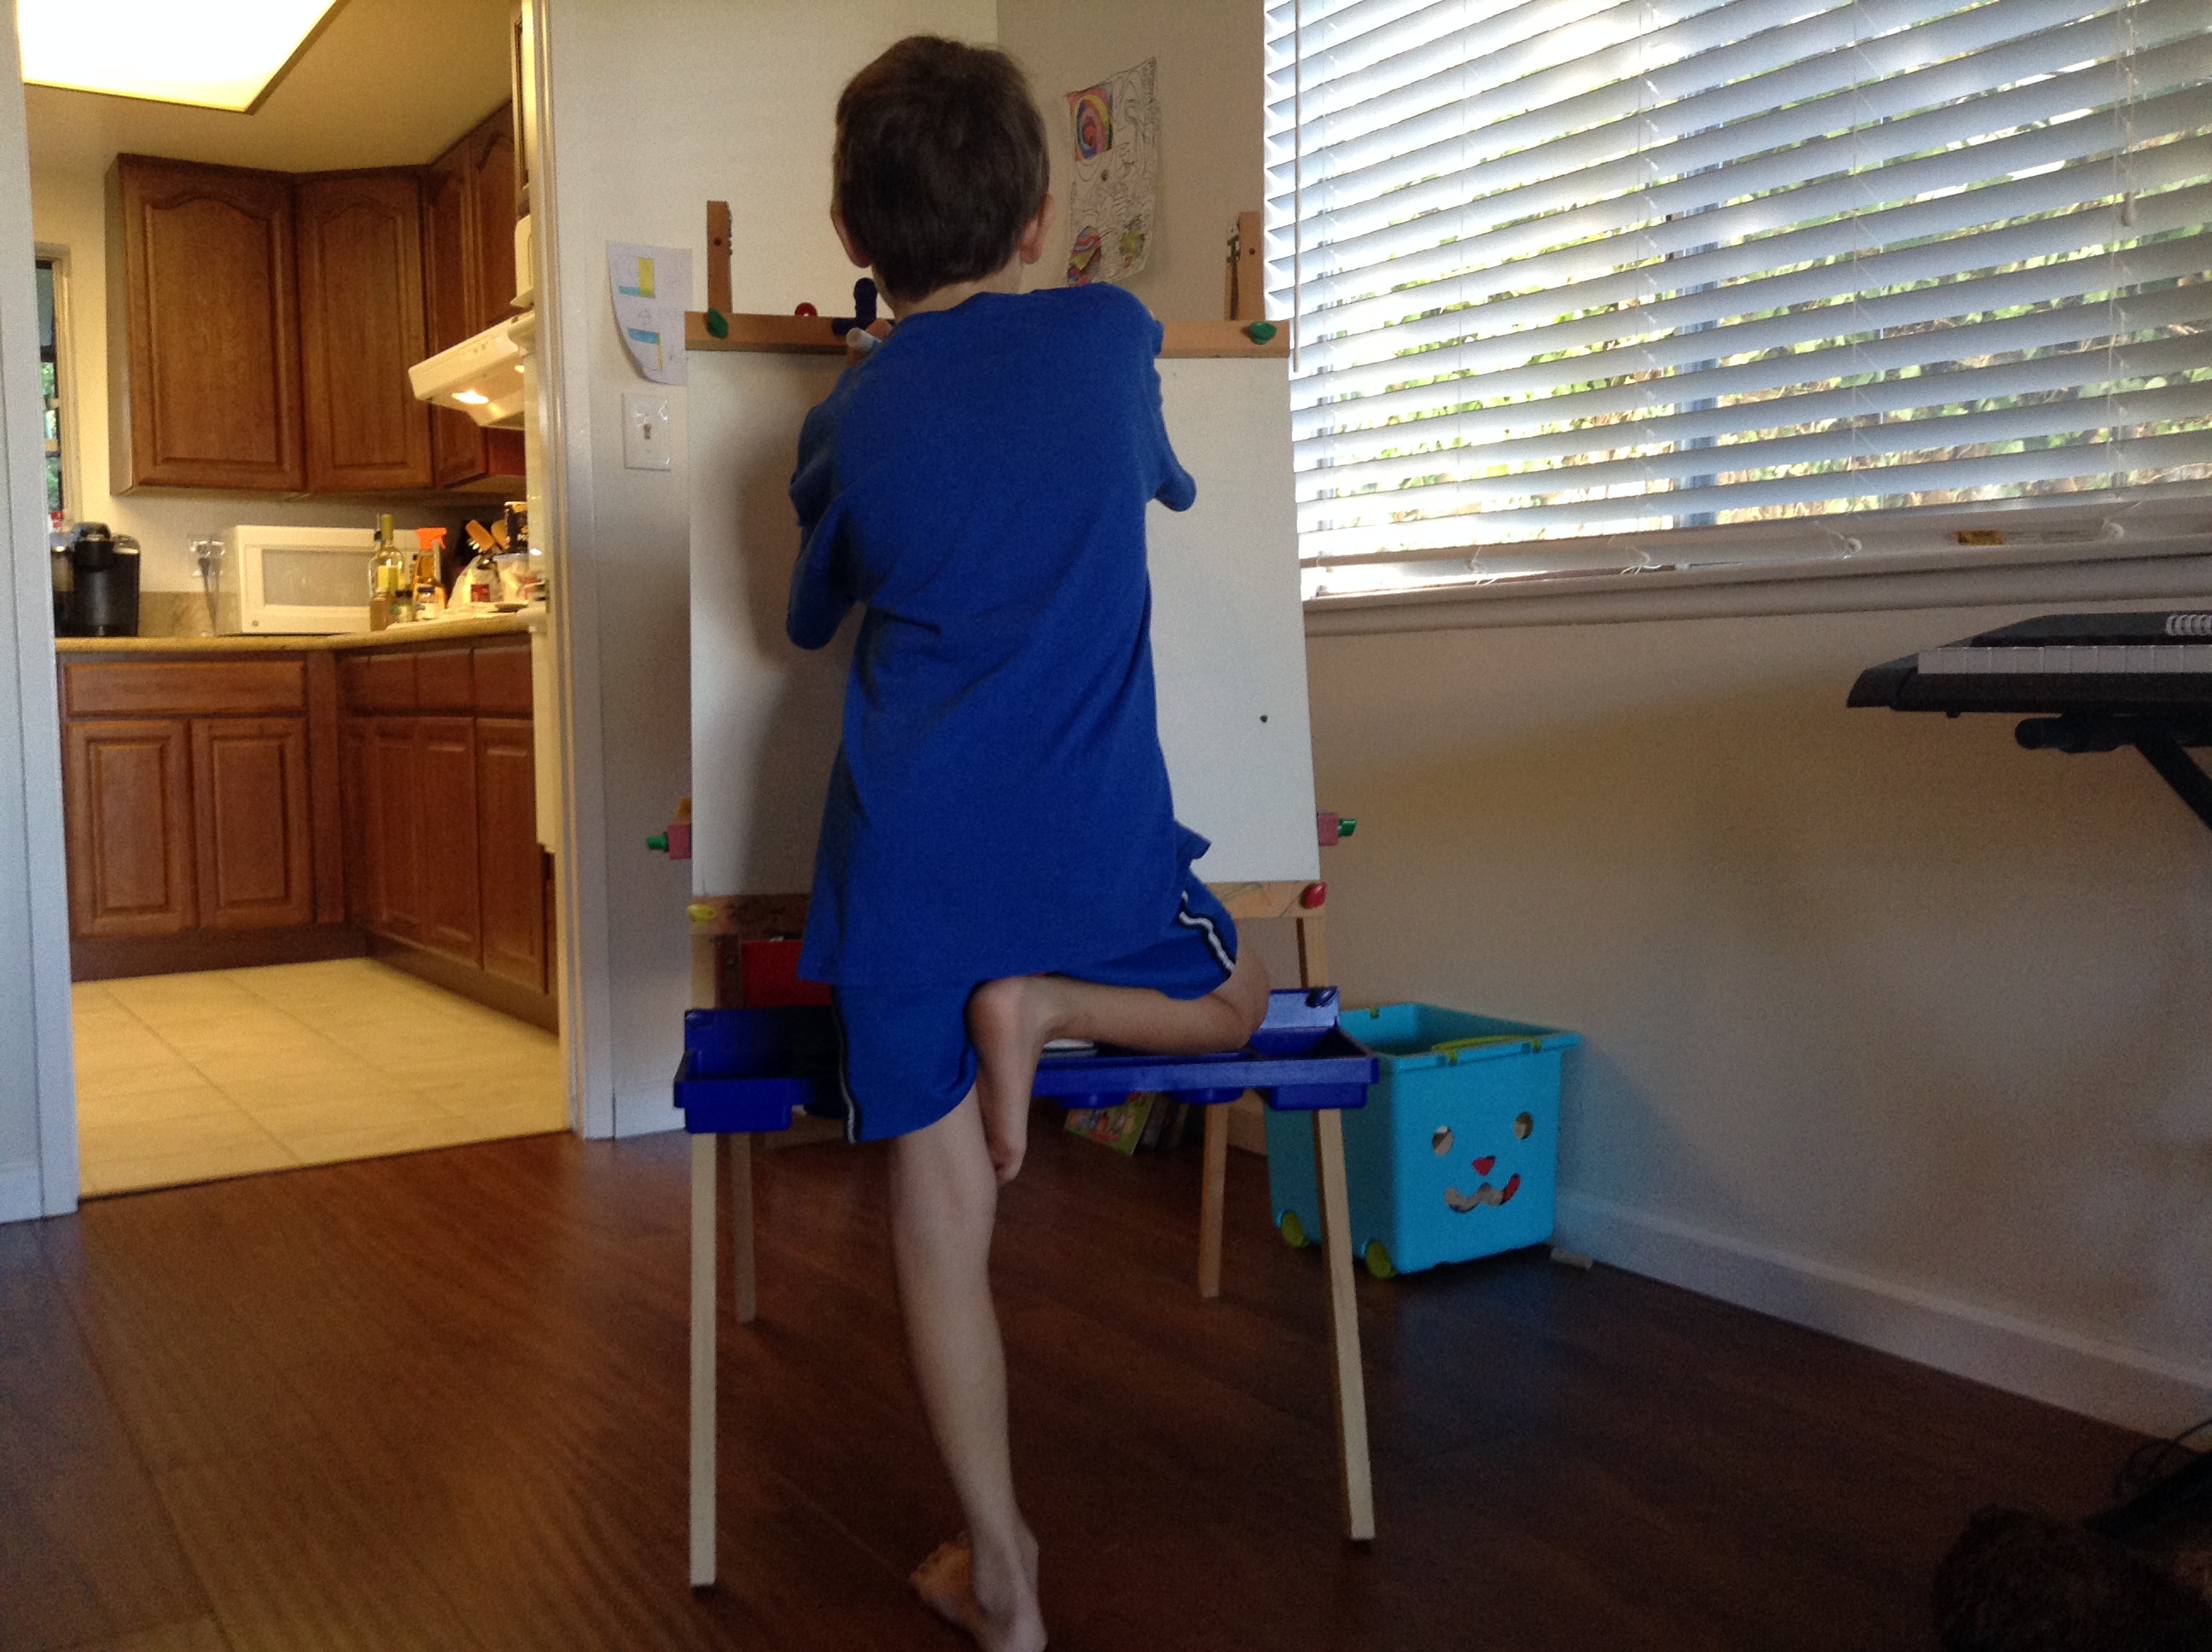
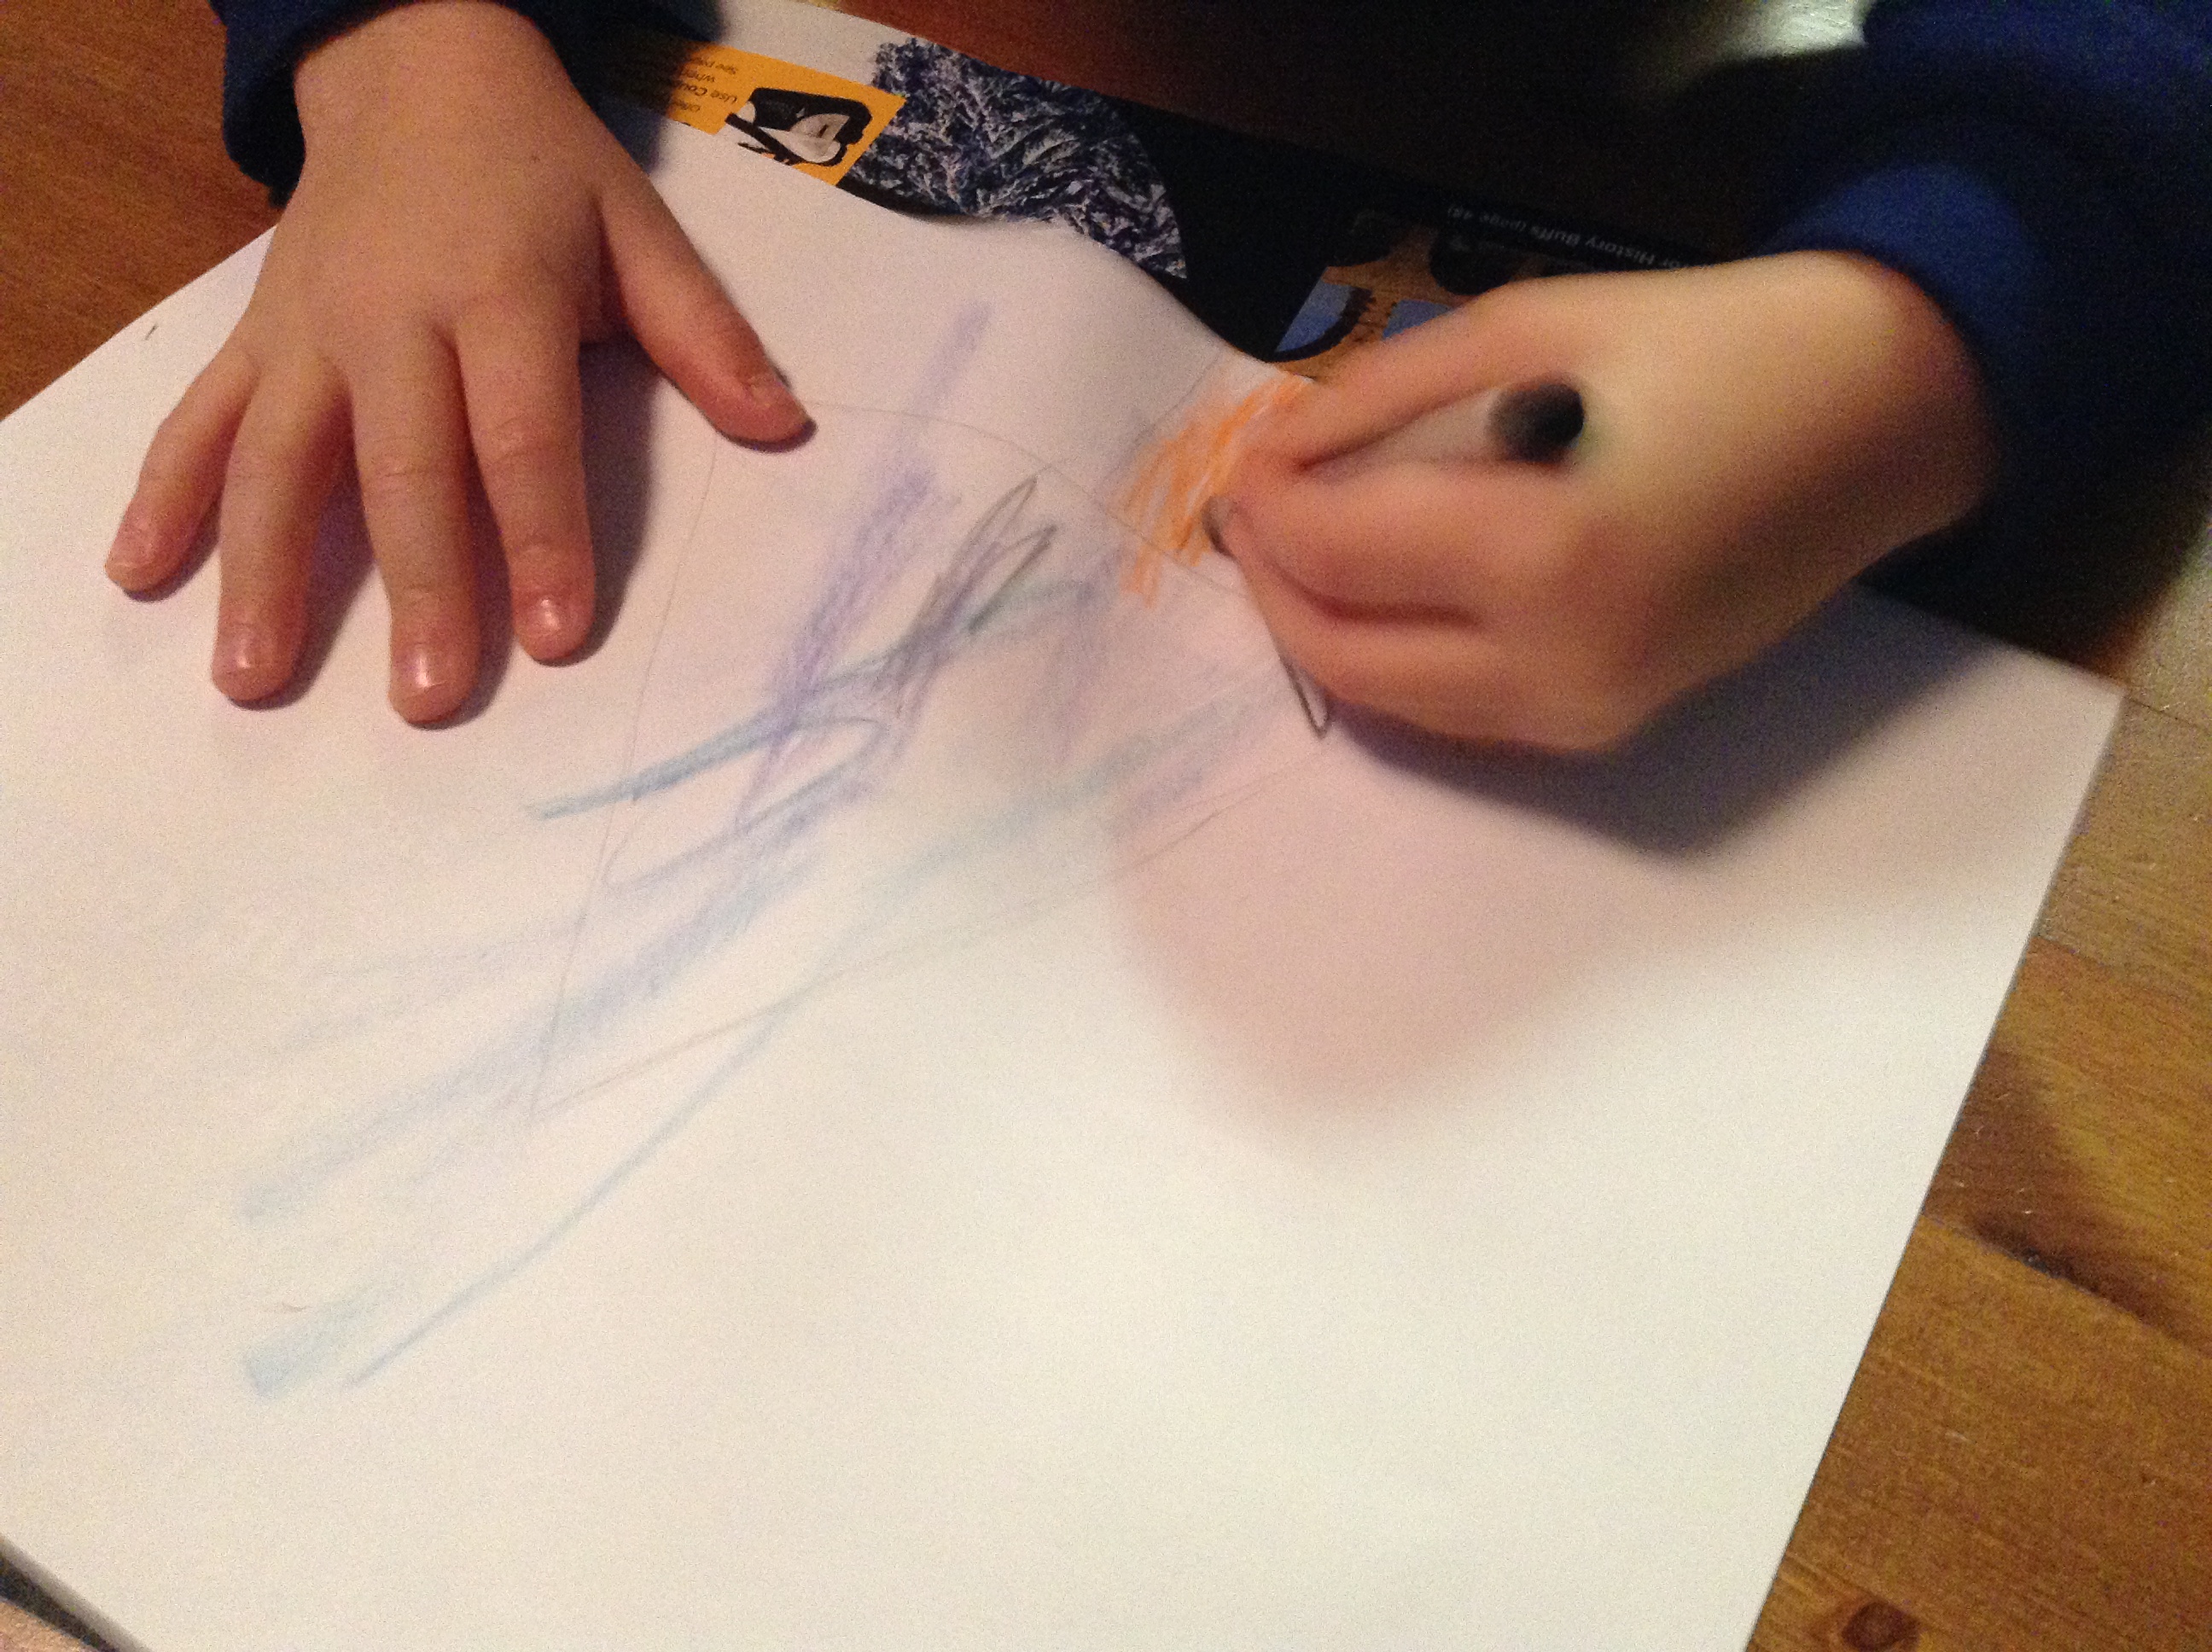
1.  First, I had my son color in a Christmas tree that I drew. I would have let him draw the tree, but he didn’t want to. He was creating the tree that he would put the presents under!


Empowering Parents to Teach- Hidden Presents


2.  Next, I showed him the bucket full of red and green rice with small presents mixed inside.  I told him that he was going to search for the presents and put them under the tree.


Empowering Parents to Teach- Hidden Presents


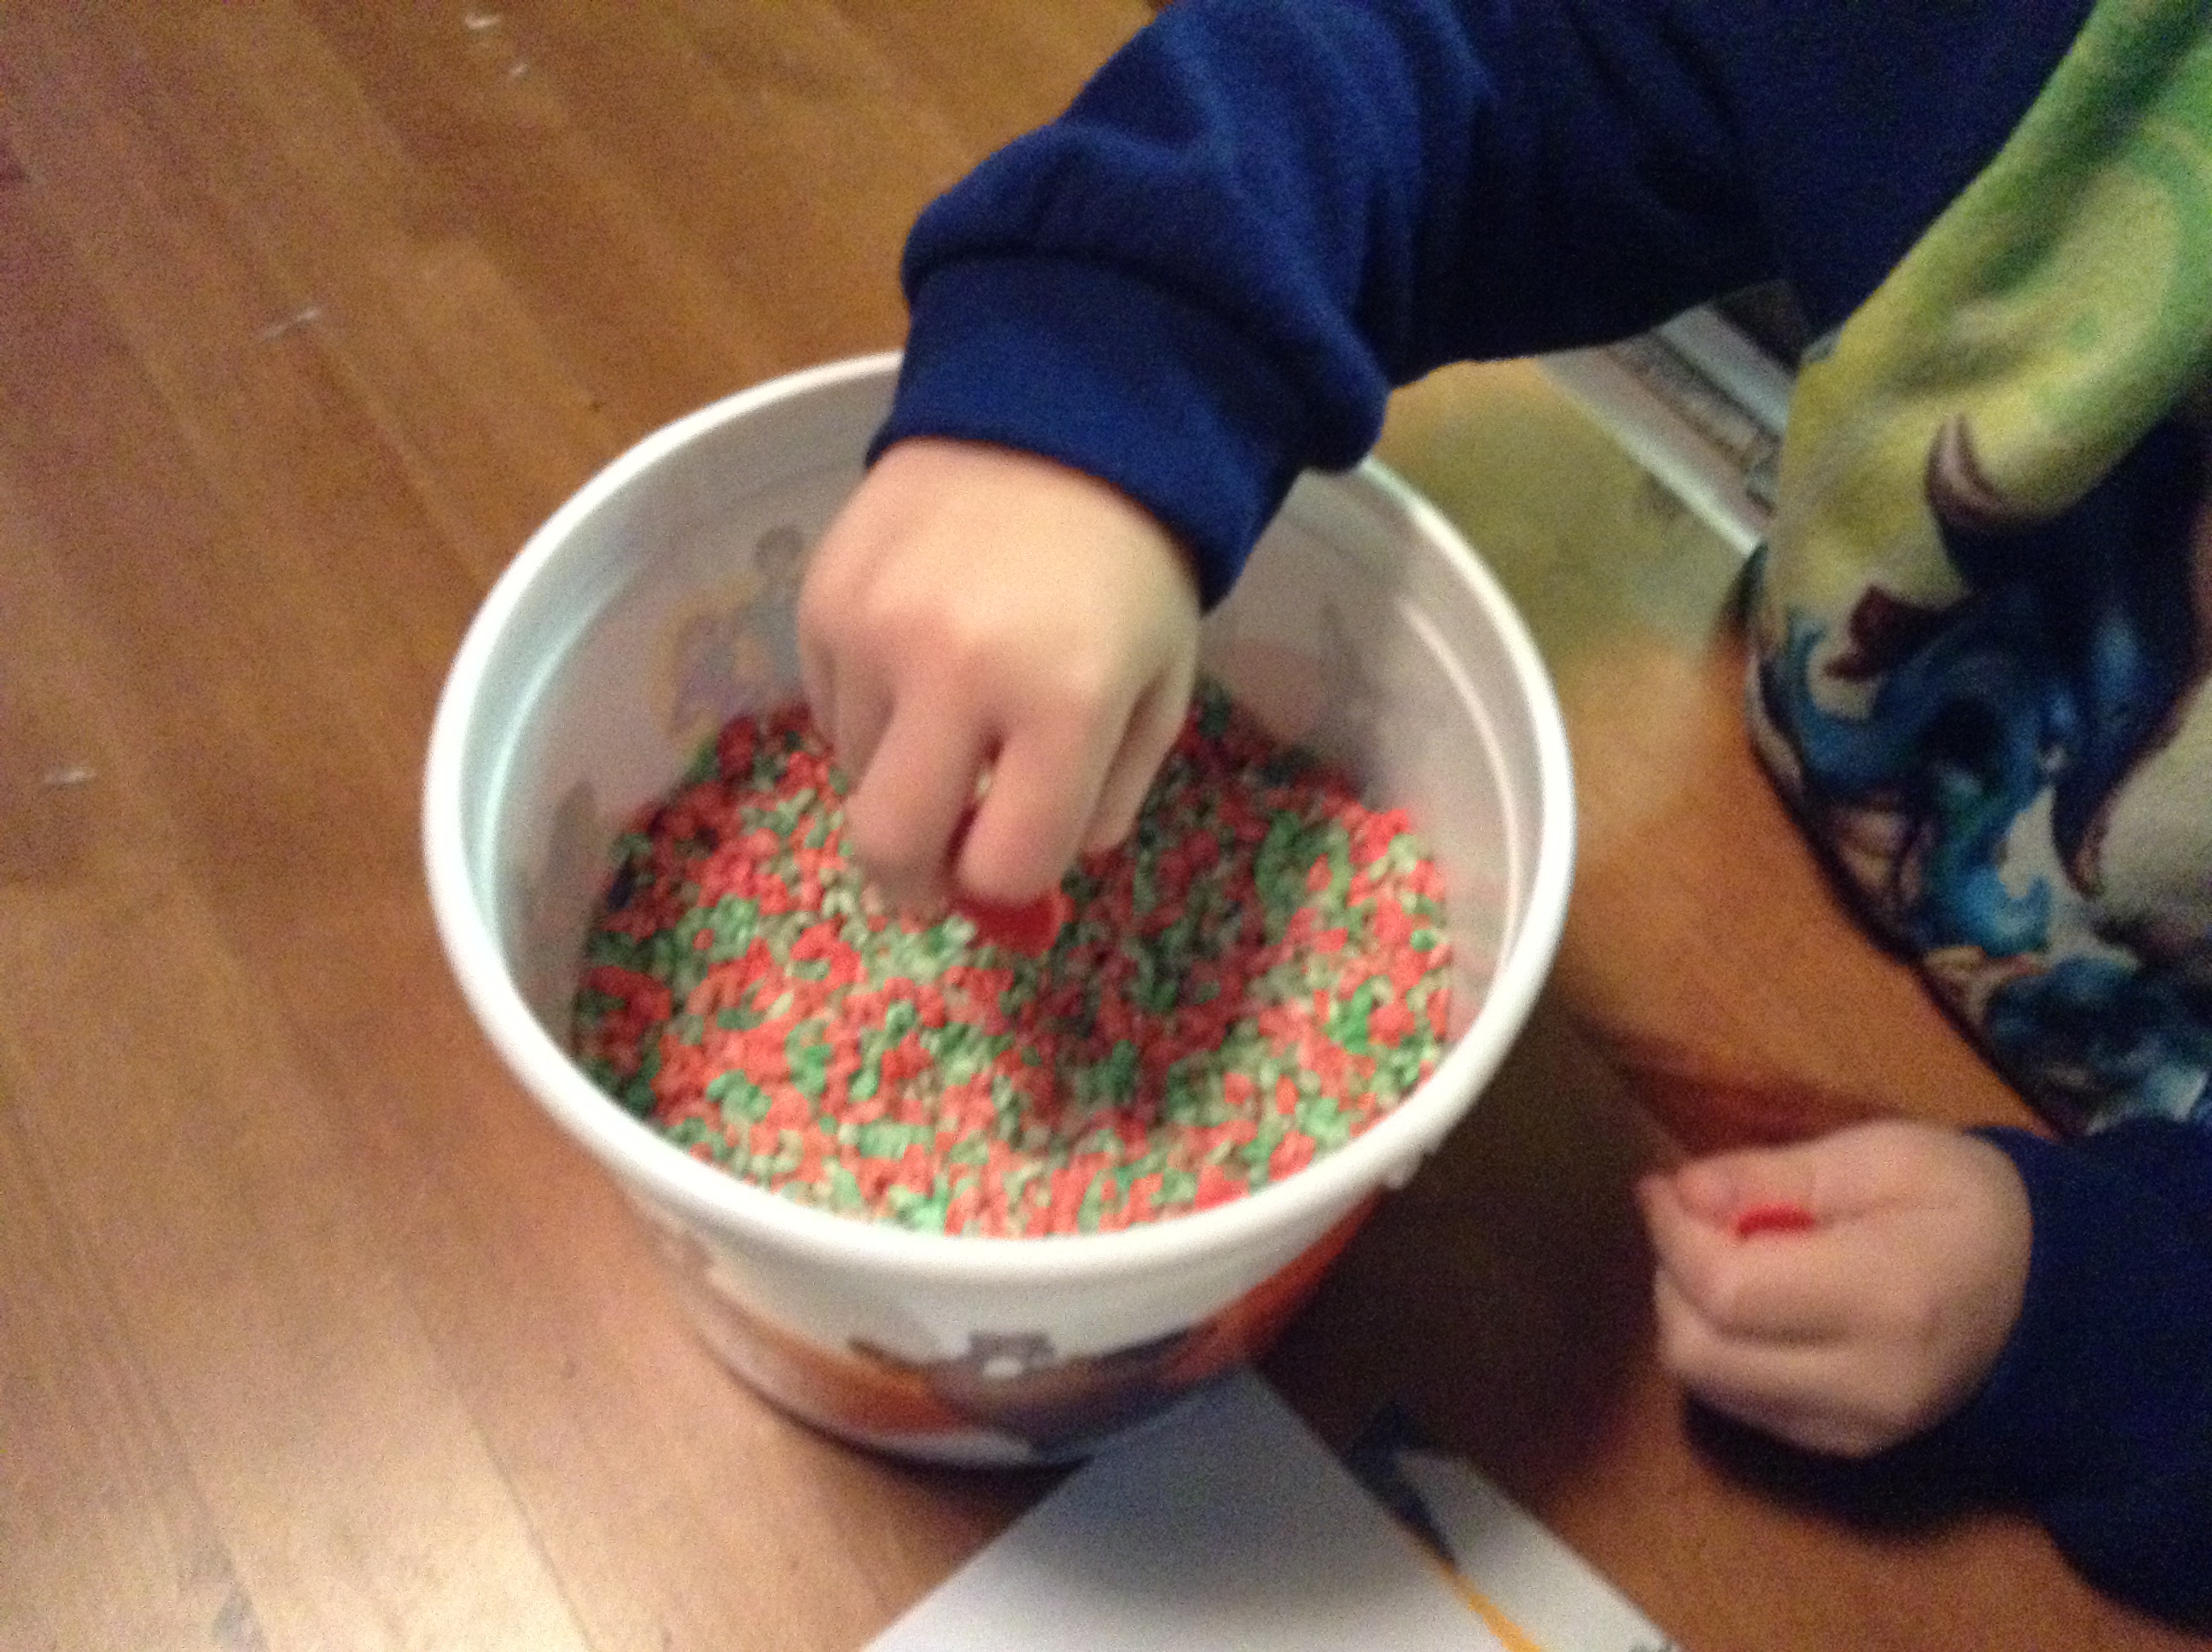
3. Once he found a present, he peeled off the sticker on the back to expose the sticky side (fine motor skill).


Empowering Parents to Teach- Hidden Presents


Empowering Parents to Teach- Hidden Presents


4.  He pressed the presents onto the paper.  Instead of putting them under the tree, he decided to put them on the tree!  Remember, allowing your child to take the activity in another direction is okay, in fact, it’s encouraged! It gives them the control of the activity and by allowing it, you validate that their ideas are important and worth exploring. If we want our children to keep their curiosity, we have to give them some freedom to follow it.


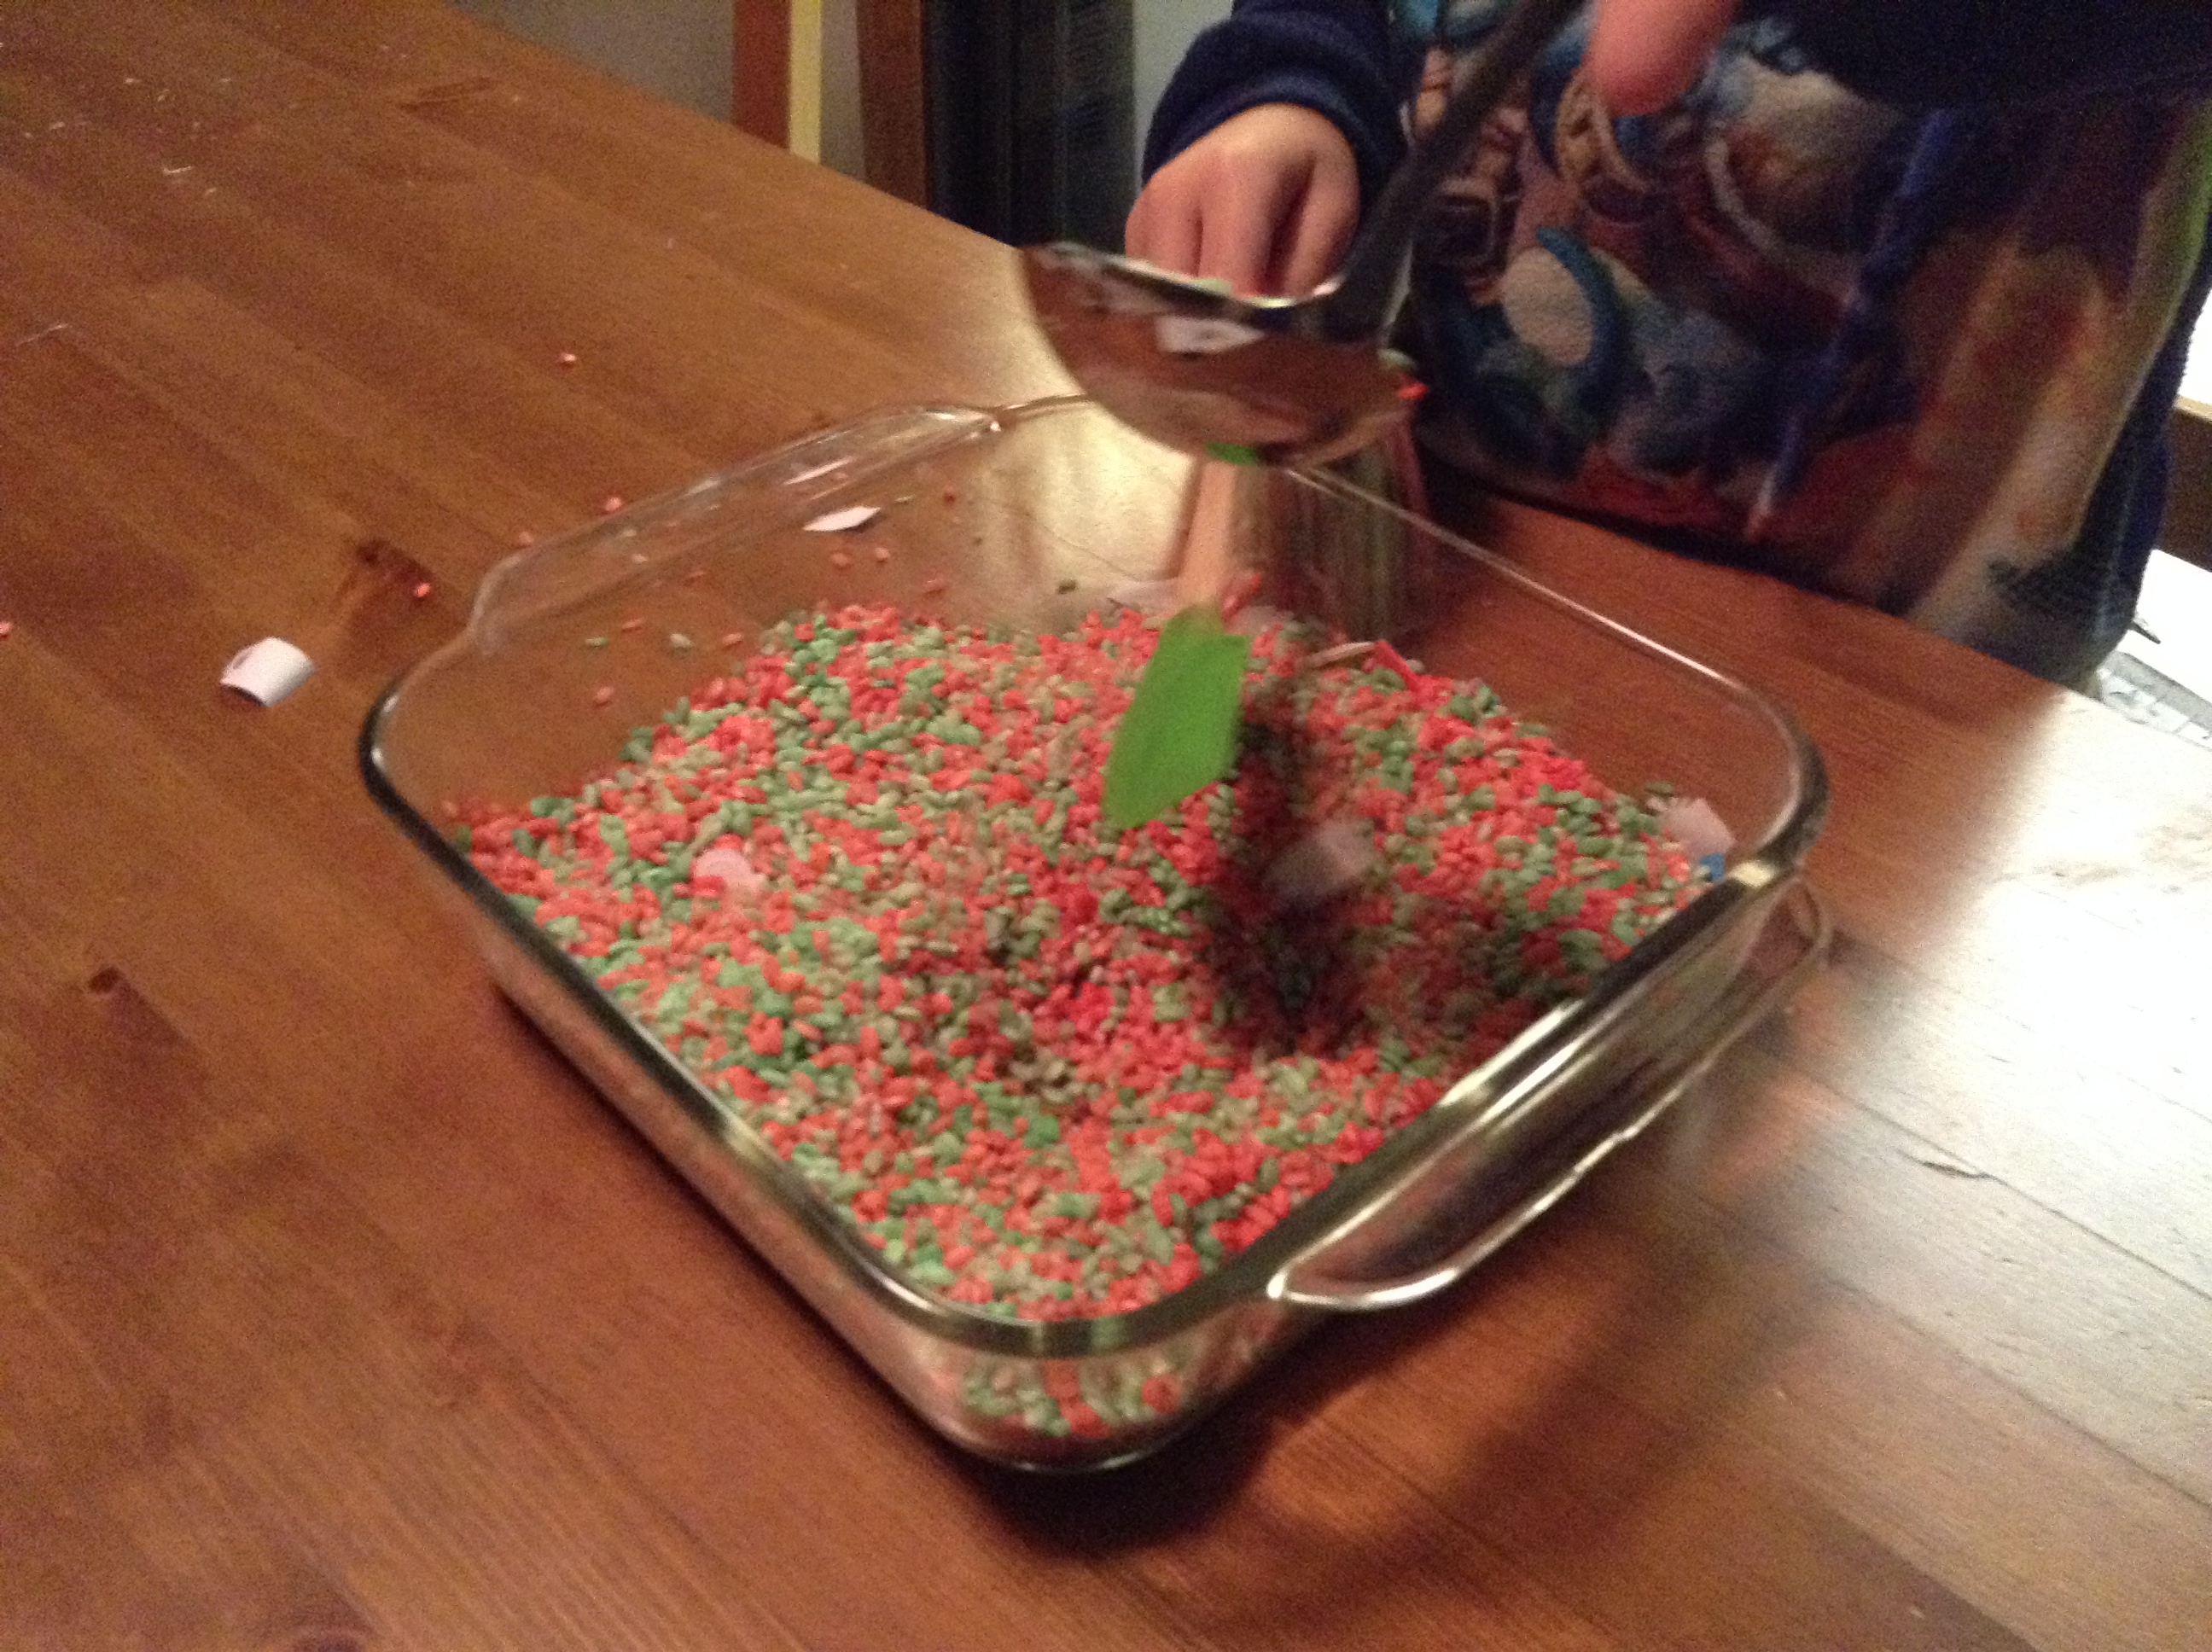
5.  After a little while, he announced that he was done finding presents.  There were still more presents in the bucket, but I did not make him find all of them. Once again, this puts him in control of the activity– not me.  He also came up with his own idea of putting the rice in a dish so that he can scoop it and keep playing with the rice.  This activity started with me presenting my son with a task and ended with him taking control and creating a new idea.  Good sensory play is child led, so the fact that it ended with his idea is a positive thing.


hiddenpresents8


hiddenpresents6


This activity is just one of many possibilities.  What ideas does this give you? What ideas will your kids come up with?

Empowering Parents to Teach- Easy Dinners

Dinners For Tired (or Busy) Moms


Fresh food is always best. But in real life, we have days where we just want to get through a tough night or we don’t have a lot of time to chop vegetables, make food from scratch, or keep a constant eye on the stove. These meals are for those days.  They are not fancy but they will get through the night!


We’ve all been there. You’re tired, utterly exhausted, but you still have kids to feed. Especially when you have a new baby at home, getting dinner on the table sound like a monumental task. Running on empty with lack of sleep, the witching hour comes at dinner time. You are trying to prepare dinner while the preschooler (or toddler) melts down, the baby wants to be held, and you can’t leave the stove because your pot may boil over!


Or perhaps your nights are busy. Your kids get off the bus at 3:30, they have to get their homework done and eat before being at sports practice at 5:30. You really don’t want to get fast food, so you are looking for something quick and easy to prepare.


Sometimes, it’s both of those scenarios together!  It’s not easy getting dinner on the table when your attention is pulled in so many directions and time is tight.


After the birth of my second child I stopped saying that I cooked dinner, instead, I heated dinner. Buying things that were for the most part already made, I just needed to heat them up. While my youngest is now four and I’m out of the lack of sleep baby fog, there are still days where I need a quick dinner. Sometimes when I prepare these quick meals it reminds of the baby/toddler days and I thought I’d share my easy dinner ideas for those of you may need them :)


If you have a Trader Joe’s near you, it is a goldmine of products that are already made that you can just heat up.


Note: I cook primarily vegetarian meals. However, all the recipes that have “fake meat” can be substituted with real meat (the frozen kind that you just heat up)!


So here is my list of easy to prepare dinners for a tired or busy mom:


1. Orange Chicken, Peas, and Clementines


Empowering Parents to Teach- Quick, Easy Dinners


This is one of my family’s favorite easy dinners.  I have to thank my sister in law for sharing this idea with me! The rice (found in Trader Joe’s frozen section) cooks in the microwave for three minutes.  The “chicken” morsels bake in the oven just like chicken nuggets so you don’t have to stand by the stove keeping an eye on things. You easily heat the peas in the microwave for a minute or two. Simply defrost the orange sauce packets in warm water and top it on the chicken when it is done baking.  Plate your rice, add some delicious orange chicken and peas. It’s so good!!


If you grab a bag of clementines from the market, they make a great dessert!


2. Pierogies and Sweet Peas

Empowering Parents to Teach- Quick, Easy DinnersThis one is the quickest meal ever!

My boys love pierogies! It is actually my youngest favorite food.  My mother taught me how to make pierogies from scratch and of course those are always the best. However, when time is tight I go to Mrs.T! The pierogies only take five minutes to boil and they are done.  Heat the peas in the  microwave for a minute or two (depending on your microwave) and you are set! If you have the time, heat butter and chopped onions on the stove for the most “homemade” taste. Have some fresh fruit for dessert to round out this meal.


There are twelve pierogies in a box. My boys typically eat about four to five pierogies each, so depending on the size of your family you may need to purchase a couple of boxes :)


3. Chicken Parm and Broccoli


Empowering Parents to Teach- Easy Dinners


If you don’t have time to steam some broccoli or need gluten-free pasta:


Empowering Parents to Teach- Easy Dinners


Boil some of your favorite pasta- whole wheat, rice, corn, or quinoa pasta. Heat fresh broccoli in a steamer pot or buy the microwave kind to make it faster. Bake the chicken patties or Morning Star “chicken” according to the package. For the last five minutes of bake time add a little bit of pasta sauce and mozzarella cheese to let the cheese melt on top. As the chicken is baking, have your sauce heating on the stove, add the broccoli to the sauce. Once everything is done, plate your pasta and sauce, then top it off with the chicken patty!


4. Meatball Subs and Carrots

Ok, this is so easy! Heat the meatballs or meatless meatballs in pasta sauce according to the package.  Fill a bun with meatballs and top with parm or mozzarella cheese (or fake cheese). Heat up a side a carrots and you’ve got a quick, filling, dinner!


5. Black Bean Burgers, Mashed Potato, and Corn


Empowering Parents to Teach- Easy Dinners


Oh how I love Morning Star Black Bean Burgers! They are simply delicious and only take a few minutes to grill on the stove. Slice some veggies to top it- lettuce, tomato, yummy avocado, pickles, etc. Pair with the already made mashed potatoes you find at the deli department in your local grocery store (or instant potatoes) and some canned corn you’ve heated up and you’re golden!


I did not include corn in the picture because I’ve had the hardest time finding organic canned corn in our local grocery stores! Hopefully, your grocery stores still carry it!


6. Sloppy Joes and Salad


Empowering Parents to Teach- Easy Dinners


These are so easy! Brown some meat or “fake meat” from Morning Star.  Once the meat is fully cooked, pour the Sloppy Joe sauce into the pan, simmer until ready. Add them to a bun, sprinkle cheddar cheese on top and you’re done! On the side, grab some greens from one of those ready to go salad mixes and add veggies that you have in the fridge! Easy, simple meal :)


Leave a comment below and tell us what your favorite super easy dinner is to make when you are tired or busy!


Easy Sensory Play: Play-doh and Water


There are many easy ways you can use things you already have around your house to engage your child’s senses.  One simple sensory activity is to take some play-doh and add water!


As my kids played with play-doh one day, my son asked for a cup of water to pour over the dough. After that, both of my boys began exploring the water’s effect on the play-doh’s texture and consistency. Squishing it with their hands, cutting it with tools, and squashing it flat were highly enjoyable to them. Such a simple thing led to so much fun and a fantastic sensory play experience.


sensory7


sensory6


sensory5


sensory4


sensory3


Empowering Parents to Teach- Sensory Play


As a bonus, if you leave the play-doh partially submerged in water overnight, the colors will begin to run into the water.


So, if your little one is bored and looking for some fun, break out the play-doh and add some water!

Empowering Parents to Teach- Liquid Measurement Conversion

Liquid Measurement Conversion Activity

Is your child learning how to convert liquid measurements?  Keep math a hands-on experience with this activity!  It’s so easy for your child to discover the conversions for themselves instead of simply memorizing them.  They will have a much deeper understanding and will most likely remember it because of this concrete experience.  This activity focuses on converting cups, pints, quarts, and gallons.


Step 1:

Locate containers that are exact measurements of:

  • one cup ( a measuring cup works great!)
  • one pint
  • one quart
  • one gallon


Step 2:

Line the containers up from smallest to biggest in terms of volume.


Empowering Parents to Teach- Liquid measurement activity


Step 3:

Predict how many cups are in a pint, pints are in a quart, and quarts in a gallon. Record your predictions on the chart on the free printable provided or you can have your children create his or her own chart.


Click here for the printable activity and chart

Step 4:

One at a time, test your predictions. Record your results on the free printable or homemade chart.


Testing how many cups in a pint:

Empowering Parents to Teach- Liquid measurement activity

Empowering Parents to Teach- Liquid measurement activity


Testing how many pints in a quart:

Empowering Parents to Teach- Liquid measurement activity


What I also love about this is how the child actually feels how heavy the container is when they put the water in it. Children need these hands-on experiences to truly understand what they are learning. “Quart” is just an abstract word if a child just learns conversions solely on paper. This activity takes very little time, but can yield a lot of mathematical understanding.


Happy measuring :)


Empowering Parents to Teach- Pythagorean Theorem

Pythagorean Theorem

What began as reviewing the area of a triangle with my son, somehow led to a discussion about pythagorean theorem.  He seemed to understand it very well so I designed an activity to strengthen his knowledge and allow him to think about the application of what he learned.  My son happens to love math so he really enjoyed this activity!


 *This post contains affiliate links. If you purchase from an Amazon link, I receive a small commission at no extra cost to you.


Day 1

This is how it started:


triangle8

Click on the picture to enlarge


You can see the remnants of our pytahgorean theorem discussion on our whiteboard. I essentially introduced him to the formula (later in the day my husband added the proof).  After our talk, we read What’s Your Angle Pythagoras by Julie Ellis together.


Day 2

The activity:

My goal was for my son to practice finding the missing side of a right triangle using the pythagorean theorem.  I wanted it to be fun, not just sitting at a desk filling in a worksheet. I decided to create a big triangle on the floor using building toys that we had readily available.


For the problems, I used pythagorean triples. This made it easier to solve the problems (no decimals!). I found the triples here at mathisfun.com.


I cut index cards in half and wrote one number on each card, using a different color for each triple to help keep track of what numbers went together in case they got mixed up! For example, one triangle has sides 3, 4, 5.  I wrote the 3 on one card, 4 on another, and 5 on another.


The next step is simple! I placed two of three numbers of the triple on the corresponding sides of the triangle. This was approximate, given that I used the same triangle over and over again. It was not to scale! As long as you put the biggest number on the hypotenuse, you’re good.


My son had to solve for the missing number.  For example: for the 3, 4, 5 triangle I put down the 3 and 4 and left the 5 out. He had to solve for the missing side- 5. I made sure to change up which side I left out so he wasn’t always solving the problem the same way. Originally, I wrote out just the first 6 triples, but my son loved doing this and asked for more- twice! He ended up doing a ton of these.


To solve the problems I allowed him to write on our small whiteboard.  I think that played a part in his enjoyment. If he had to solve these on paper, I don’t think he would have liked it as much. He’s pretty good with numbers and likes to solve things mentally as much as possible. Feeling like he “has to” show his work creates a mental block sometimes. I also think the fact that he was free to walk around and work standing up helped him.  There is so much that goes into a lesson. Keep in mind what works for your child. Some kids like sitting down and writing out all the steps. If that’s what they like, go for it!


Here’s what it the activity looks like:

Empowering Parents to Teach- Pythagorean Theorem


Empowering Parents to Teach- Pythagorean Theorem


Empowering Parents to Teach- Pythagorean Theorem


Empowering Parents to Teach- Pythagorean Theorem

When he solved for a missing side, I put the number where it belonged.


Empowering Parents to Teach- Pythagorean Theorem

We lined up the triples after he solved them!


Empowering Parents to Teach- Pythagorean Theorem

Working on the small whiteboard


Empowering Parents to Teach- Pythagorean Theorem

This is how many he did!


After he solved for the missing side, we lined up the triples like a chart.  This allowed him to see a pattern emerging.  The pattern is not consistent all the time, but it gave him a general idea of solving for the hypotenuse when given the other two sides.  It was very interesting when we came across at triple that did not follow the pattern! It reminded him that we have to do the math every time, we can’t count on the pattern.


Day 3

To put this new skill to use, I found some word problems that required knowledge of the pythagorean theorem to solve.  This time I allowed him to use a calculator to solve the problems. The word problems can be found here at mathworksheetland.com.


That was our lesson! I hope your mathematician enjoys it :)