About our guest author: Staci is a mom and cancer biologist who loves exploring science with her two kids at home. Empowering Parents to Teach is proud to feature the fantastic ideas that Staci does at home with her own kids so that we can do the same in our homes too!
From our science mom, Staci:
I spend a lot of time thinking about science experiments to do with my kids. Sometimes I take the lead from my kids and we explore something they are interested in. Sometimes I introduce new concepts that blow their minds. And sometimes we do things just because I want to see what happens myself! This week’s experiment happened because we had some leftover red cabbage and I wanted to try something I’d never done before.
To prepare for this experiment, I boiled half a head of chopped red cabbage for about 20 minutes and then placed the strained liquid in the refrigerator to cool overnight. The liquid left after boiling red cabbage contains a class of molecules called anthocyanins that will change color based on their environment and can indicate acids and bases. I also made a chart of approximate pH values based on the color of the red cabbage indicator to reference during our experiment.
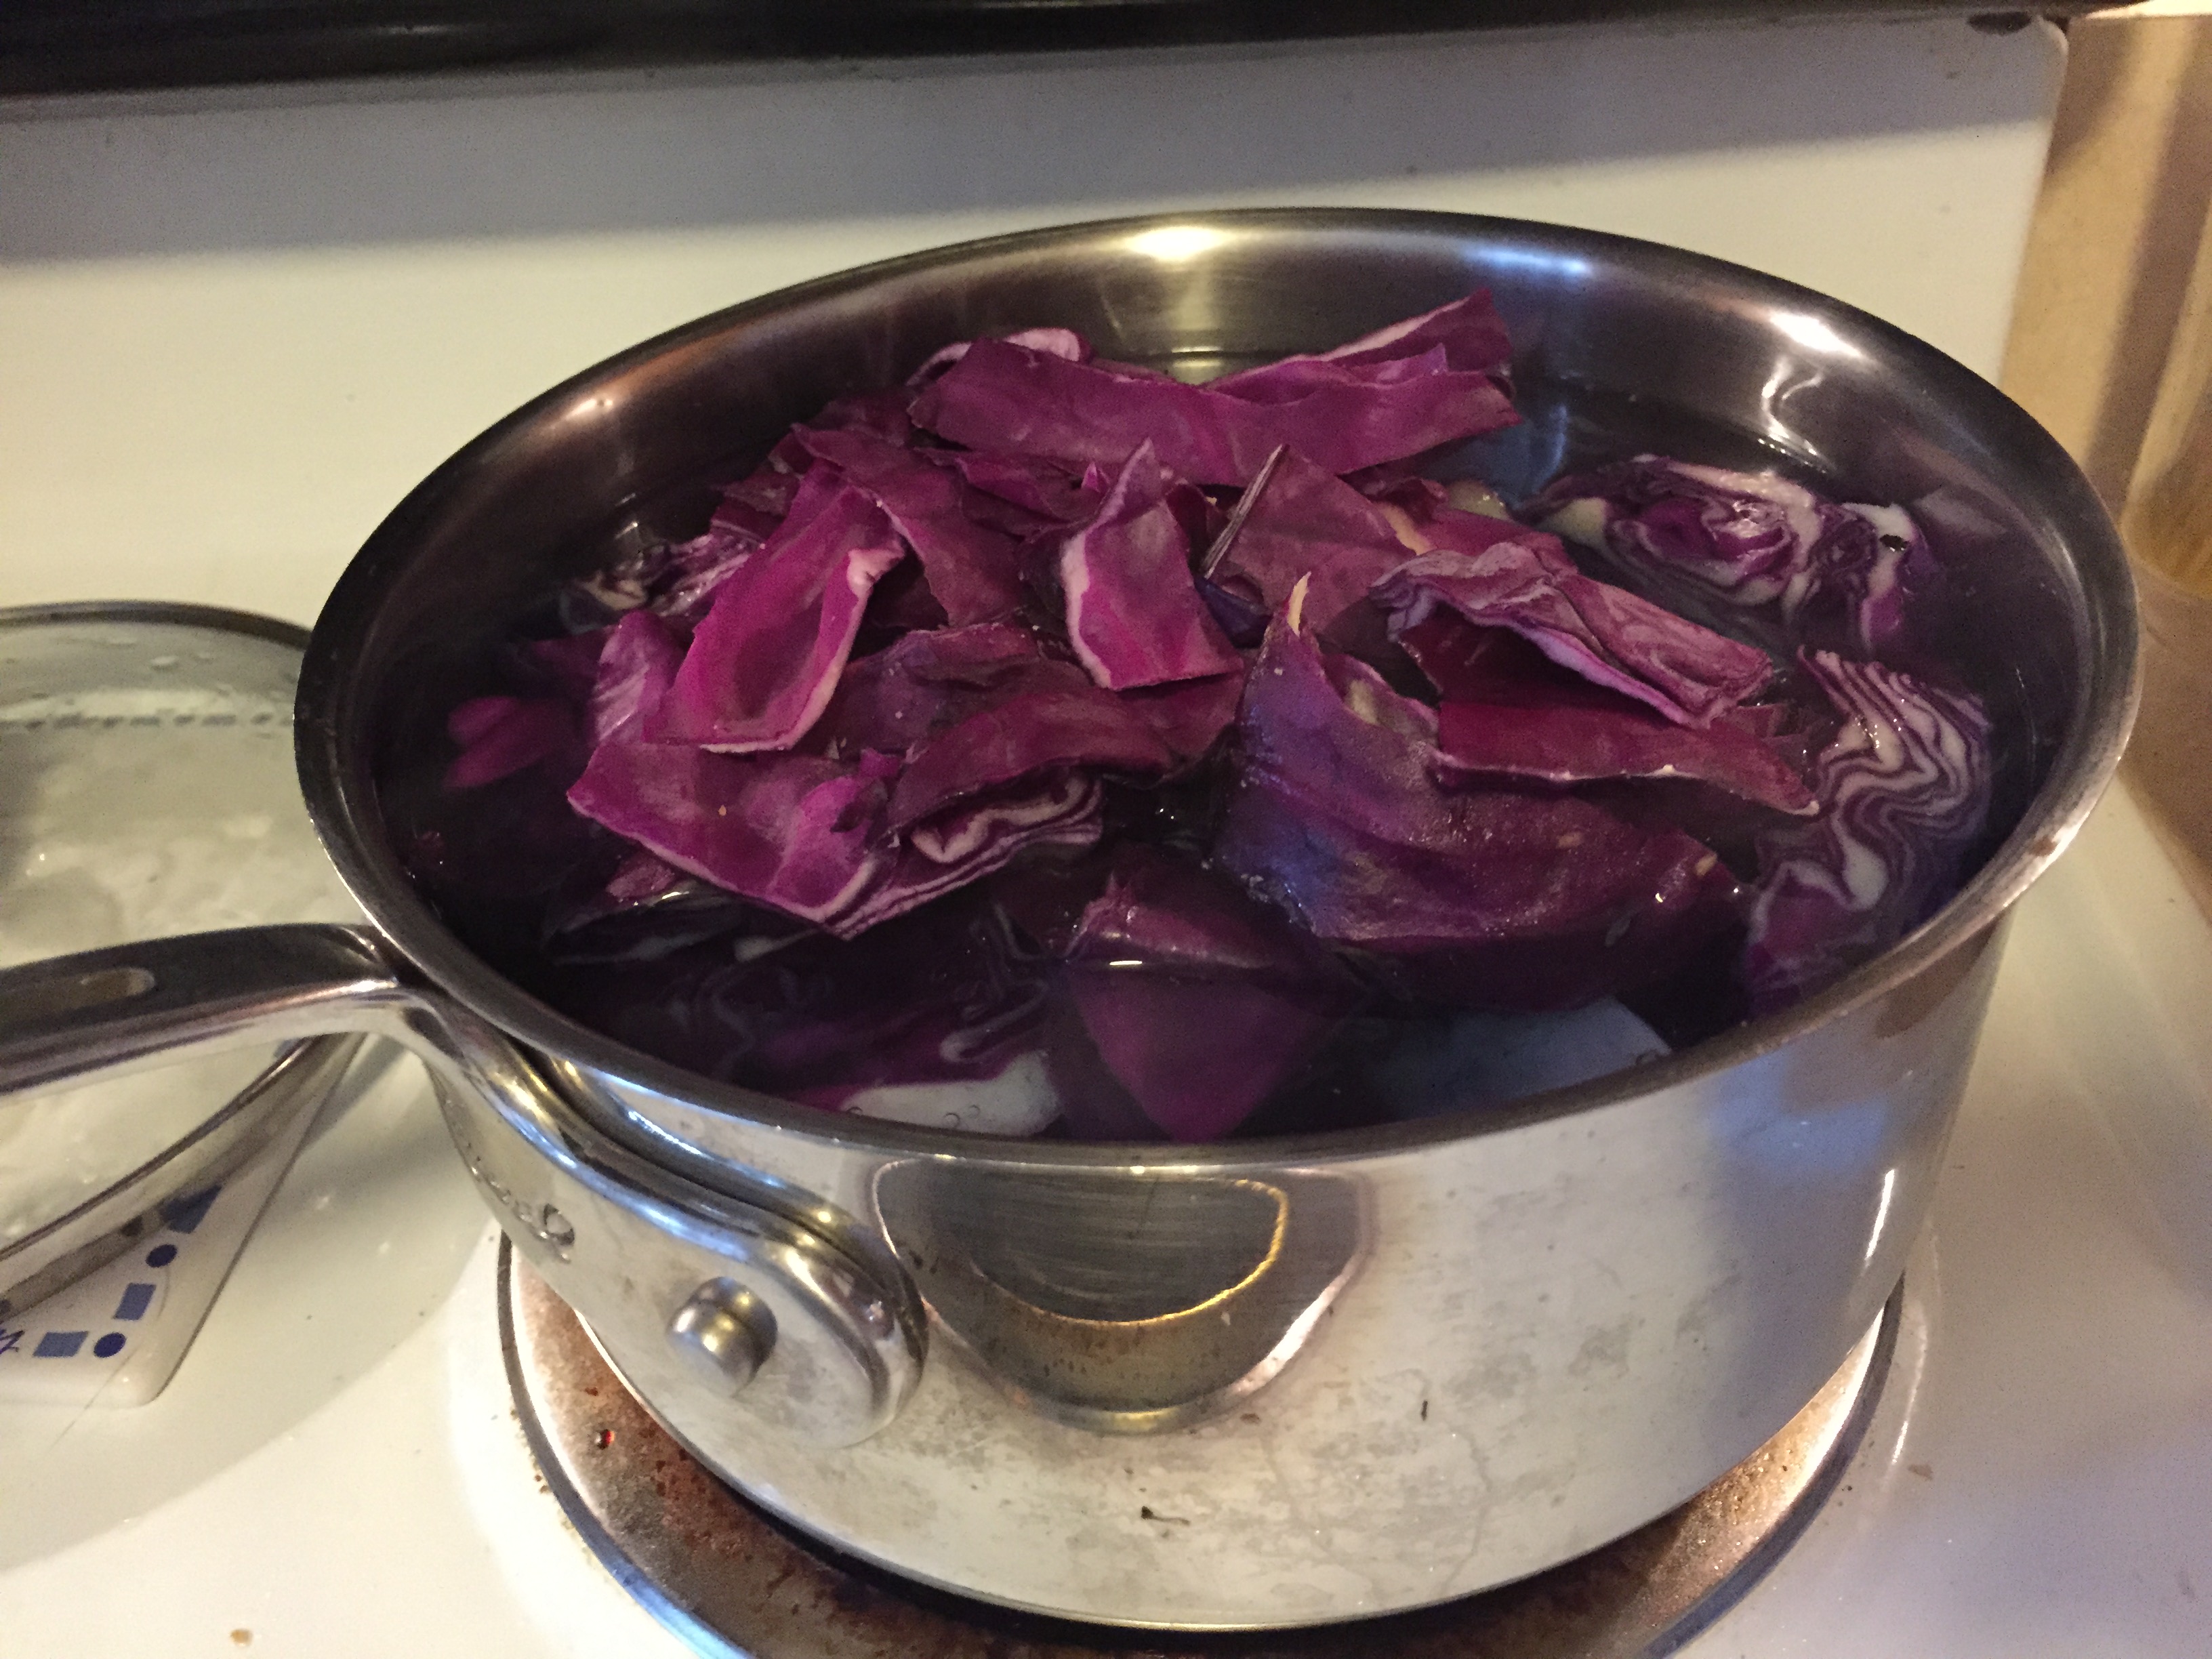
Red cabbage boiling on the stove
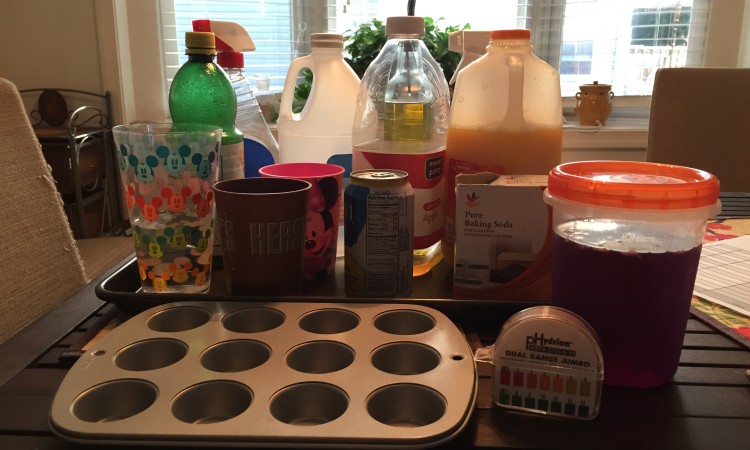
When we were ready to begin our experiment, I asked the kids to think about what type of liquids they would like to test for pH. They talked (argued) about what they would like to test and came up with 10-15 different liquids we could test, such as water, milk, glass cleaner, apple juice, and more. Along with the table of approximate pH values, I made a chart they could fill in over the course of our experiment. The chart had spaces for sample name, cabbage indicator color observation, cabbage indicator pH value, and pH paper value. Before we began to test our samples, I asked my son to predict whether the samples would be acids or bases.
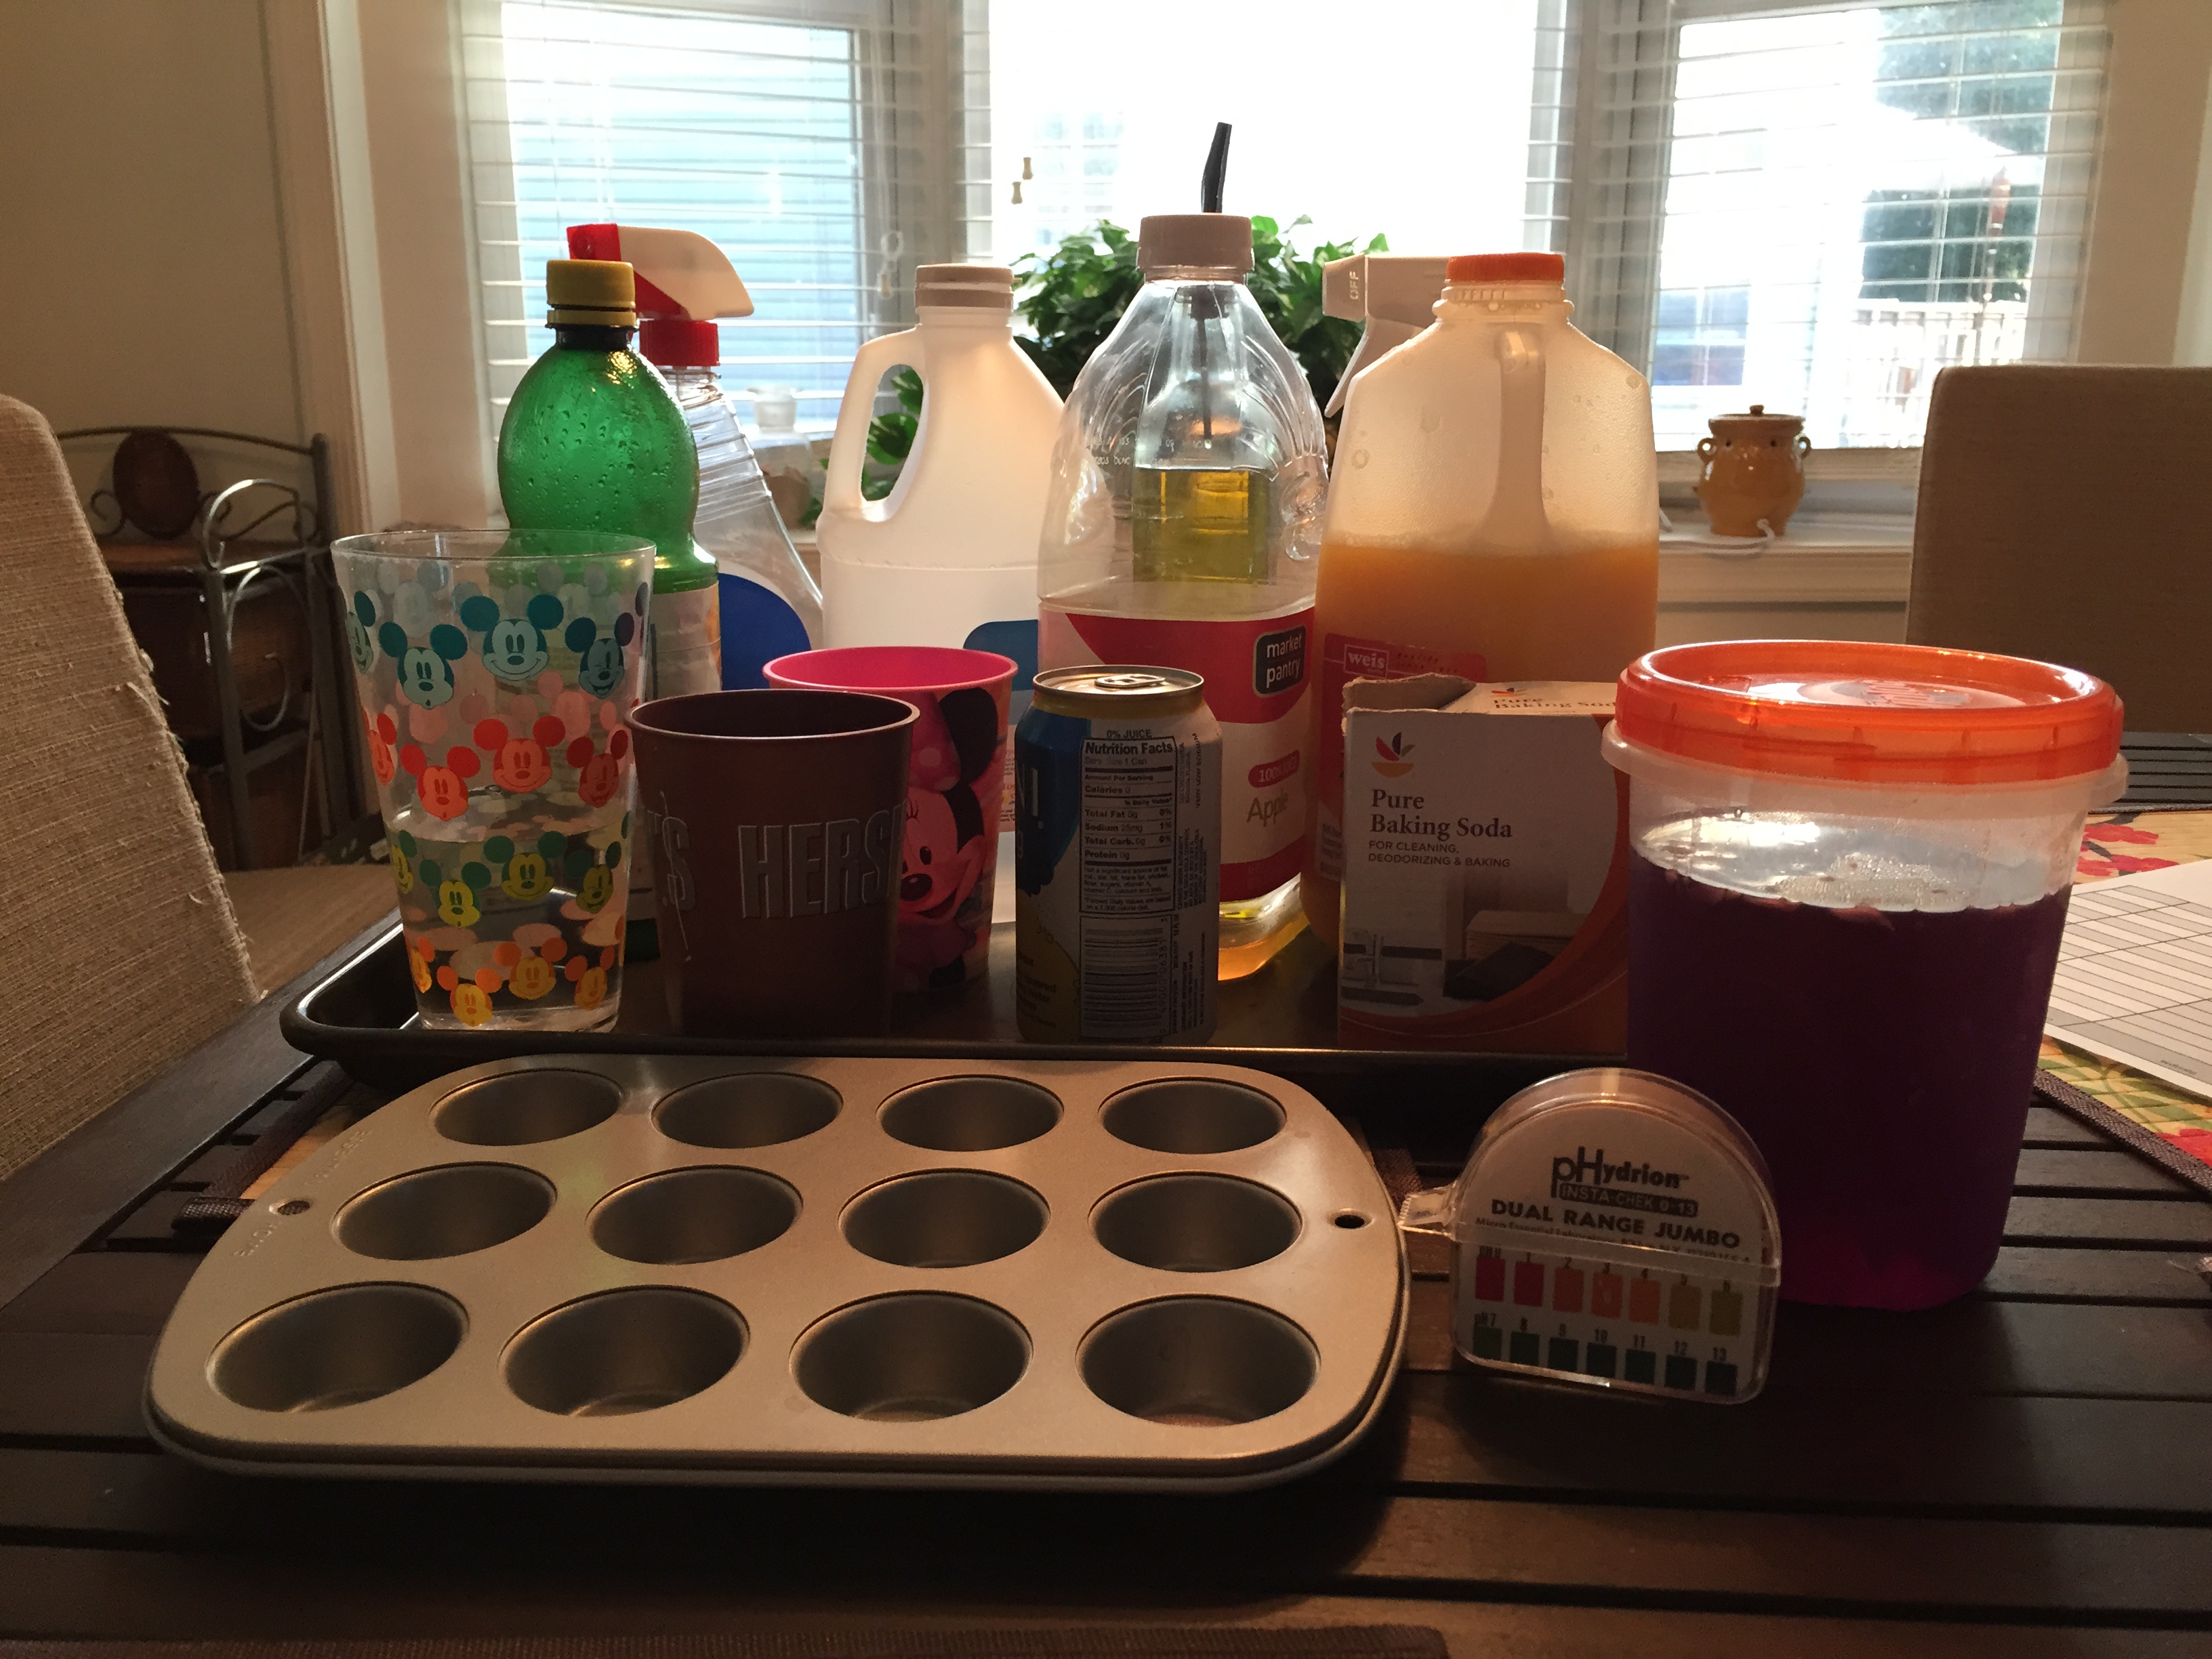
Our samples ready to be tested.
I filled the cups of a mini muffin pan about a third of the way with our test samples. The kids then took turns adding a transfer pipettes full of red cabbage indicator liquid to the samples and recorded their observations. Very dark liquids (such as soda or coffee) were difficult to observe a color change, but overall, this activity was successful and we were able to see very obvious changes of the red cabbage indicator. When all observations had been made, my son used the reference chart I made to assign an approximate pH value to the samples.
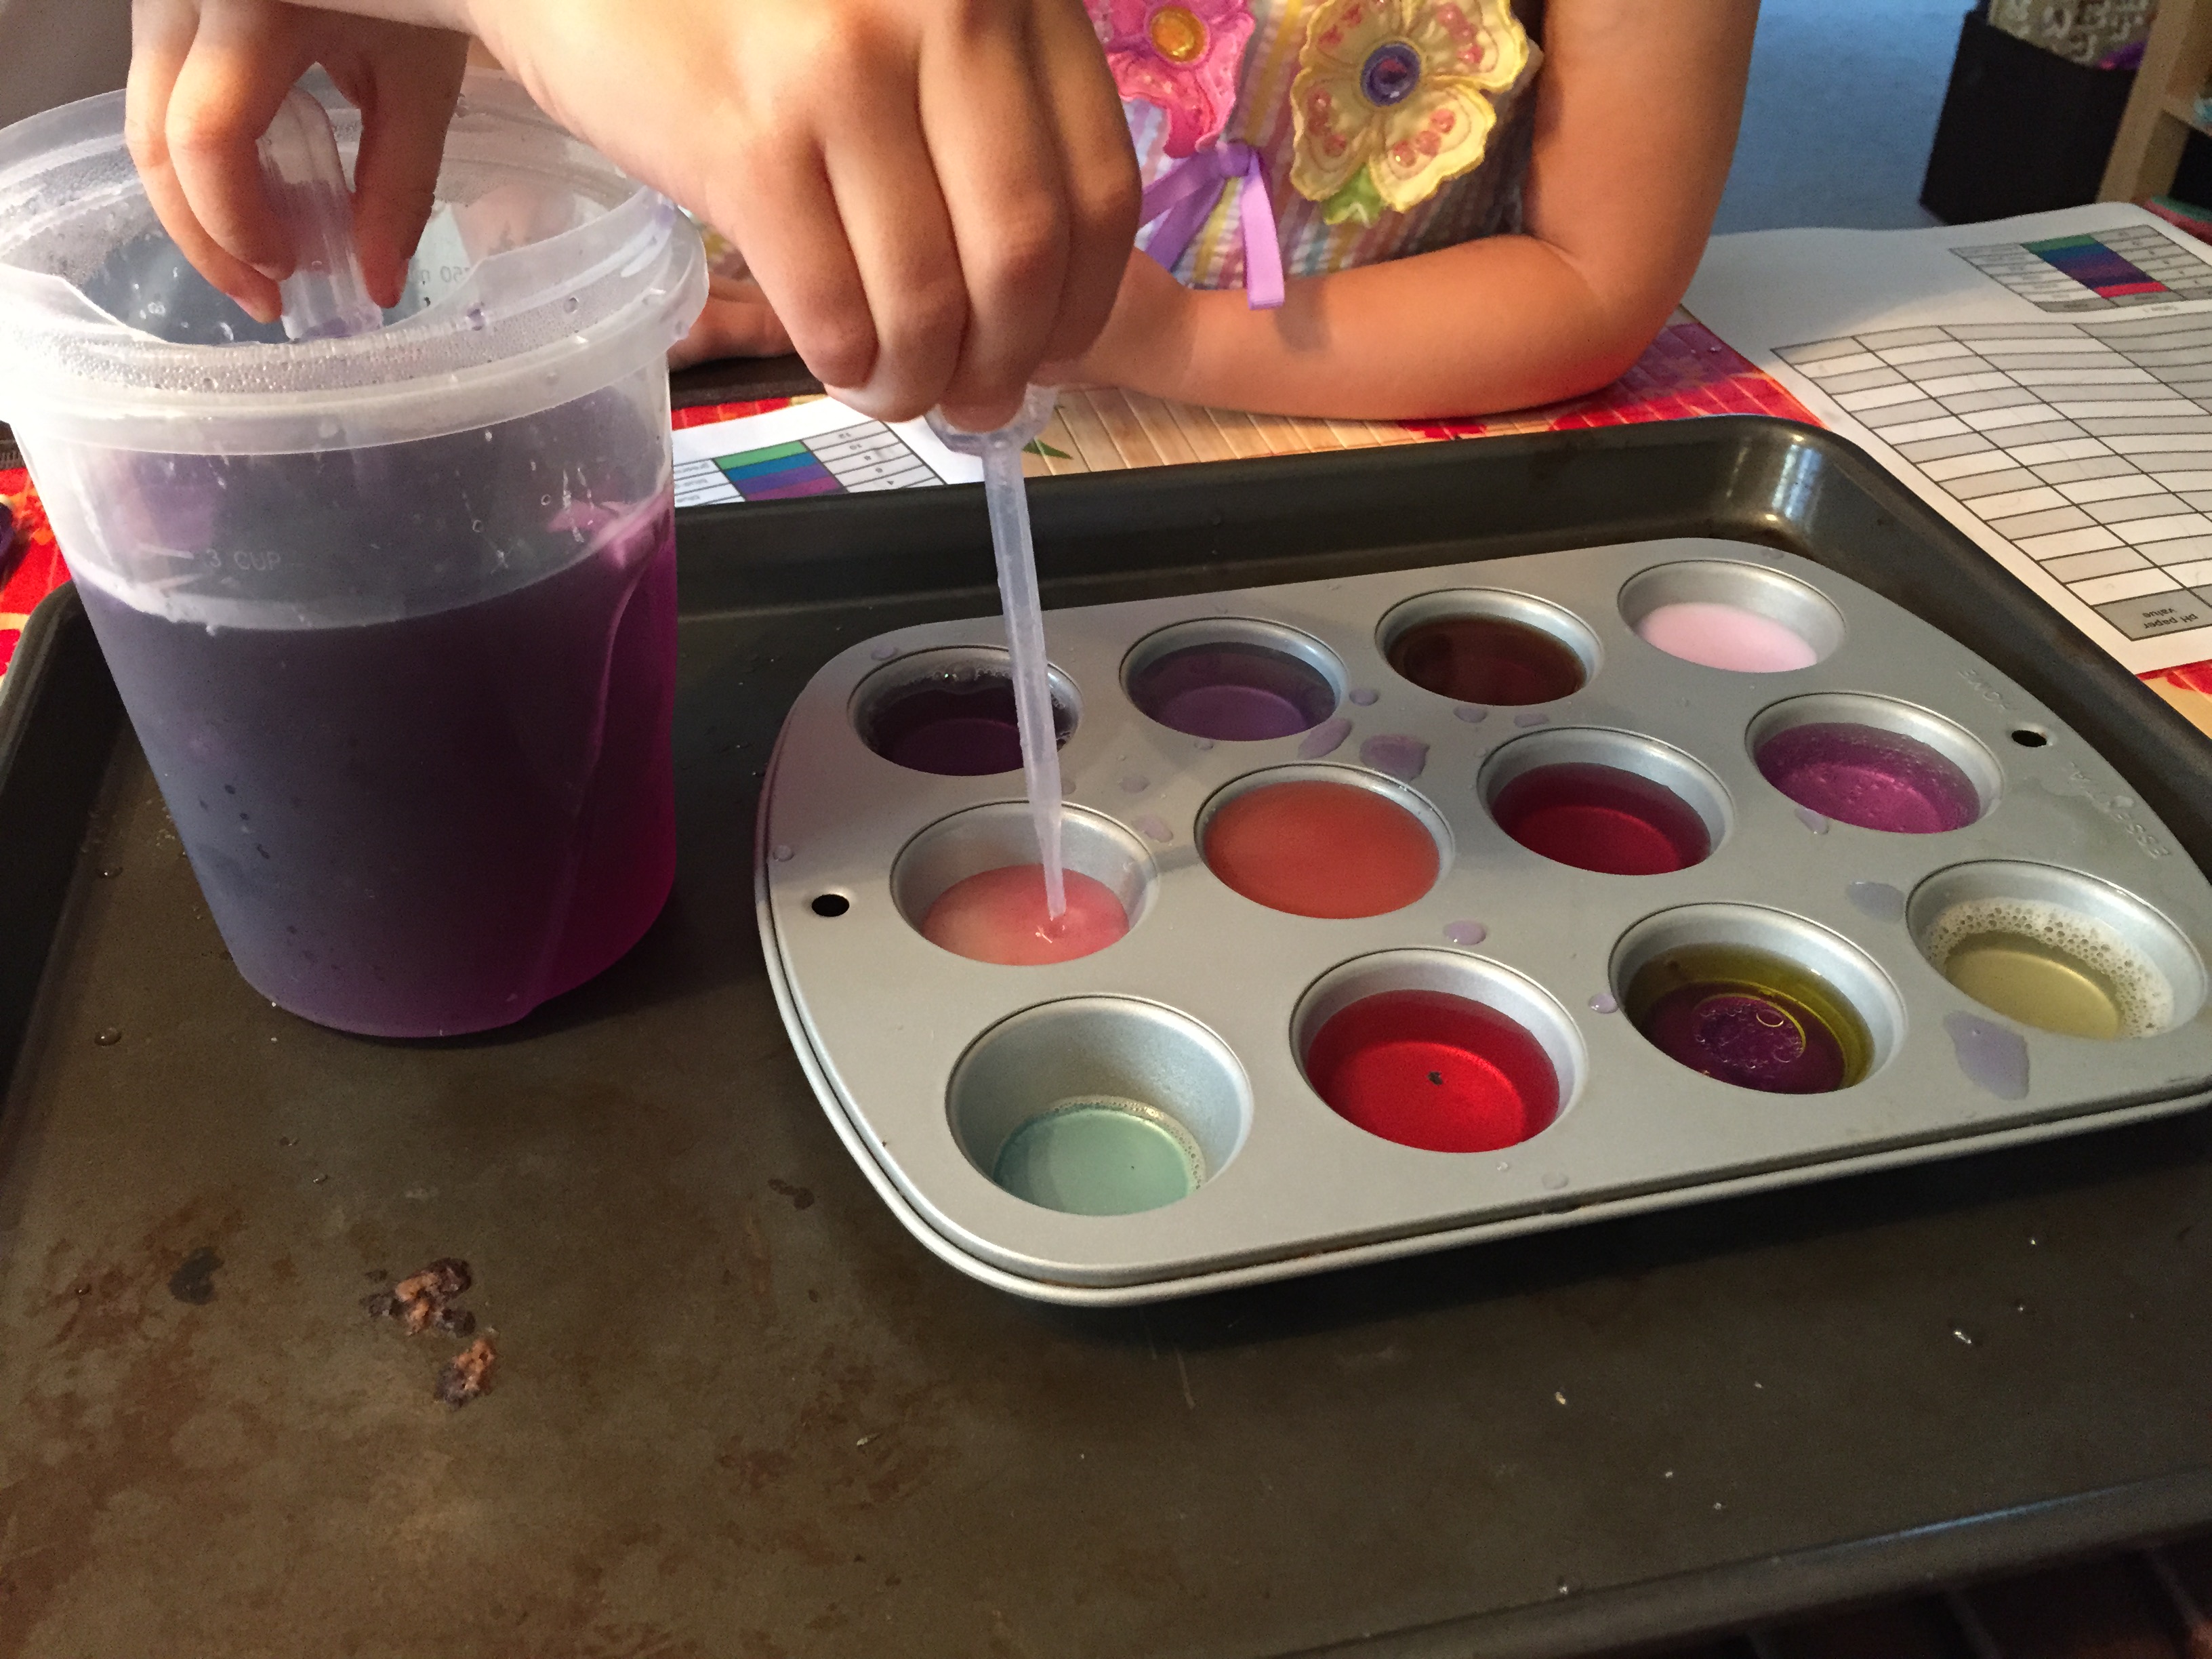
Adding red cabbage indicator to test samples

Our finished test samples
Click here to print your own copy of the Red Cabbage Indicator Table
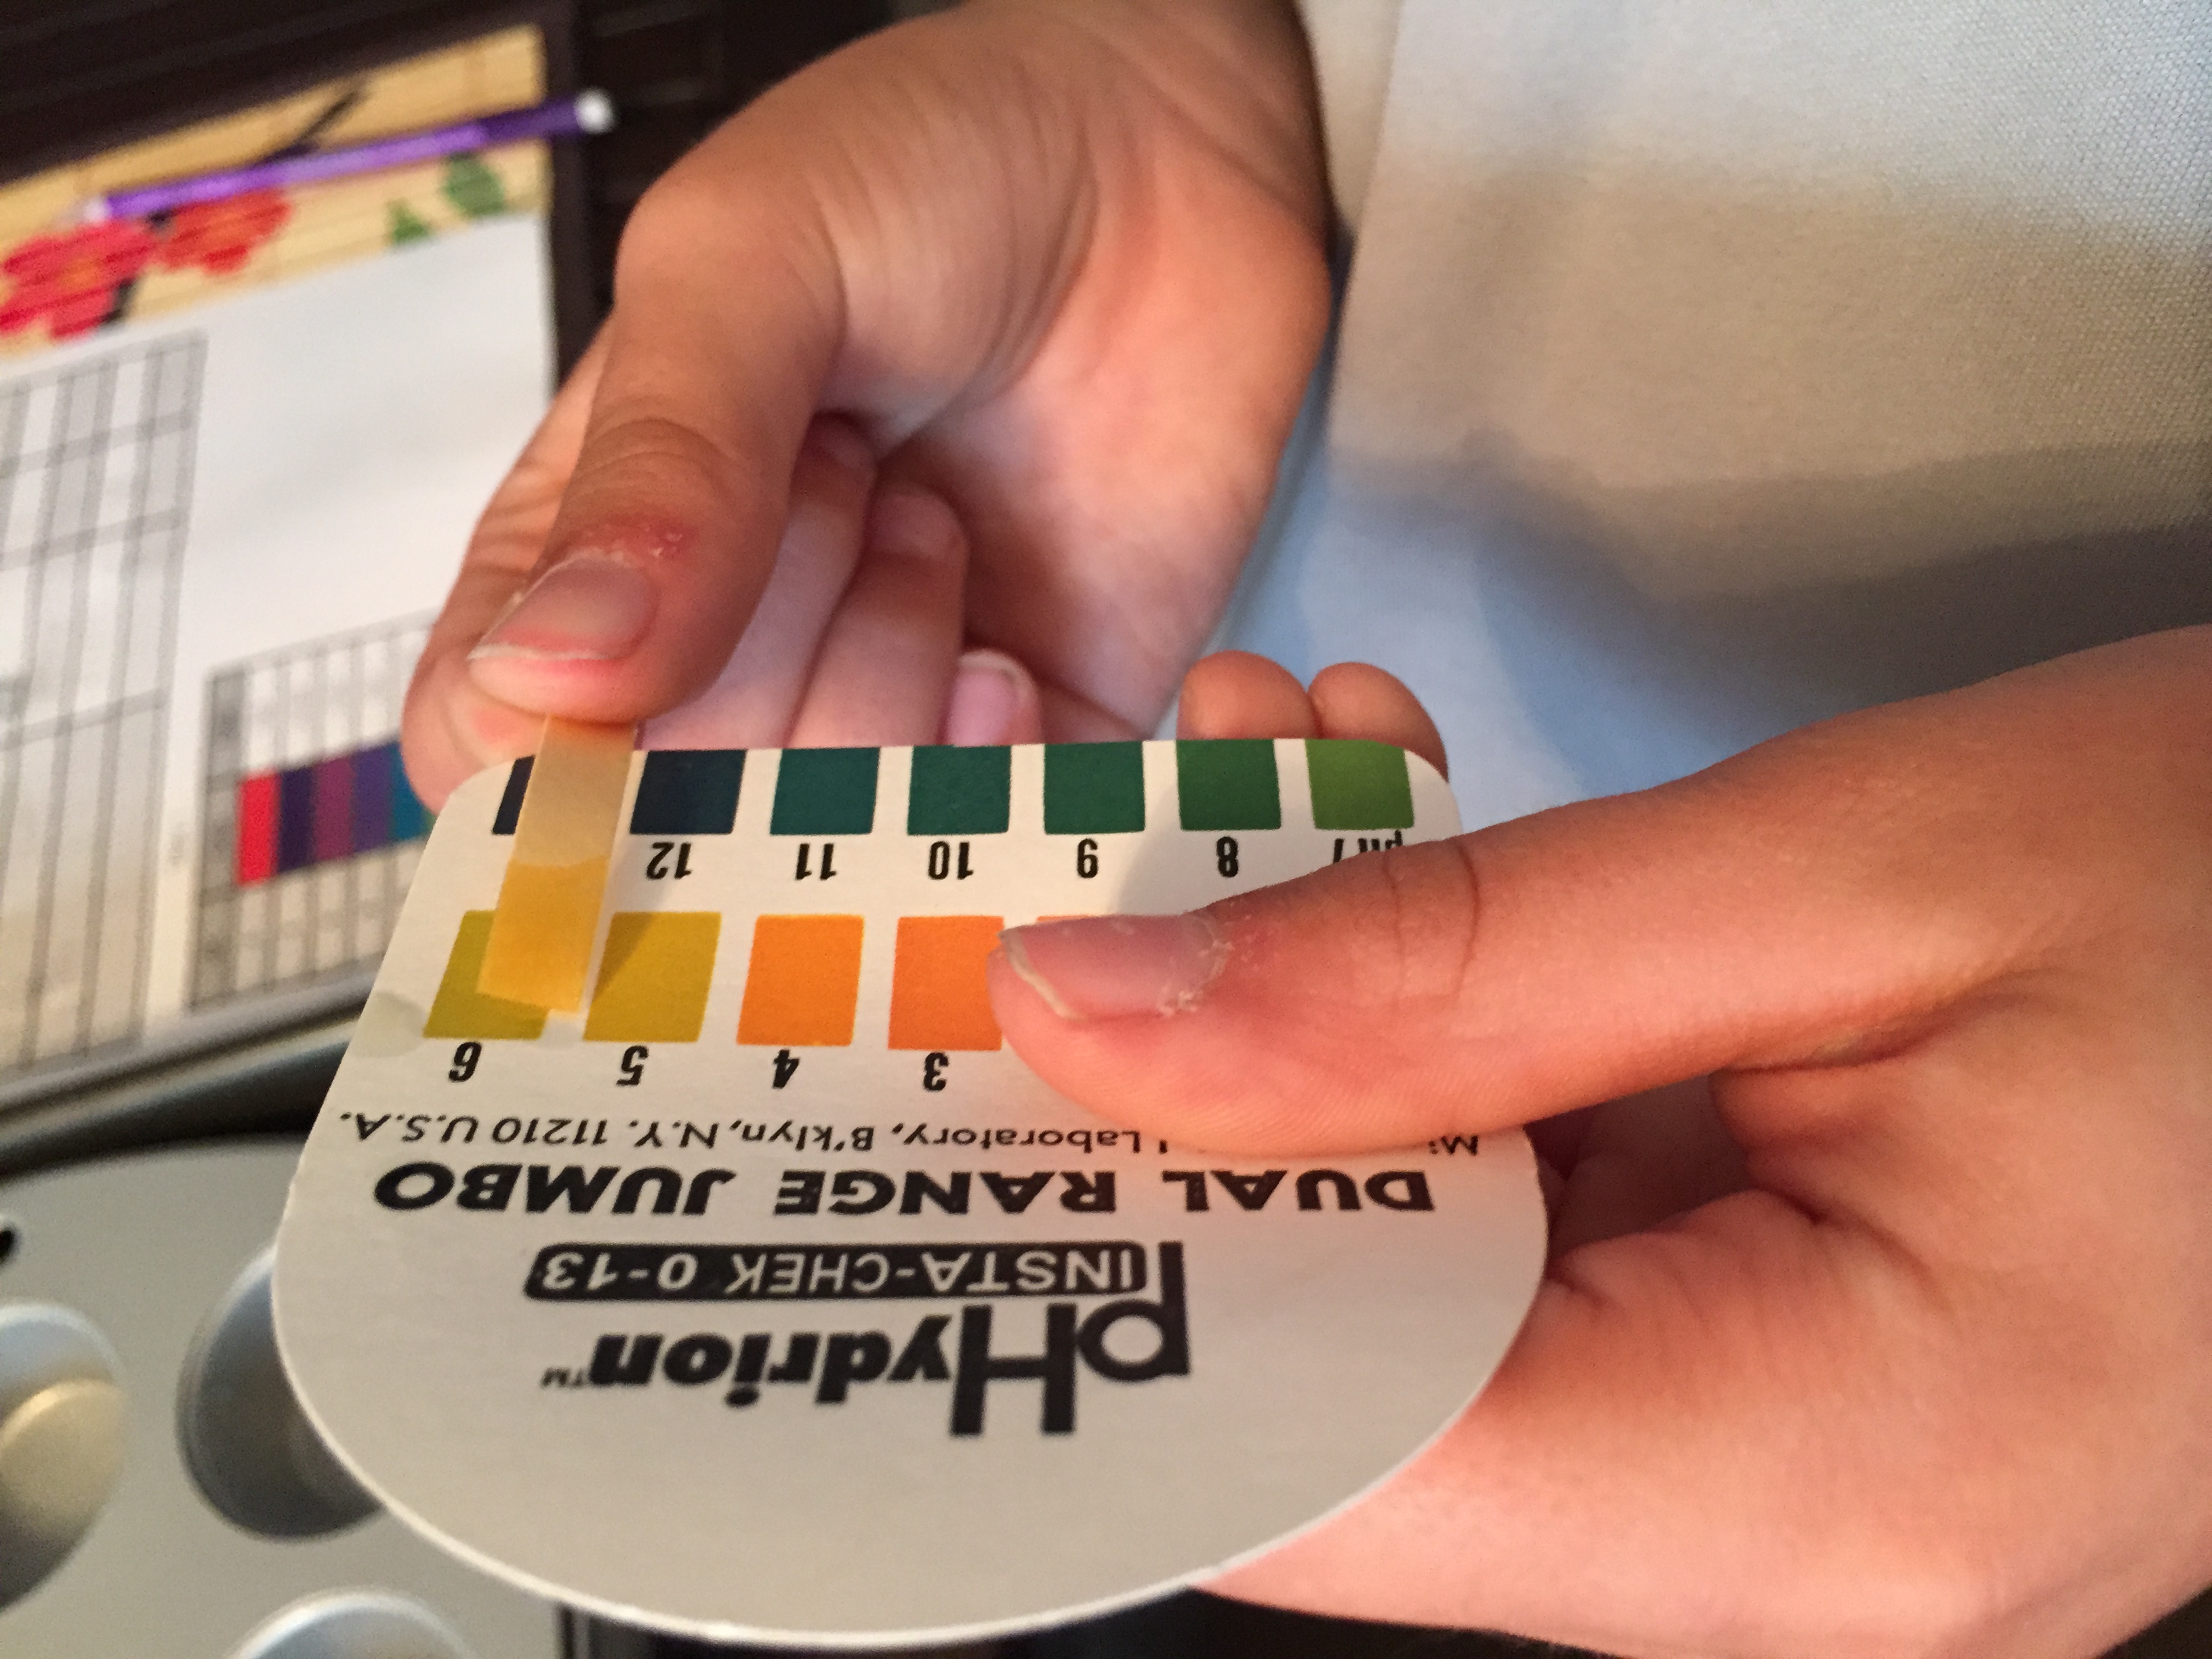
This experiment can end here, but as an extension we wondered how accurate the red cabbage indicator was of pH. I happened to have pH paper, so we were able to obtain a more exact pH value and compare with the observations we made with the red cabbage indicator. If you are interested in purchasing pH paper for your own experimenting, you can find some here: pH paper
I refilled our muffin pan with fresh sample to test with the pH paper. My son then dipped the pH paper in the samples and compared the color result to the color chart on the pH paper container. We finished up this project by filling in our experiment chart and discussing our results.
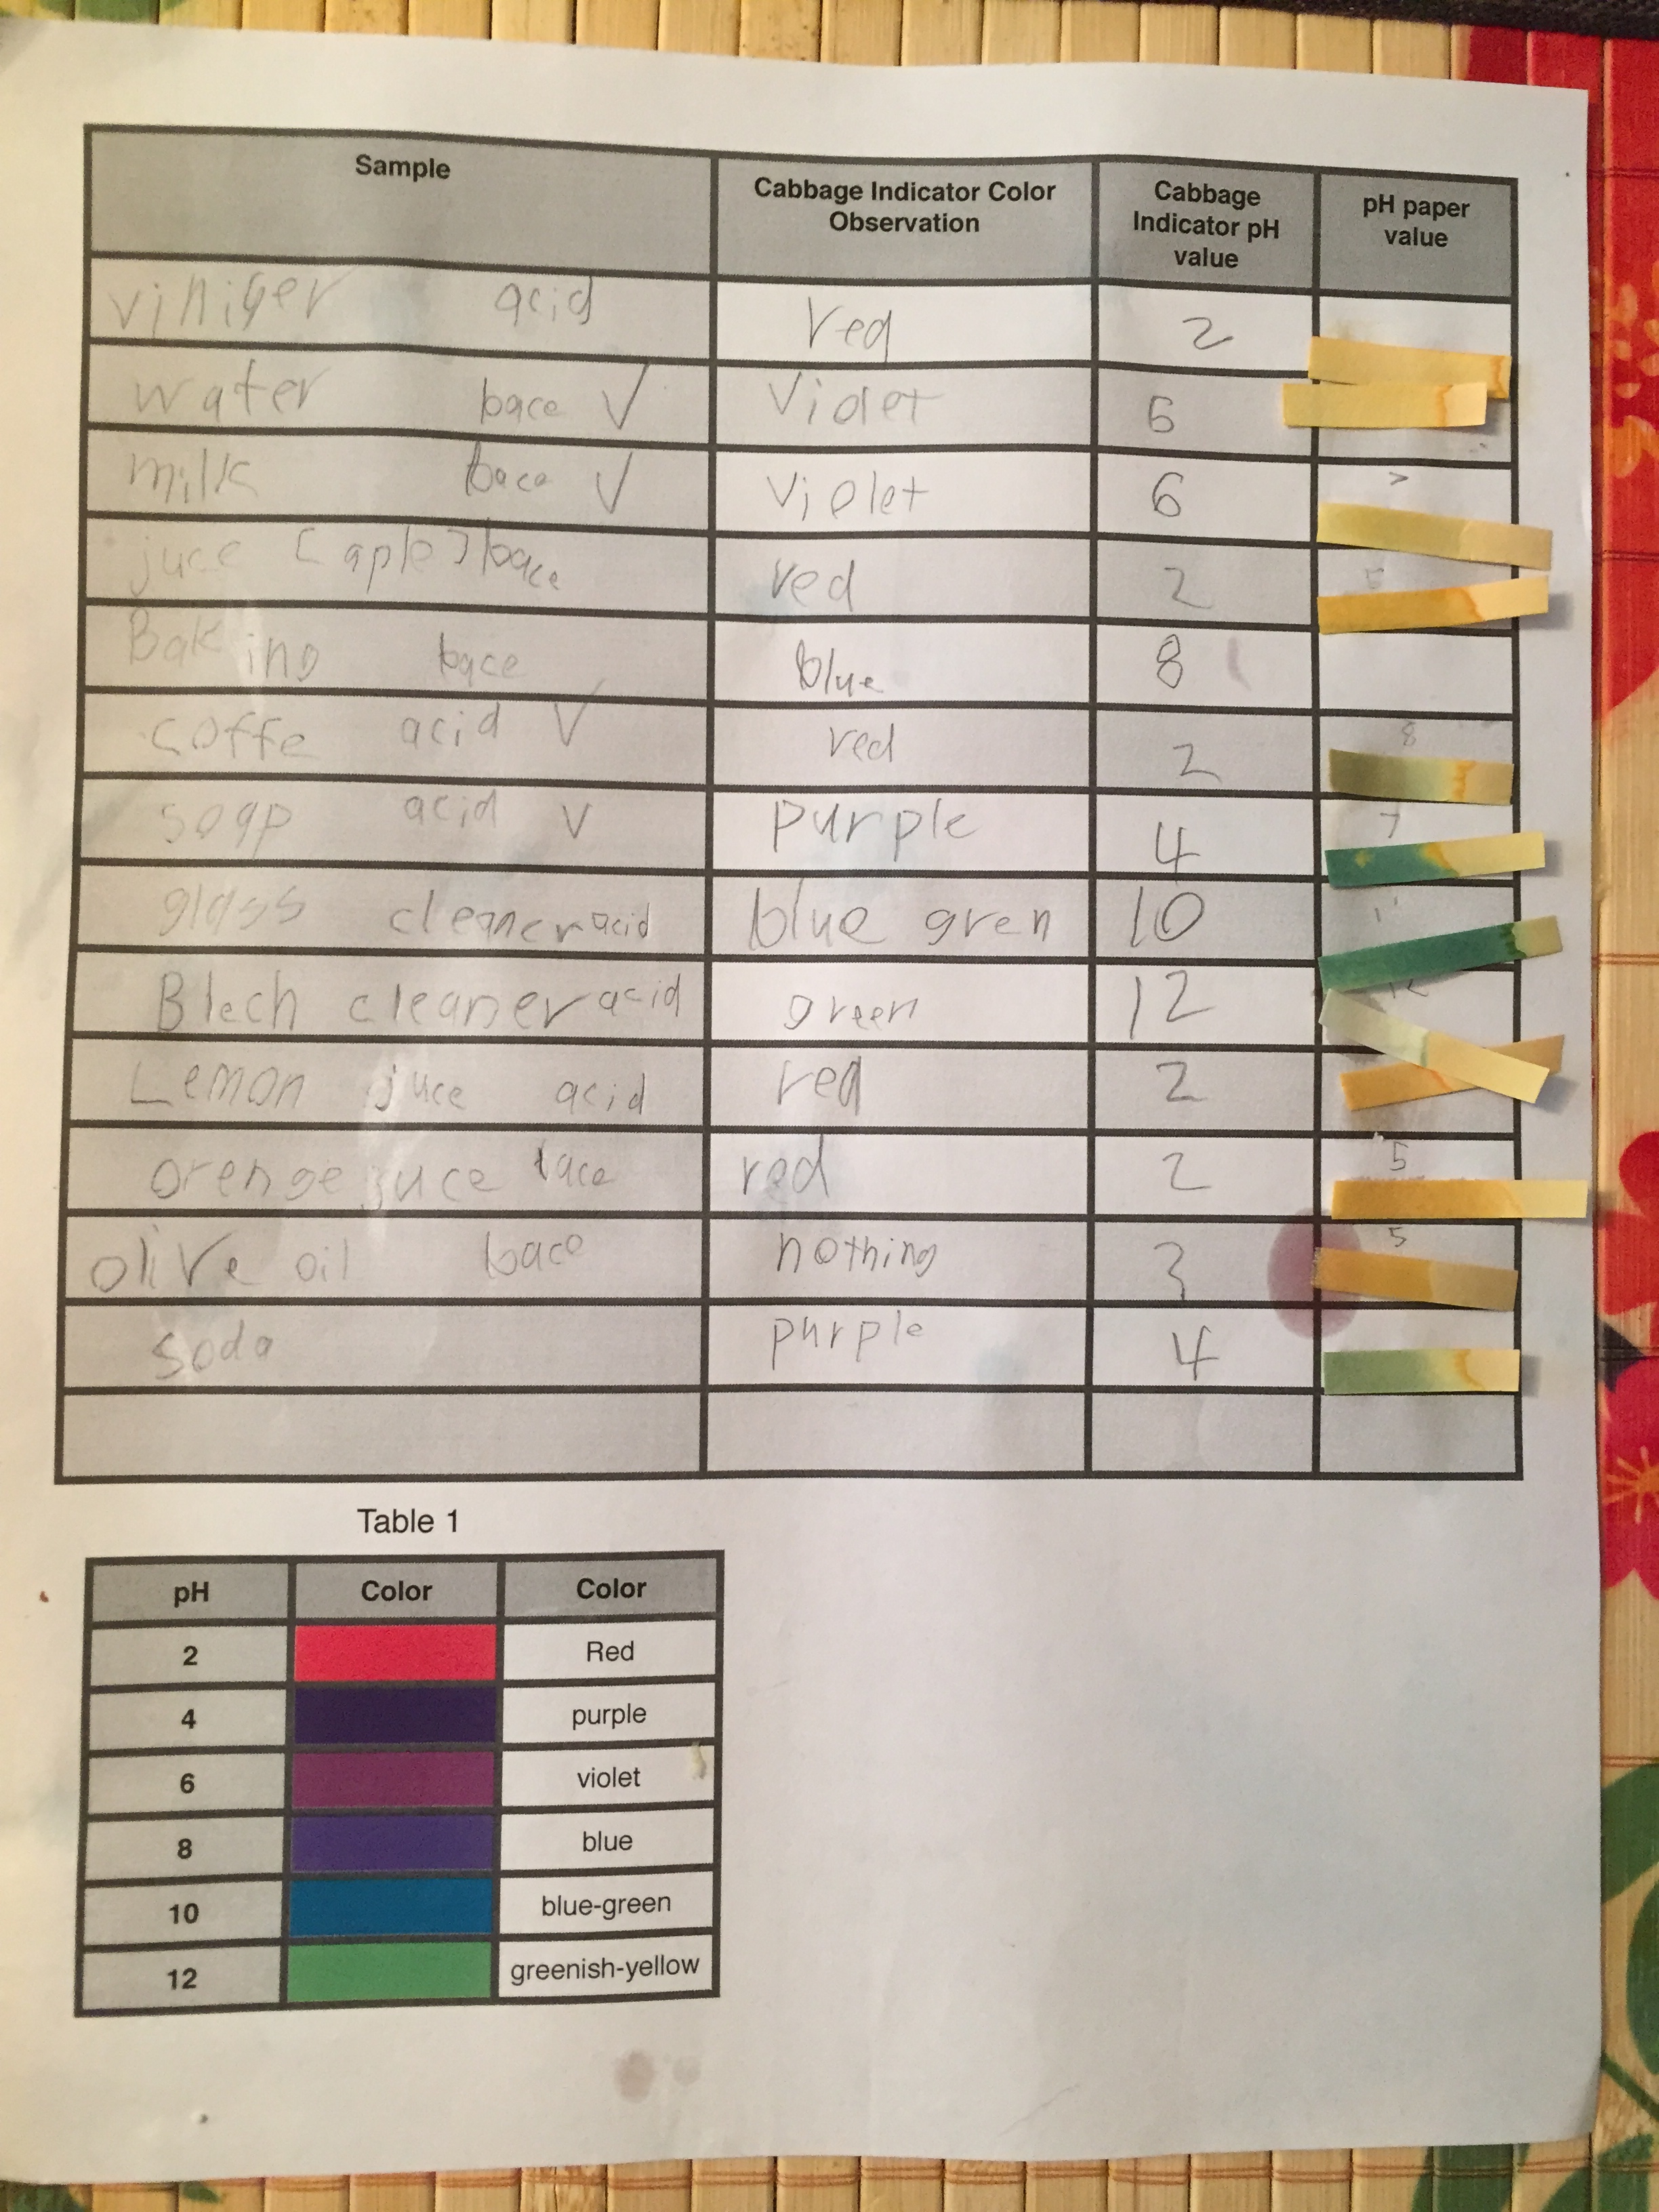
Completed table
Click here to print your own copy of the pH worksheet
We discussed whether his acid or base predictions were correct and whether red cabbage juice makes a good pH indicator compared to the pH values he observed with pH paper. We discussed which types of liquids gave us the best results with red cabbage juice and hypothesized about what they may have in common. We wondered if the temperature of the red cabbage juice would affect the outcome of this experiment.
This is a fun, easy experiment that you can do at home. My kids had a great time choosing their test samples and have already asked to try this experiment again. My son wants to try all the sodas and all the juices at the grocery store to see the pH range. That may be a bit out of scope for us, but it’s definitely great scientific thinking!
*This post contains affiliate links. I receive a small percentage of the Amazon sale at no extra cost to you.
This post is linked to Montessori Monday: