Ecosystems- How Living Things Connect

How much of an impact can one species make on its ecosystem? What would happen if that species became extinct or left the ecosystem?  These four books illustrate for your child just how important a species is to the other living things in its environment.  They can help answer those questions and possibly have your children looking at nature just a little differently!


The following books are perfect for a study on ecosystems, food chains, food webs, animals, or any nature study!


This post contains affiliate links.


Horseshoe Crabs and Shorebirds by Victoria Crenson

This story follows the lives of horseshoe crabs in the Delaware Bay.  When they lay their eggs on the sandy beach, the reader sees just how many birds depend on those eggs for sustenance!  Many types of birds compete for the eggs and fish in the shallow water find the eggs to eat.  This in turn helps other predators, a falcon grabs a smaller feasting bird and a blue heron caught a minnow attracted by the feast of eggs.  Even in death, the horseshoe crab is providing for others as gulls, mice, and flies eat its remains.  The reader can see how this species plays a huge part in the food web of the ocean ecosystem in which it belongs.  They are essential to the survival of migratory birds making a long trip to the Arctic.  The author ends by showing us the eggs that survived  hatching into new horseshoe crabs.  The circle of life continues.


A Log’s Life by Wendy Pfeffer

This story opens with lots of activity going on in an oak tree, from squirrels to slugs this tree is bustling with life!  Once lightning strikes, a huge log falls from the tree.  The log now becomes shelter for many insects, a porcupine, and a salamander.  Decaying material is eaten by insects.  Eventually, rot takes over and the tree become soil with the help of earthworms. An acorn falls, which a squirrel buries right in this new rich soil that was once the oak tree.


The Wolves are Back by Jean Craighead George

In 1926 all the wolves that lived in Yellowstone National Park were gone. In 1995, ten Canadian wolves were brought to the Yellowstone habitat.  With their return, we see how the delicate balance of the ecosystem is restored.   Through the author’s words, the reader sees how important the wolves are and how they directly and indirectly affect life at Yellowstone.  The book is beautifully written.  My attempt at a summary wouldn’t do it justice!  You have to read this one to see how artfully the author conveys the importance of these animals.


One Day in the Tropical Rainforest by Jean Craighead George

Written by the same author as The Wolves are Back, this is the only chapter book on my list.  While the book shows many aspects of the tropical rainforest ecosystem, there are clear examples of how one species affects the others in its environment.  One of my favorite parts of the book is the description of the sloth as “an apartment house”. Covered in algae and home to more than ninety creatures, a sloth is an ecosystem of its own!  If you like this book, there are more in the series.


My Secret Weapon to Teach Early Math Skills

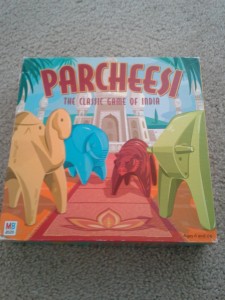
If you are teaching your young one early math skills, maybe you should head to the toy store!  My secret weapon for teaching kids skills such as one to one correspondence, counting, subitizing, doubling, and adding is Parcheesi!


Disclosure: This post contains affiliate links.If you make a purchase from Amazon, I receive a very small fee at no extra cost to you.


Empowering Parents to Teach- Parcheesi


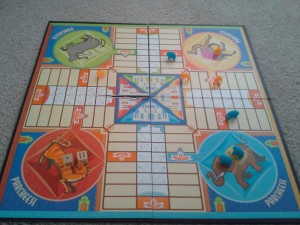
First of all, if you are unfamiliar with the game, I will very briefly describe how the game is played.  Your four pawns are at home, where you wait until you roll a five or a two dice combination of five to enter the board. The game uses two dice to indicate your spaces to move.  You can add the dice together to move one pawn or let two pawns share the dice combinations.  You have to go all the way around the board and get all four pawns to your home to win.  Along the way, you can block players and capture players.  It’s a great strategy game!


Empowering Parents to Teach- Parcheesi


How does Parcheesi help with all of the math skills mentioned?  Let me explain.


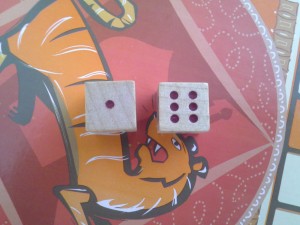
Counting:  When the child rolls the dice s/he can count the dots on each die to figure out the value of each one.  Your child can point to the dots while counting. This gives your child a concrete way of practicing counting with an authentic purpose (to see how far to move).


With enough practice, s/he may begin to recognize that three dots is “3” without even having to count the dots.  S/he is subitizing, or recognizing a number quantity quickly without the need to count.  With enough hands on practice counting, s/he will begin to do this automatically.  By playing this game your child is getting a lot of practice counting and subitizing.


Adding:  Since this is a game that allows two dice to be added together to determine the number of spaces to be moved, your child is also practicing adding.  With the help of the dots, your child has a visual representation of the numbers in which to count.  The more practice your child has with objects they can point to and add together (the dots), they will naturally begin to remember some of these math facts and also create a visual representation of number quantities which they will use to figure out new problems.


Empowering Parents to Teach- Parcheesi


One to One Correspondence: This skill is practiced in two ways. First, when your child counts the dots on the dice, s/he should only count each dot once.  For example, if your child rolled a six and counts one the of dots more than once, s/he may incorrectly say there are seven dots.  Encourage your child to count again making sure s/he doesn’t count any dots more than once. With sufficient experience your child will become very good at counting each dot only once.  S/he will likely figure out a strategy that works for him or her to keep track of which dots s/he already counted to avoid over or under counting.


Another way your child is practicing one to one correspondence is when s/he moves their pawn.  Your child can advance one space per number. So, if s/he rolled a six, s/he can only move six spaces.  Young kids may skip spaces or count faster than they move.  Encourage your child to count slowly and move the pawn as she counts.  Sometimes it helps if you, the parent, point with your finger to the next space so your child doesn’t skip spaces. With enough help and practice, your child will learn to move one space per number rolled.


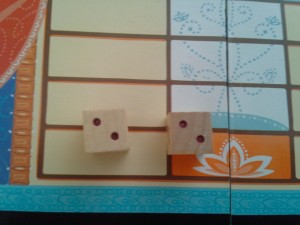
Doubles:  When your are working with two dice there is the chance that you roll two of the same number. You can introduce the term, “doubles”.  For example, if your child rolled two twos, you can explain that two of the same number is called “doubles”, so s/he just rolled double twos!  Not only are you introducing a new term, but you are also building a beginning foundation for multiplication. 

Eventually, your child will commit the these facts to memory.  Having double facts in their memory banks gives them a reference point when figuring out new facts. For example, if your child knows that 5+5=10,  s/he can can use that knowledge plus pattern recognition to quickly figure out that 5+6=11. 


Doubles


Truthfully, there are many games that can also help your child practice these skills.  Any game that has a board with individual spaces and uses dice can do this!  I like Parcheesi because it tends to be a little longer in terms of play time, giving more practice! My kids also love that they can capture me and send me back to home, keeping them motivated and excited to play.  So next time your child complains about math homework, maybe taking a game break might help :)


To purchase Parcheesi on Amazon:


Empowering Parents To Teach- DIY Printables

DIY Printables For Coloring

There are many playful ways to strengthen a child’s fingers for writing–  opening clothespins, mashing play-doh, squeezing a glue bottle, cutting with scissors, and building with Legos to name just a few.  Even with all of this, sometimes kids still struggle with taking command of a writing utensil and forming their letters when the time comes.  You may want to increase the type of activities that require your child to use a pencil, crayon, marker, or pen as your child gets older to provide more practice.


Empowering Parents to Teach- DIY Printables


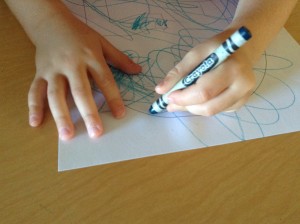
Coloring is obviously a great fine motor activity because it requires the child to hold a pencil, crayon, marker, or colored pencil and control their movements to the best of their ability.  If your child resists practicing writing their letters (been there!), try encouraging your child to color them instead.  The best part of all, you can easily create your own coloring pages with letters, numbers, words, or sentences!


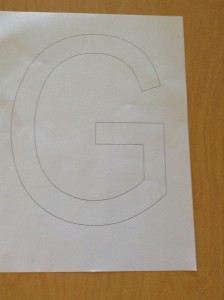
It takes time, practice, and developmental ability to move from writing and coloring with big movements down to small ones.  Typically, the younger a child is the bigger you want to make the letter or words. You can gradually make the open space smaller as the child’s writing and coloring matures.  However, if you have a little one that totally rocks at handwriting and coloring, make the opening space small for them. Or, if you have a big kid that struggles with coloring, keep the opening a little larger.  That’s the beauty of making your own pages, you can make it to suit your child’s needs!


Here’s how to do it:

  • Go to Microsoft Word
  • Click “insert” tab
  • Click on Word Art
  • Select the first type of word art
  • Type anything you want- letters, numbers, words, sentences
  • Choose your font
  • Drag the text box to the desired size
  • Print it out


Things to make:

Letters

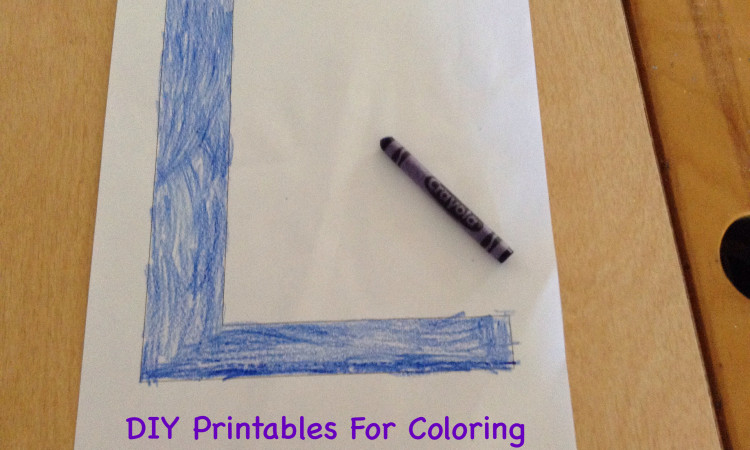
This example has one letter taking up the whole page.  This would be good for young ones still learning to control a crayon.  You can make it smaller if needed.


Empwering Parents To Teach- DIY Printables


Numbers

Empowering Parents to Teach- DIY Printables


Sight words or Spelling list words

Display the sight words on a word wall!

Empowering Parents to Teach- DIY Printables


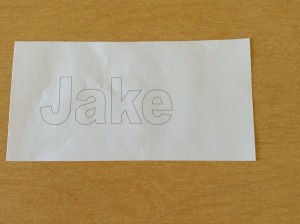
Child’s Name

Empowering Parents To Teach- DIY Printables


Sentence or Journal Page

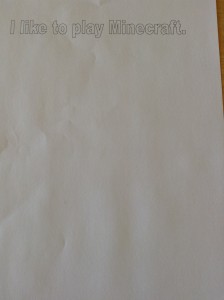
Your child can color in the sentence and then illustrate it!  If they are old enough, you can even teach them how to make to sentences in Word Art.  In this example, the open space is a lot smaller.  Older kids or young ones with good control would find this a better fit.


Empowering Parents to Teach- DIY Printables


You can use this for so many things and you can adjust the pages to your child’s ability! The possibilities are endless :)


This post is linked to:

Montessori Monday

Our Homeschool Room 2014-2015

This is our very first year for home school!  My oldest is nine and entering fourth grade.  My youngest is four and attends preschool three mornings a week.  That means I have a couple of hours every other day, where it’s  just me and the big man.  Little man will be with us most of the time :)

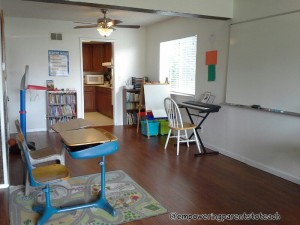
Here’s the room from different angles:
Empowering Parents to Teach- Schoolroom 2014-2015

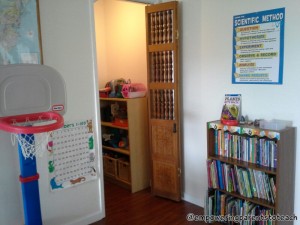
The school room (which was formerly our playroom)
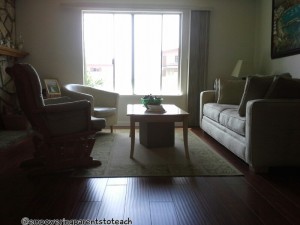


The living room is part of the schoolroom
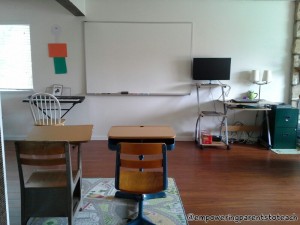
The living room is part of the schoolroom


Empowering Parents to Teach- Schoolroom 2014-2015

I have to figure out how to hide all of those wires behind the desk!
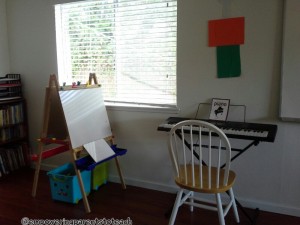
 

Empowering Parents to Teach- School room 2014-2015


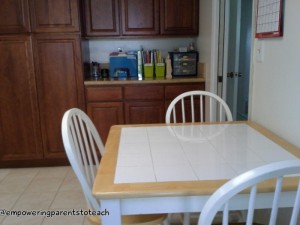
Our kitchen will likely be another place that we work!

Our kitchen will likely be another place that we work!


Organization was number one

The majority of our room set-up is focused on my oldest son’s needs.  I wanted things to have a place so that he knows where everything goes allowing him to get the things he needs and put things away by himself.  Having supplies easily accessible makes him more independent and frees me to focus on bigger things than finding supplies! This took a lot of thought as to what items were essential so that I can have those things ready to go. I had to imagine what a day might look like and what needs may arise.


Lack of clutter was my second goal

 It was very important to me that the room was not too “busy” and overrun with stuff.  I really believe that a cluttered room breeds a cluttered mind!  Don’t get me wrong, the room will get messy, used, and probably look like it is in shambles as we work, but as a starting point, I wanted the room to be a blank slate ready to be decorated with learning!


To achieve this I did a couple of things:

1. I have tons of stuff from my teaching days so I sorted through everything and determined what I may use this year and what I thought would not be used. The books, materials, and resources that I wanted available for this year were then organized by how often I thought we would use them.  Only things that we need on a daily basis needed to be in sight, the rest got put away in a closed cabinet.  That way it did not take up visual space but was put away in a place that made it easy to find!


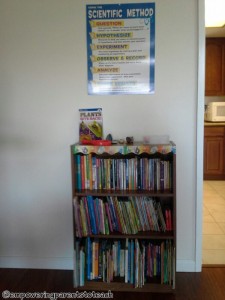
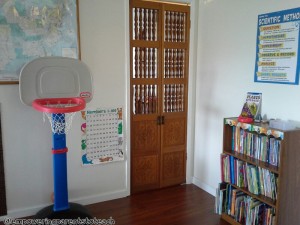
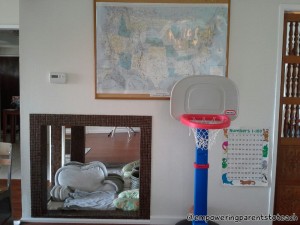
2.  I purposefully did not but a bunch of stuff on the walls.  Currently, I have two posters at different heights, a US map, and one art project that my four year did. The posters I have hanging are a 100 chart for my preschooler and the scientific method chart for my oldest to use as a reference. The 100 chart will stay for a while (it’s been hanging in our house since little man was 2). The scientific method poster will only be there as needed. I know things will be added as we begin school, but I plan not to overload the wall space.


3.  The teacher desk that I found is small and very open.  I got this desk because it is not big and bulky taking up too much visual space. Although, all of the wires hanging down is driving me nuts.  I have to remedy that, suggestions are welcome :)


Comfort was important  

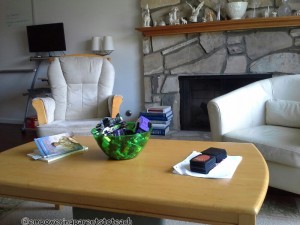
The most important thing about home school is you get to be at home where you live as a family!  The room should have all the comforts of home, not a sterile hospital like environment.  I love that our school room in located in the family room because my oldest LOVES sitting in the rocking chair and reading his books. Now he can do that whenever he wants!  We can sit on the couch to read or sit at our coffee table to learn math if we wanted to!  Our new room has the best of both worlds.  My son has a place to sit and focus at a desk or find a soft place to sit and spread out depending on what it is needed.  There is also a lot of floor space for puzzles, posters, or playing.


Putting all three of these things together resulted in this


Books, papers, science, and guided reading tools

The everyday materials:
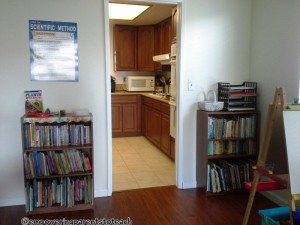
Empowering Parents to Teach- Schoolroom 2014-2015


Paper trays organized by paper type (lined paper, construction paper/colored paper, editing checklists, scrap paper & tracing paper)
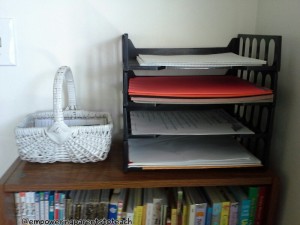


Empowering Parents to Teach- Schoolroom 2014-2015


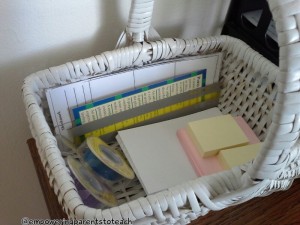
Guided reading materials in the white basket (highlighter tape, thinkmarks, post-its, index cards,etc.)


Empowering Parents to Teach- Schoolroom 2014-2015


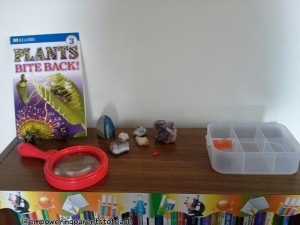
Current science topic materials


Empowering Parents to Teach- Schoolroom 2014-2015


Some of our rocks and gems have been here forever.  They will be moved as we explore different topics, changing this display regularly.  We are in the process of collecting seeds for our plant study coming up.  It will be used to study different characteristics of seeds and how they are dispersed. So for now, this is a work in progress :)


Empowering Parents to Teach- Schoolroom 2014-2015


See this closed door in our school room?  It is the area under the stairs that we use for toy storage. Now, I’ve added some teaching supplies too.  This is where I store some of the things that don’t need to be used everyday.
 

Empowering Parents to Teach- Schoolroom 2014-2015


Empowering Parents to Teach- Schoolroom 2014-2015

Opens up to storage!


Here’s what’s inside:

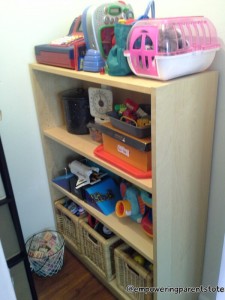
Toys that can also be used for learning or keeping a preschooler occupied!
 

Empowering Parents to Teach- Schoolroom 2014-2015


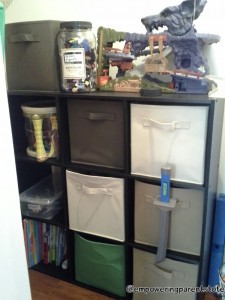
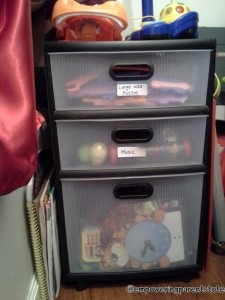
In the bins pictured below are puzzles, cars, play weapons (I have boys), card games, flashcards, foam letters, and small building toys. There are plastic animals on one shelf and activity books and coloring books on the bottom.
 

Empowering Parents to Teach- Schoolroom 2014-2015

The next wall has my organizer that holds our large USA puzzle, musical instruments, and math manipulatives.
 Empowering Parents to Teach- Schoolroom 2014-2015


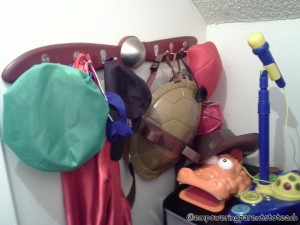
On the wall by the black organizer is some of our up dress clothes!
 

Empowering Parents to Teach- Schoolroom 2014-2015


I love having our toys in the school room, because playing is learning! I also love that I can close the door and all of this is out of sight when we need to focus on an academic task.


In addition to our school room, I used our kitchen for storage of materials.

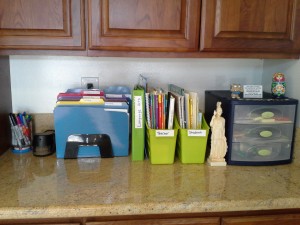
Notebooks, workbooks, books, binders, other school supplies

In our kitchen, which is attached to the school room:
 

Empowering Parents to Teach- Schoolroom 2014-2015

In the small organizer–

Top drawer:  more post-its, index cards, bookmarks, small paper items

Middle drawer:  scissors (regular and craft), rulers, protractors, calculator, straight edge, small graph paper, rubber bands

Bottom drawer: scotch taper, colored pencils, glue
 

Empowering Parents to Teach- Schoolroom 2014-2015


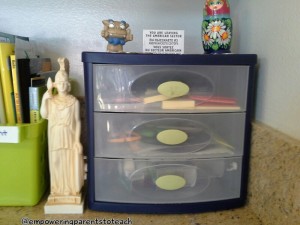
The items on top and on the side are from other countries.  My husband brought back the nesting dolls from Russia, the bearded dragon from Japan, and the Berlin magnet from Germany.  My sister gave me the statue from Greece.  I like to have them visible for my boys to explore and ask questions.  I also keep coins from many countries on top.  The boys actually really love playing with the nesting dolls.


Pencils, pens, highlighters, correction tape, erasers, small supplies

There is a drawer right under the counter where we can keep all of these items.
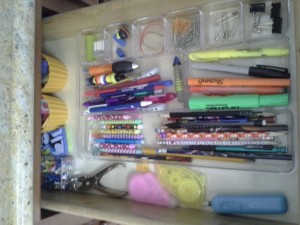
 

Empowering Parents to Teach- Schoolroom 2014-2015


Teacher Materials, Craft Supplies, and Science

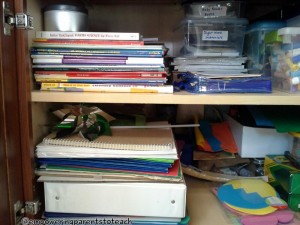
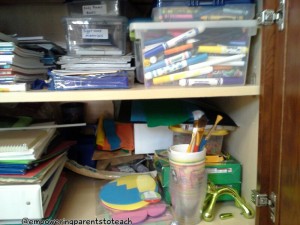
I used the bottom cabinets and one shelf in the upper cabinet located in the kitchen to hide some of the materials, but still have them within our reach. 
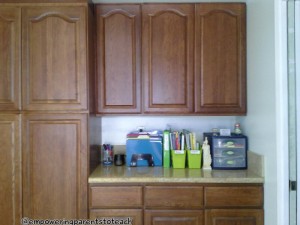
 

Empowering Parents to Teach- Schoolroom 2014-2015


Upper cabinet:

On the left, I put extra office/school supplies and small sensory items.
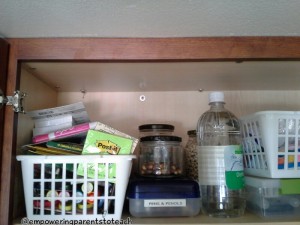
Empowering Parents to Teach- Schoolroom 2014-2015


One the right, I have some of our science supplies that we will use somewhat regularly.
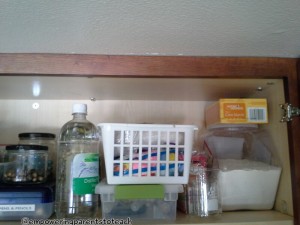
 

Science supplies

Science supplies


The bottom cabinets:

Here, I have teaching books and materials, markers, crayons, craft supplies, preschool reading supplies, extra paper, paint and paint supplies.
 

Empowering Parents to Teach- Schoolroom 2014-2015

Empowering Parents to Teach- Schoolroom 2014-2015


Even when organized, it looks cluttered.  This is why it hides behind a cabinet :)


Why did I put this in the kitchen and not in the school room?  

It was important for me to use my house as efficiently as possible.  I did not want to bring in too many organizing tools such as bookshelves and large shelves if it could be avoided.  I’m the kind of person that tries to use what I have before buying more stuff.  Luckily, we have a lot of counter space in our kitchen so I used what I had available. And, I like where it is, because I know we won’t do all of our work in the school room.  The nice thing about home school is you can do it anywhere! If we work in the kitchen, the school room, or anywhere else, we still have the stuff nicely organized and easy to find to take with us.


To top it all off, we have the comforts of home
Empowering Parents to Teach- Schoolroom 2014-2015


That hole in the wall has become our snuggle cubby with blankets, pillows, and books!
 

Empowering Parents to Teach- Schoolroom 2014-2015


My oldest absolutely LOVES reading in that rocking chair.  On the coffee table are three ever present items– his current reading book, a big bowl of Legos, and our Magic the Gathering cards!


That’s our school room!  I hope you found our school room tour helpful :)


Empowering Parents to Teach- Odd and Even

Teaching Odd and Even With Manipulatives

Looking for a hands-on way to teach your child the concept of odd and even?  You’re in the right place!


First, choose your manipulative.  Think about what your child would prefer, older children tend to like the linking cubes and younger ones enjoy the math bears.  You can use either one for this activity.  Anything small around your house would work if you have enough of them- pennies, buttons, crayons, peanuts, etc.  In this lesson, I will use math bears :)


A number is even if it is divisible by two.  If it is not divisible by two, then it is odd.  The hands-on way to demonstrate this to kids is simple!


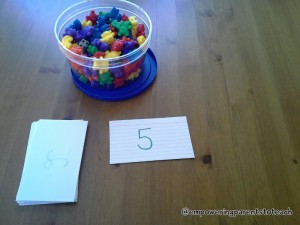
1. Beforehand, make a pile of cards with odd and even numbers on them, one number per card.


2. Put the pile face down on a tray or table with your manipulatives.


Empowering Parents to Teach- Odd and Even


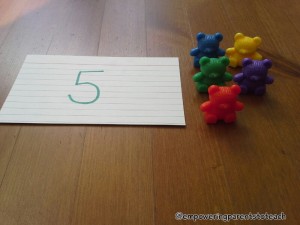
3. You, the parent, turn over the first card and say the number aloud.  Take out the corresponding numbers of bears or cubes.  For example, if you got the number five, take out five bears.


Empowering Parents to Teach- Odd and Even

Take out five bears


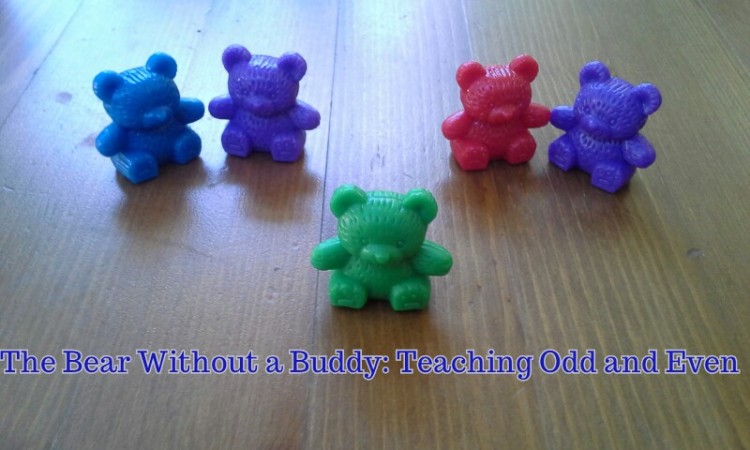
4. Show your child that you are going to match your bears with a buddy.  It helps to place the bears in two lines next to each other (see picture).  You are grouping them by twos.  I like using the math bears for this, because you can see how they look like they are holding a buddy’s hand! 


Empowering Parents to Teach- Odd and Even

Orange bear does not have a buddy.


Notice that when you have five bears, one bear is left without a buddy.  You can even say, “That’s odd, one bear doesn’t have a buddy”, playing on the dual meaning of “odd”!   You can even call him the “odd man out”.  Whenever a bear is left without a buddy, we call that an odd number.


Teaching Tip: Some times if you have a catch phrase, it helps the child remember.  Anytime a bear is without a buddy you can say, “That’s odd!” The funnier you say it, the better :)


5. Explain to your child that if all the bears have a buddy, the number is even.  They may notice that the two lines both have the same number of bears in even numbers. Think about if you had to share the bears evenly between you and a friend; to be even, you each need the same number of bears.  If one bear is left without a buddy (as in the case with the number 5), it’s an odd number. For older kids that understand divisibility, explain that you can divide an even number by two, but not an odd one.


6. Let your child continue pairing up the bears to see what numbers are odd and what numbers are even.  Remember your catch phrase! With enough practice they should begin to notice a pattern.  Soon, they can do this in their head without the help of manipulatives.  But, because they had the hands-on practice, they have created a concrete framework to understand the concept!!


One of our favorite picture books to help reinforce this concept is One Odd Day by Doris Fisher!


To see more ways to use the math bears, check out: Math Manipulatives Must Haves


This post is linked to   Montessori Monday